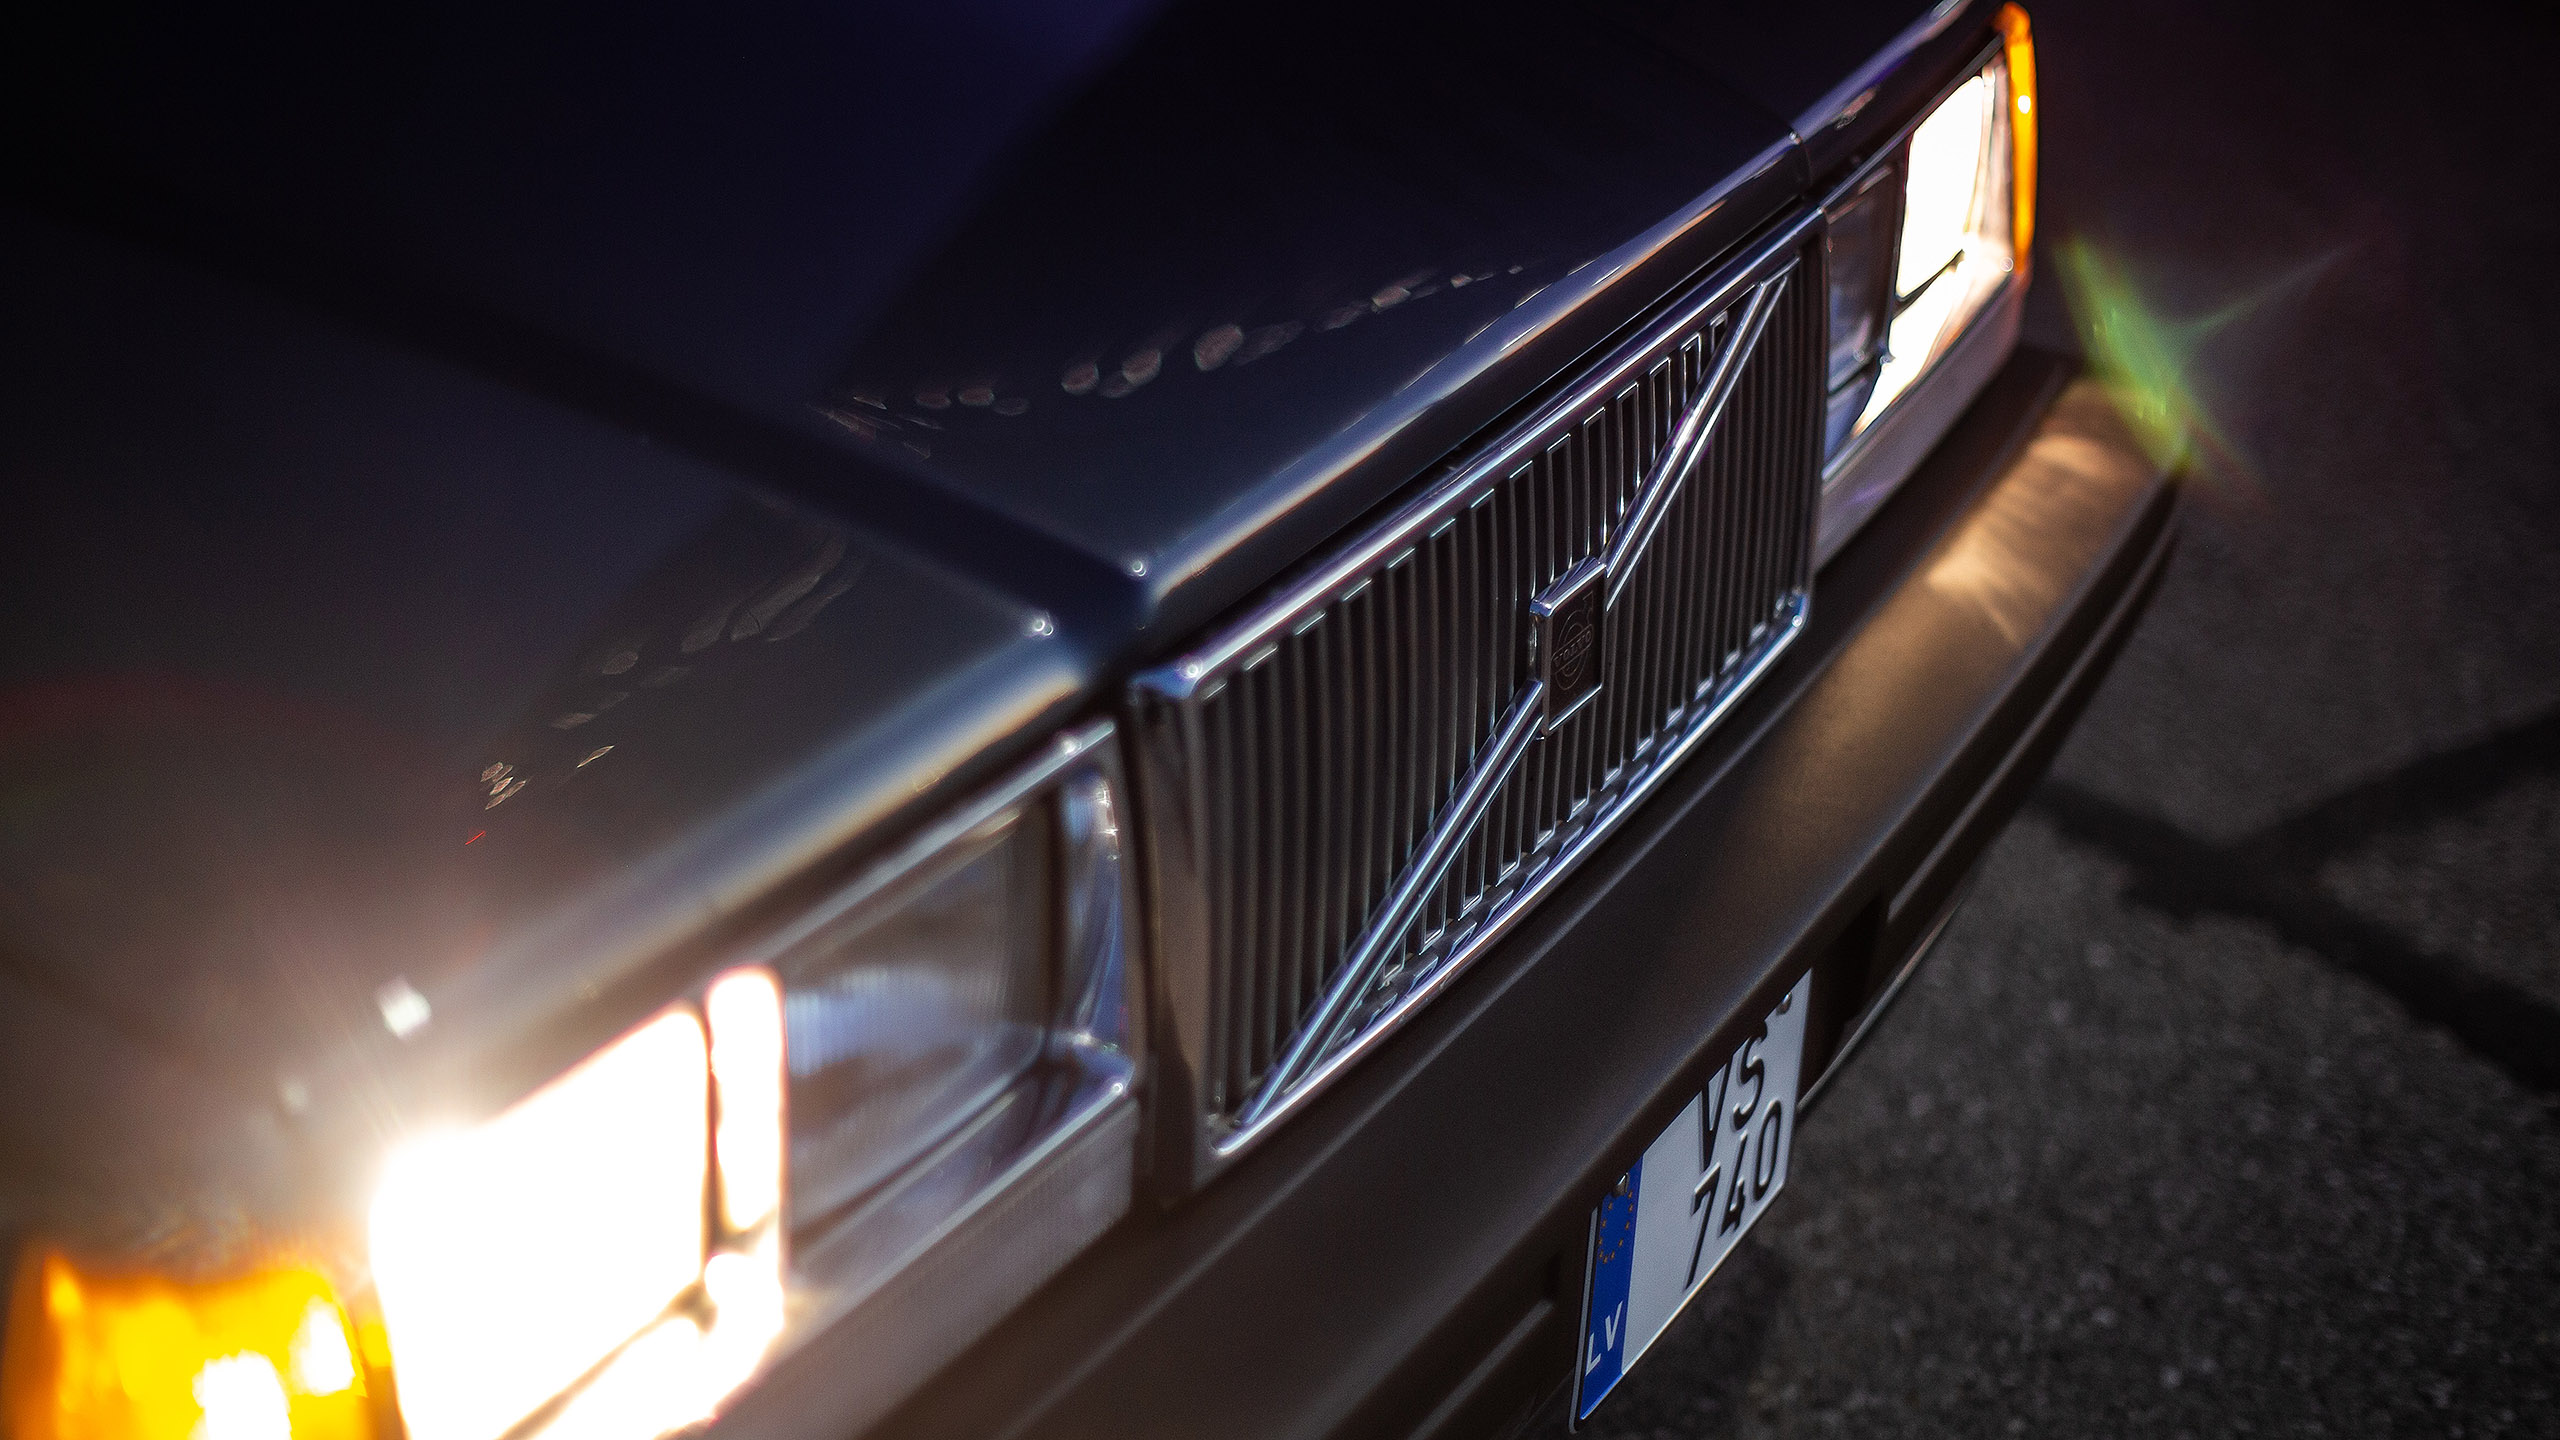

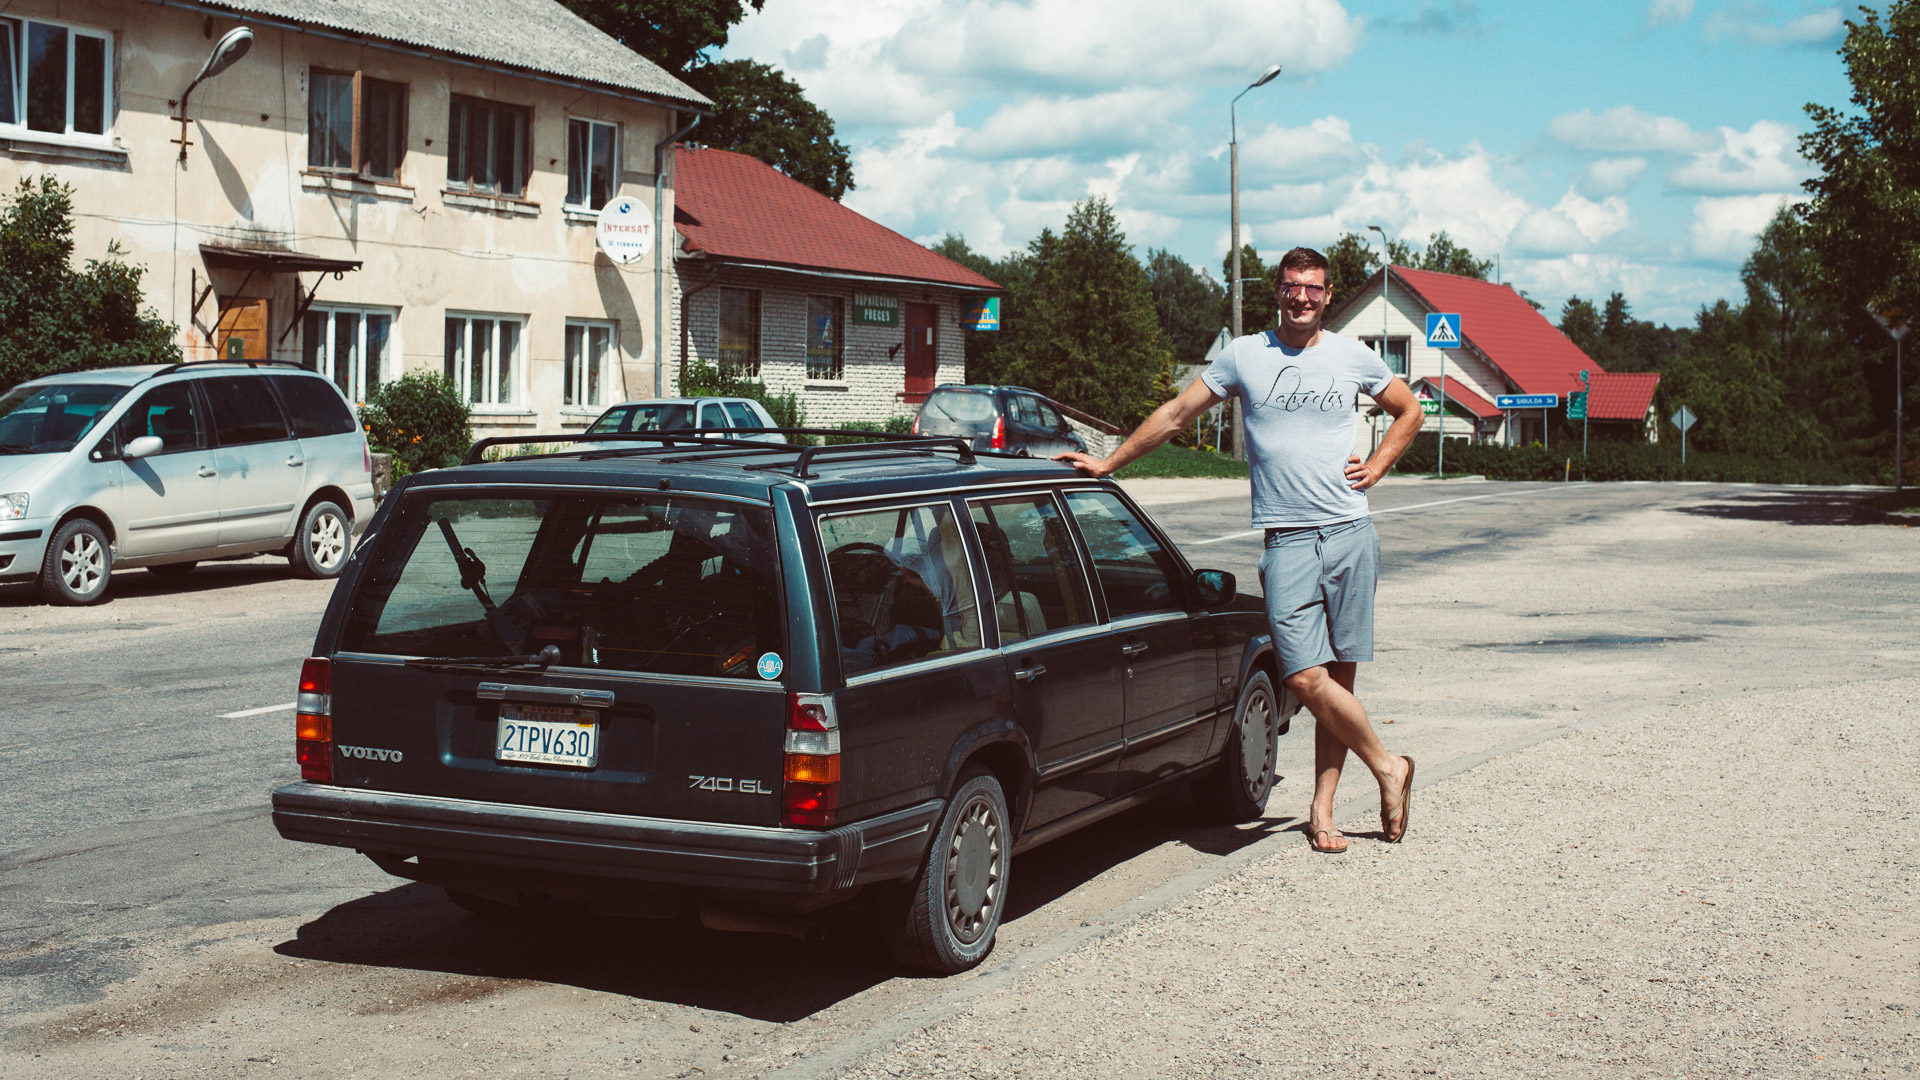
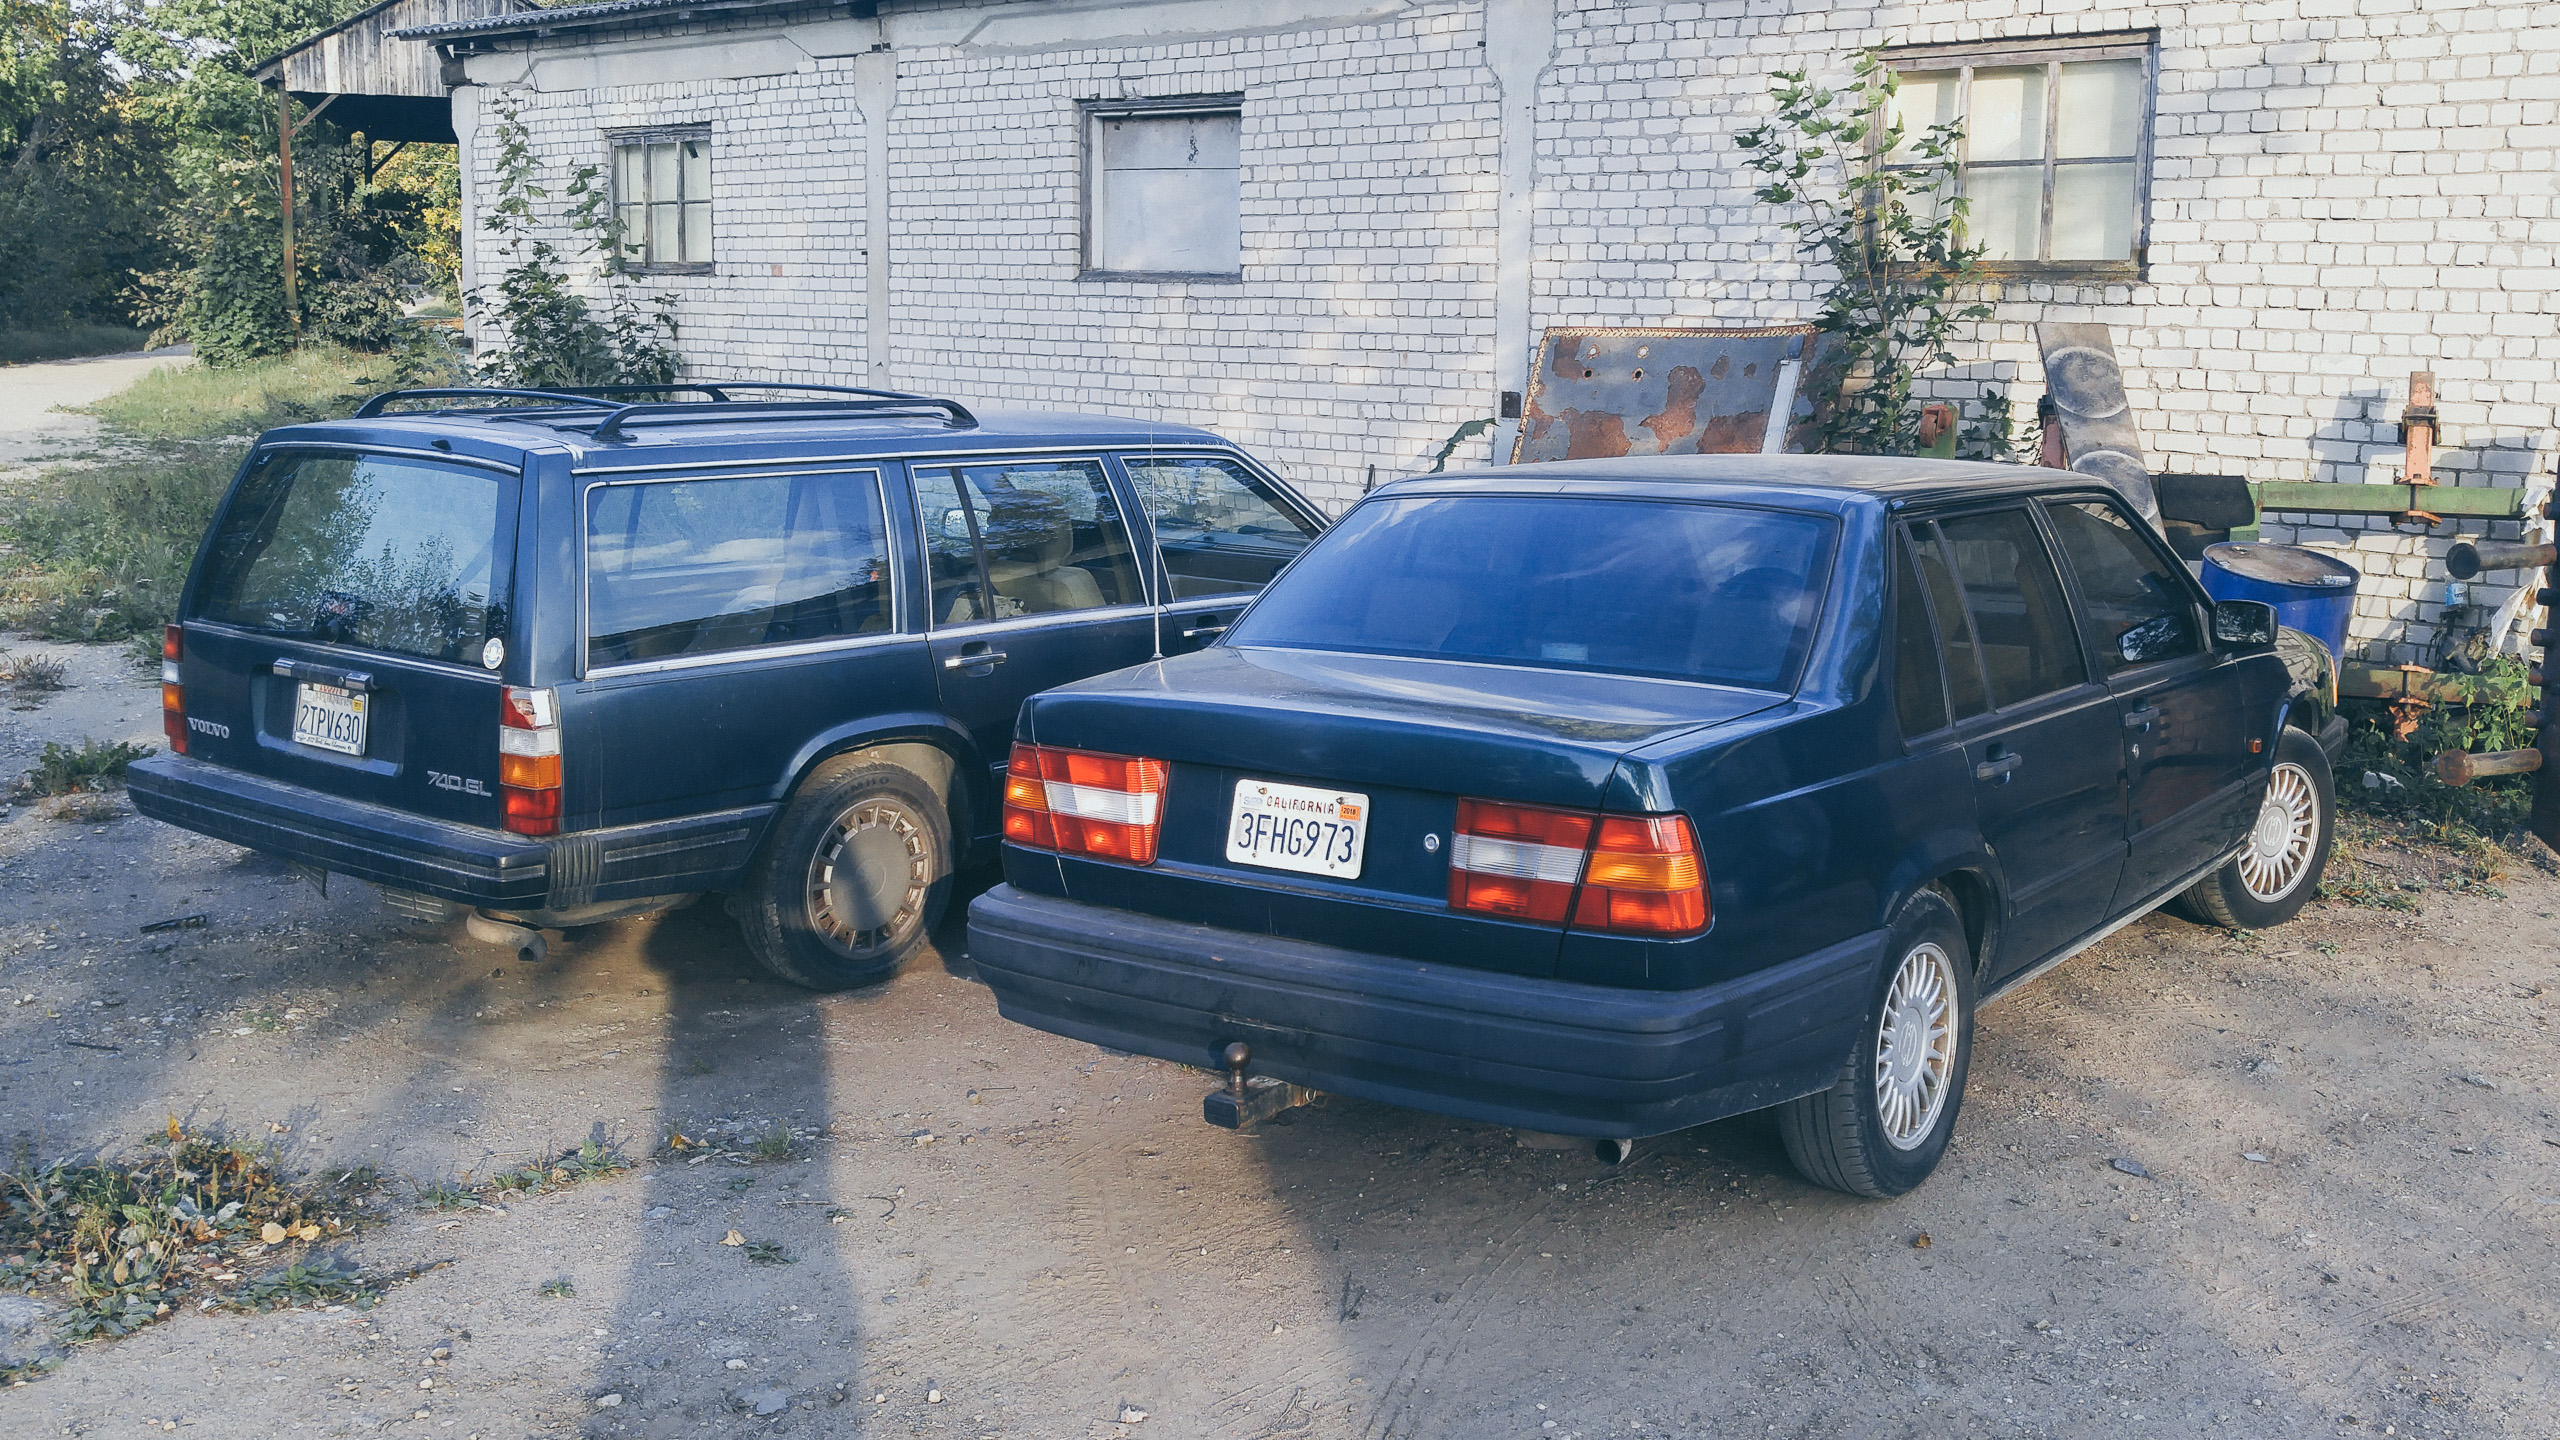
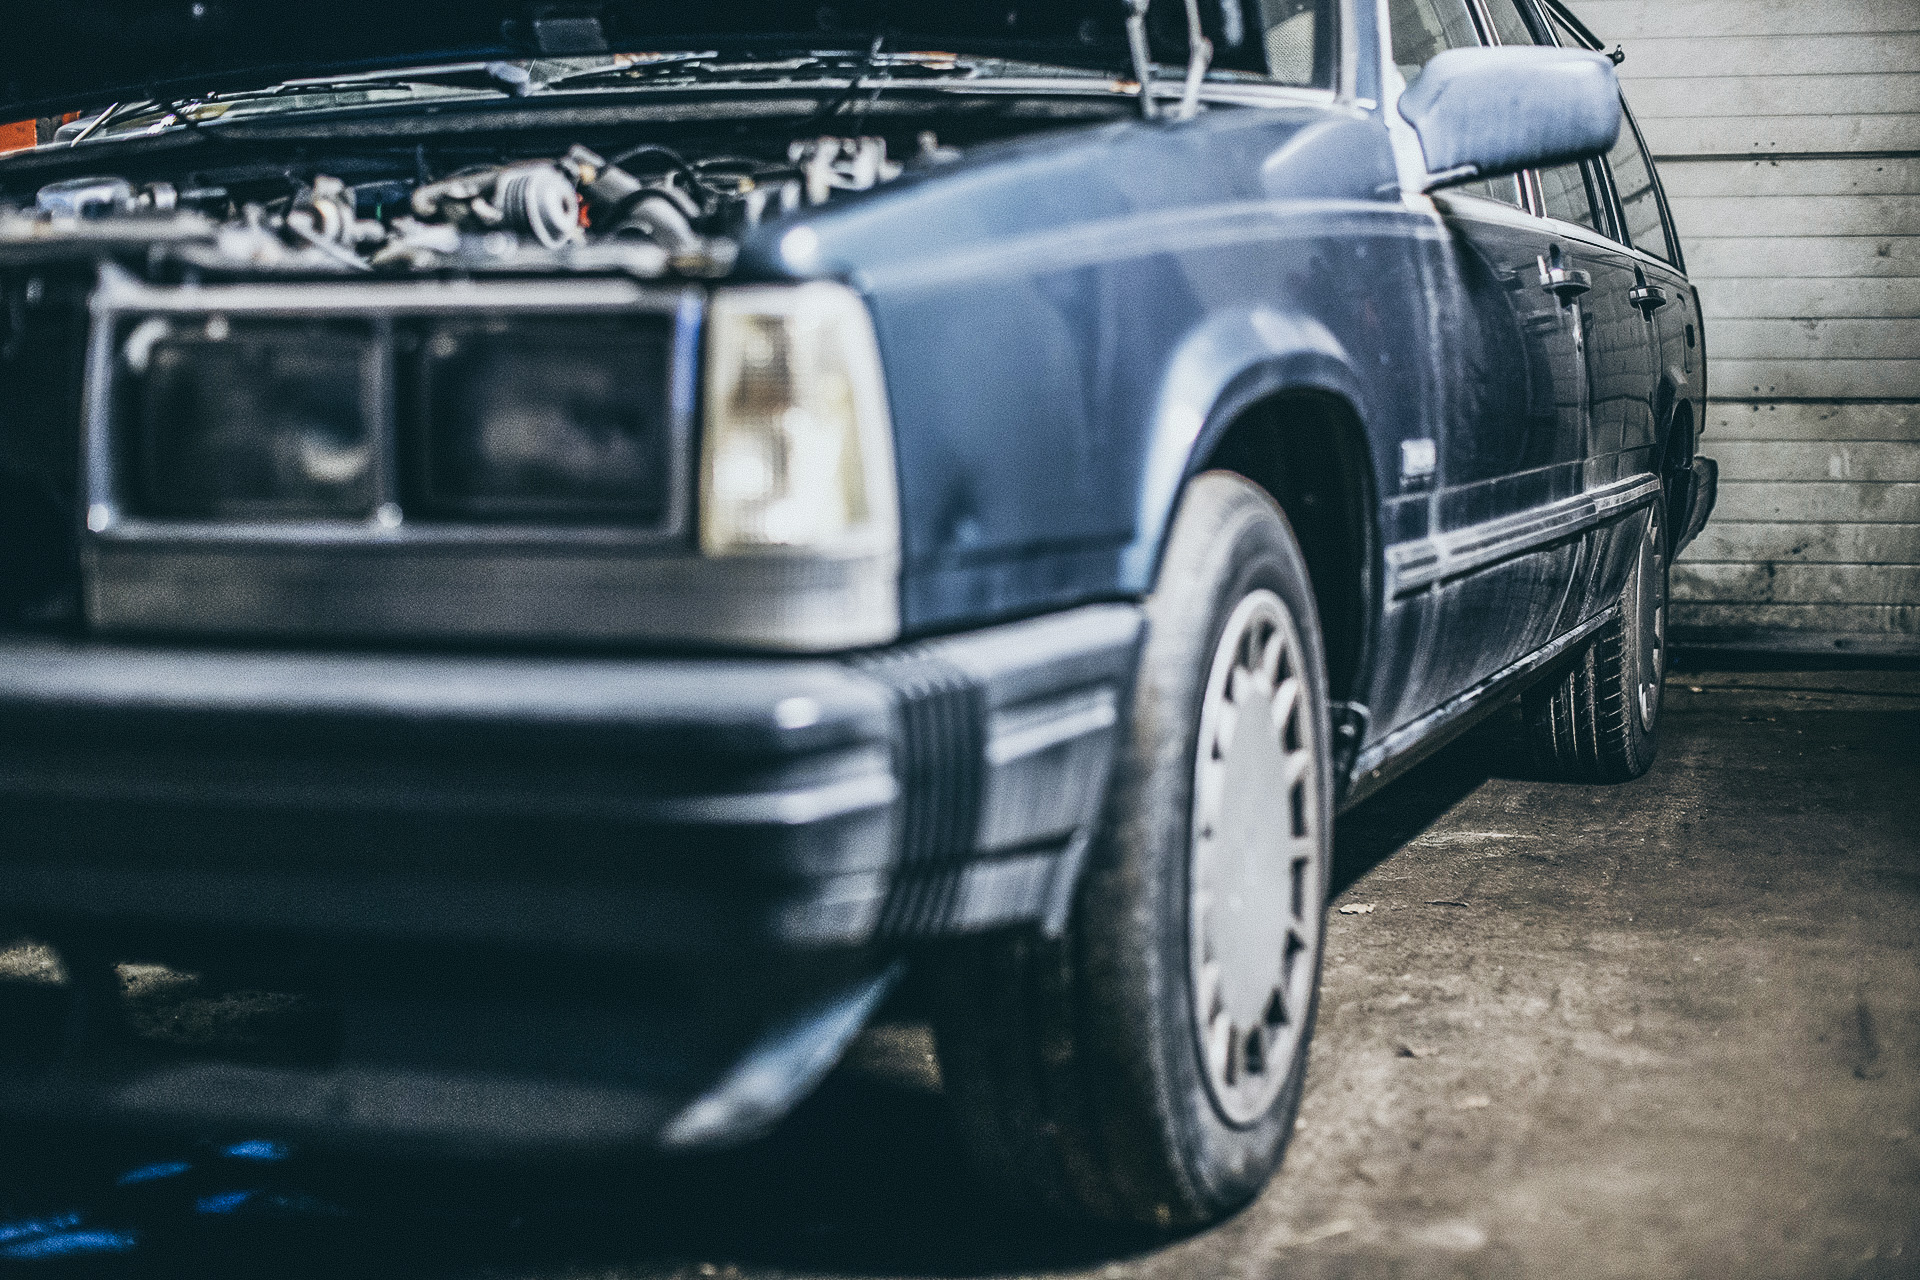
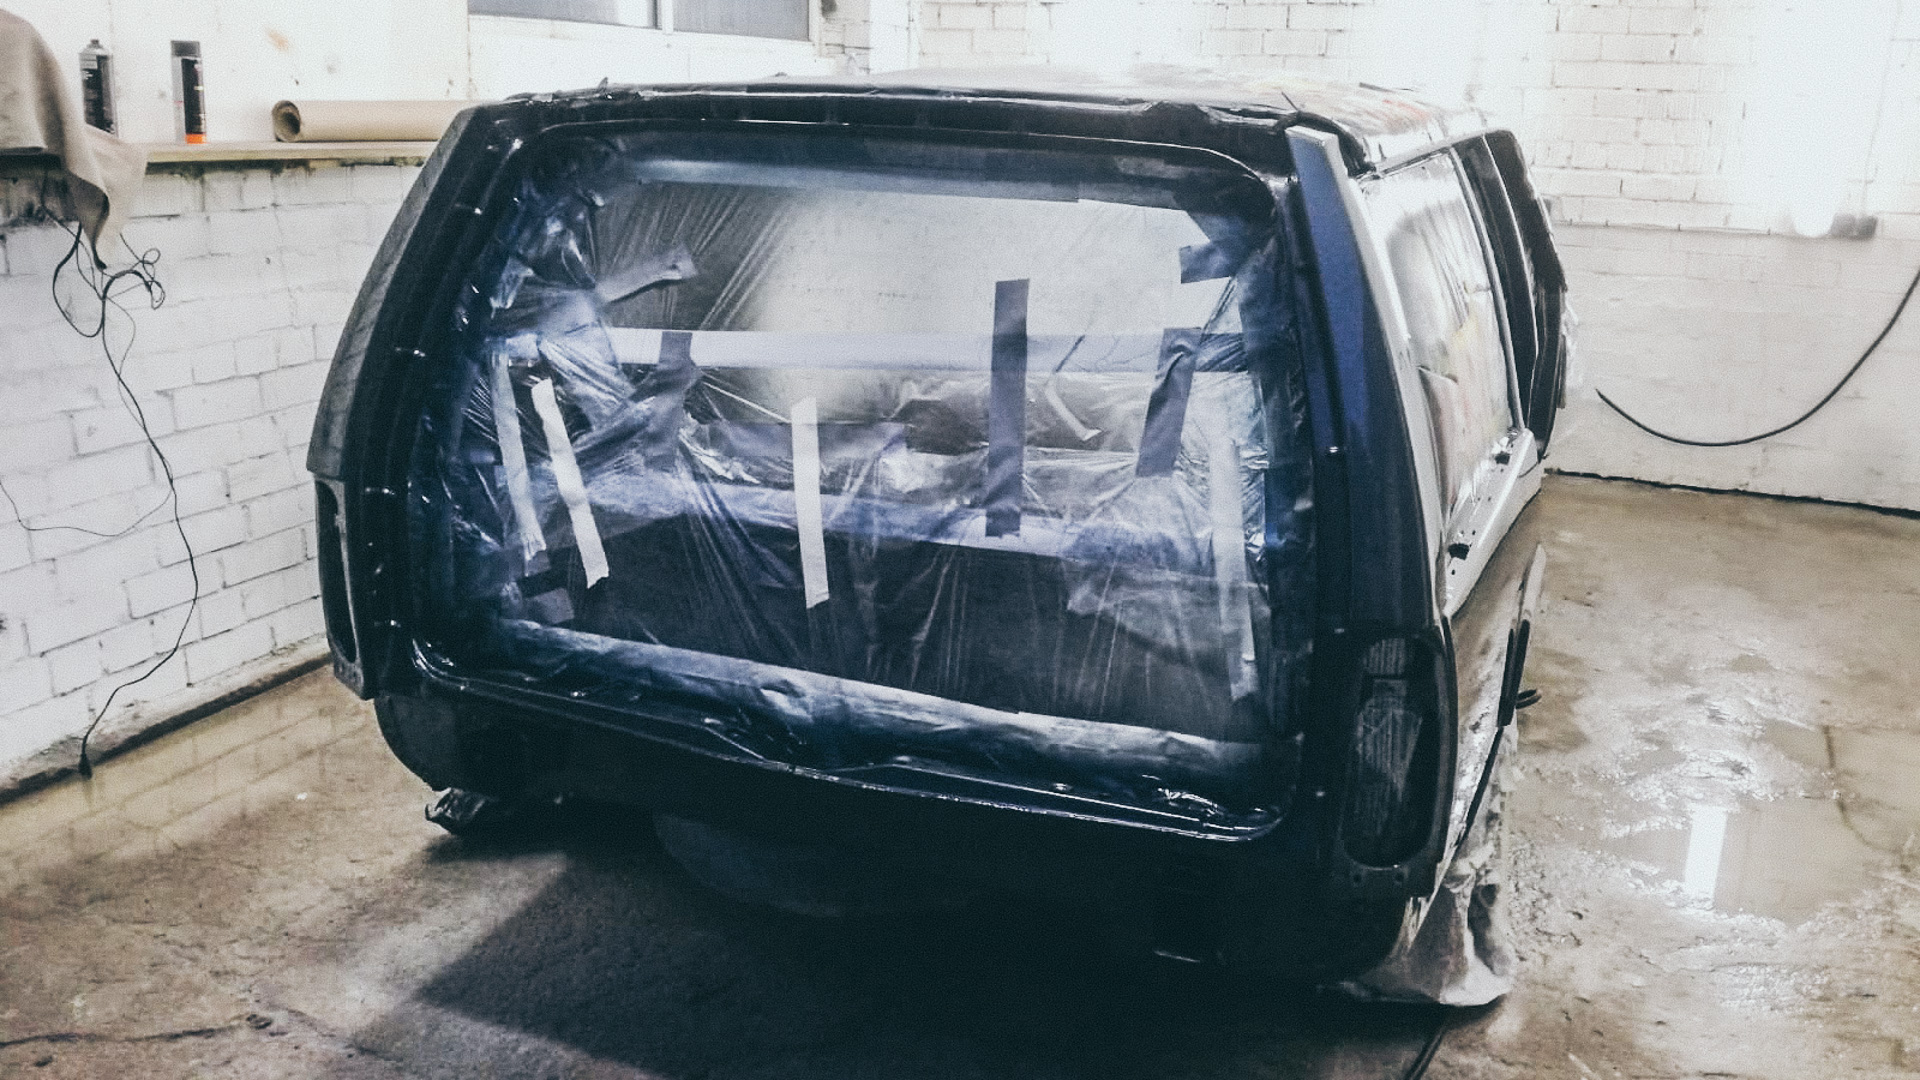
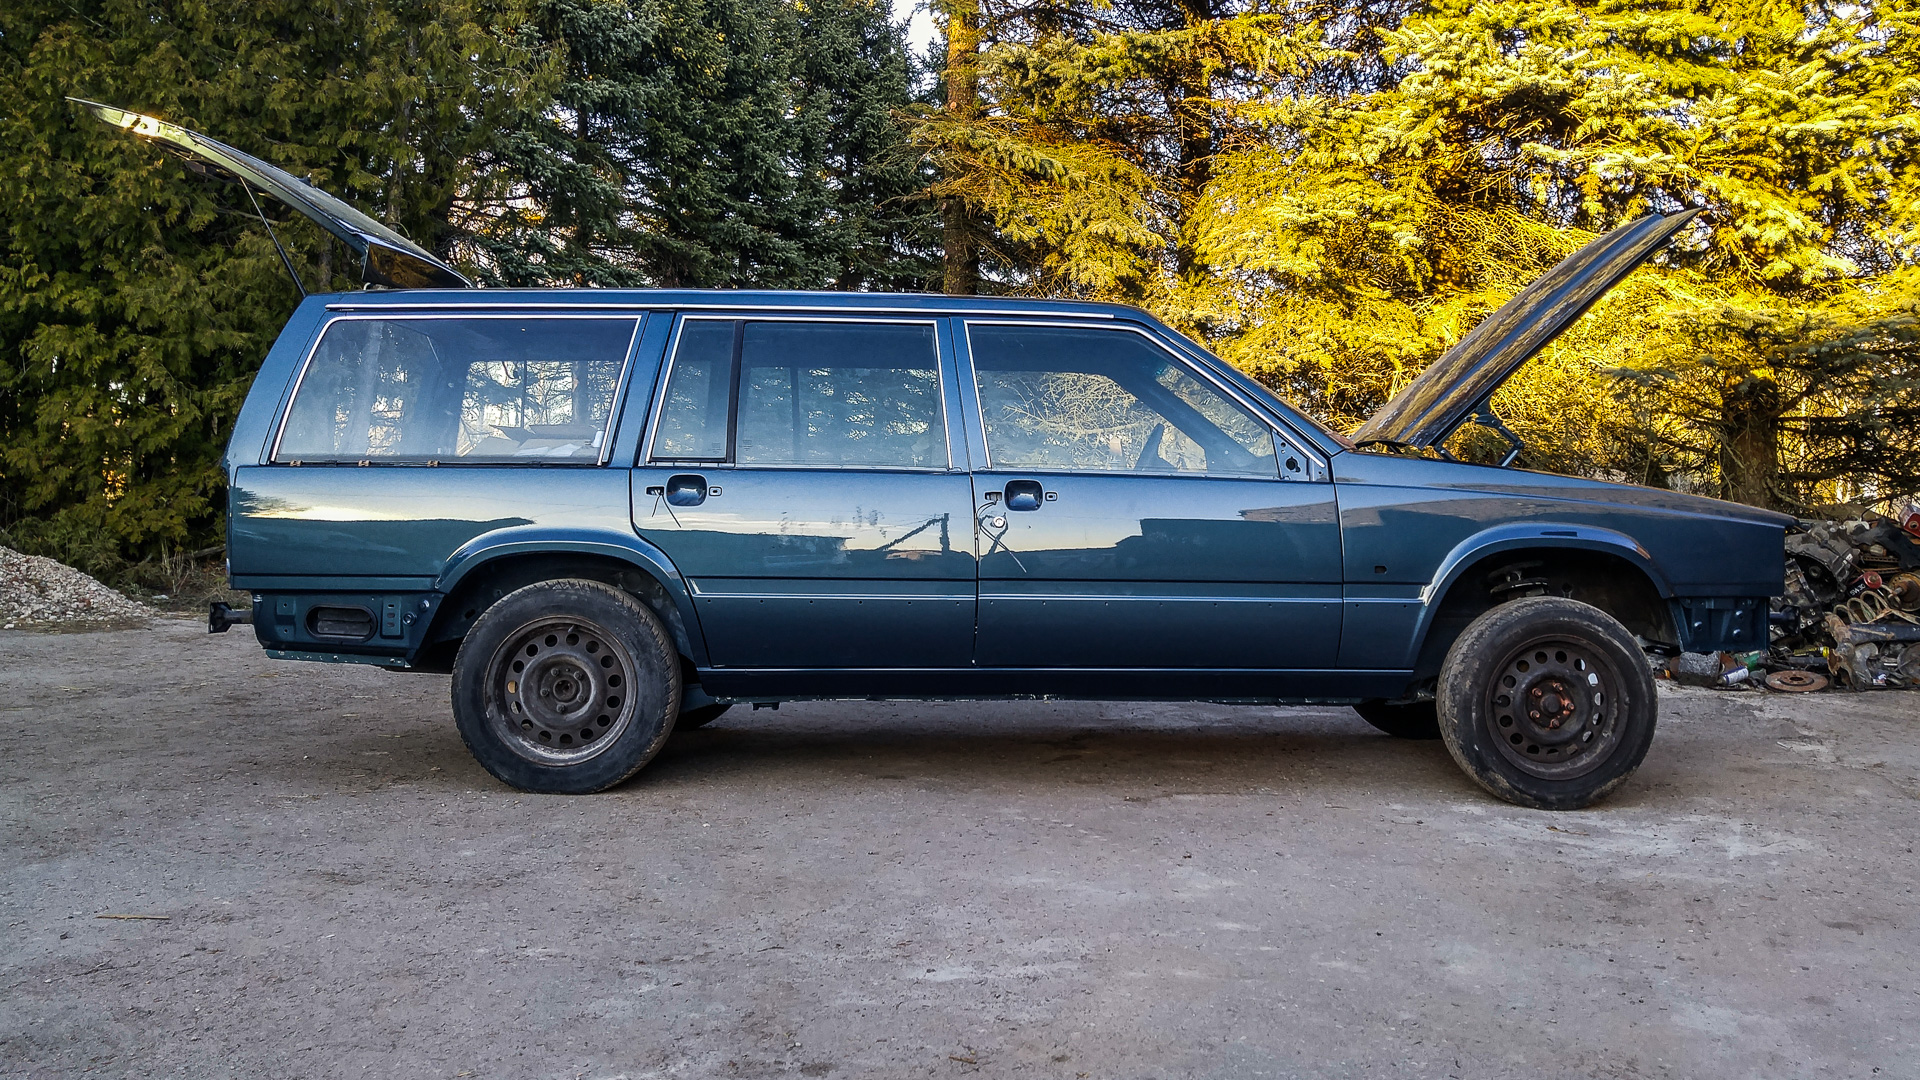
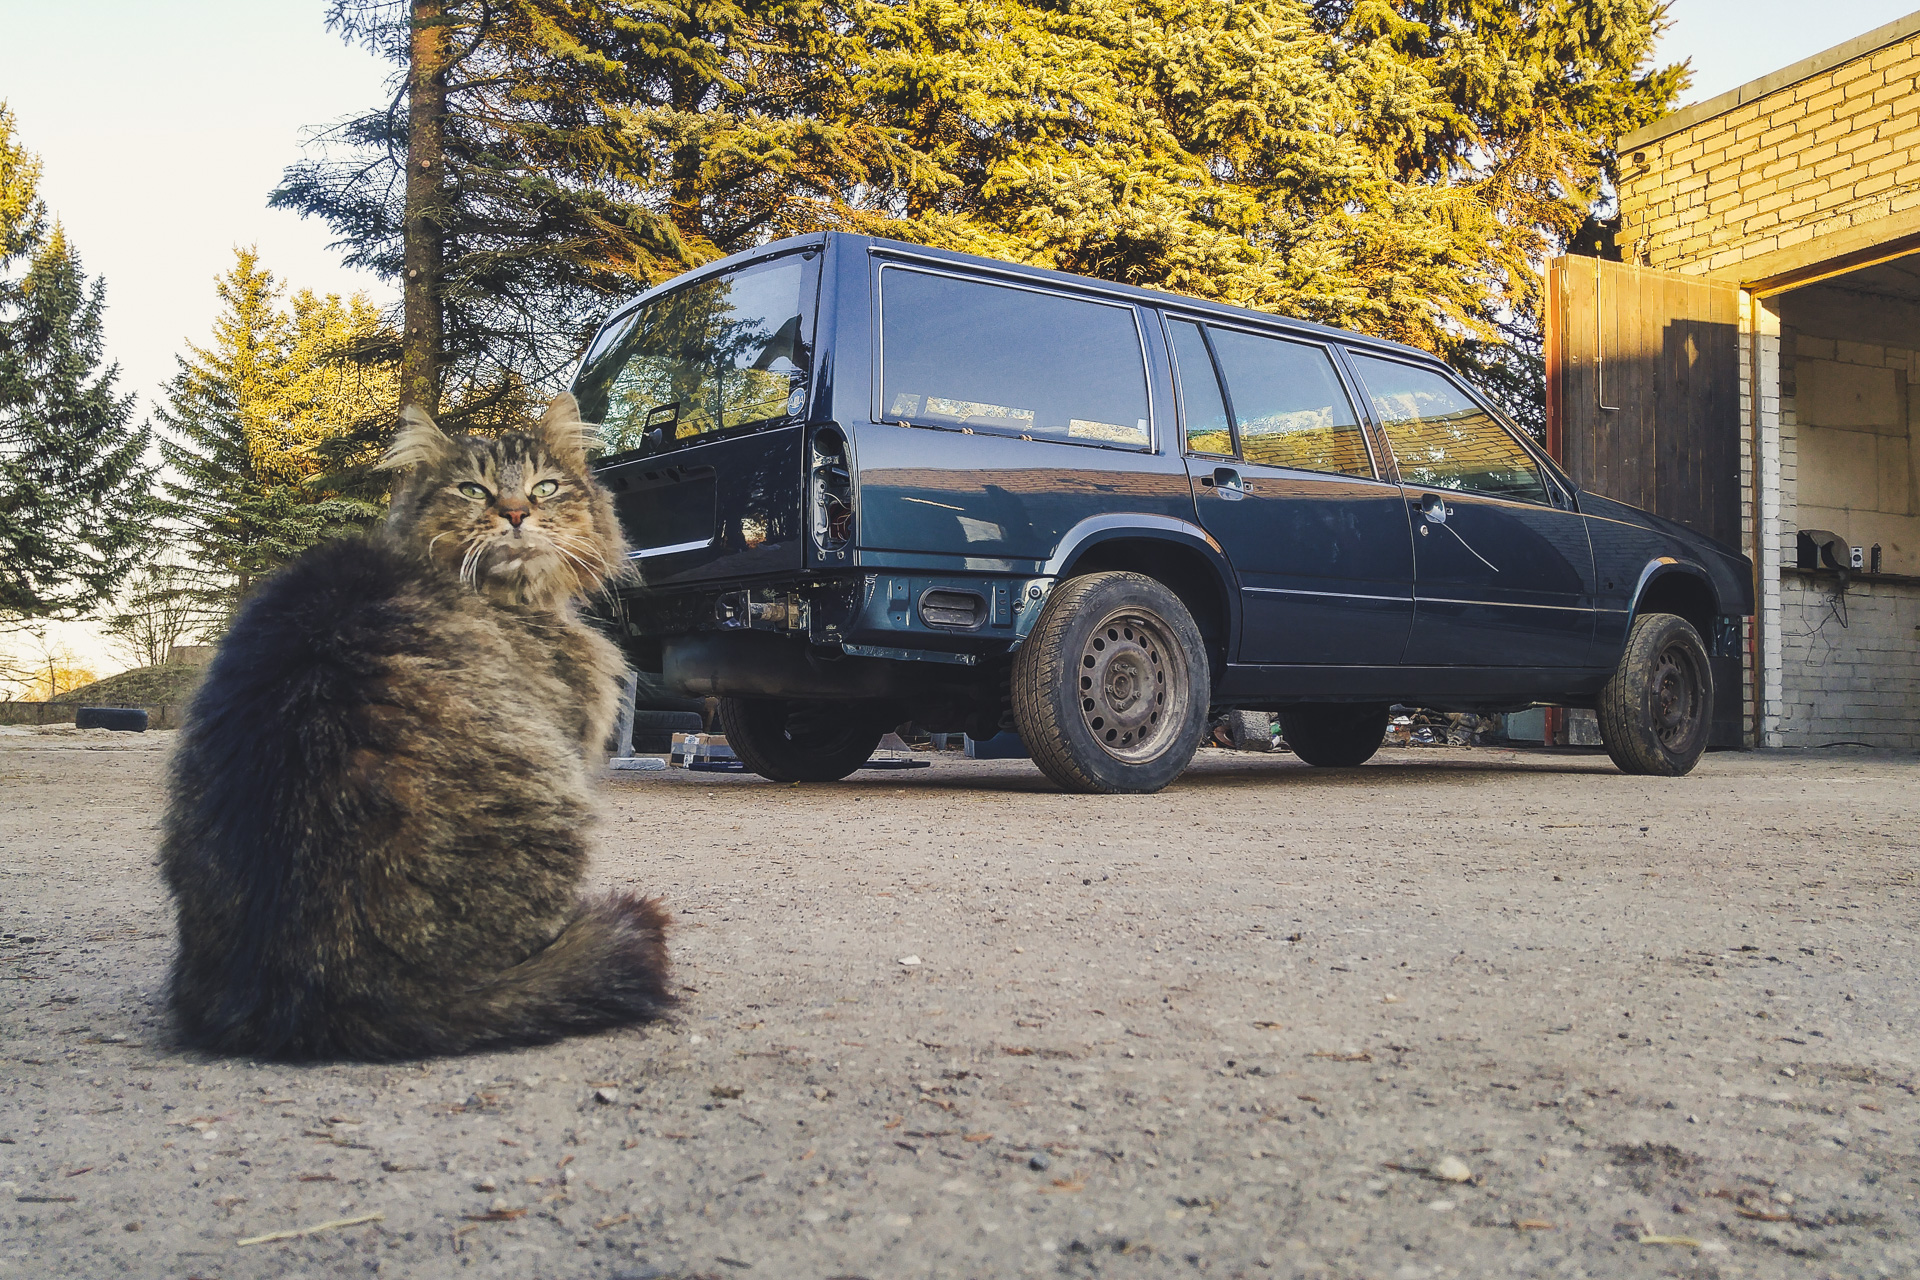
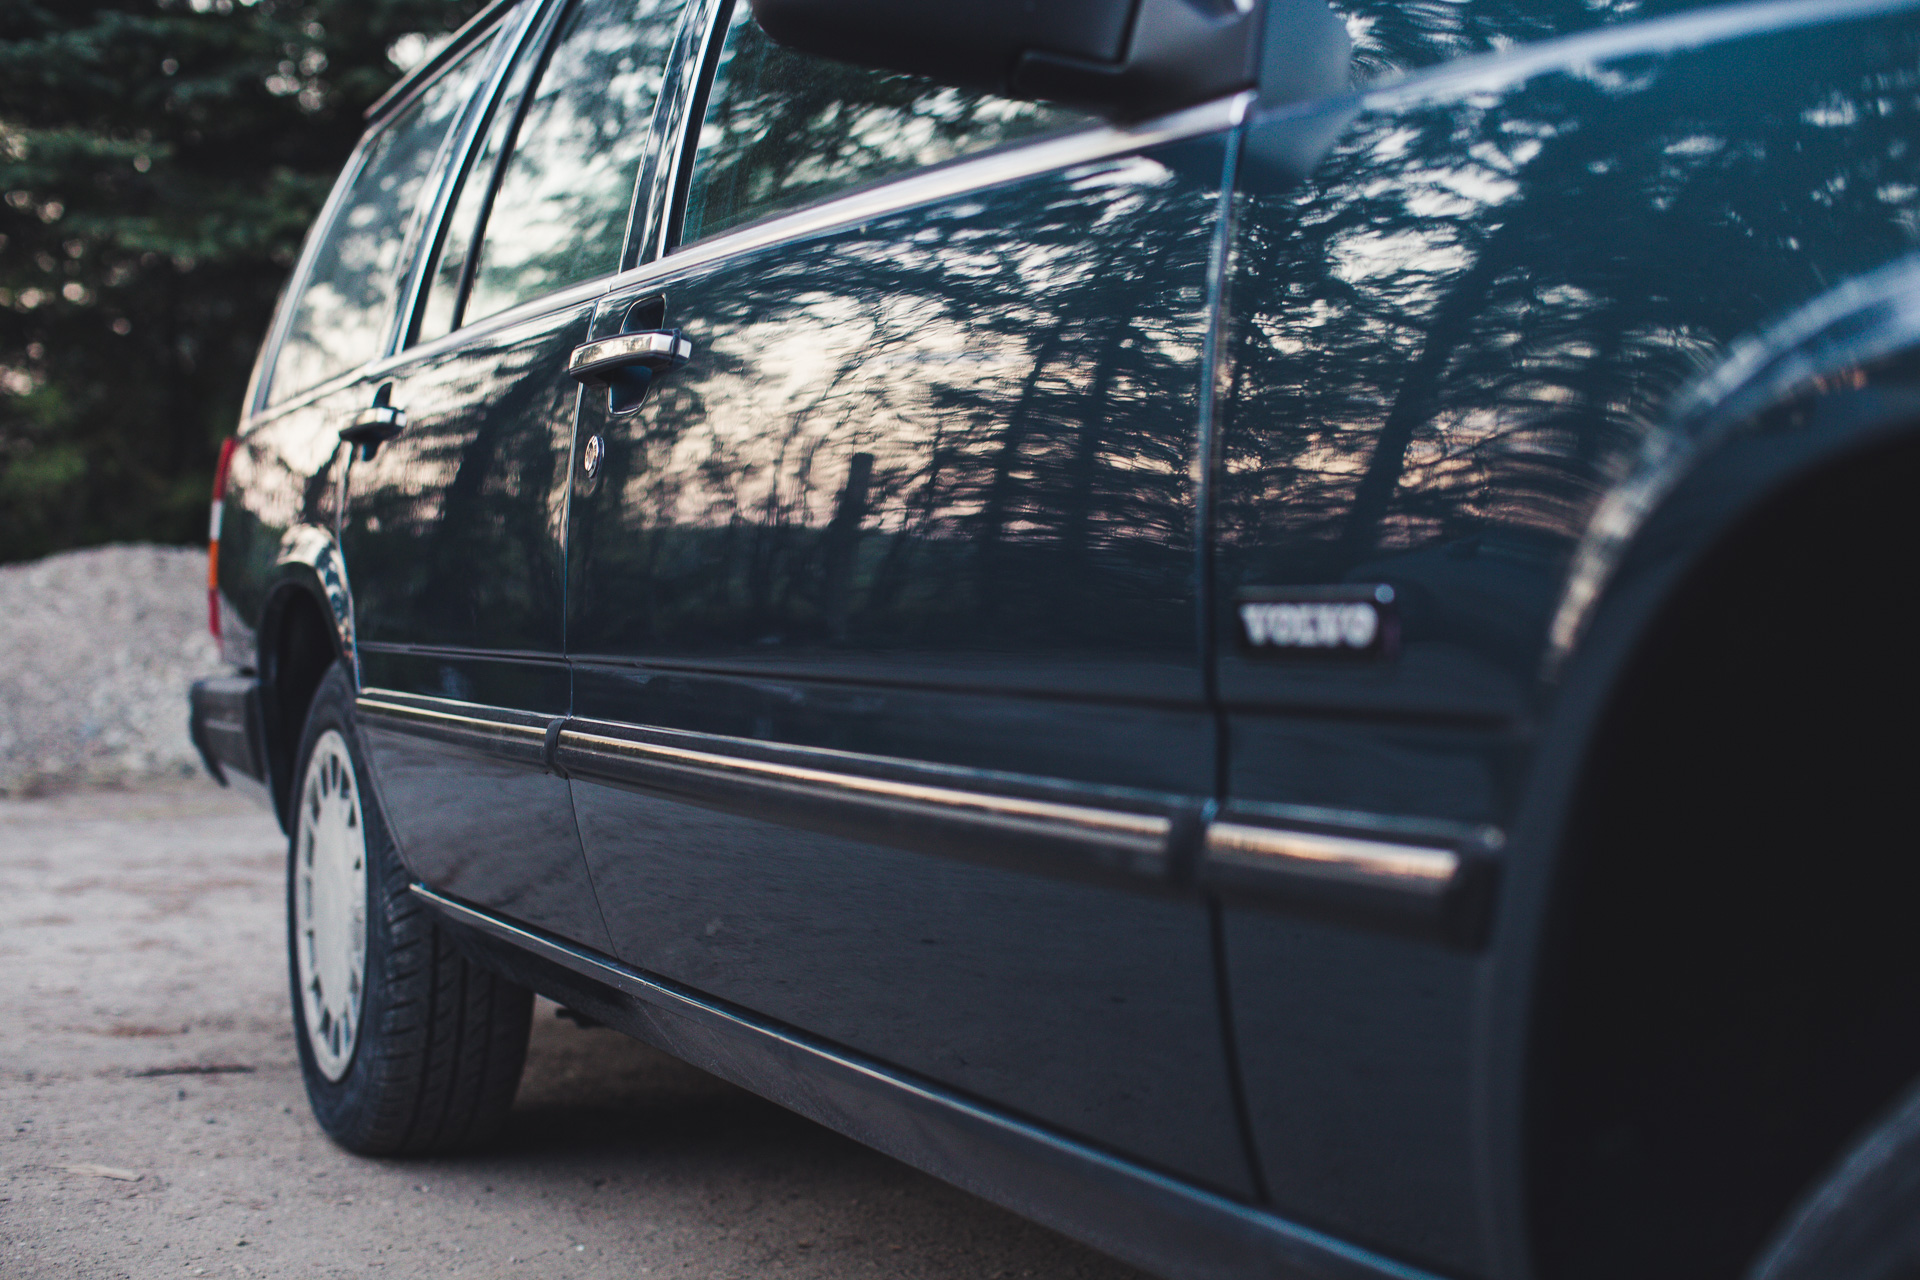
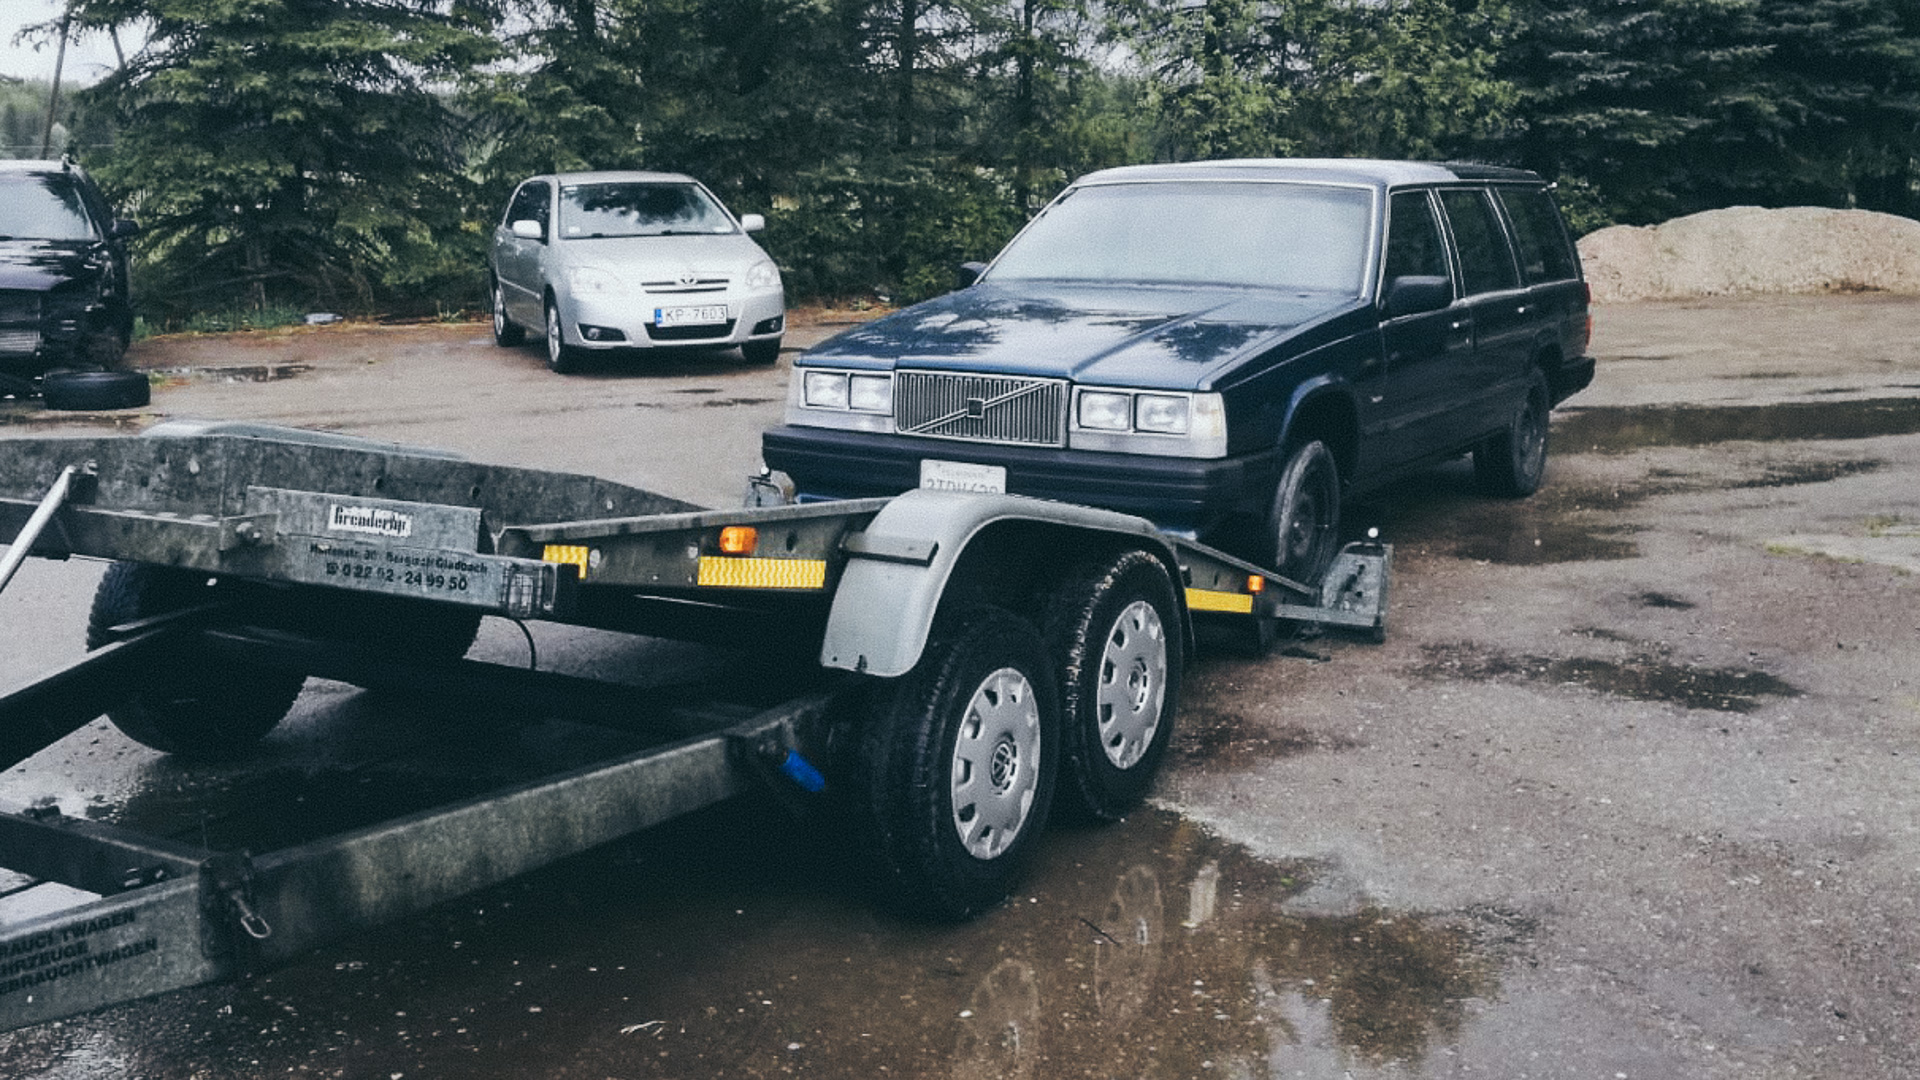
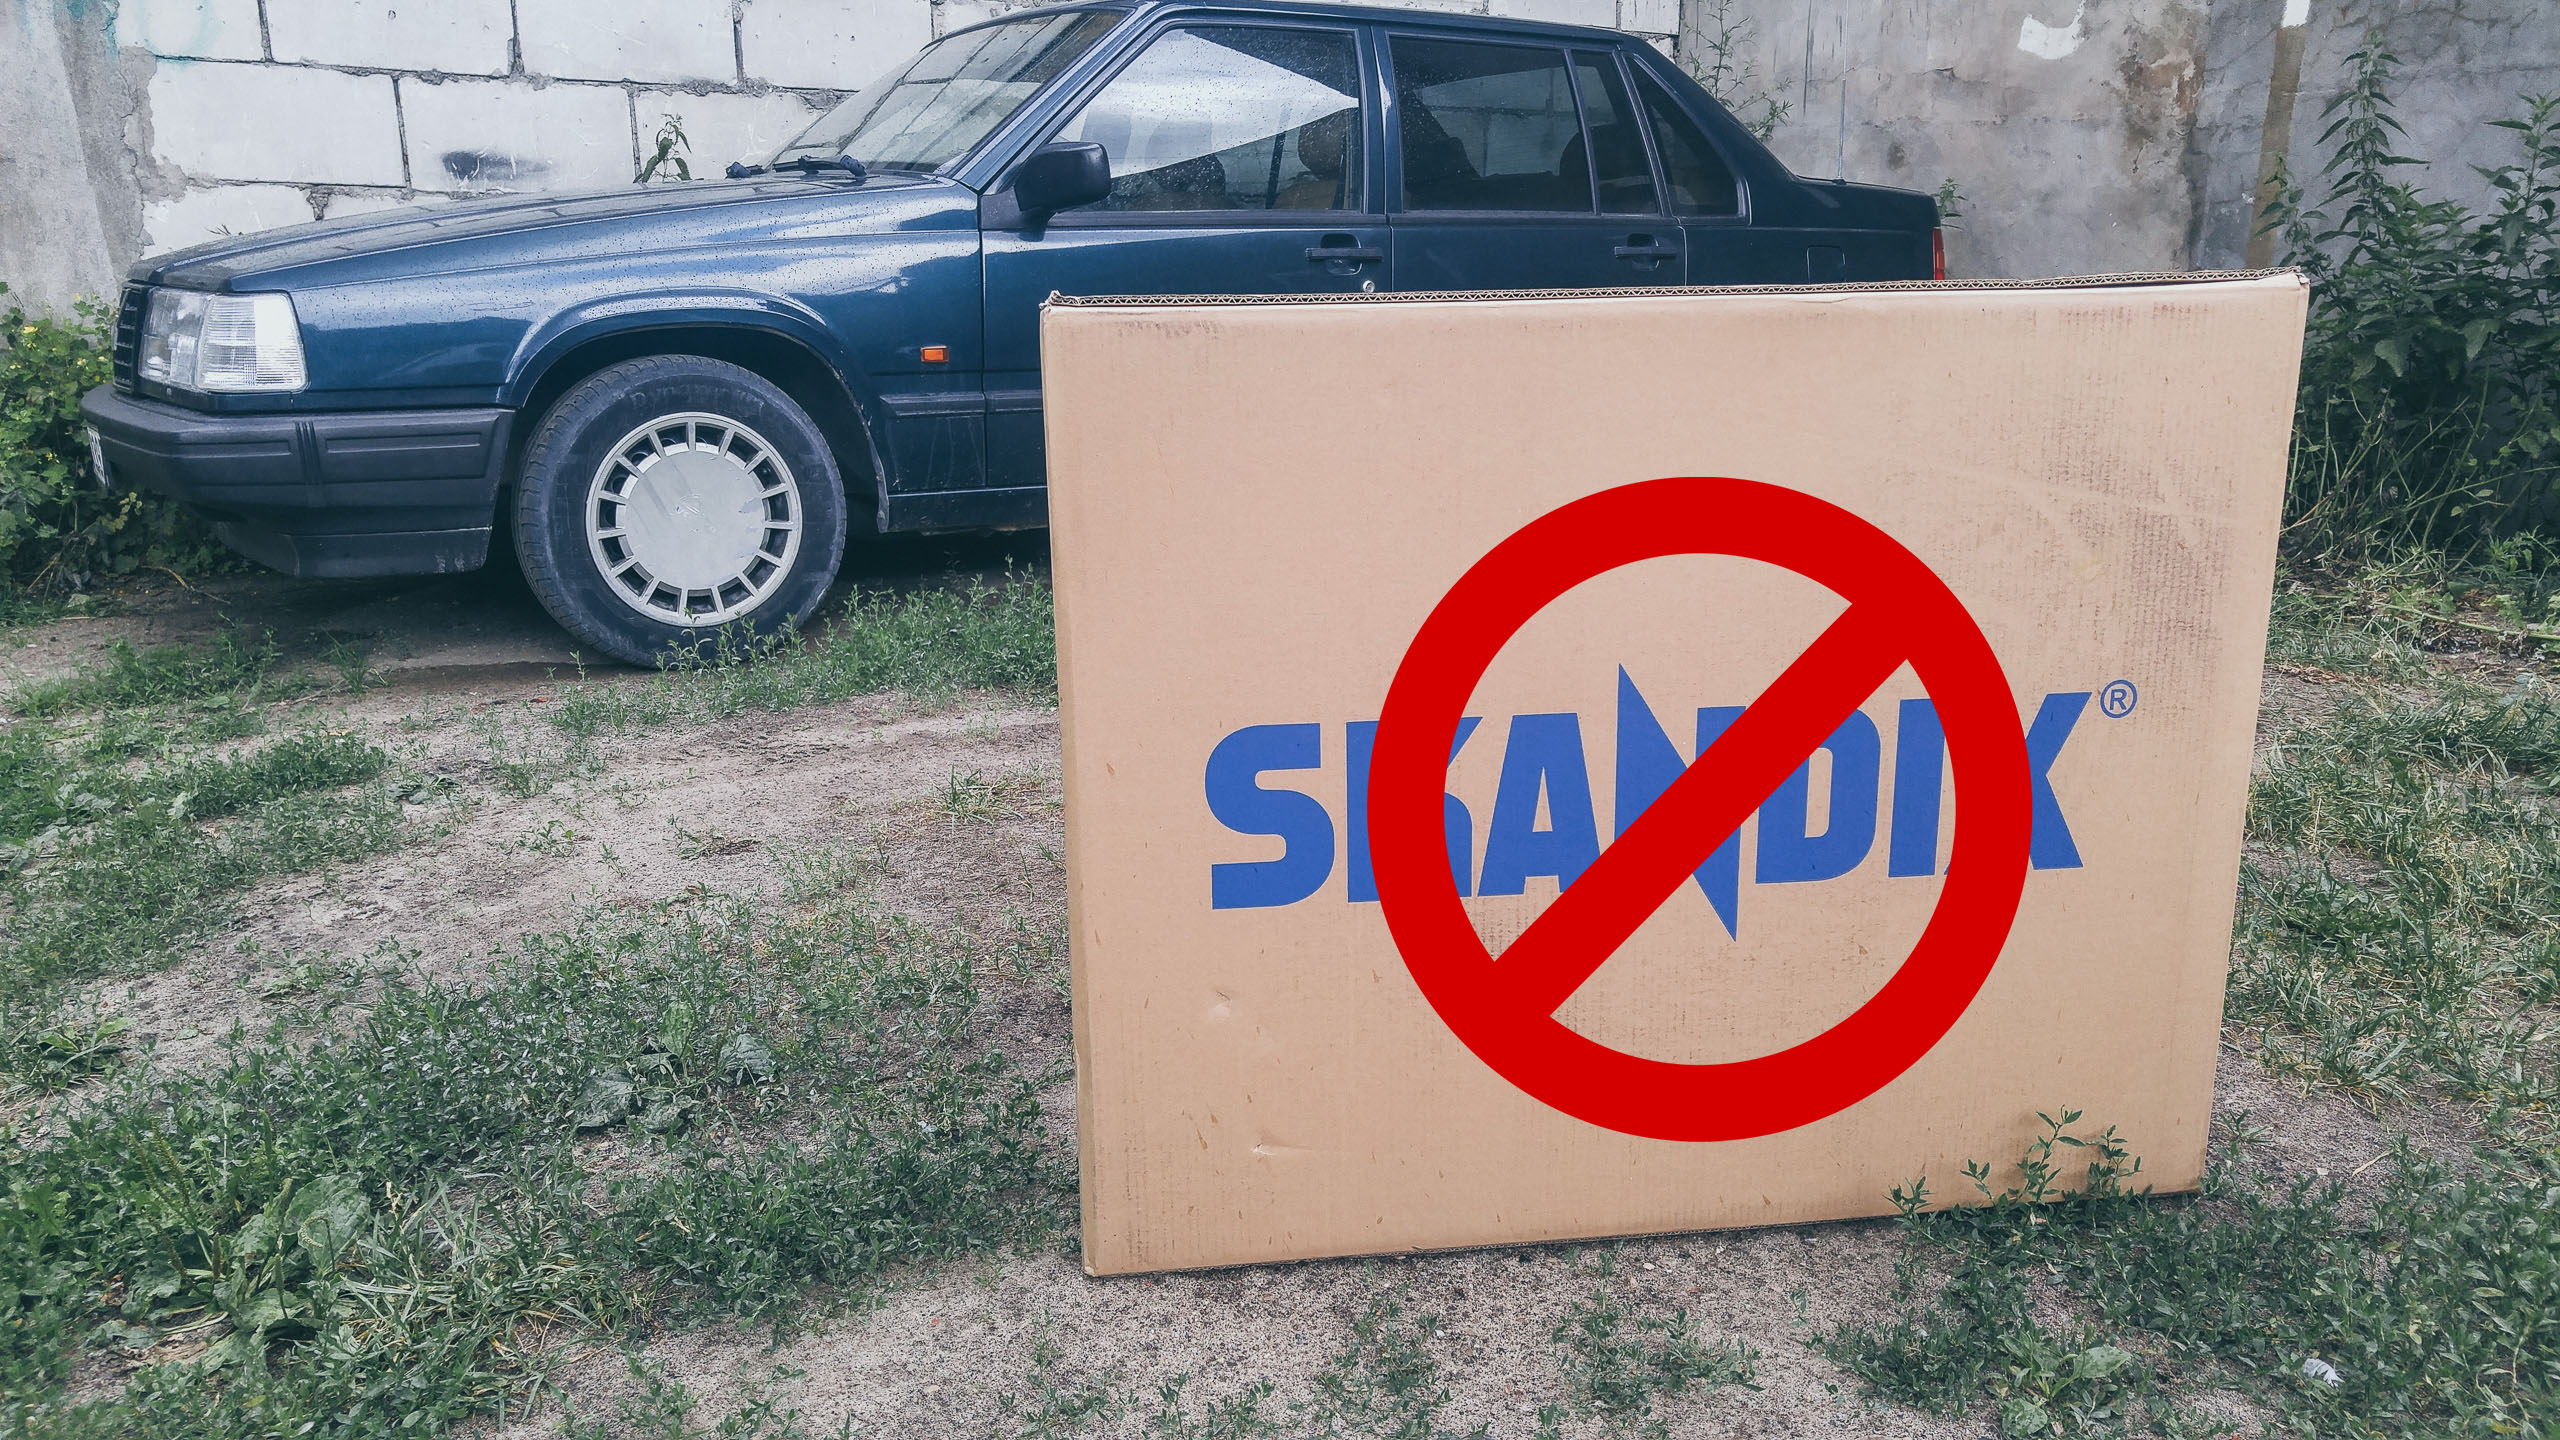
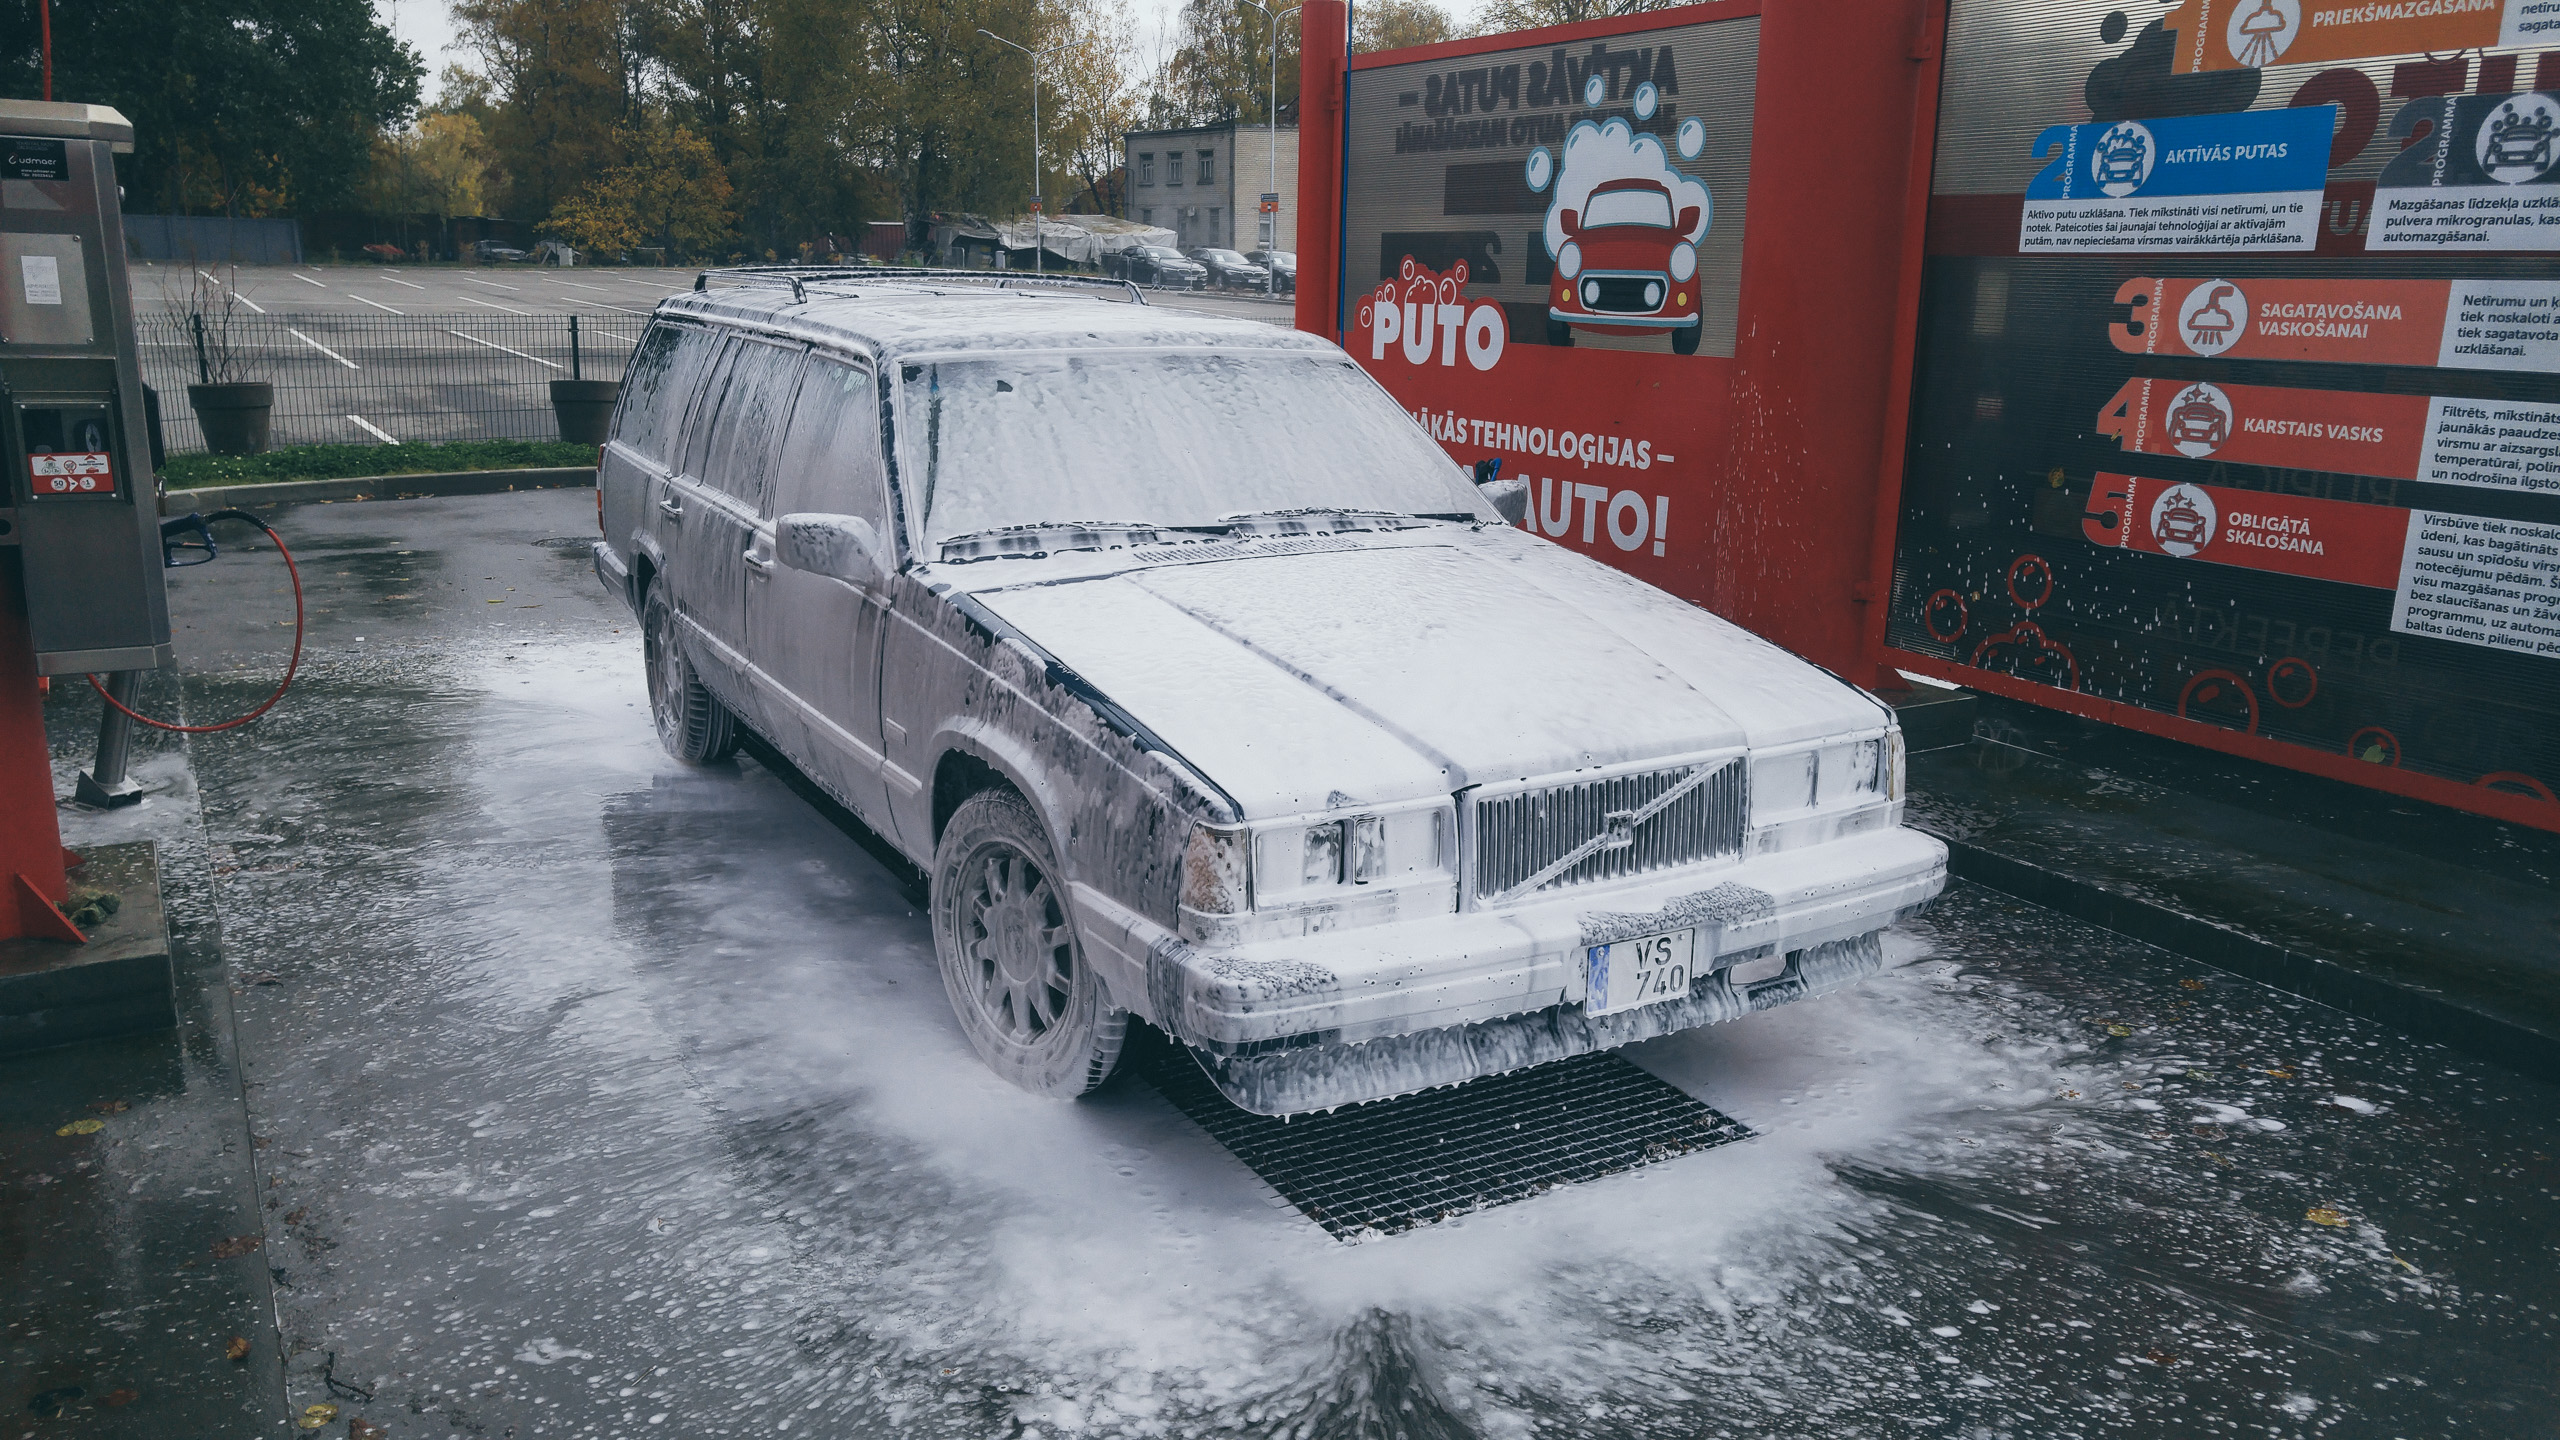
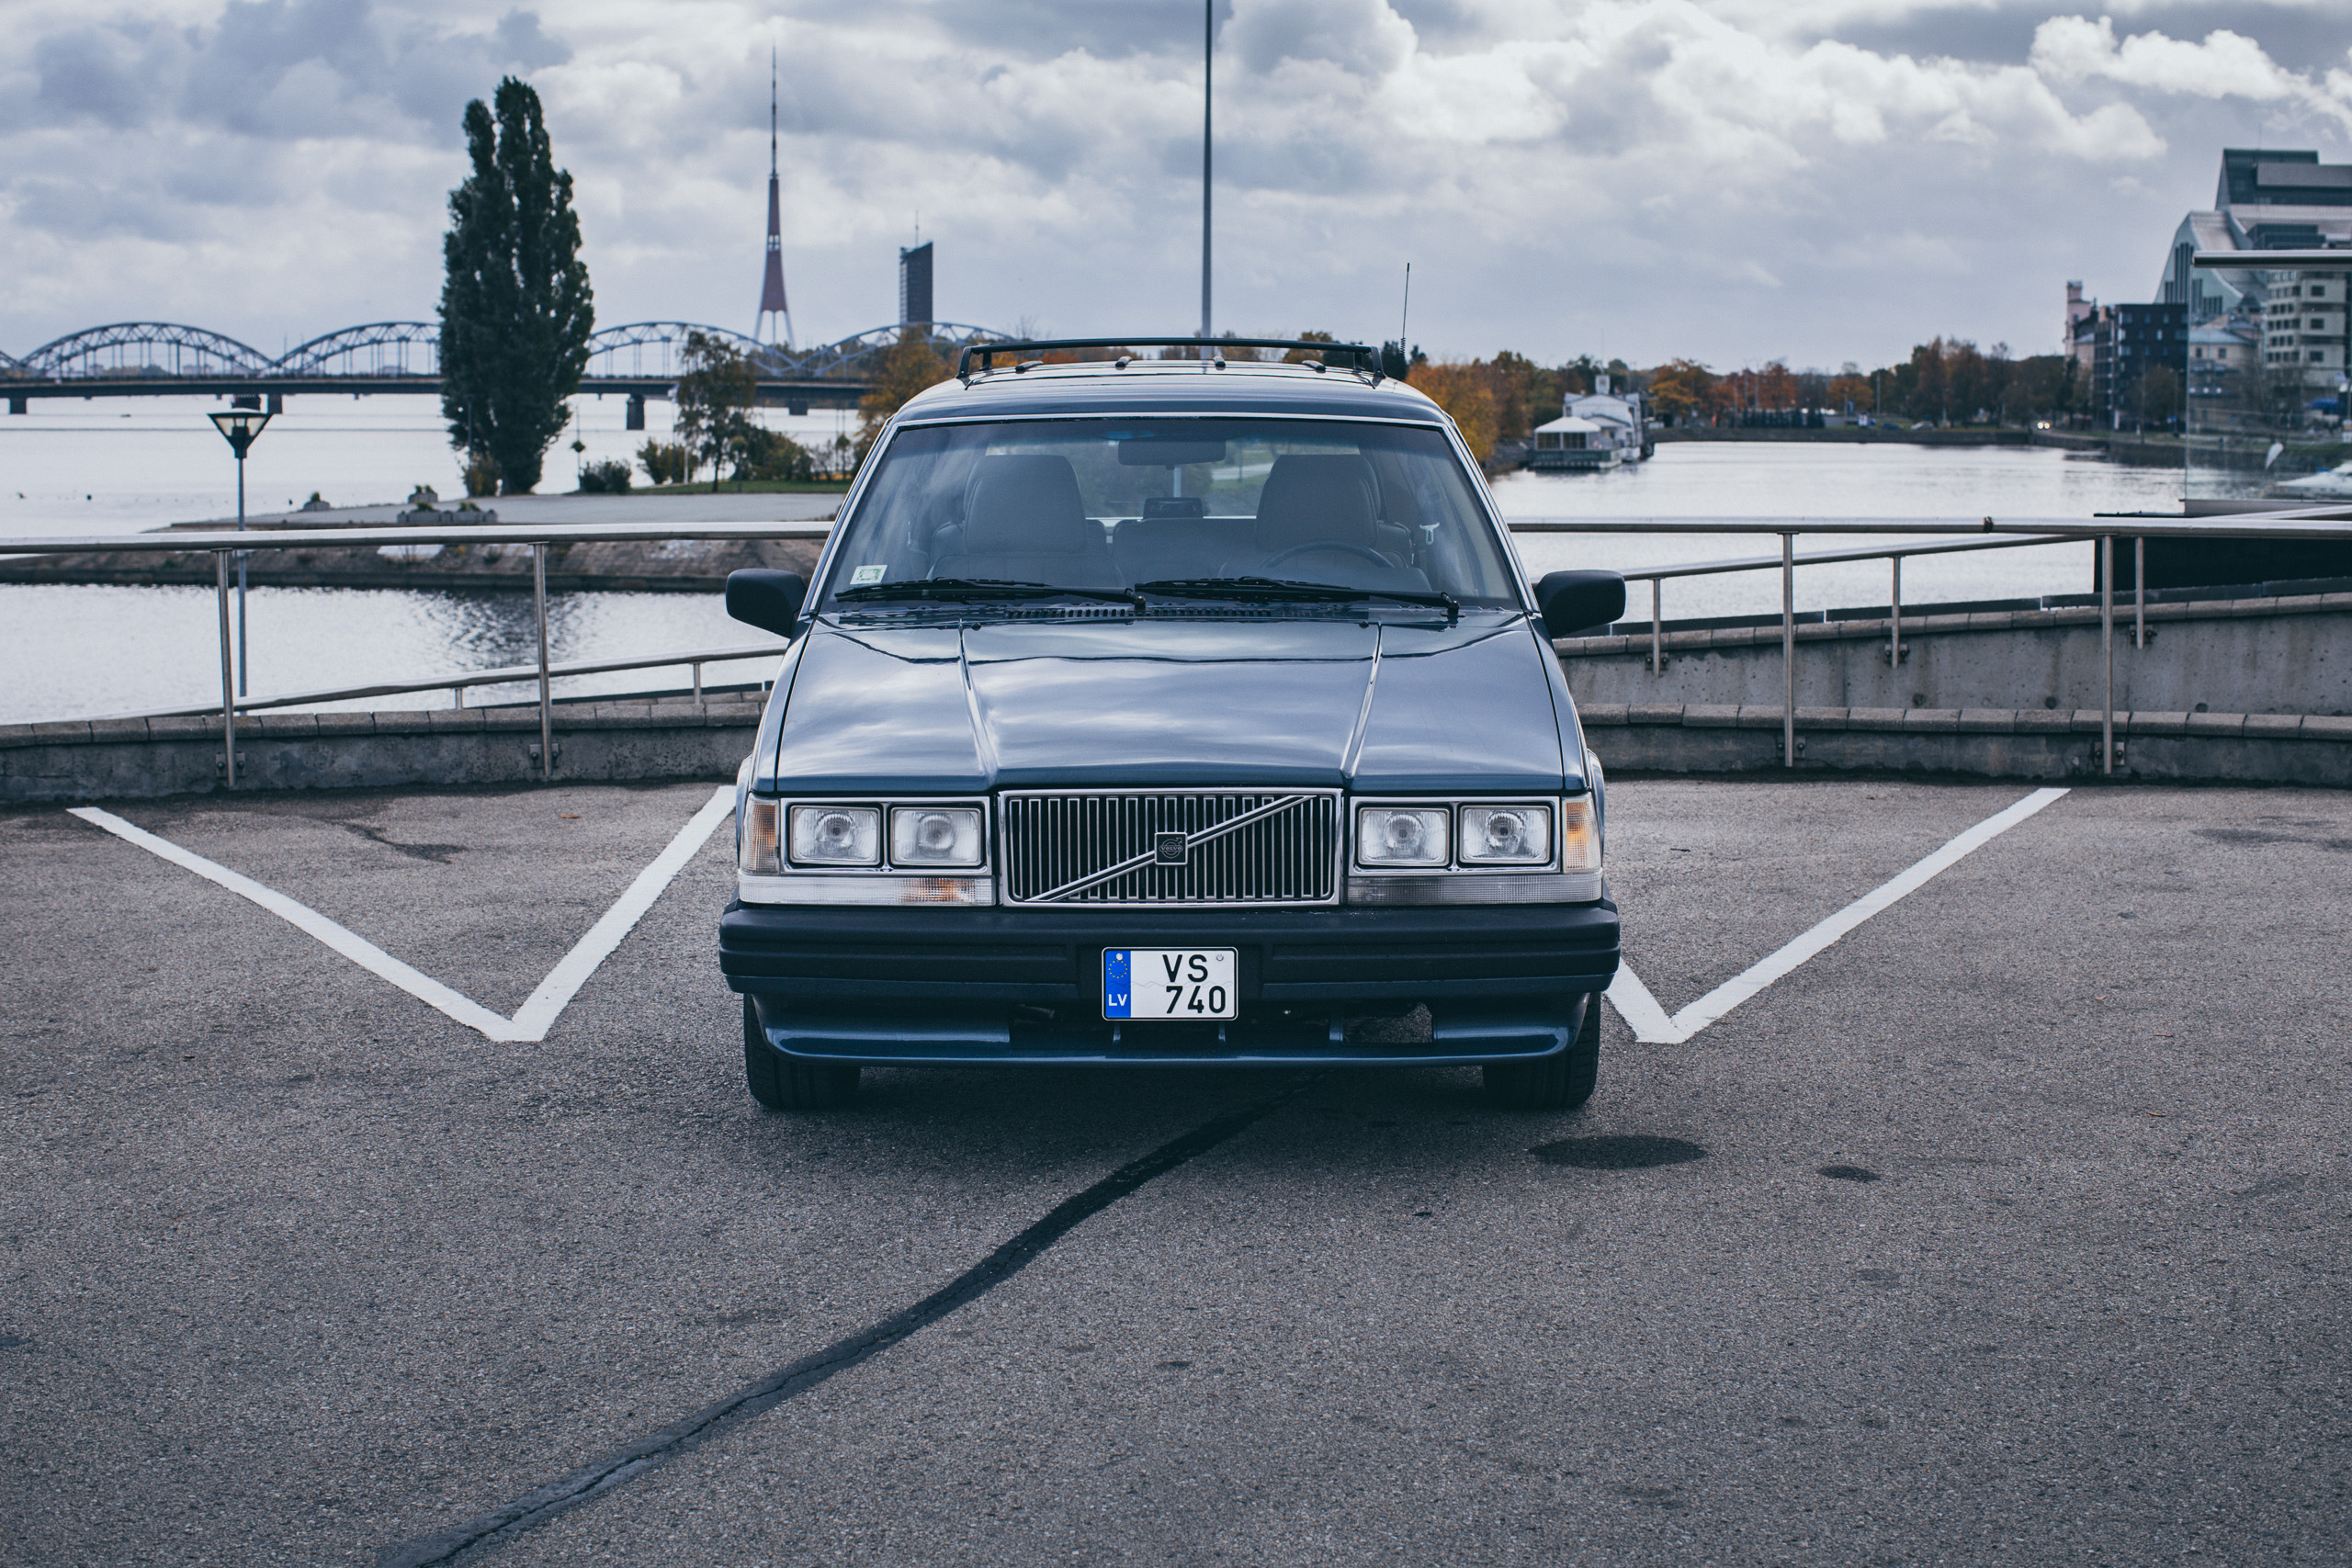
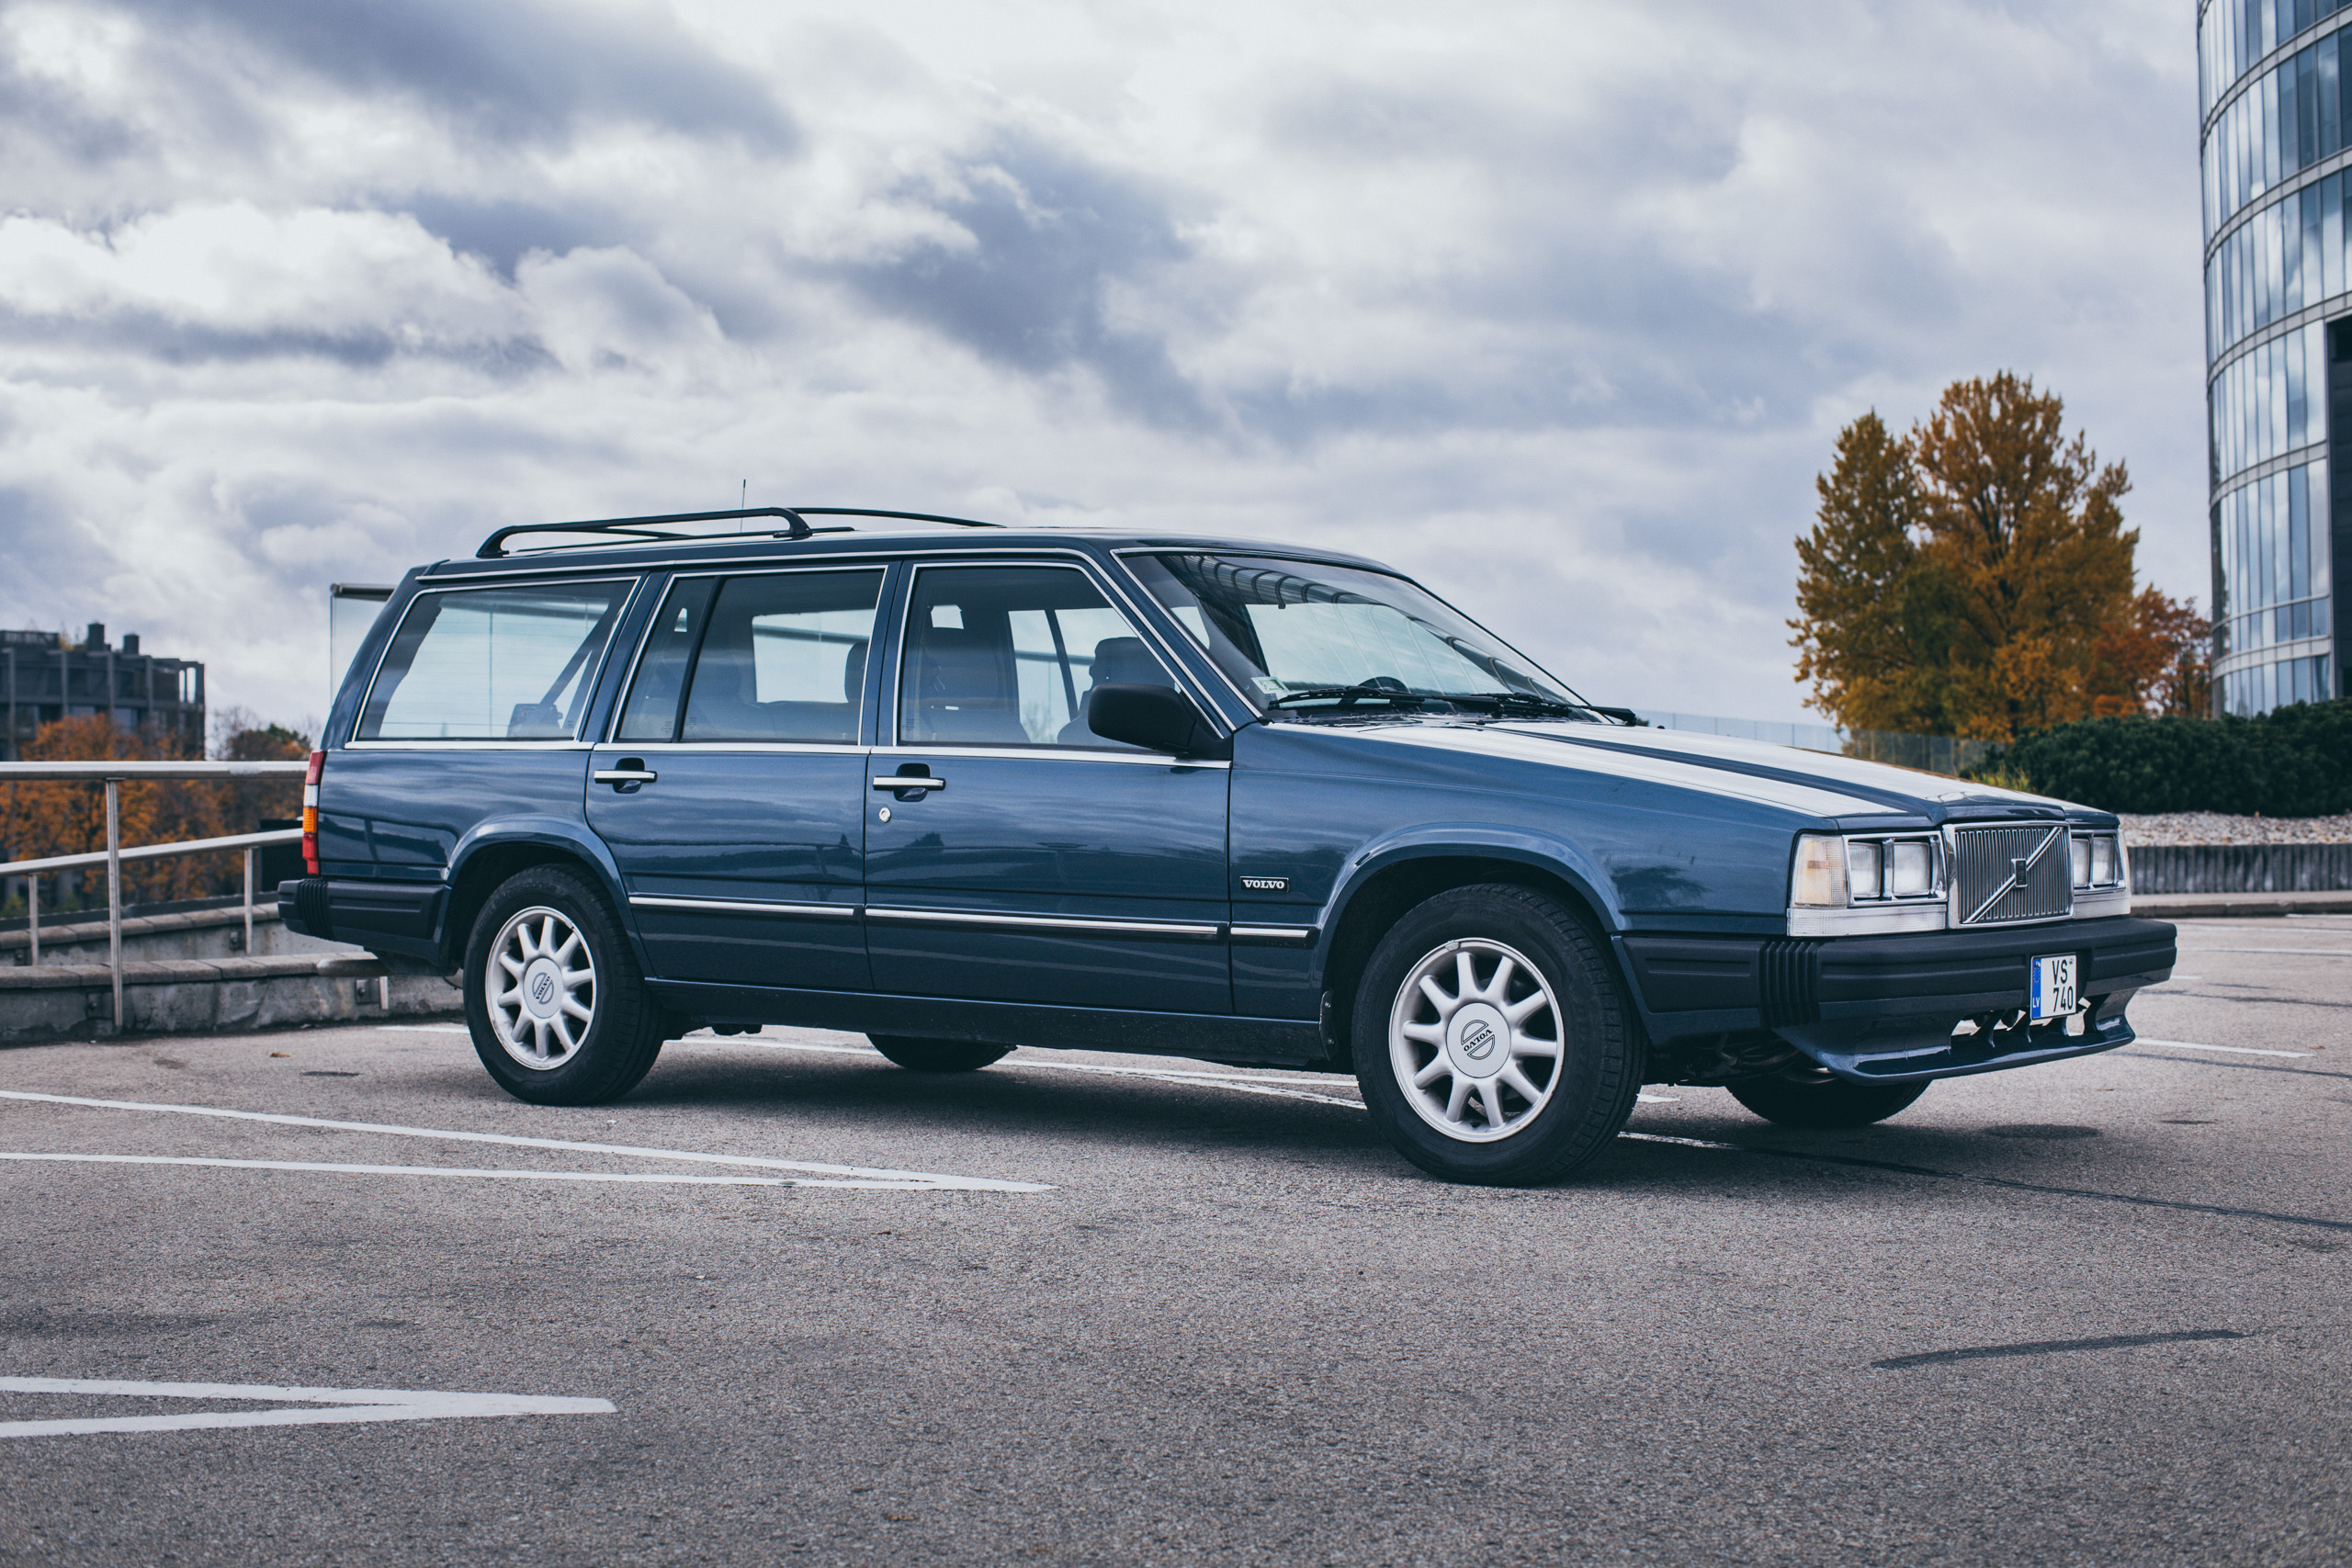
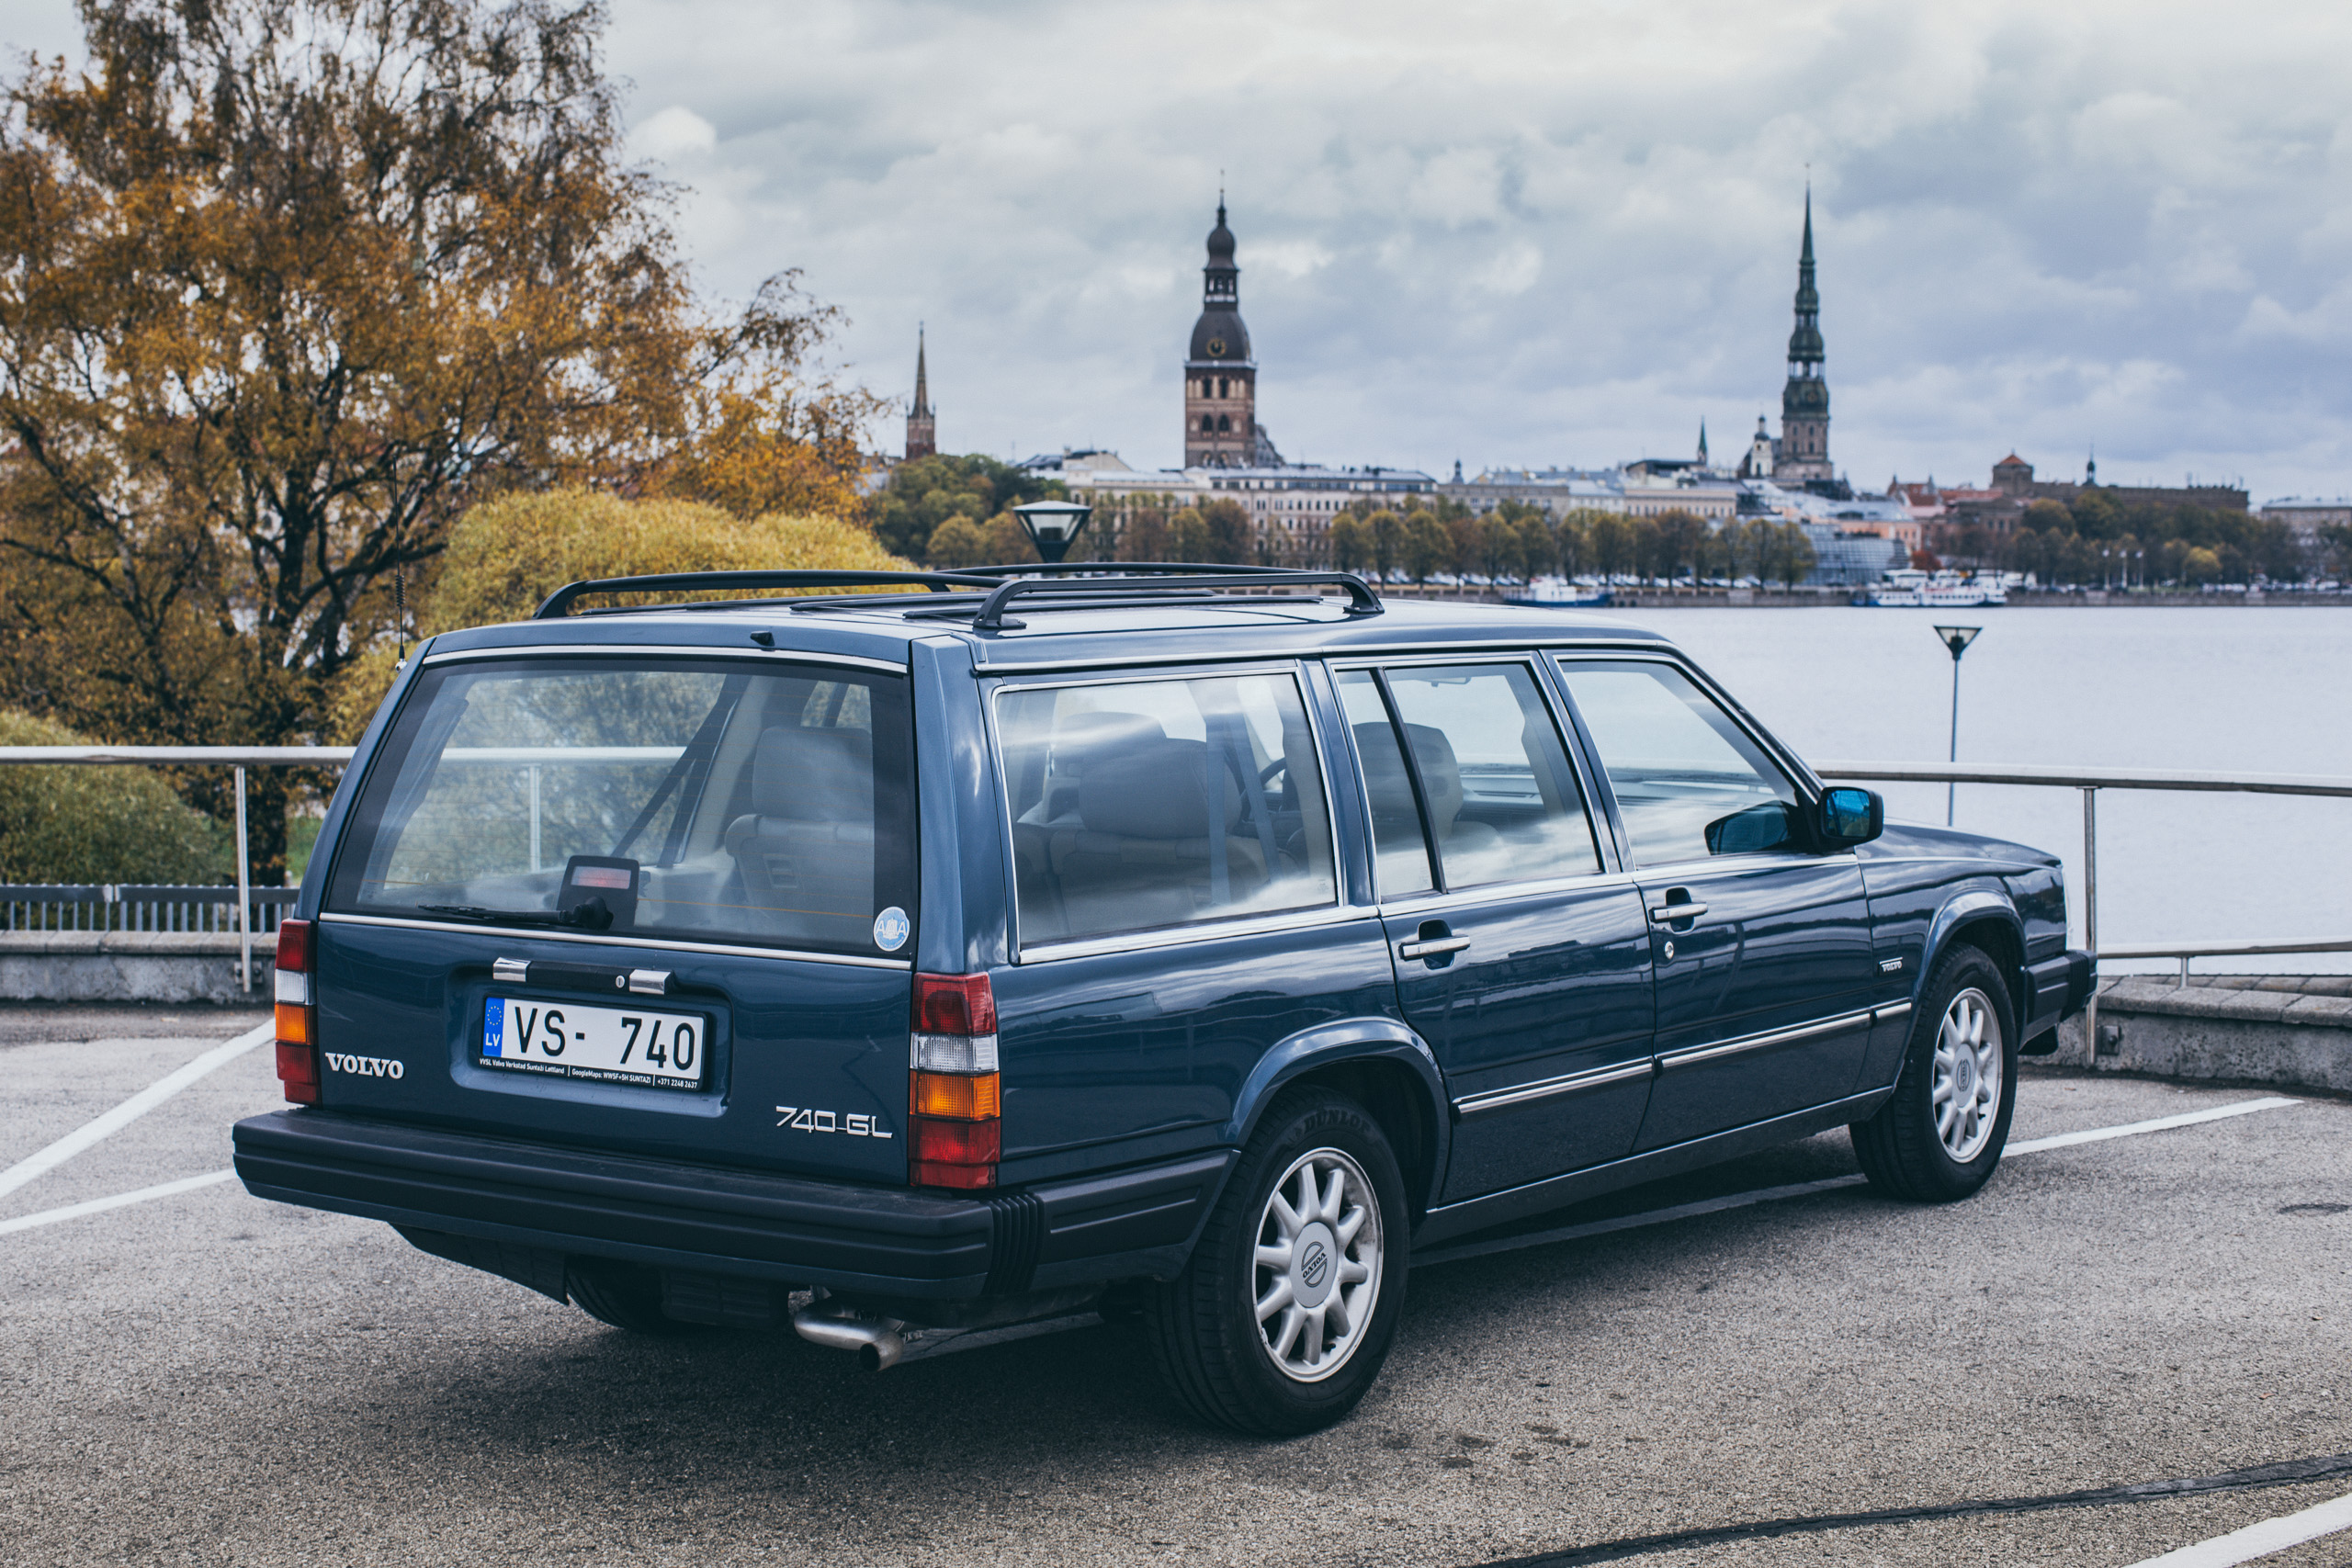
Zero-rust Volvo 740 w/ 370,000 km on odometer
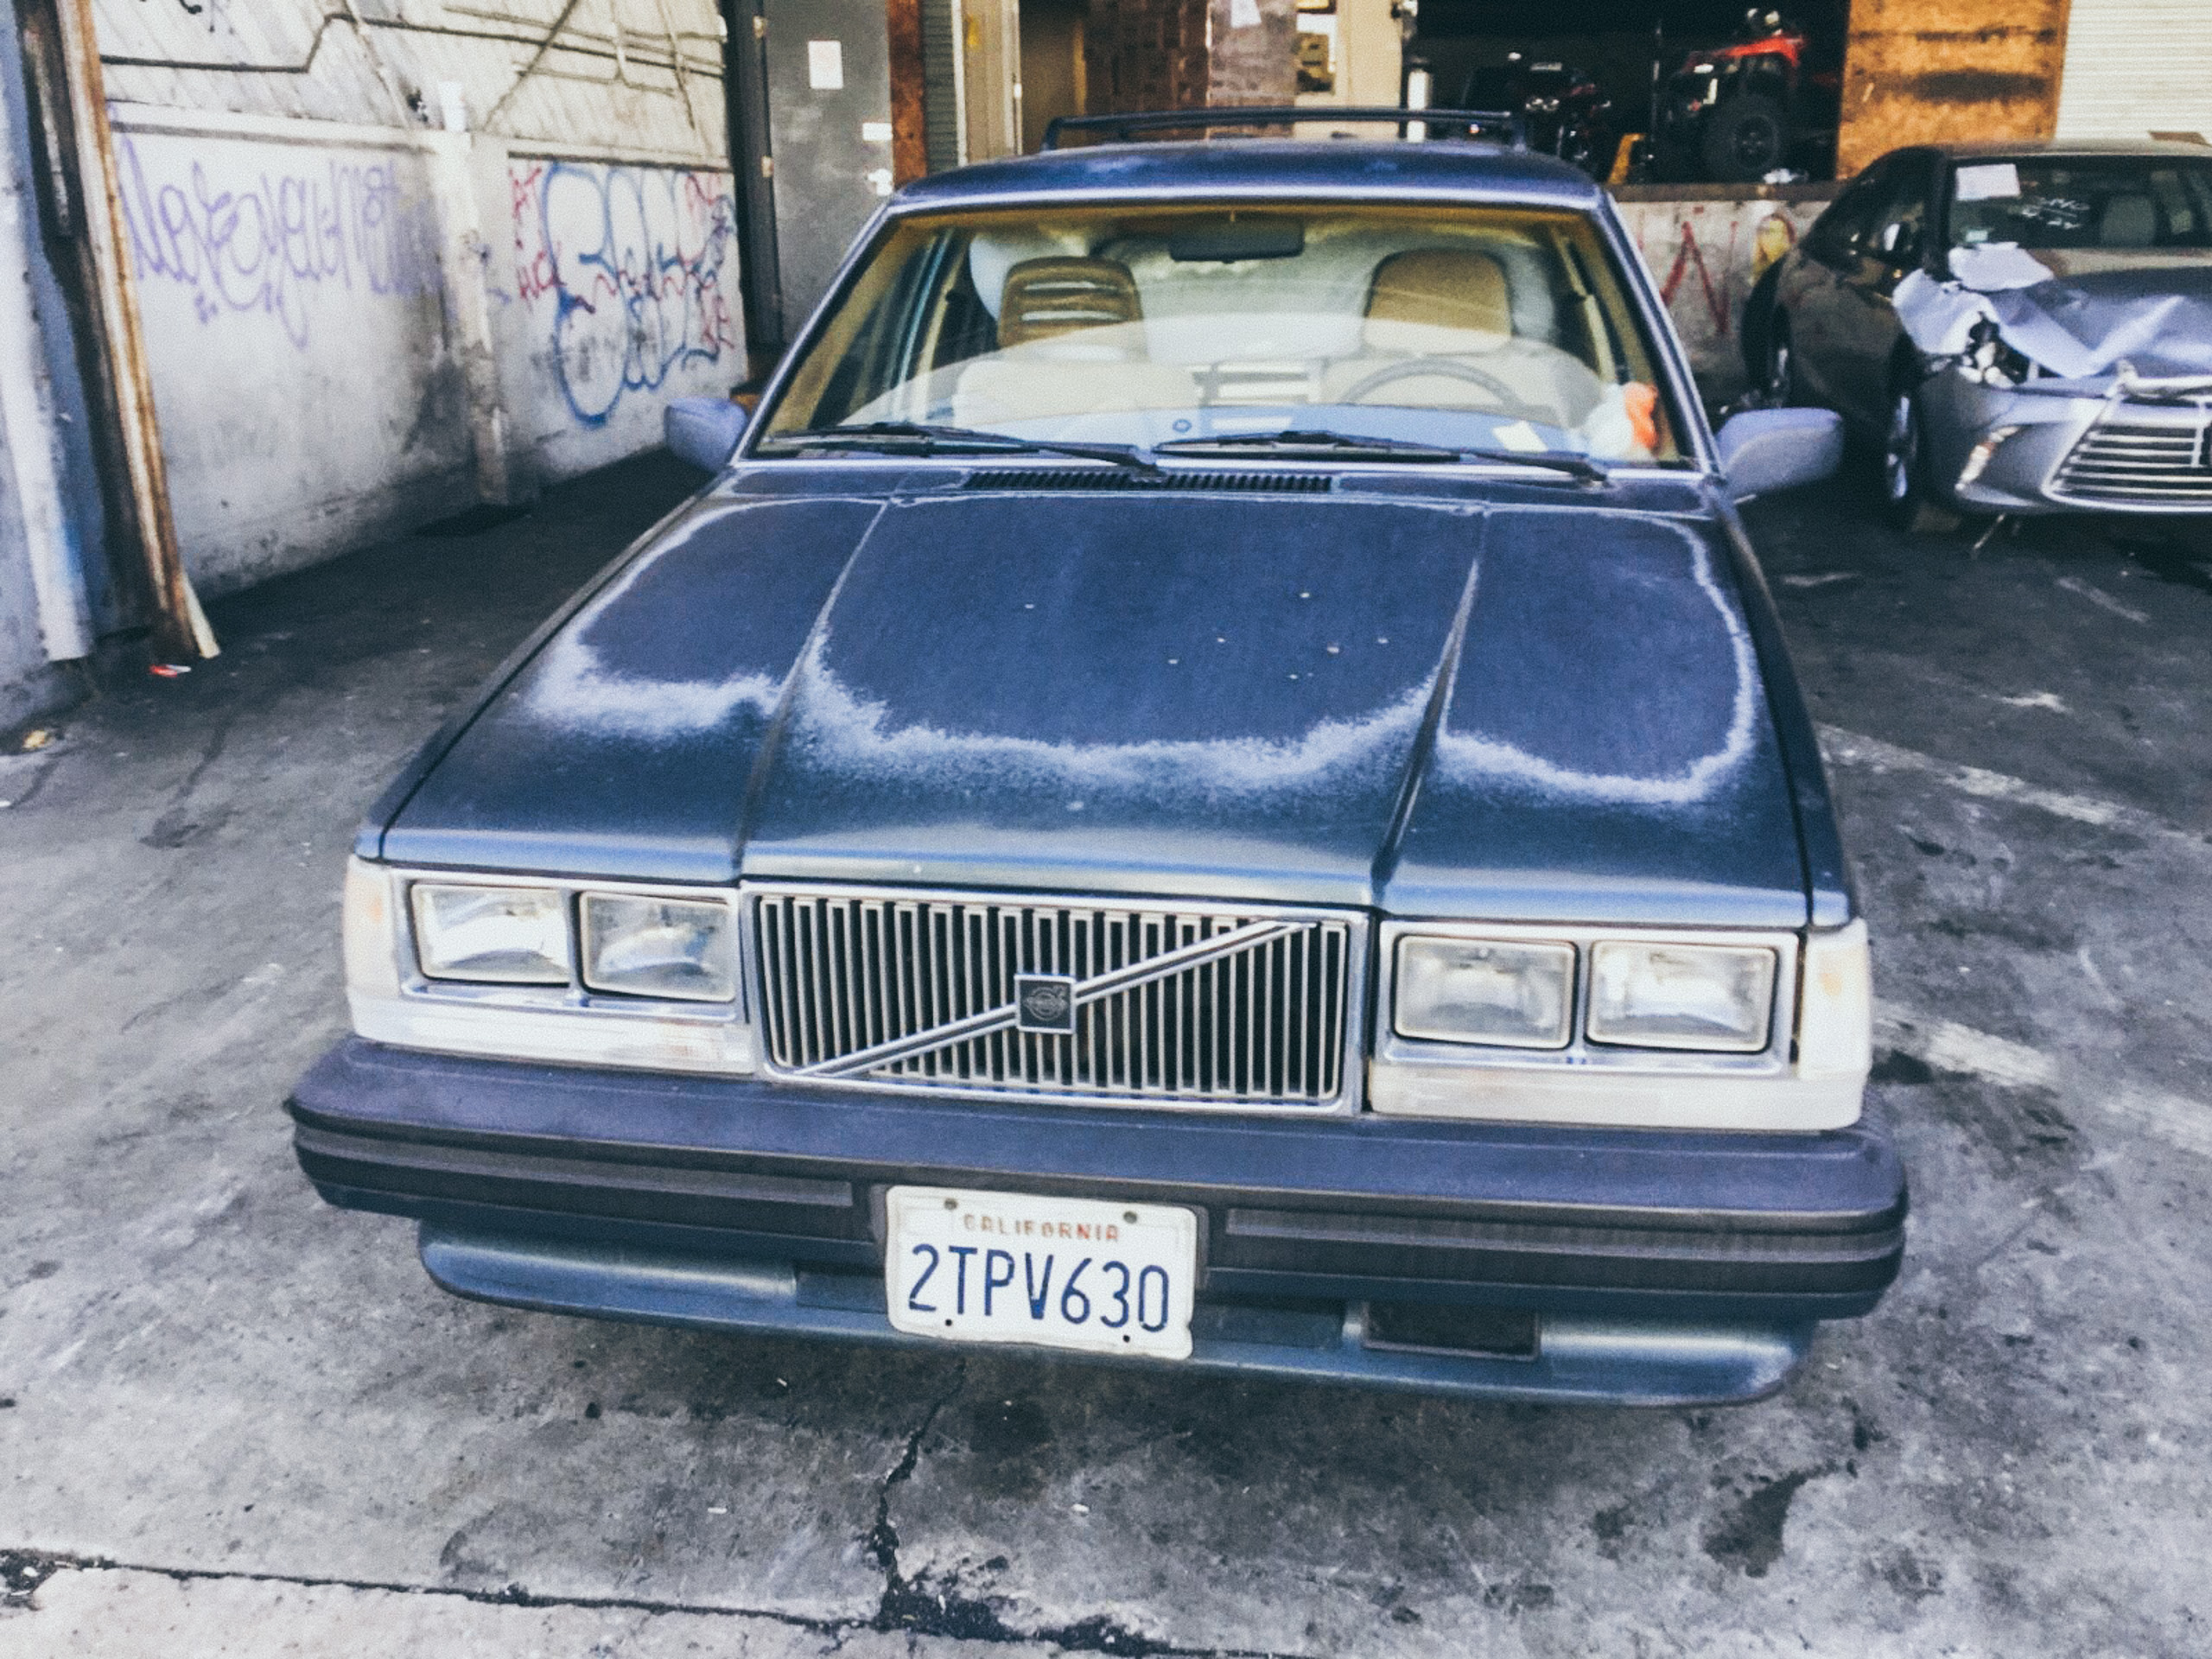
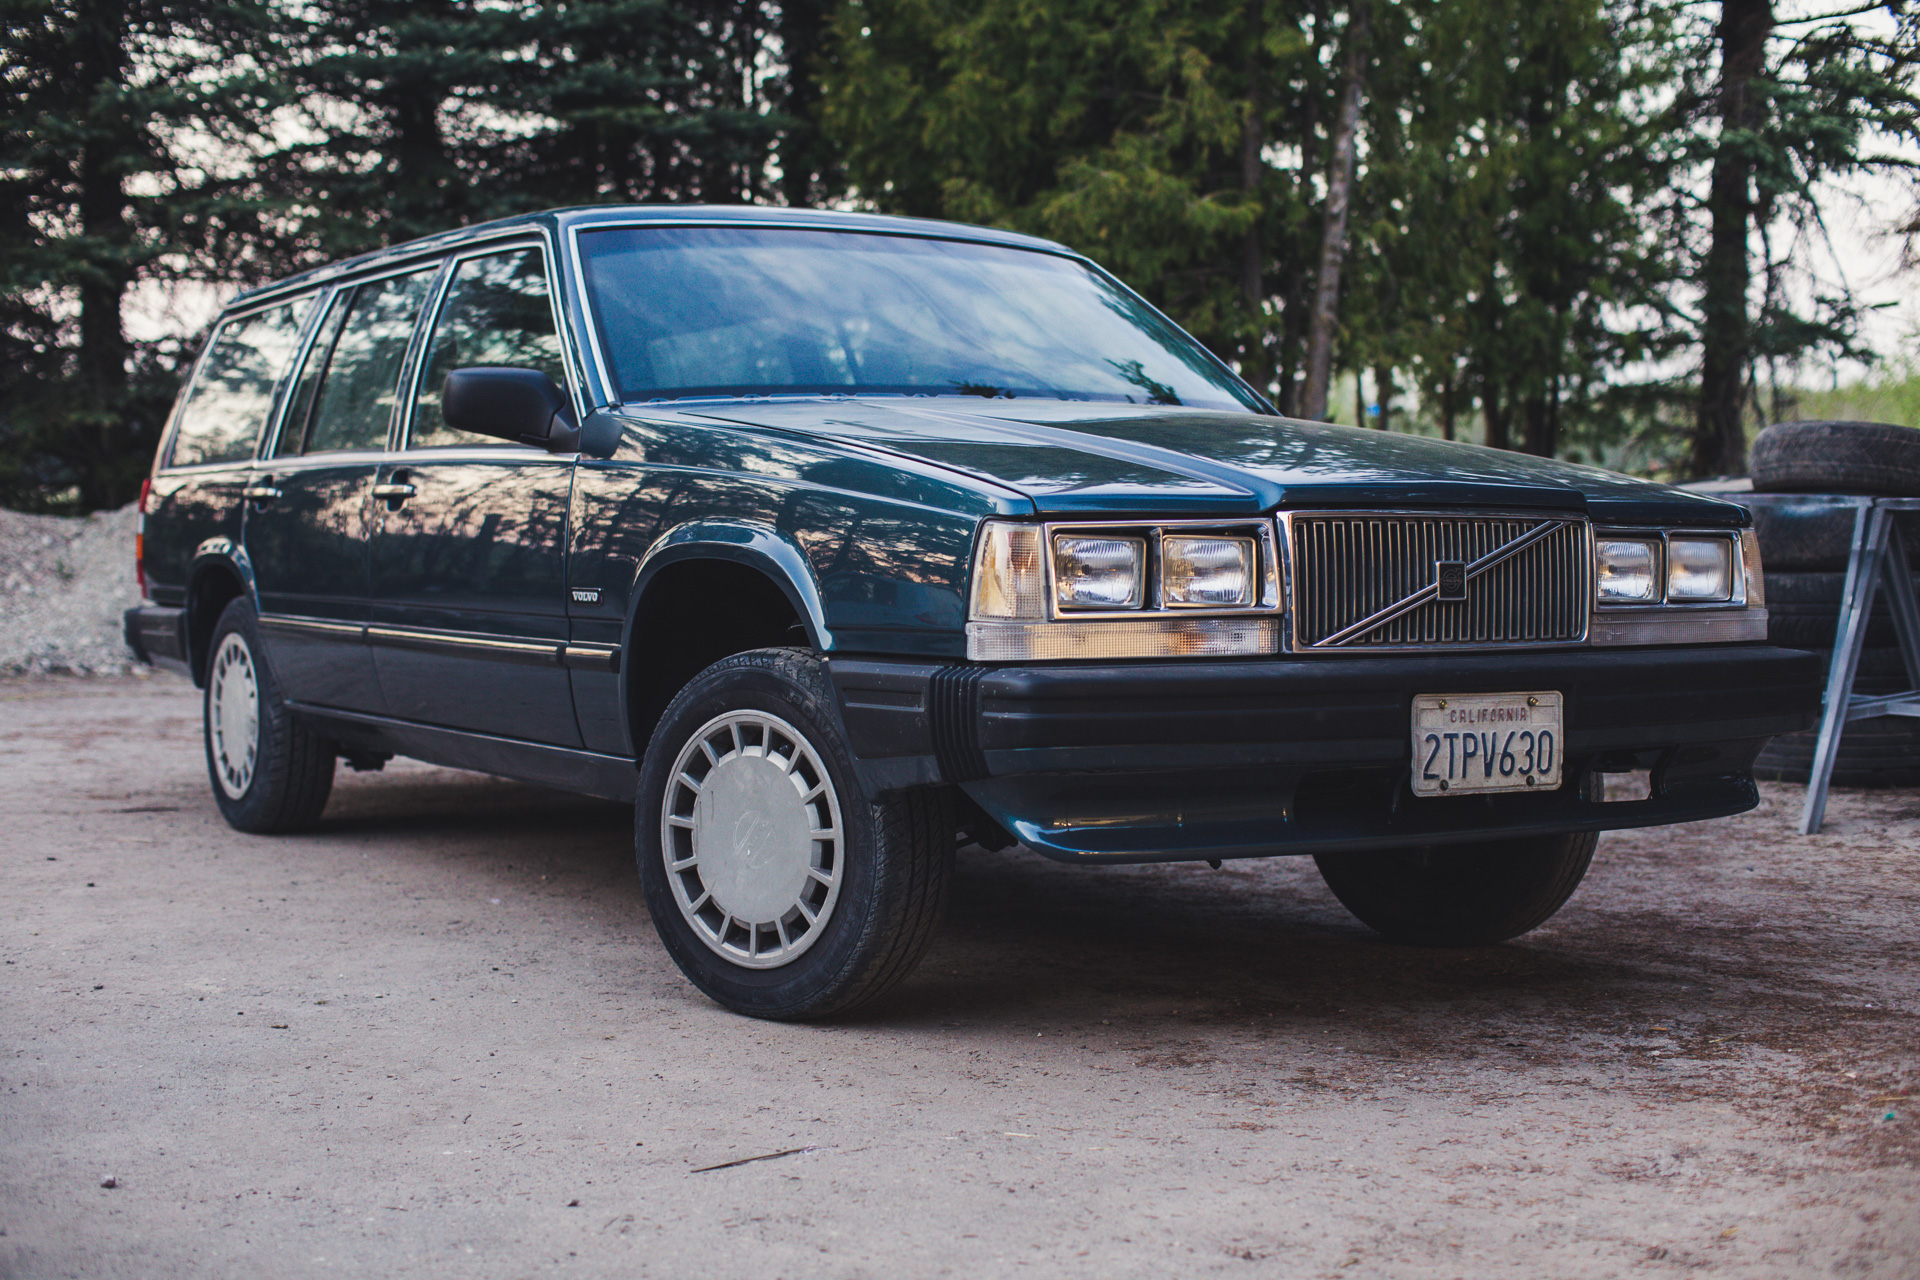
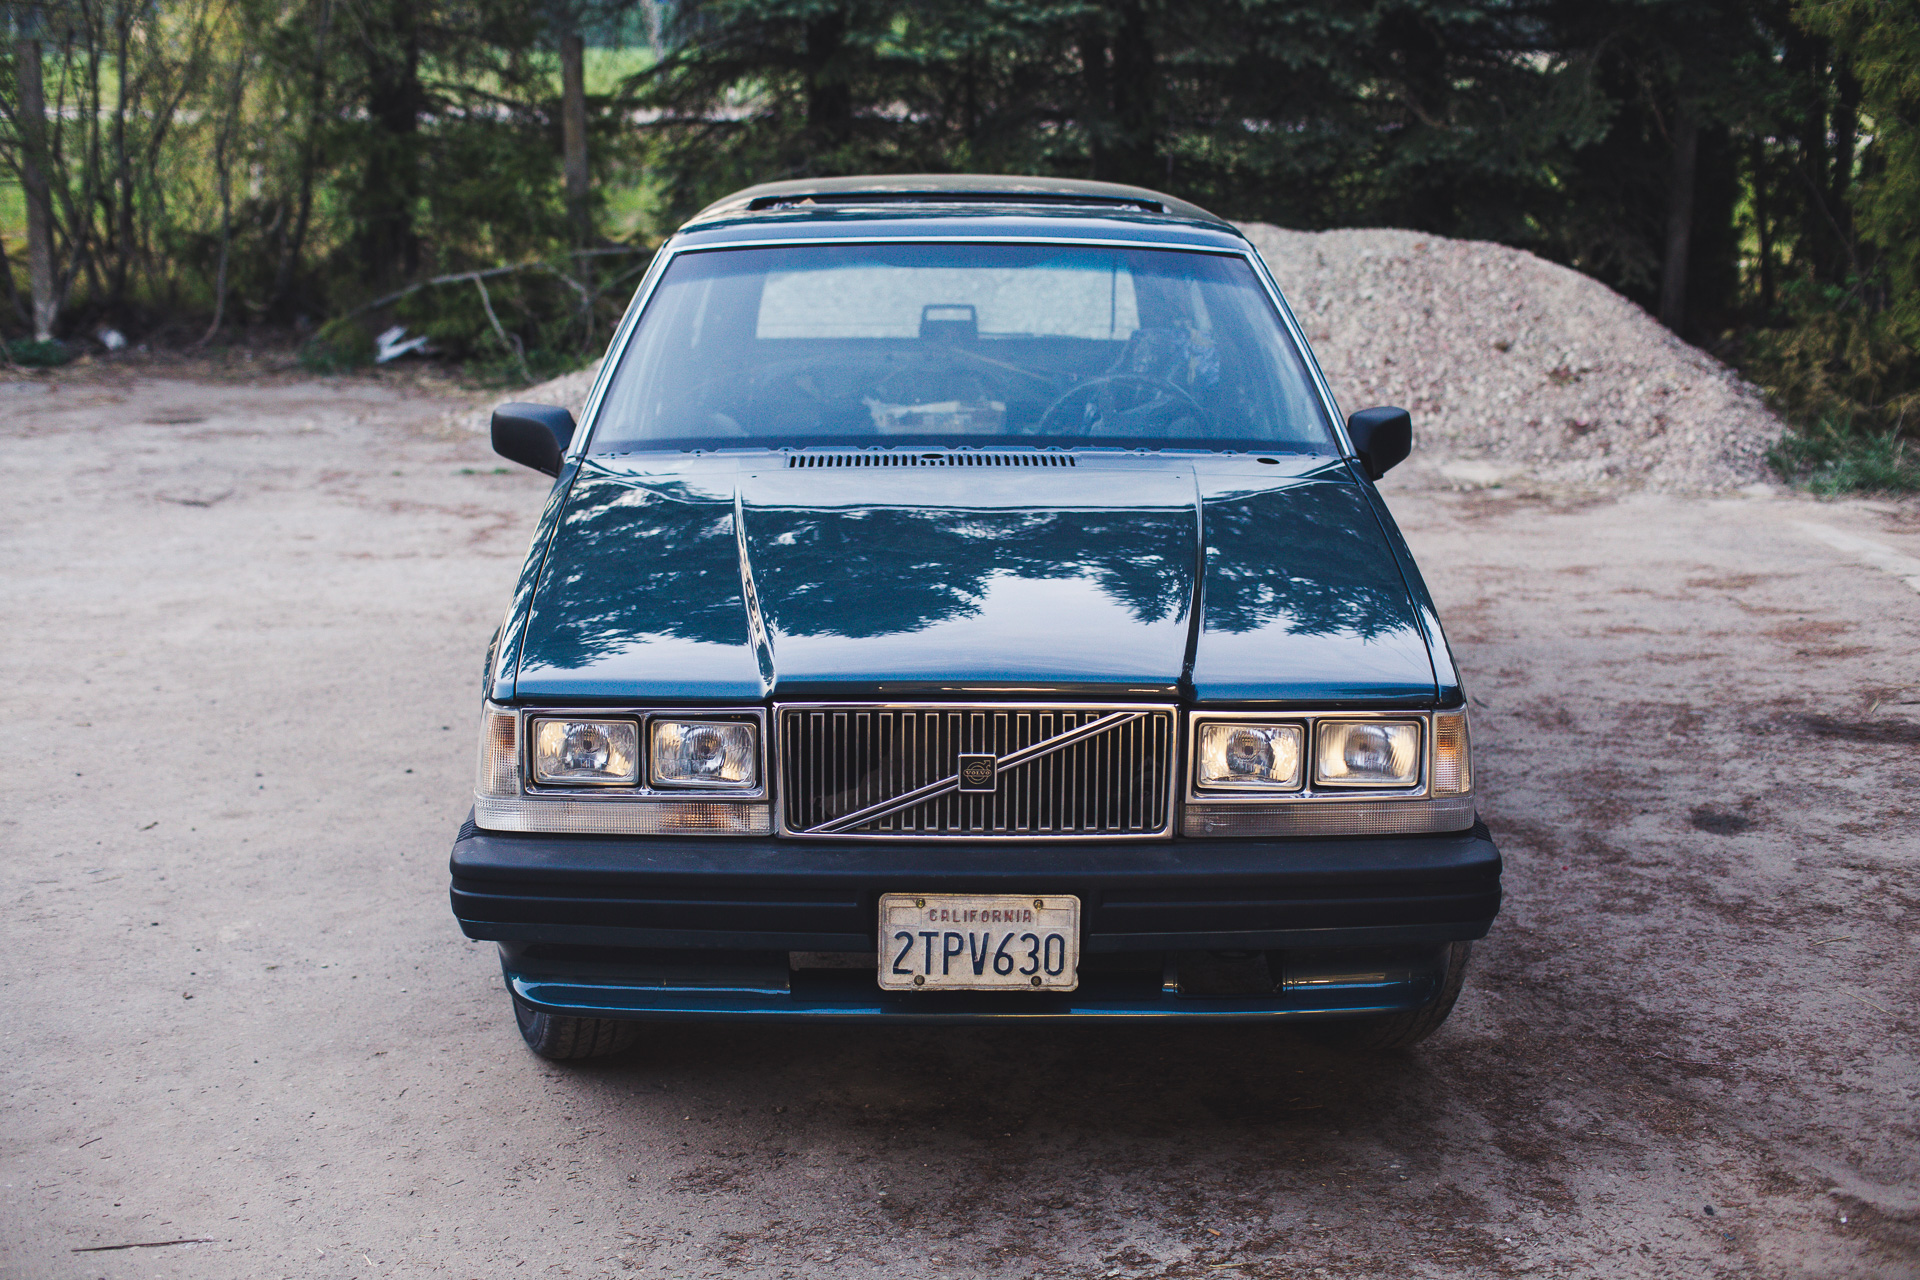
I took our family Volvo 740 that we have had in California for 18 years and shipped it to Latvia. I have decided to do an restoration on the Volvo.
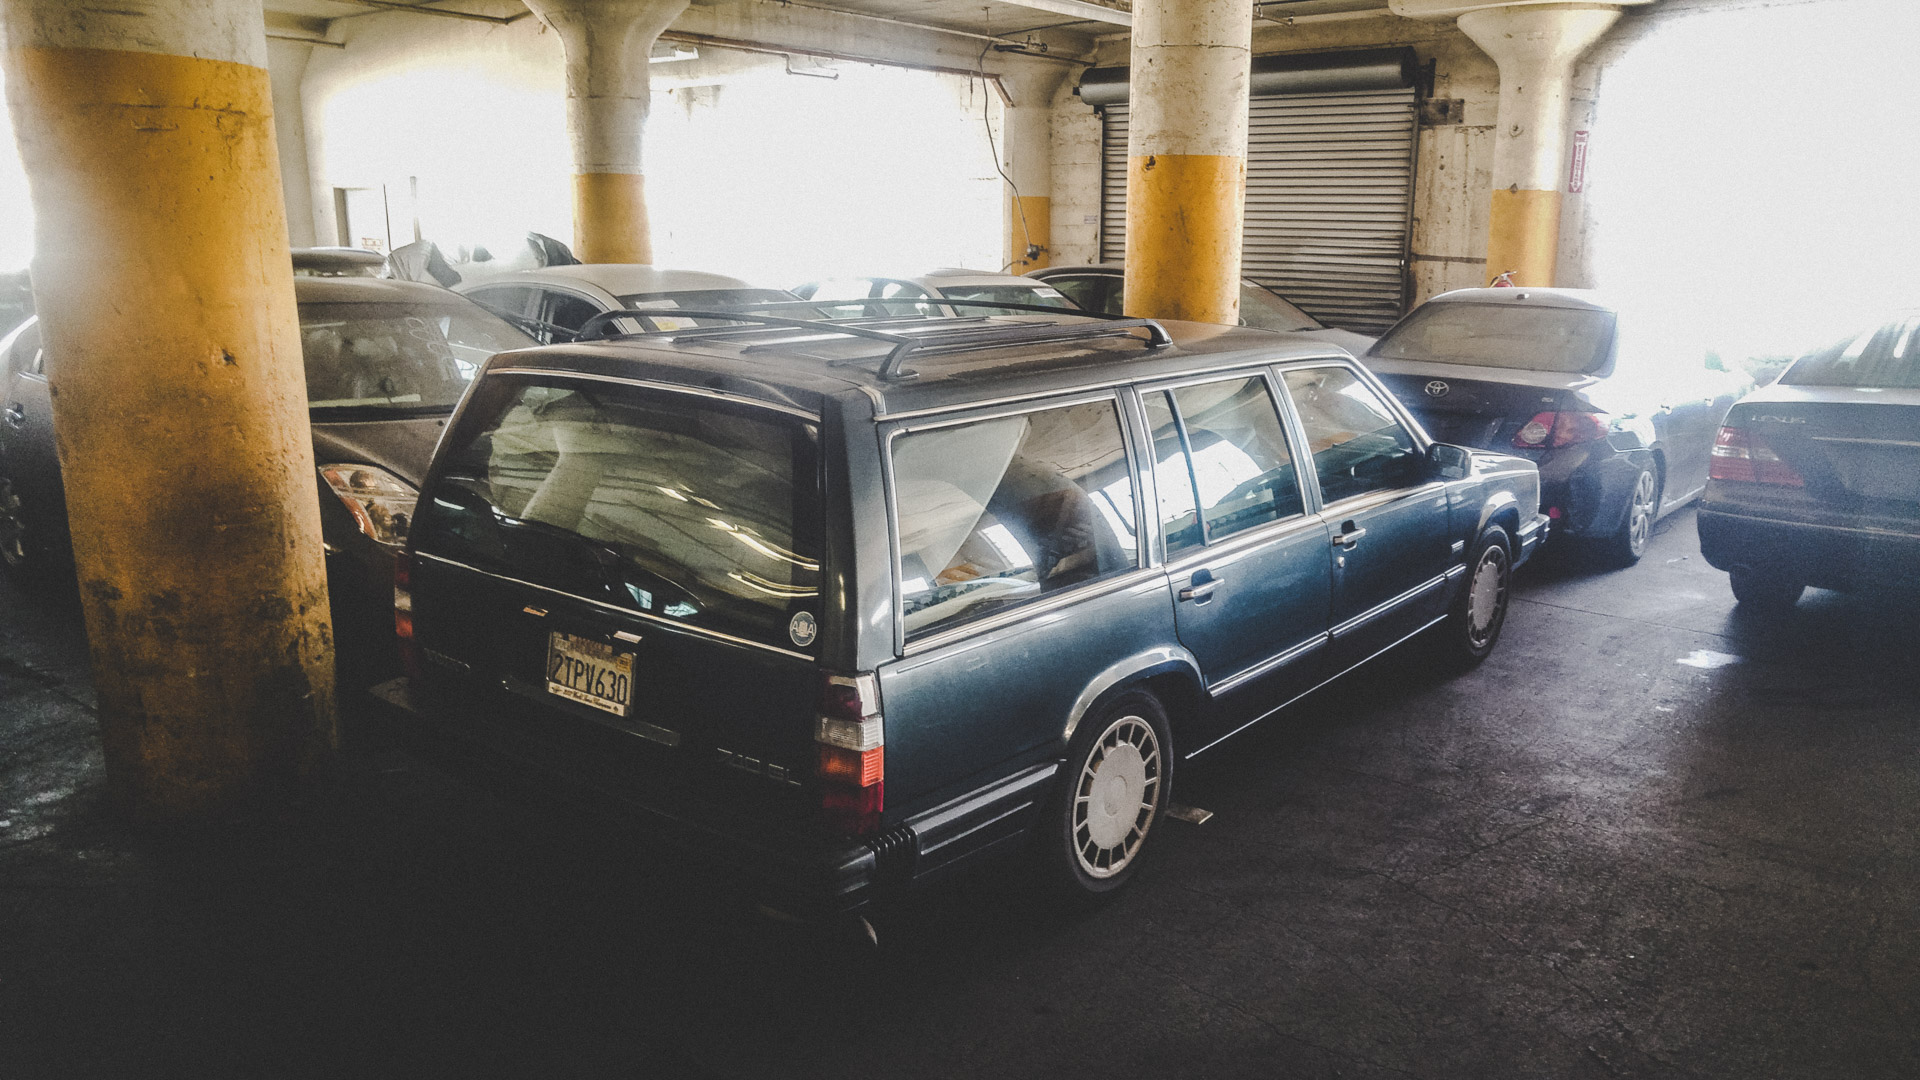
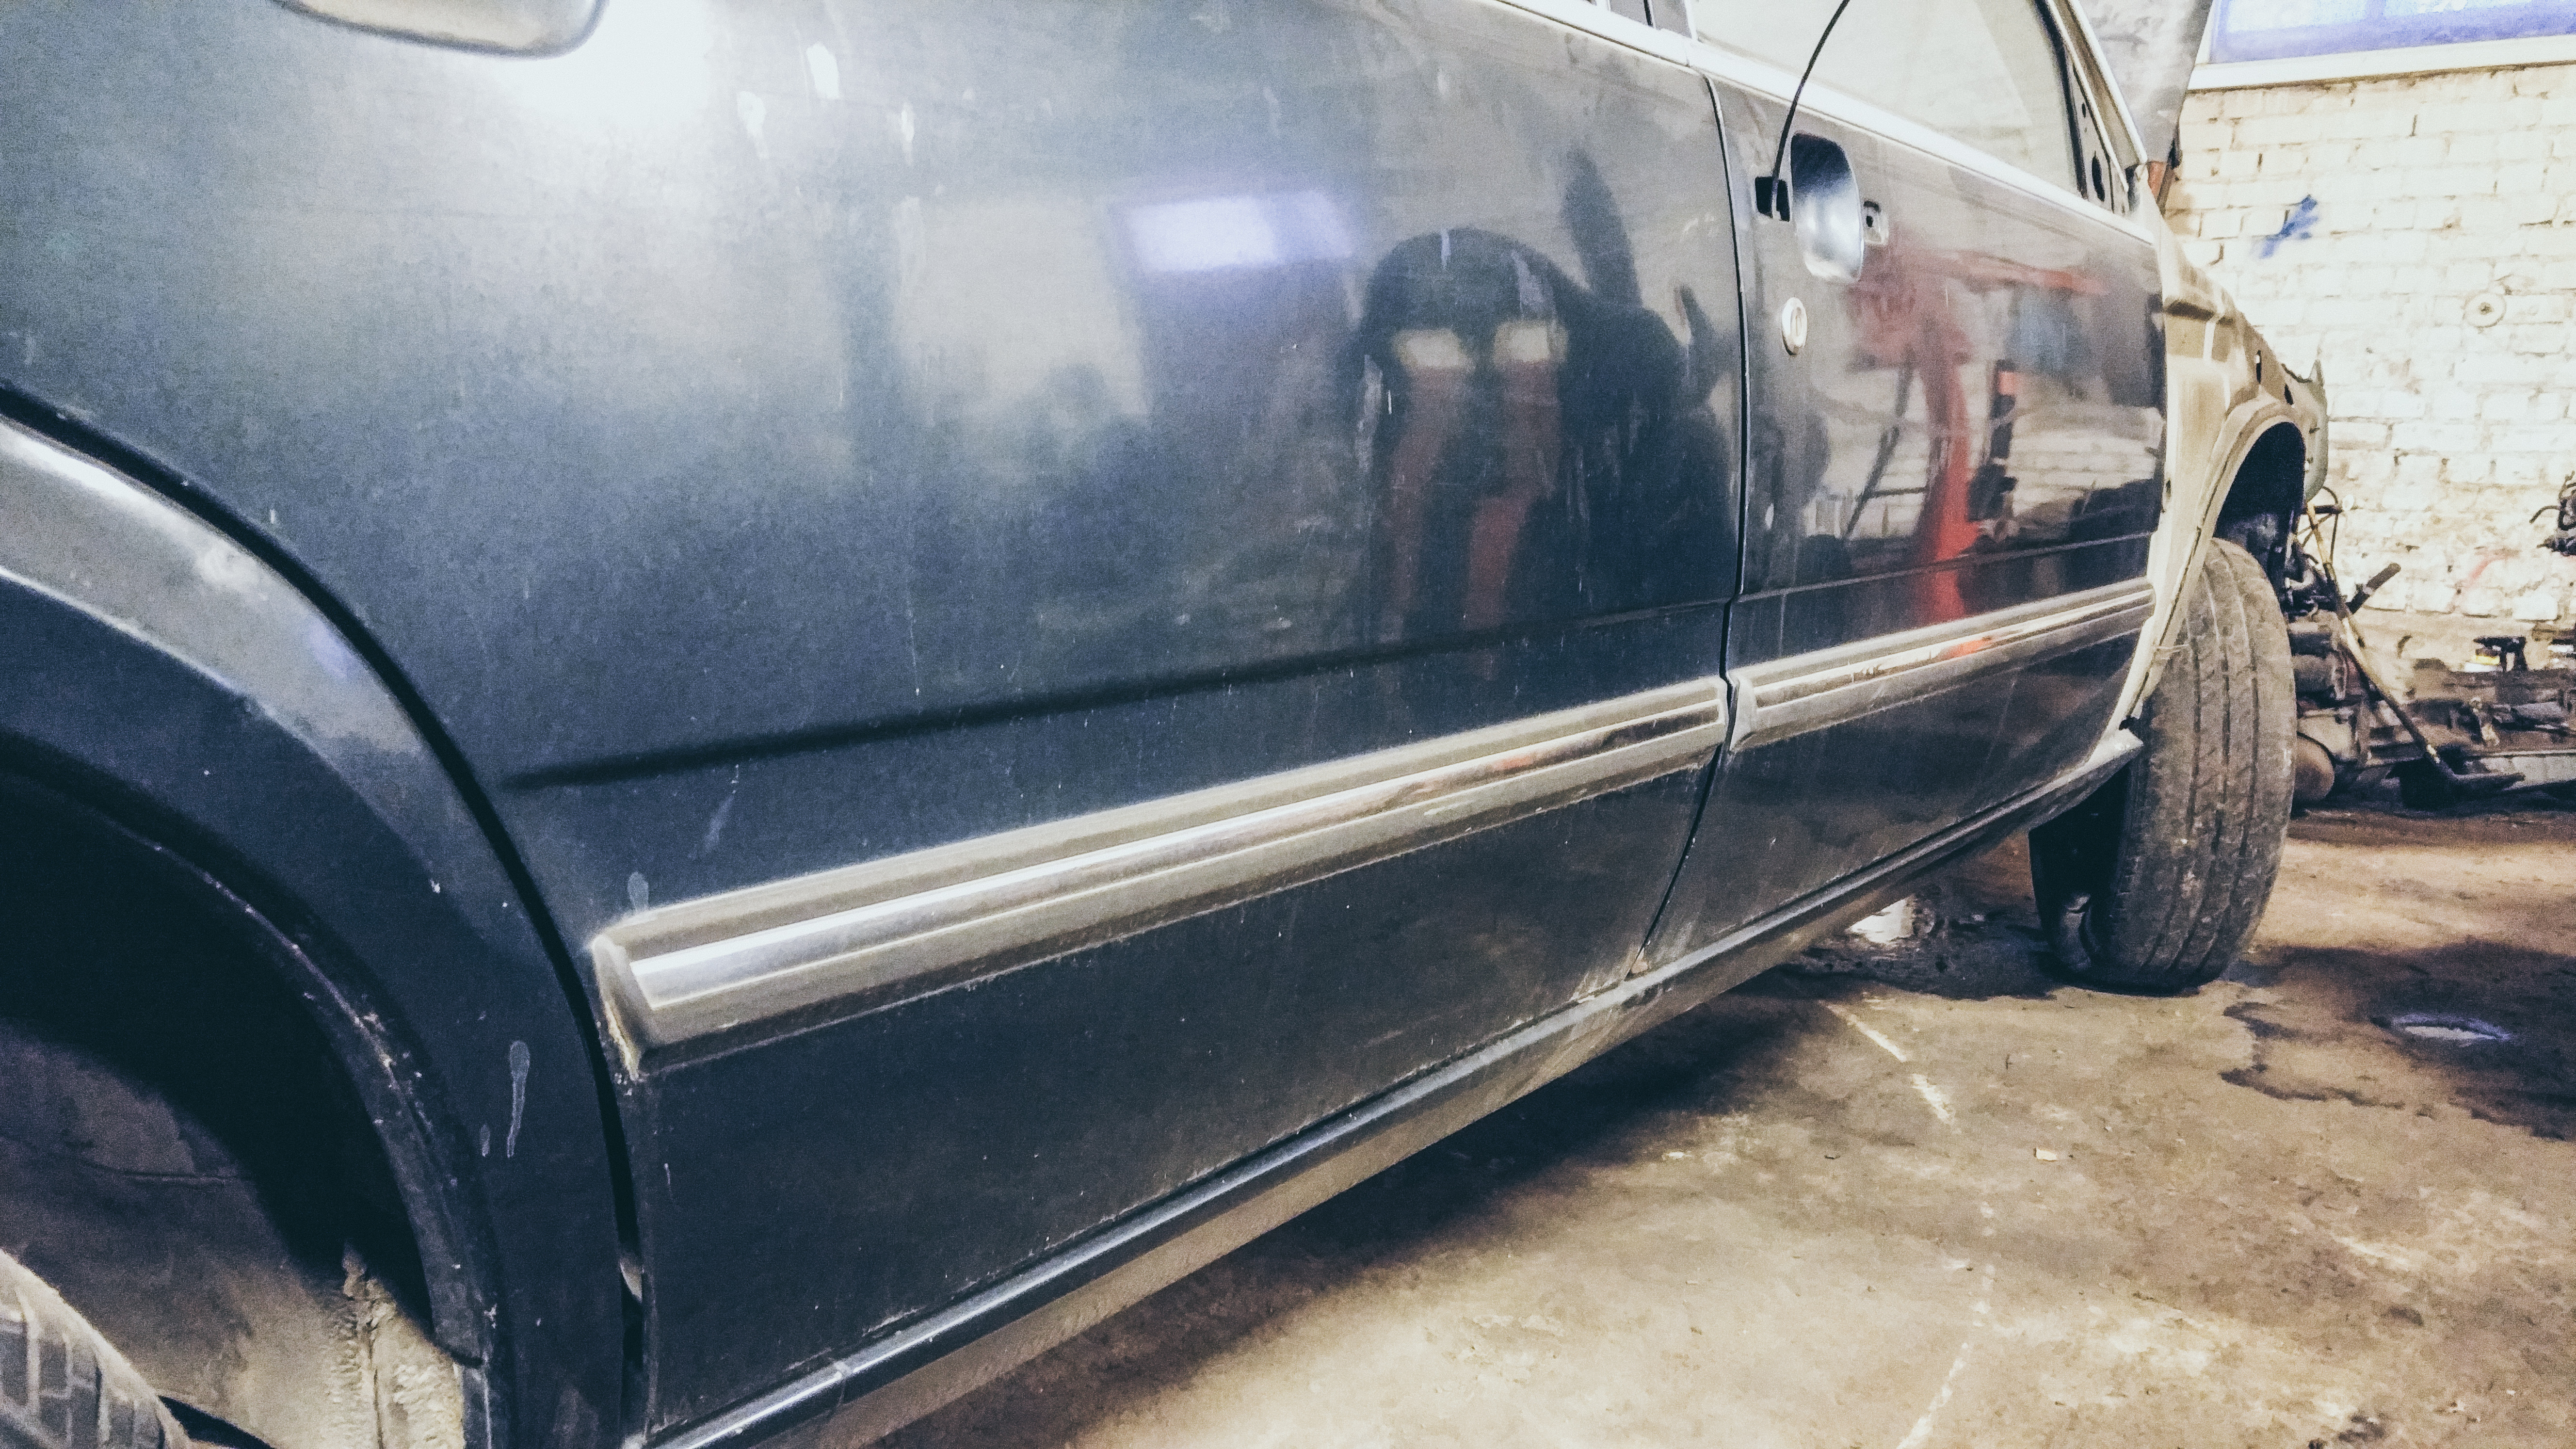
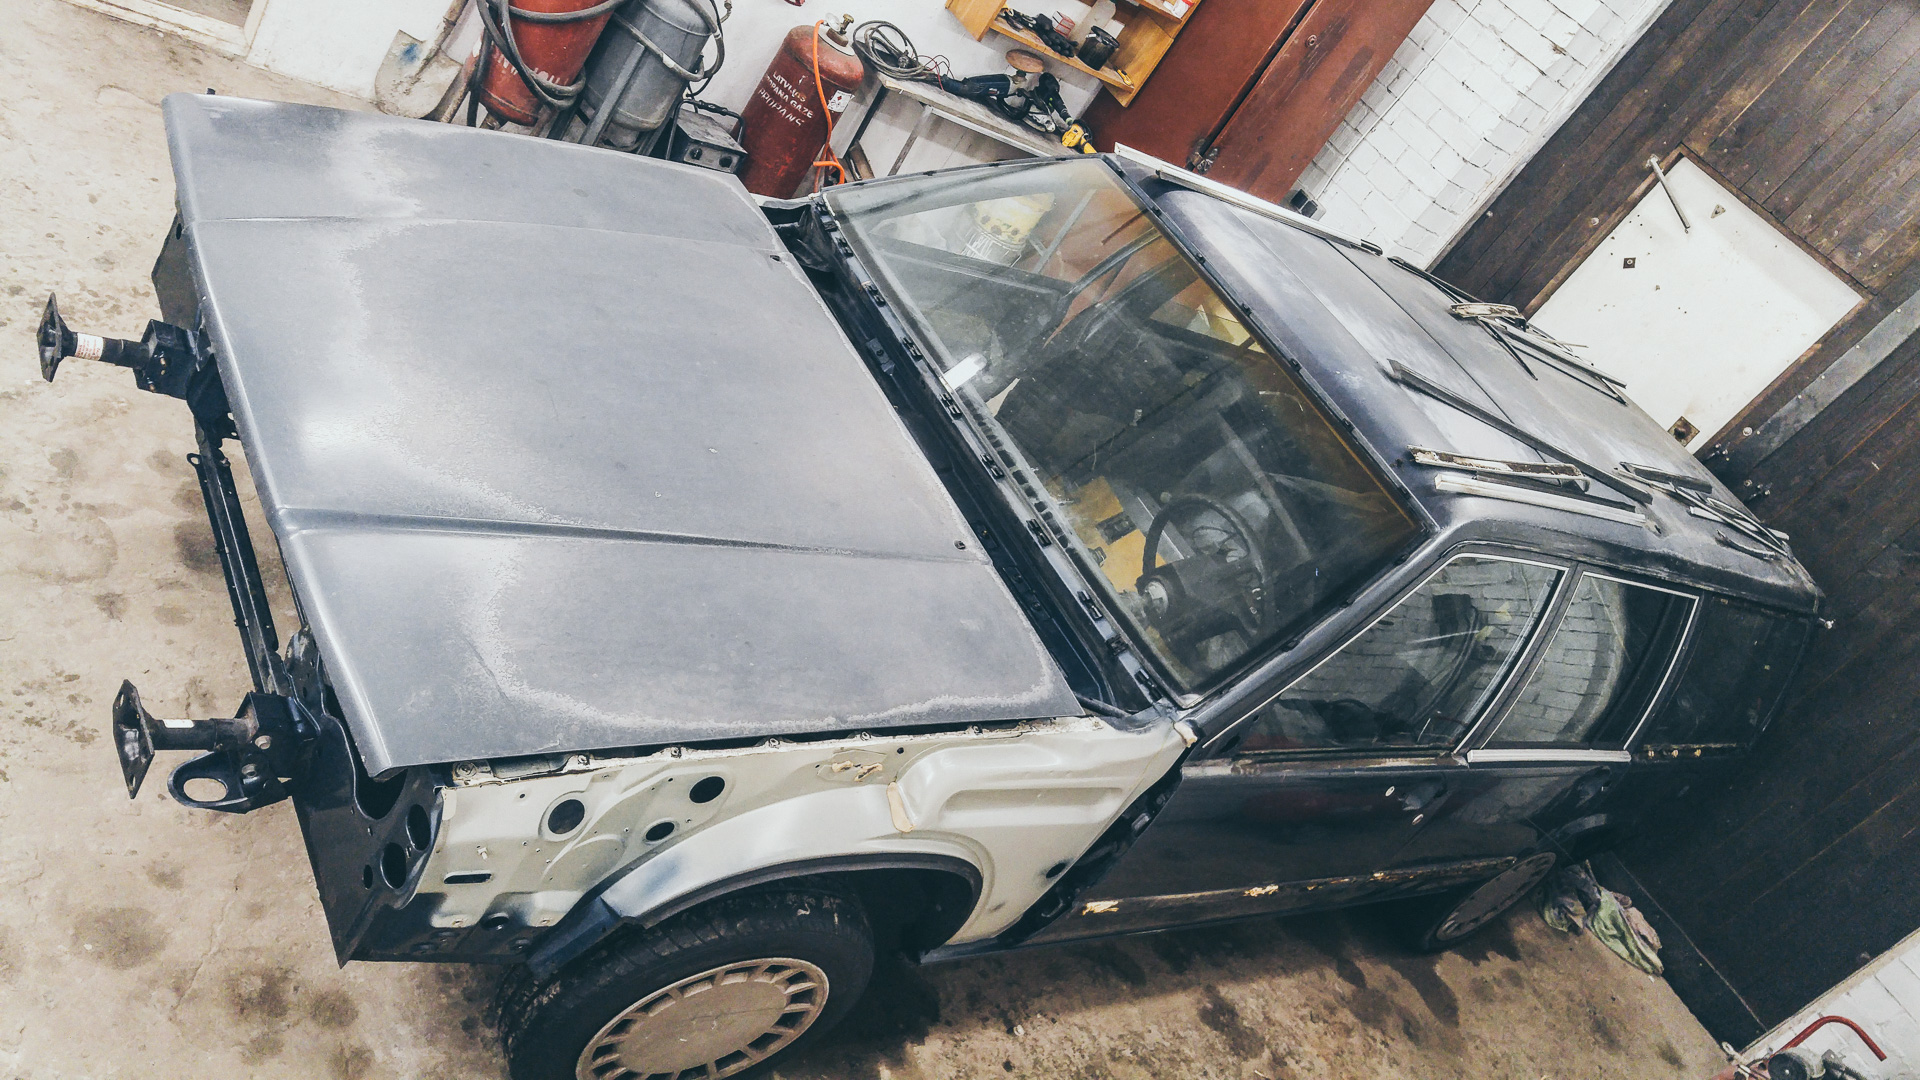
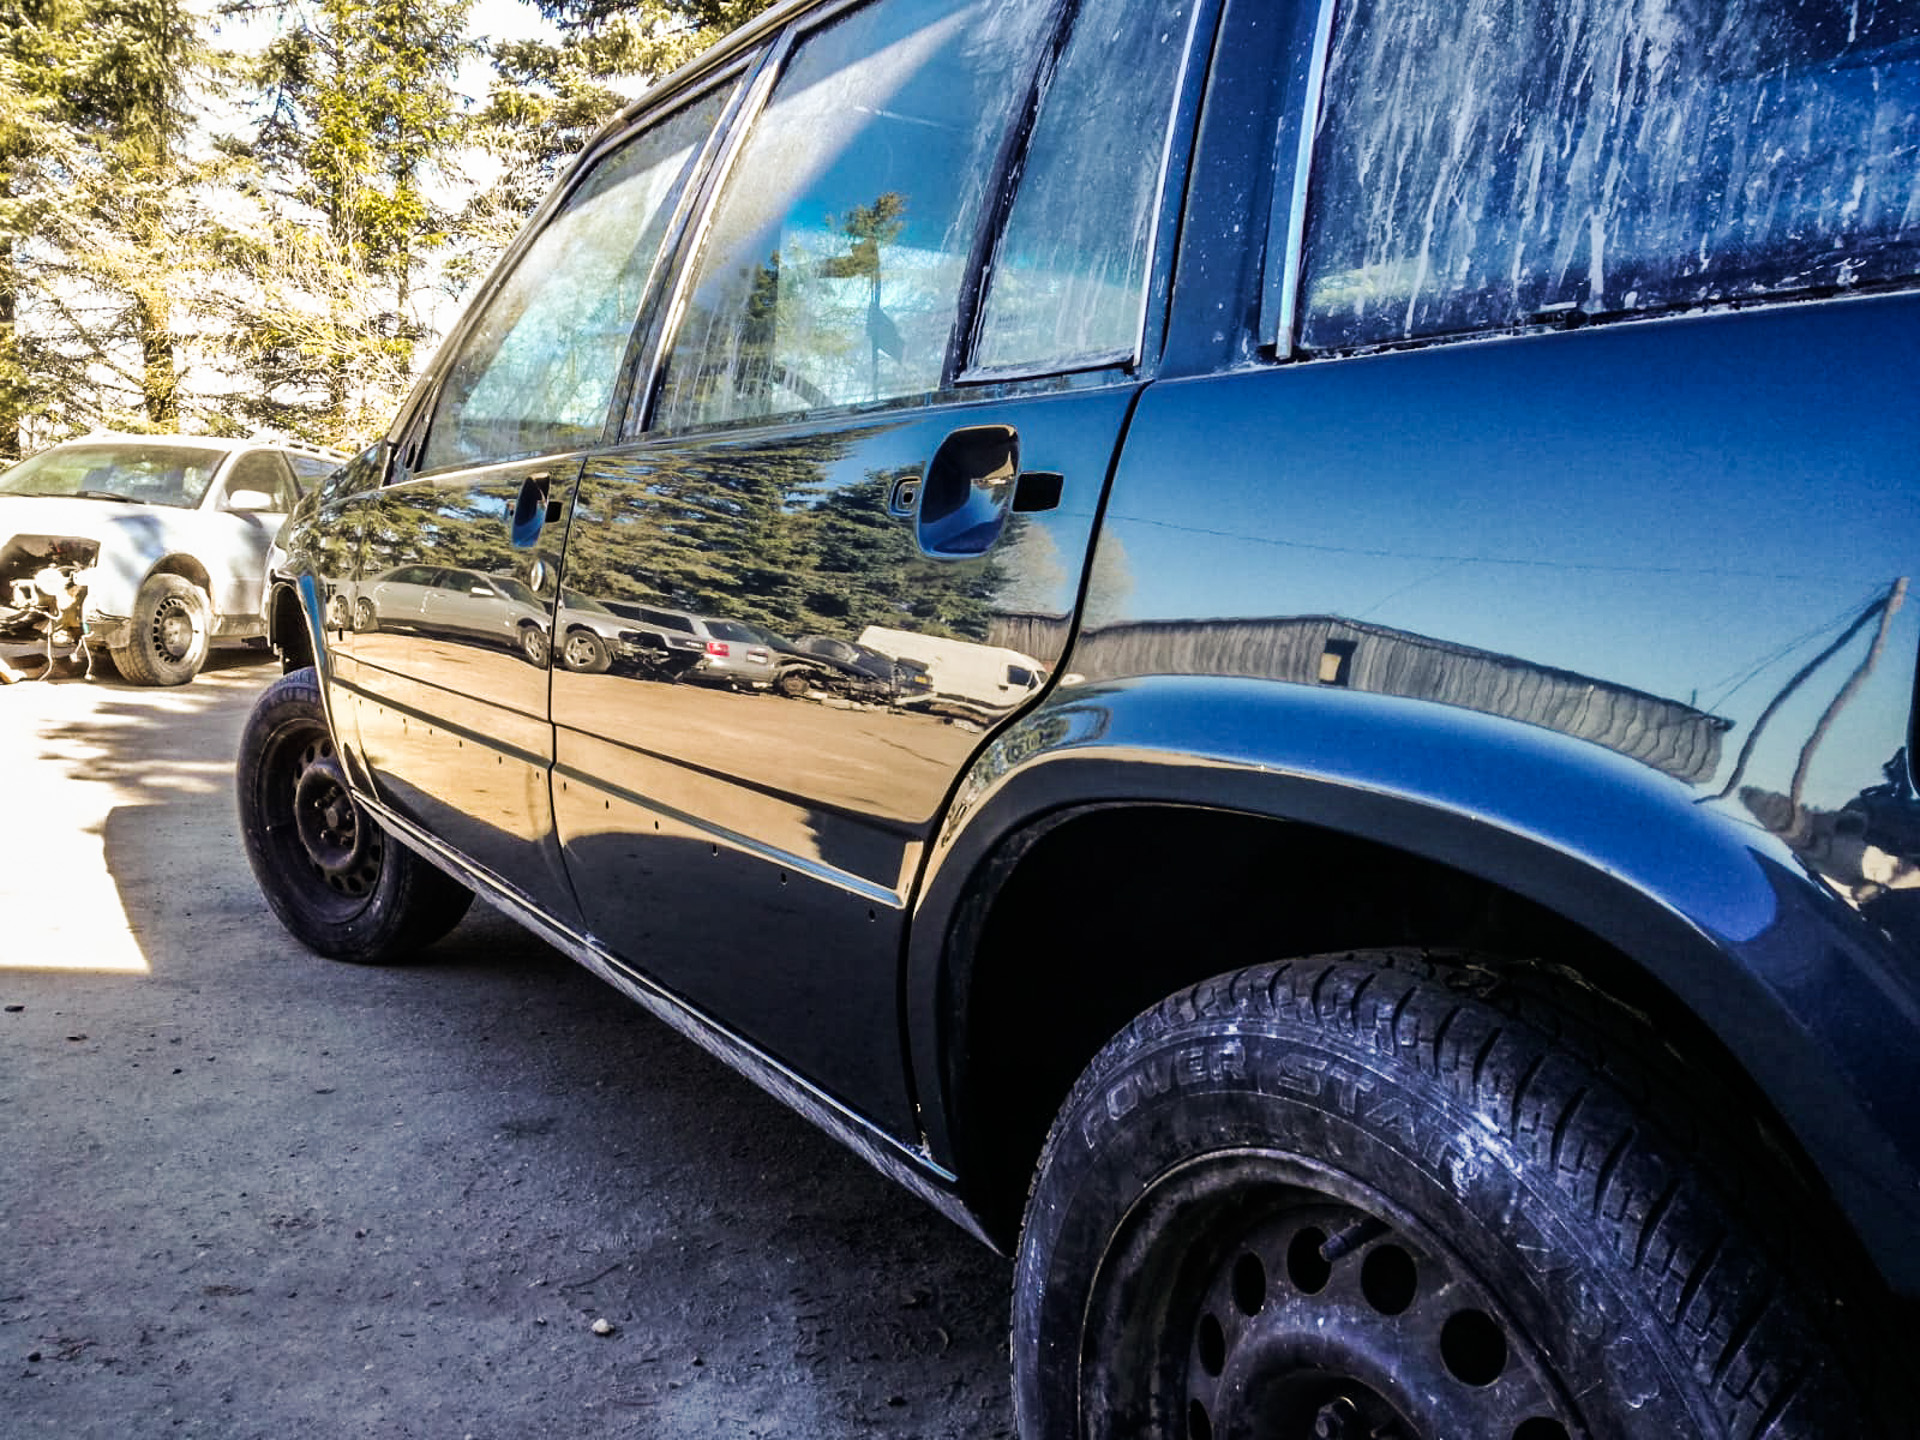
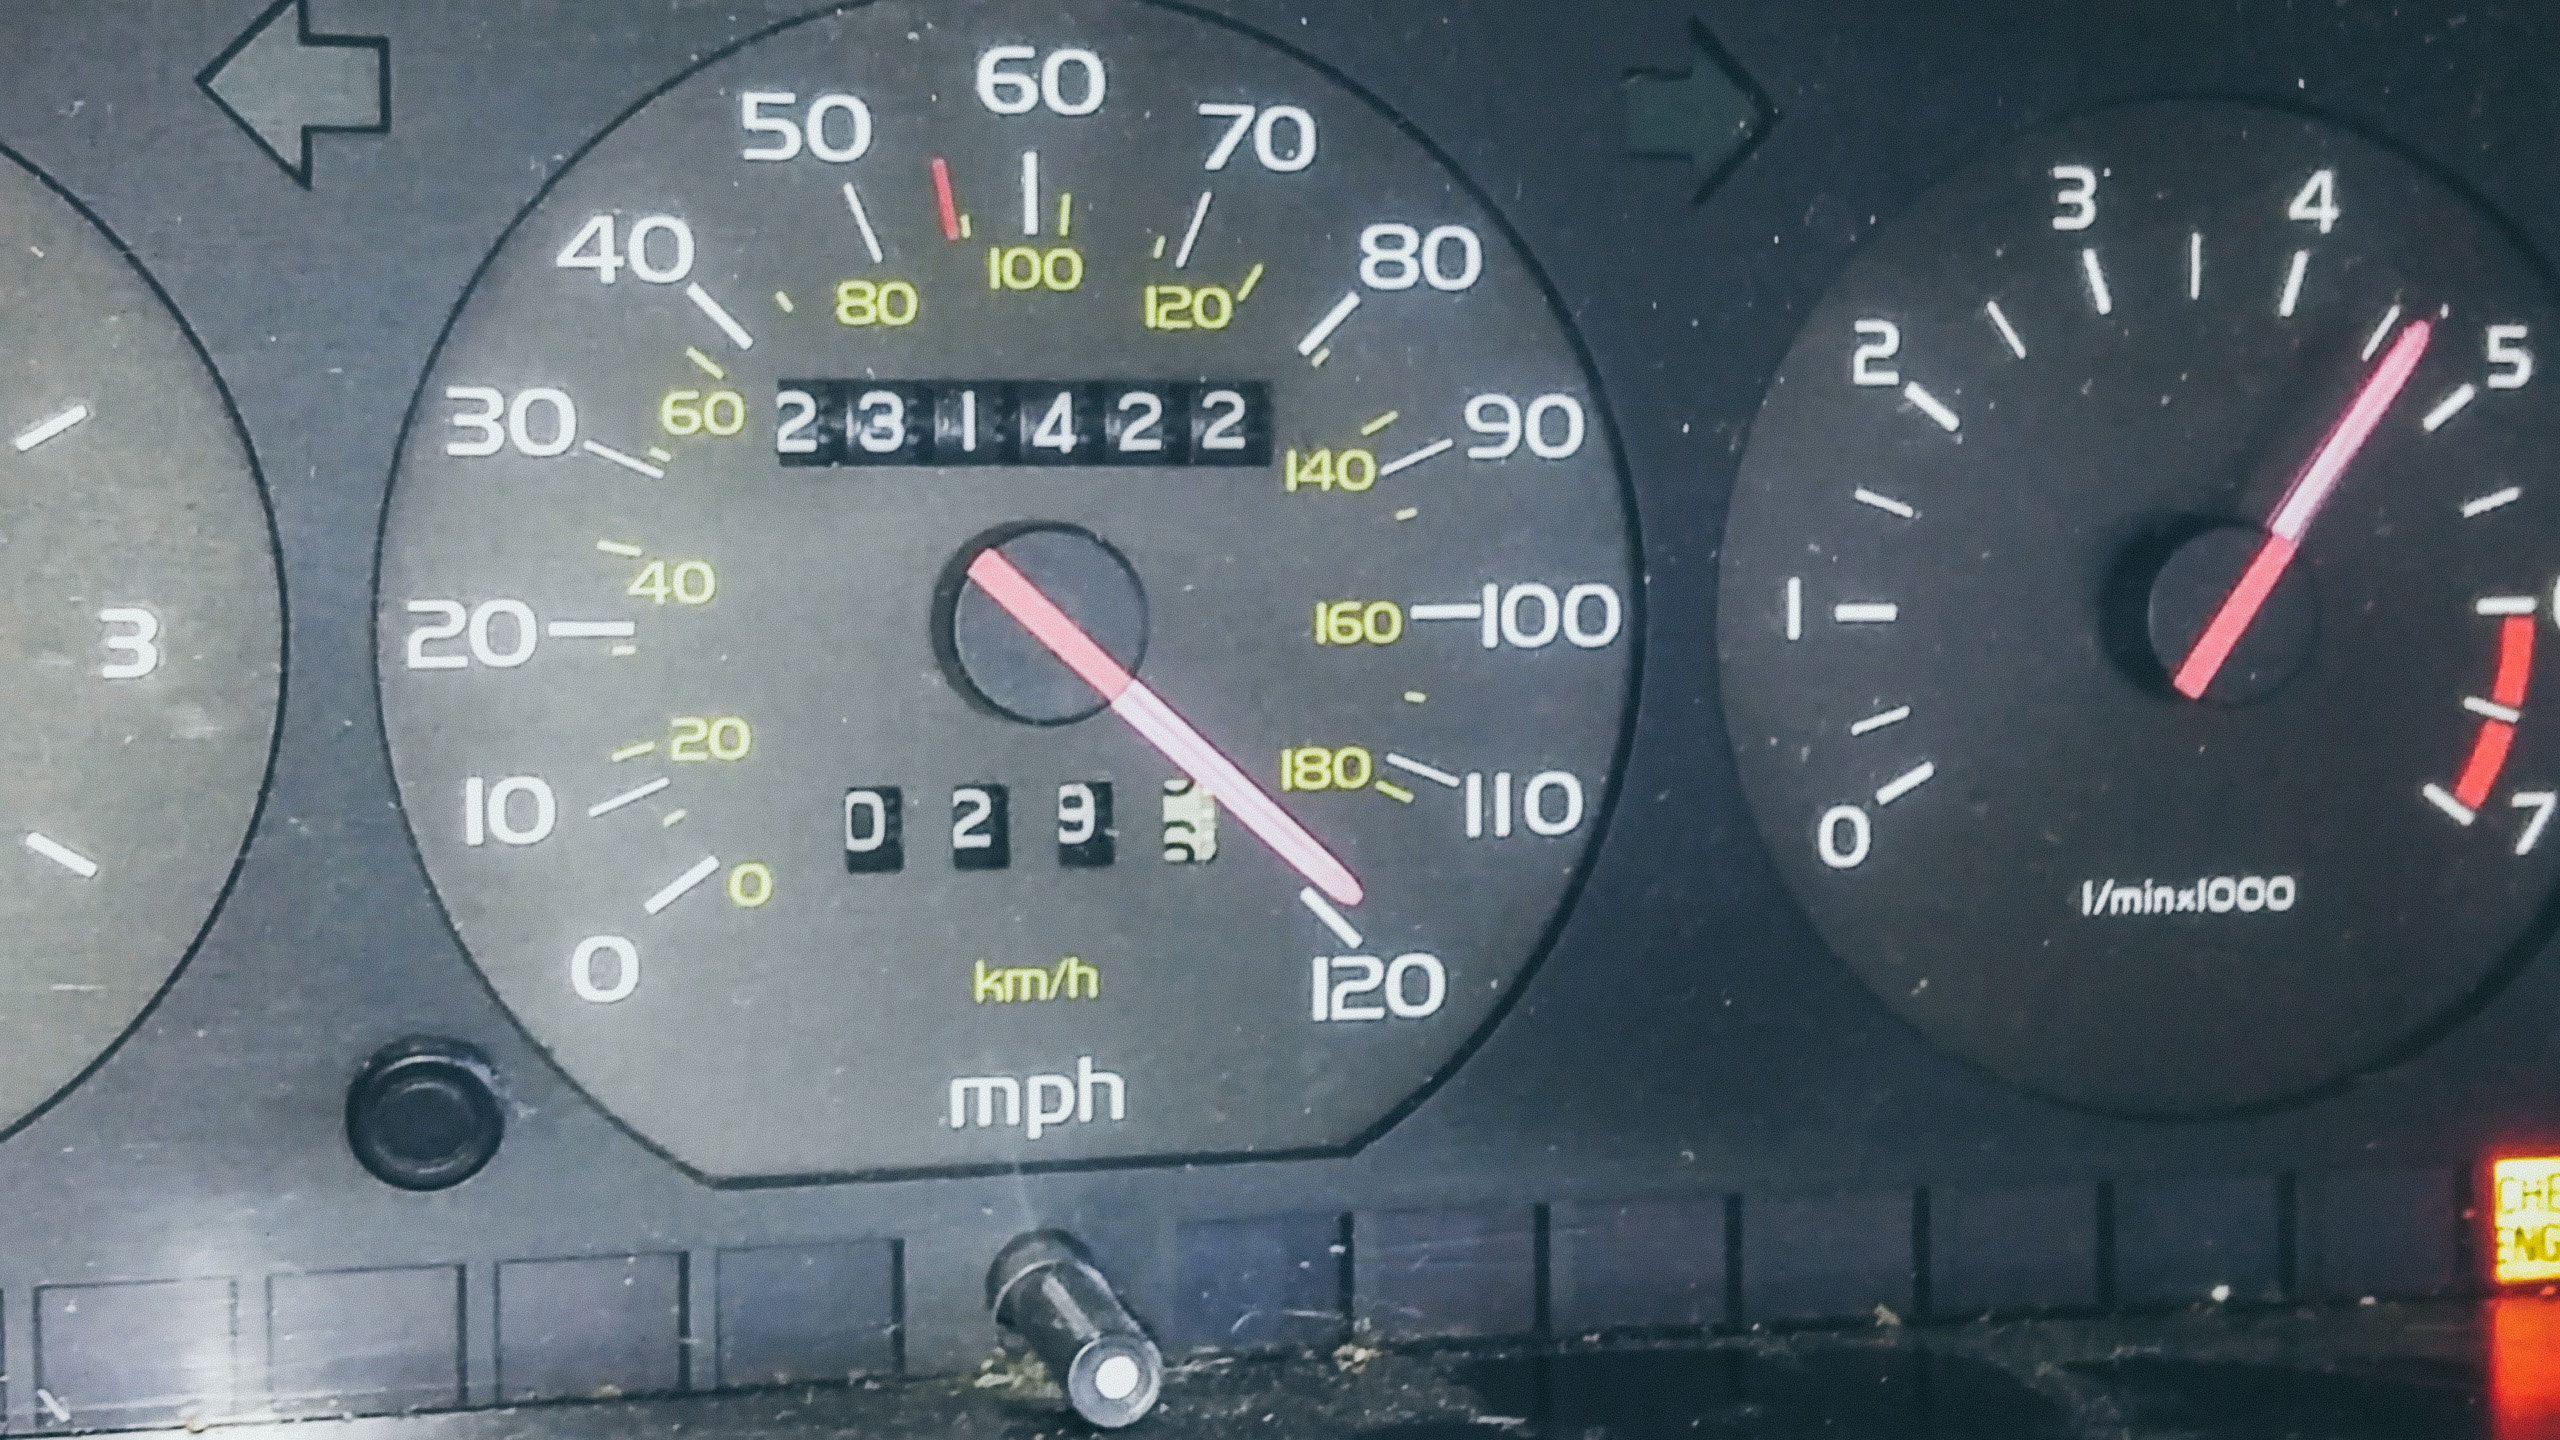
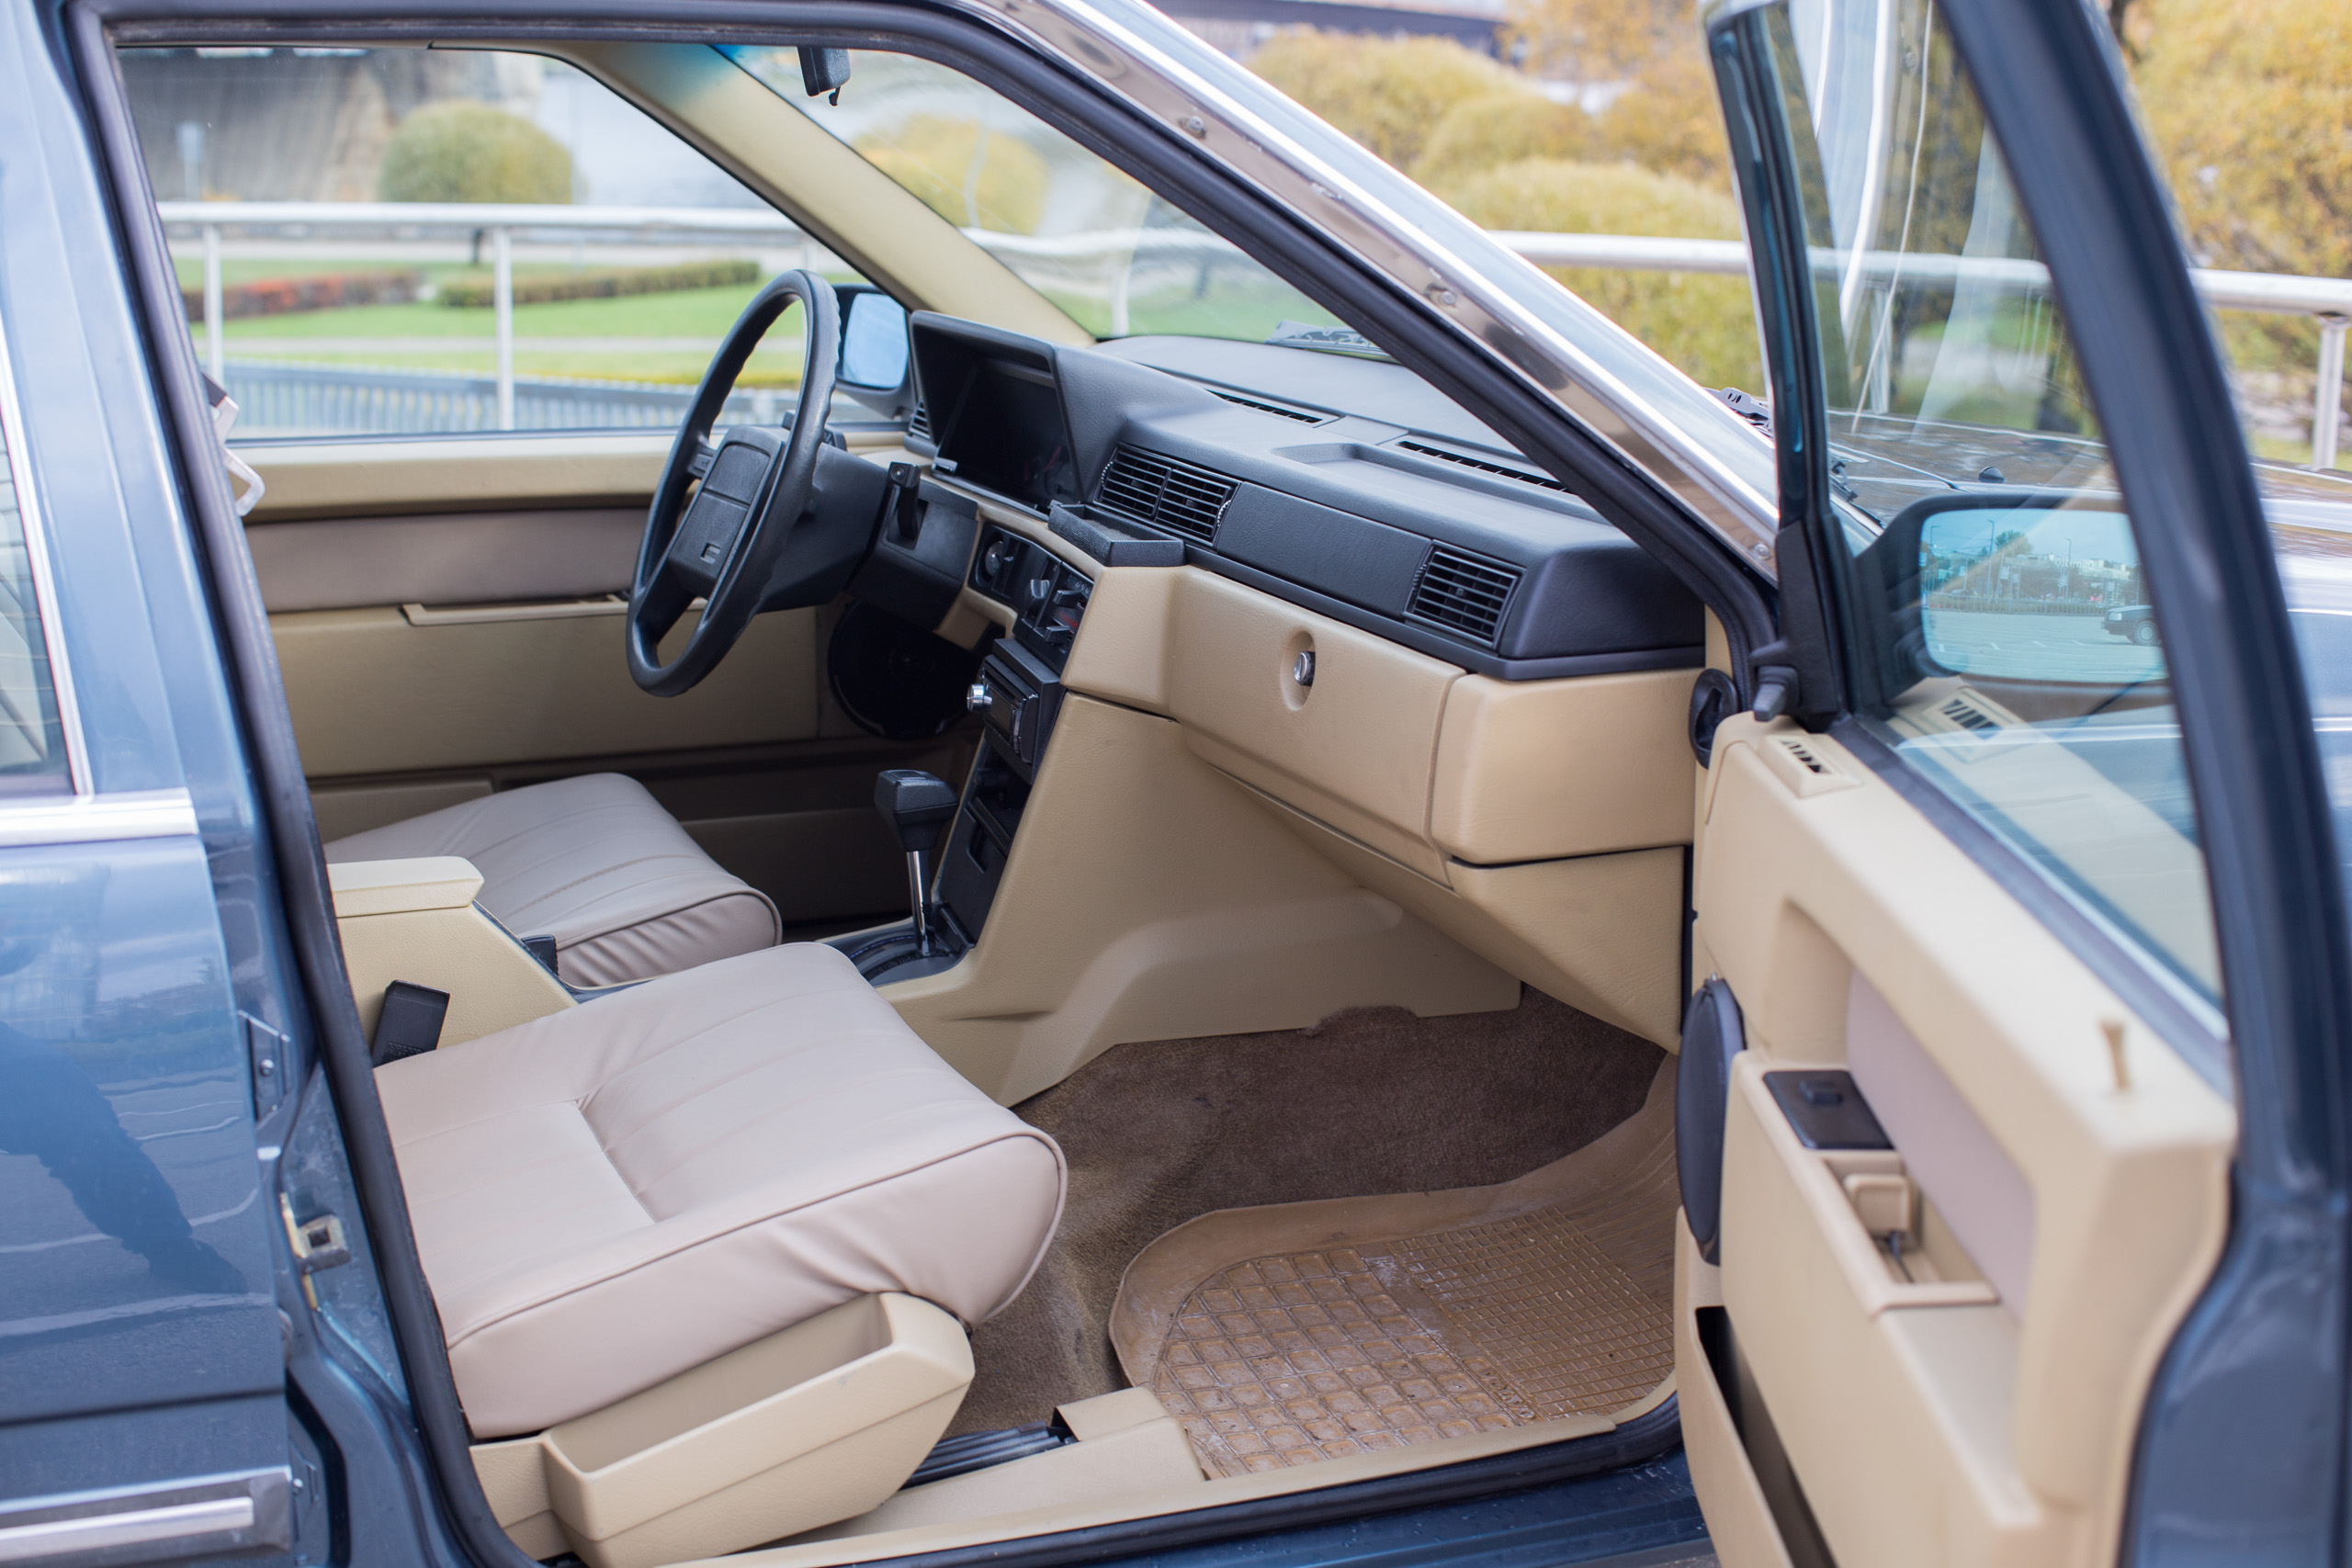
The Volvo has 370,000 km on the odometer, no frame damage and zero rust. The car has been a California car it’s whole life. The interior and paint has been worn from the sun and general wear and tear.
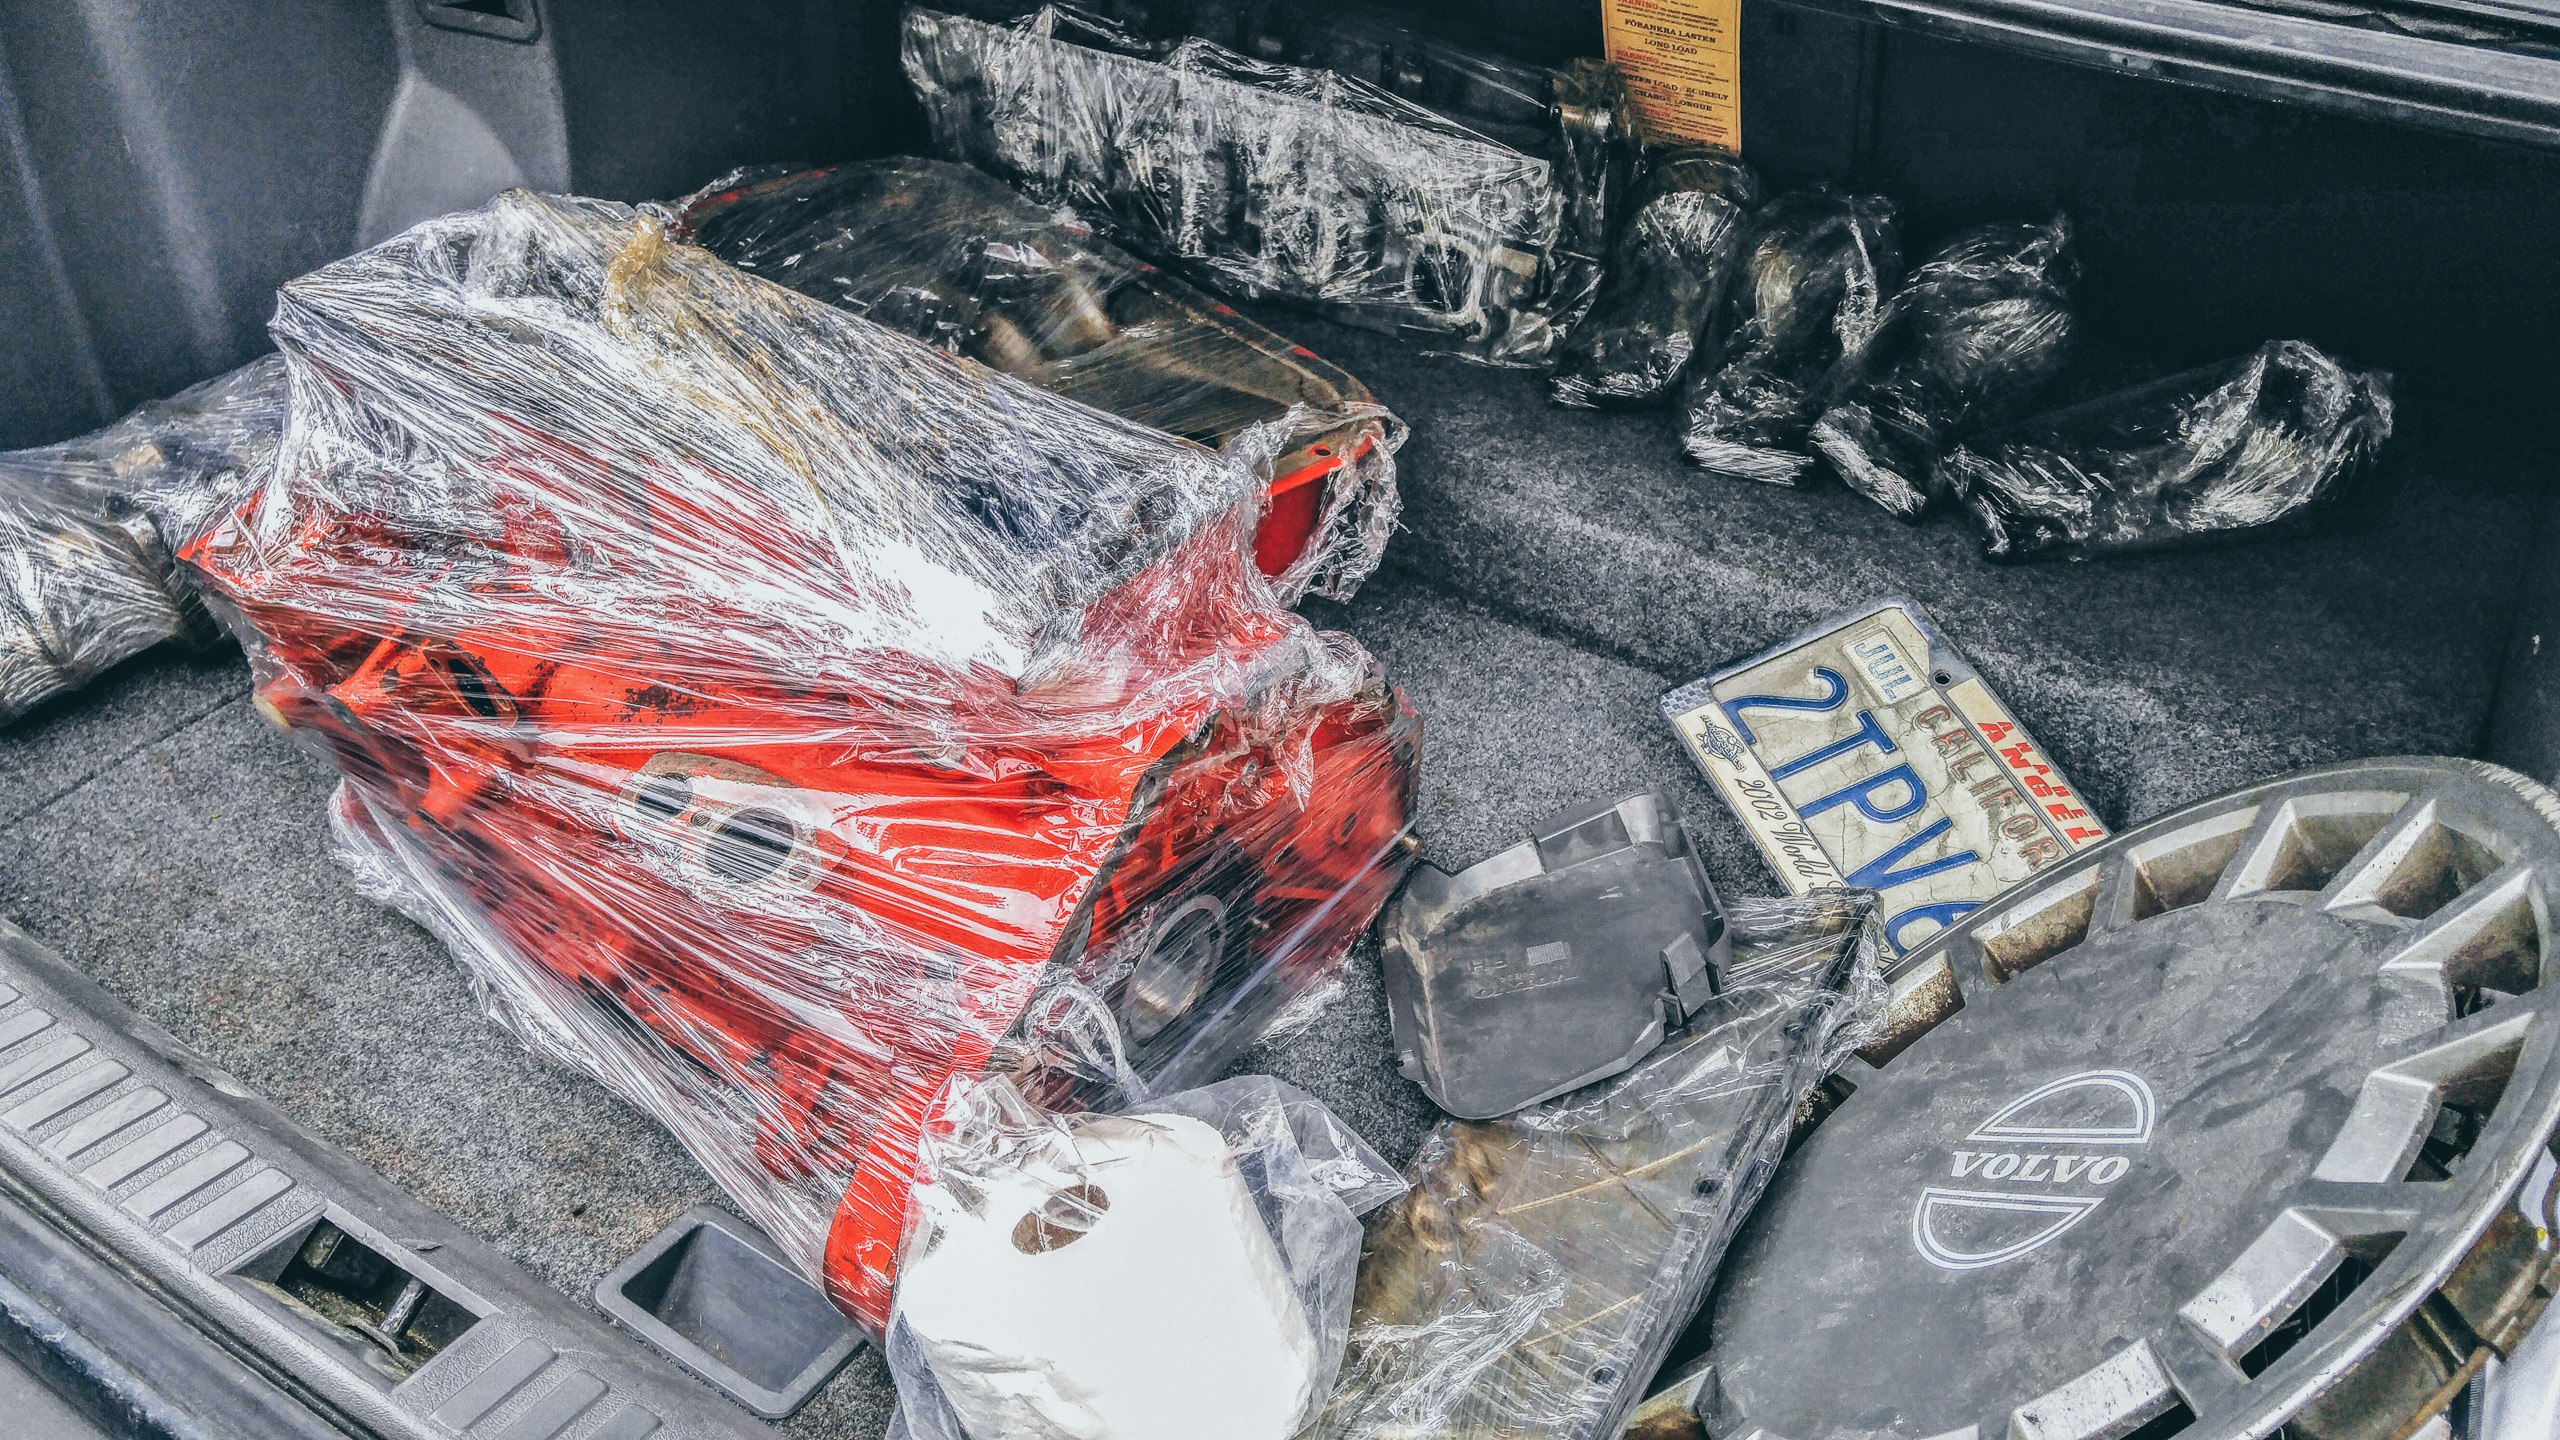
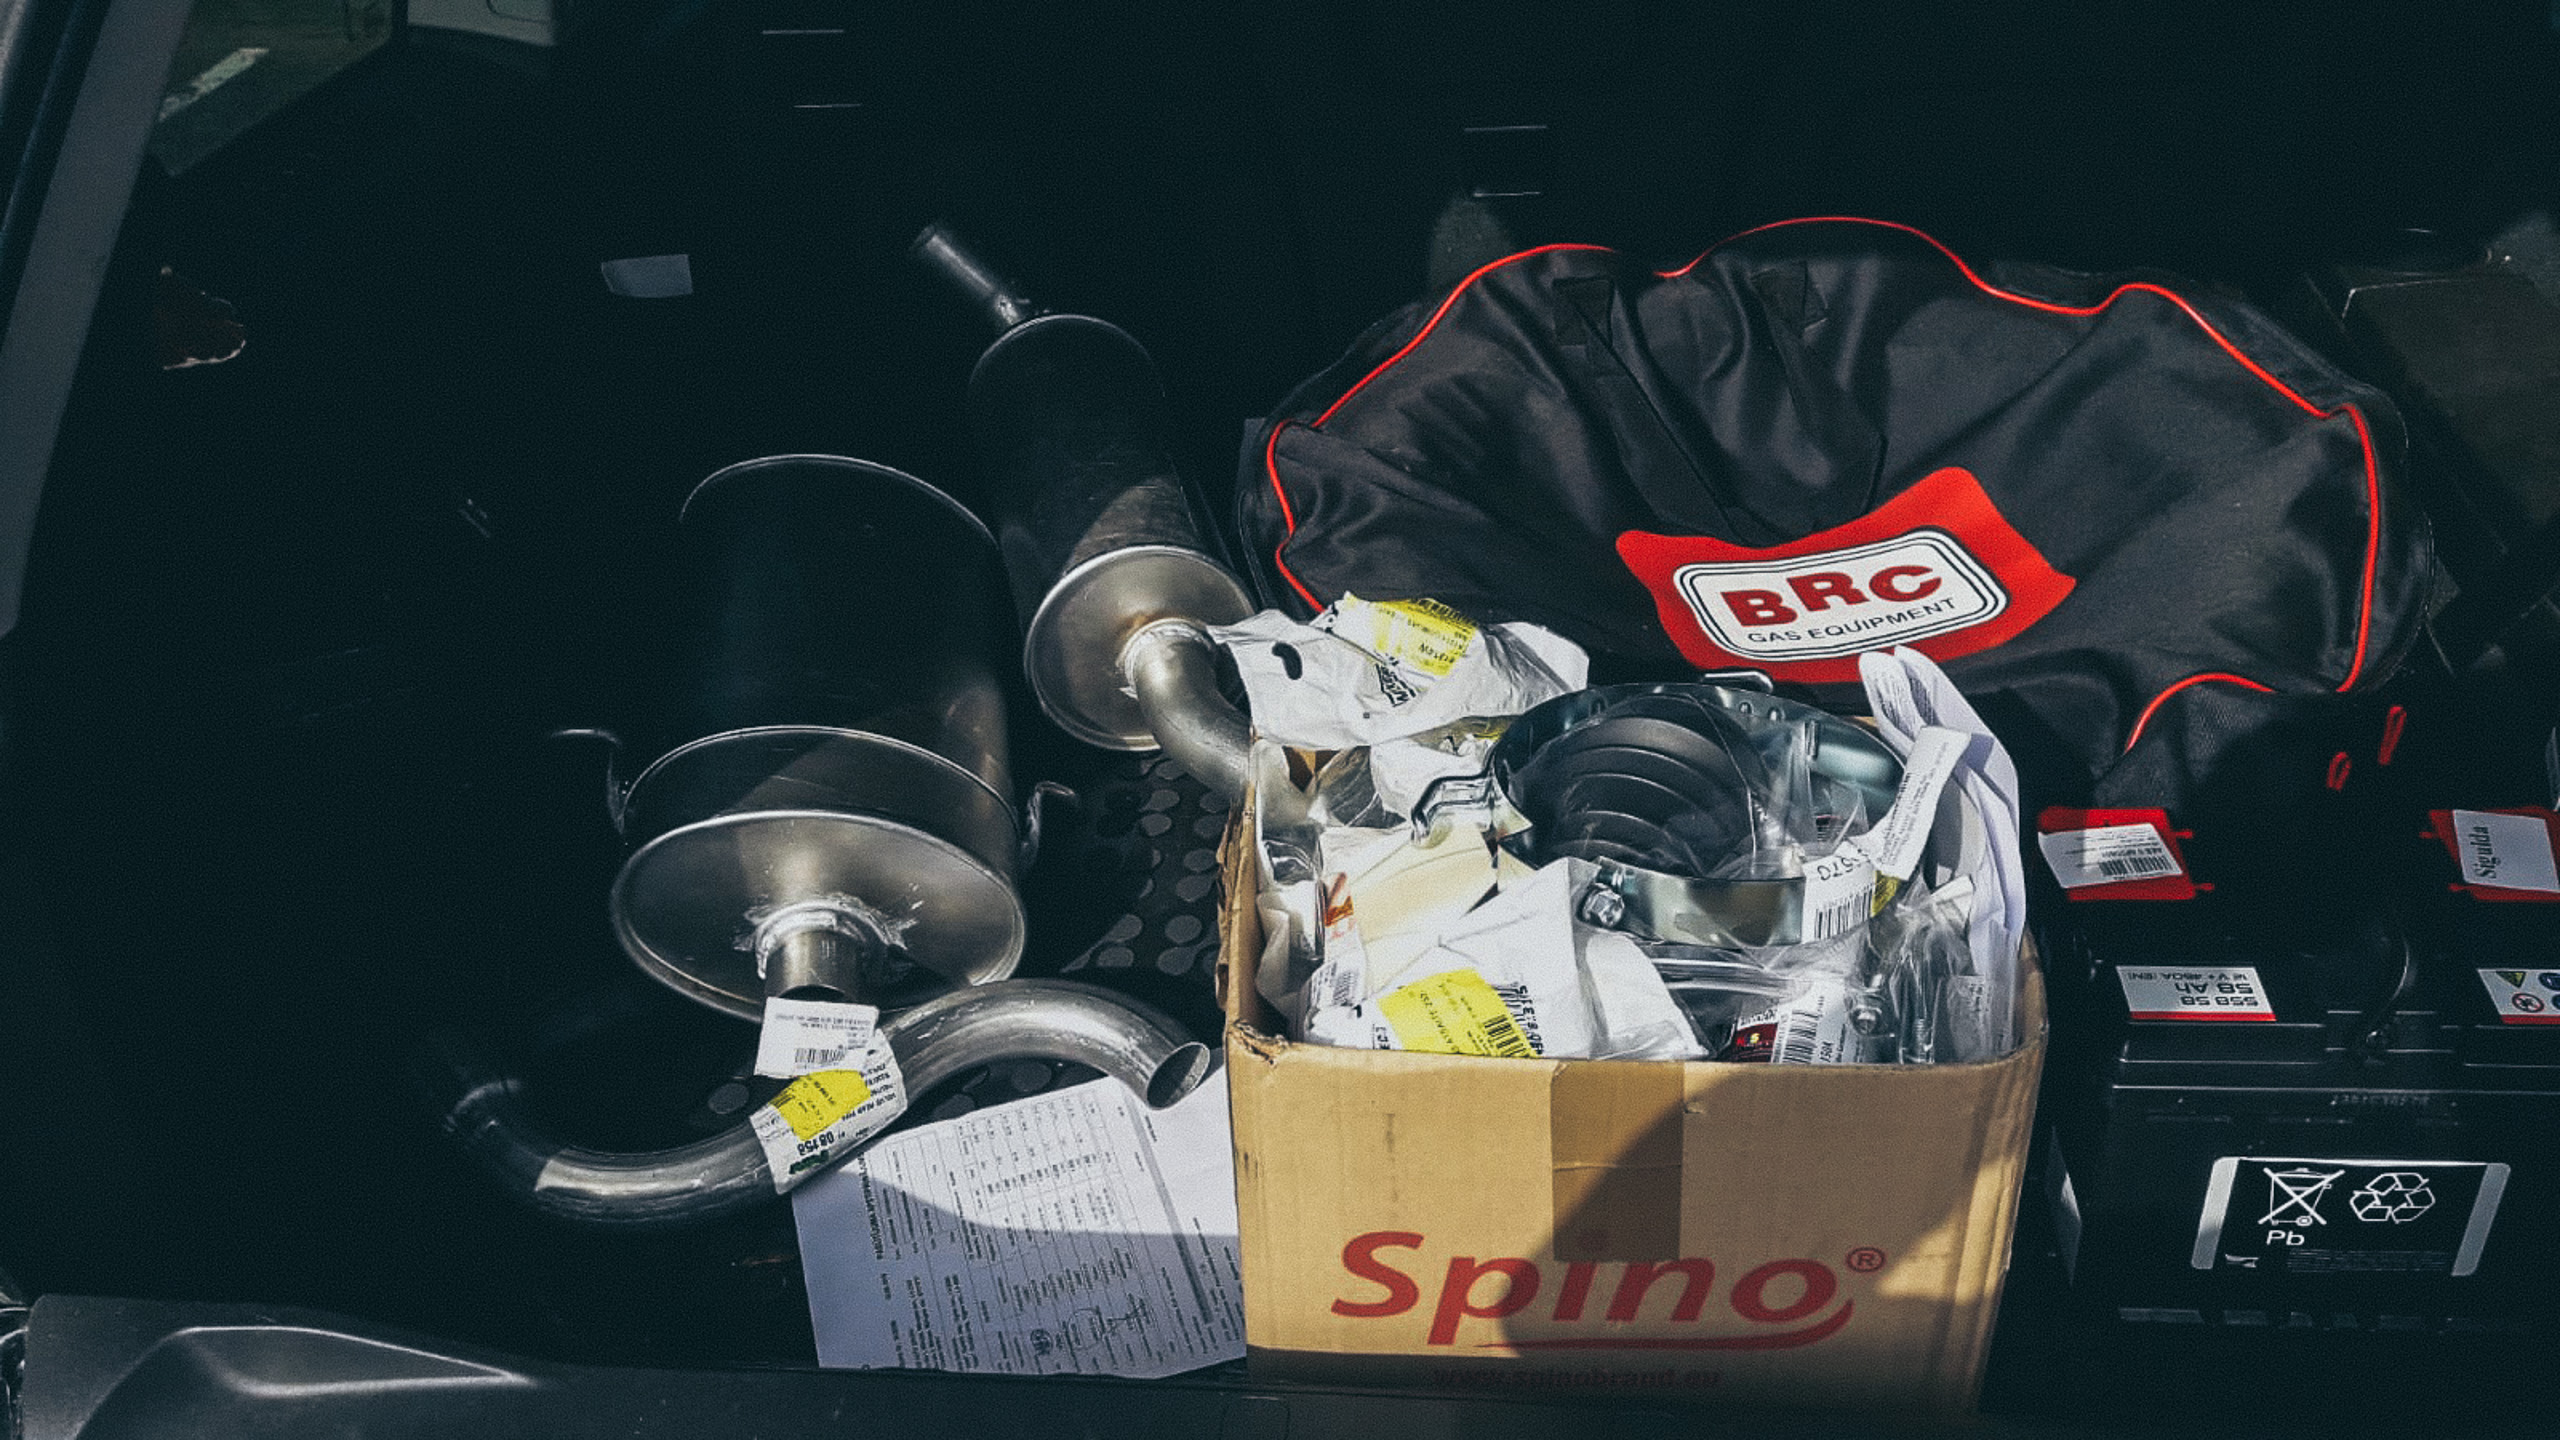
What motivated shipping the Volvo was that we had bunch of stuff in USA that needed to get to Latvia, but shipping the stuff separately would cost almost as much as shipping the car. So we just threw stuff in the Volvo and shipped it instead.
Here are some pics and the story:
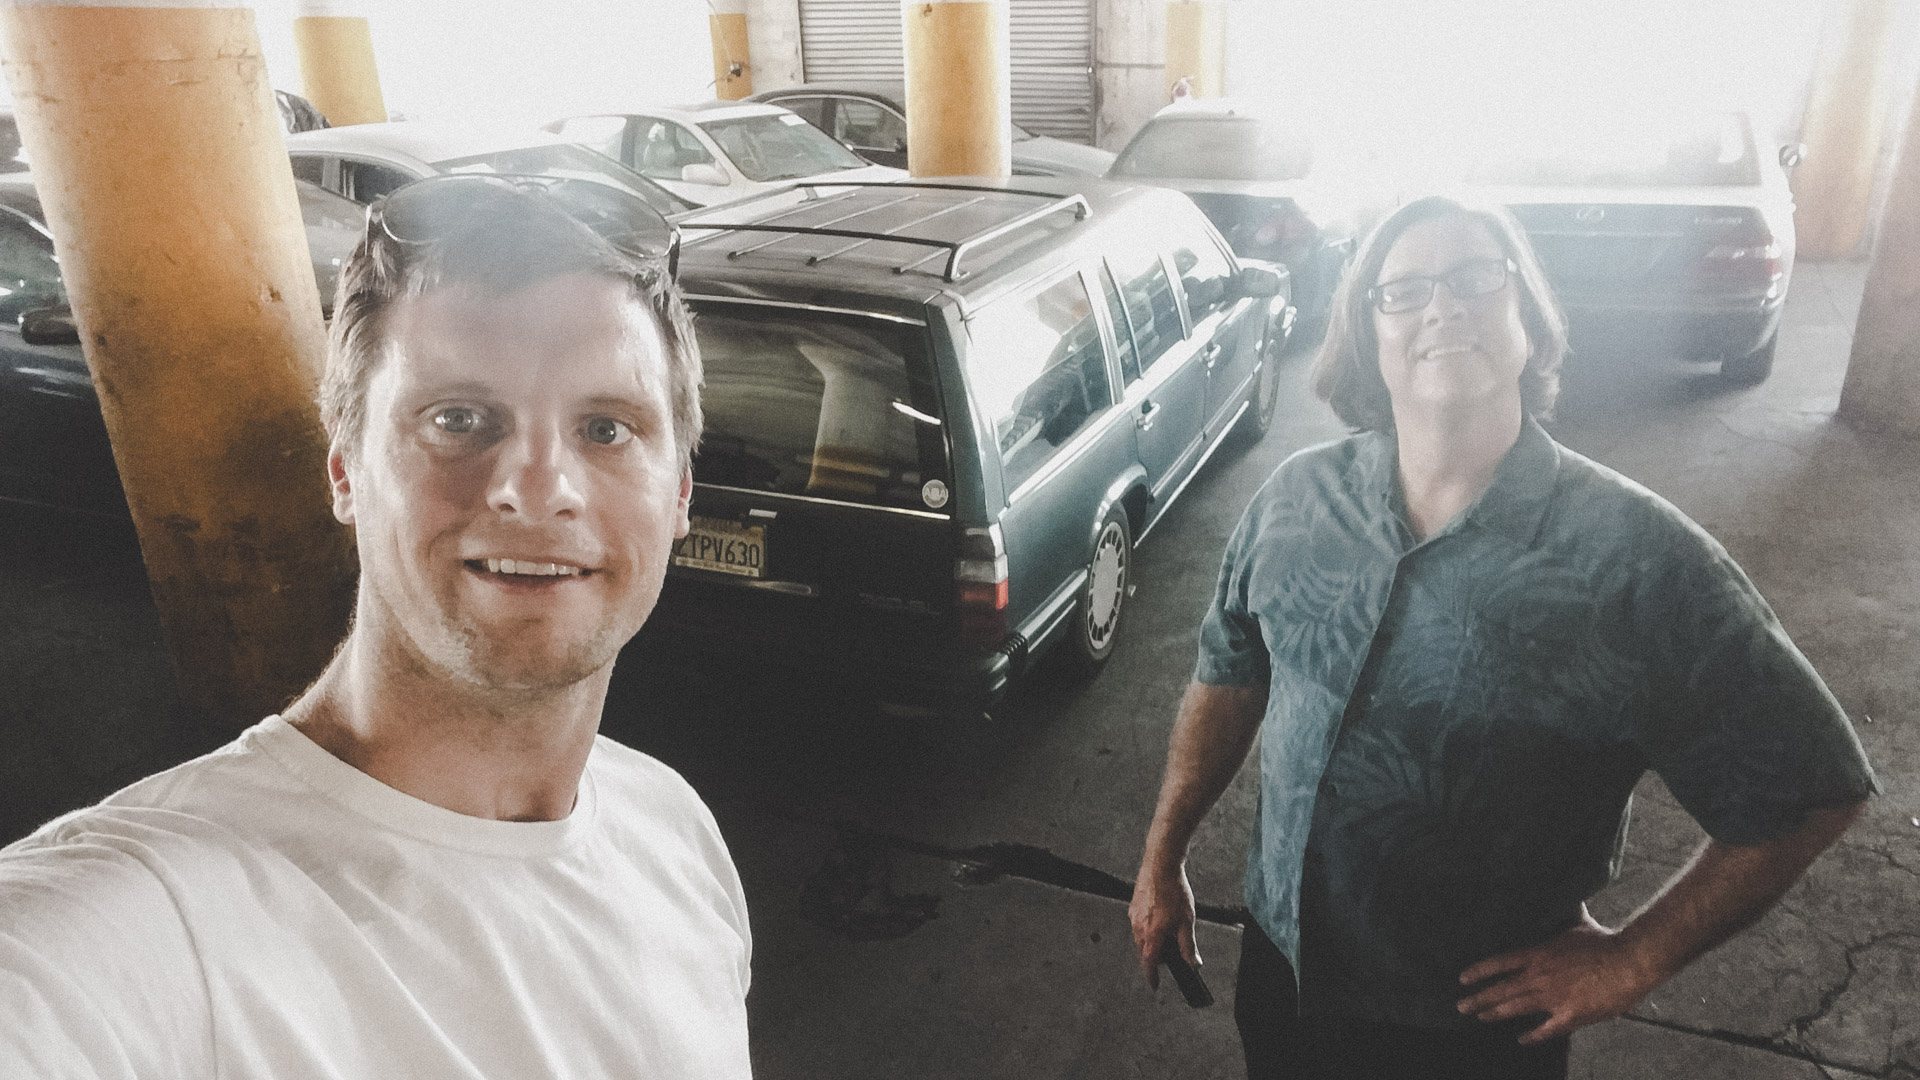
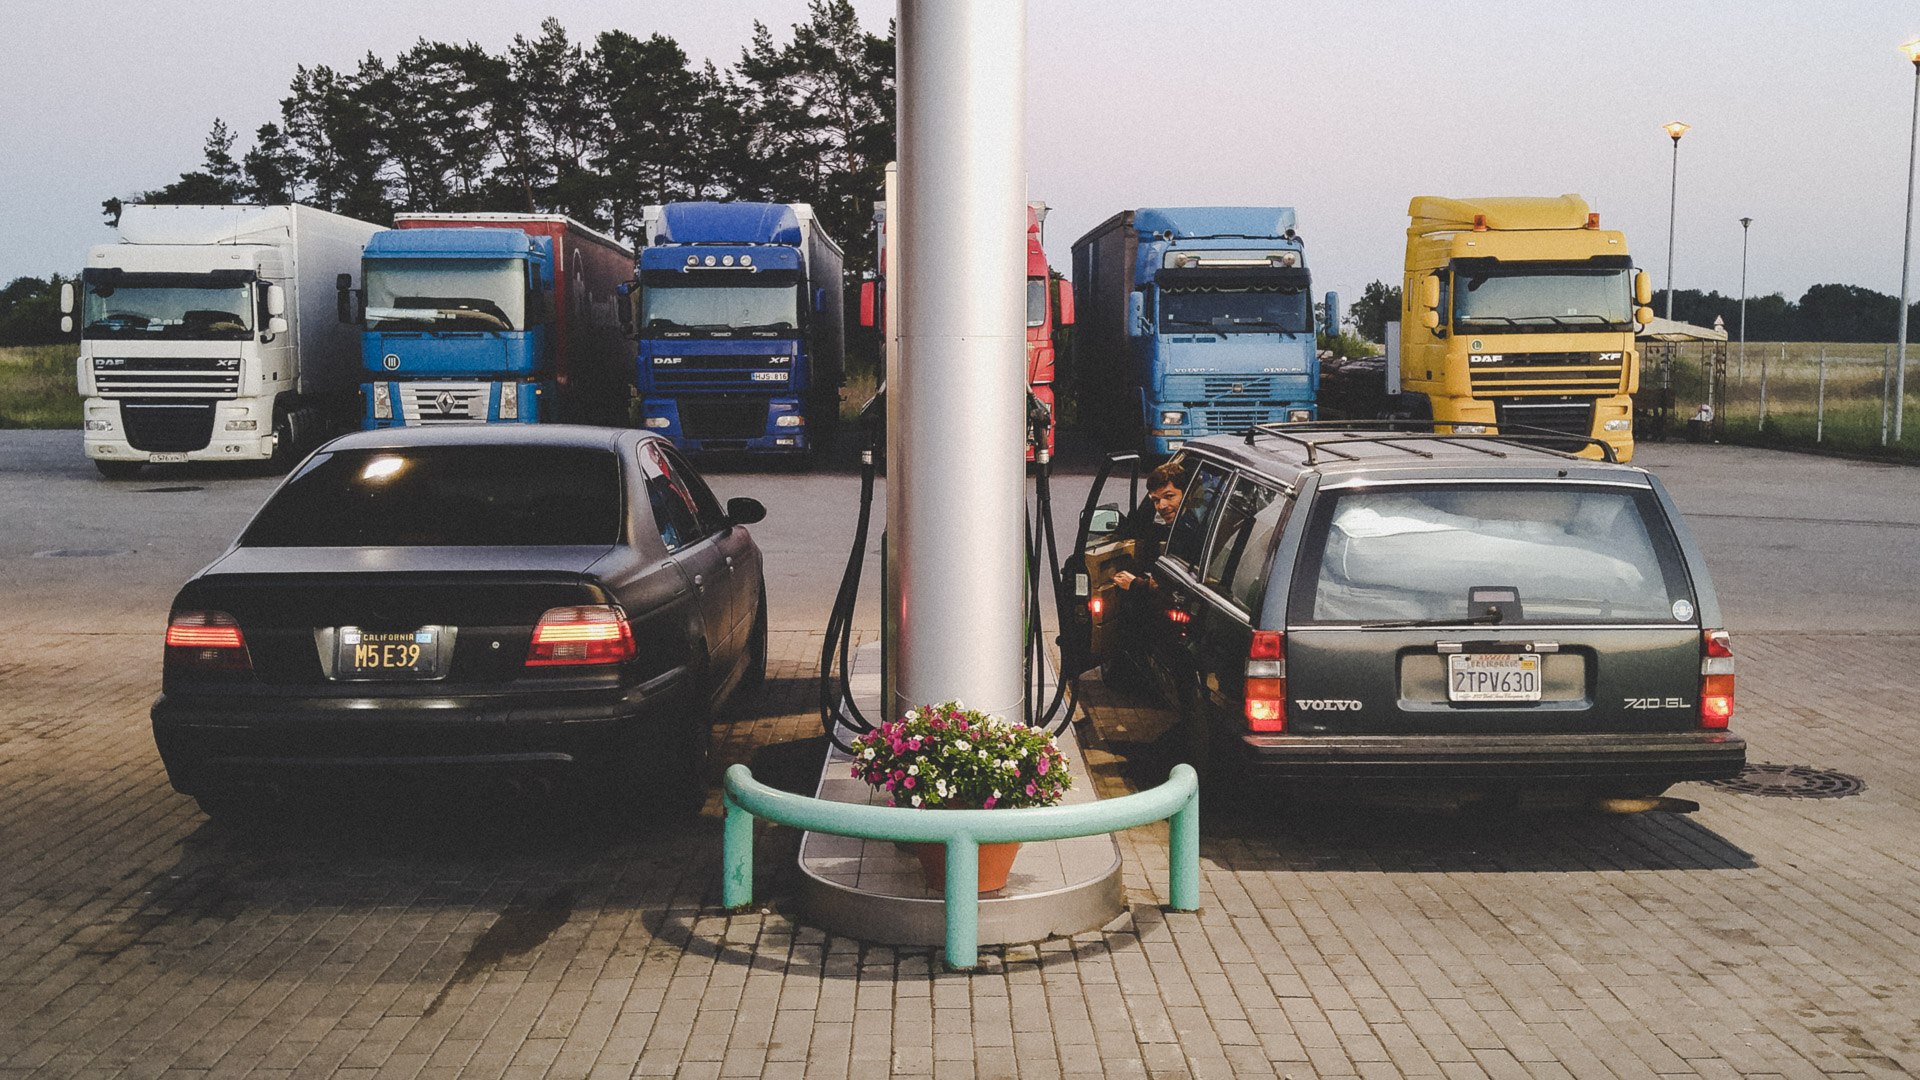
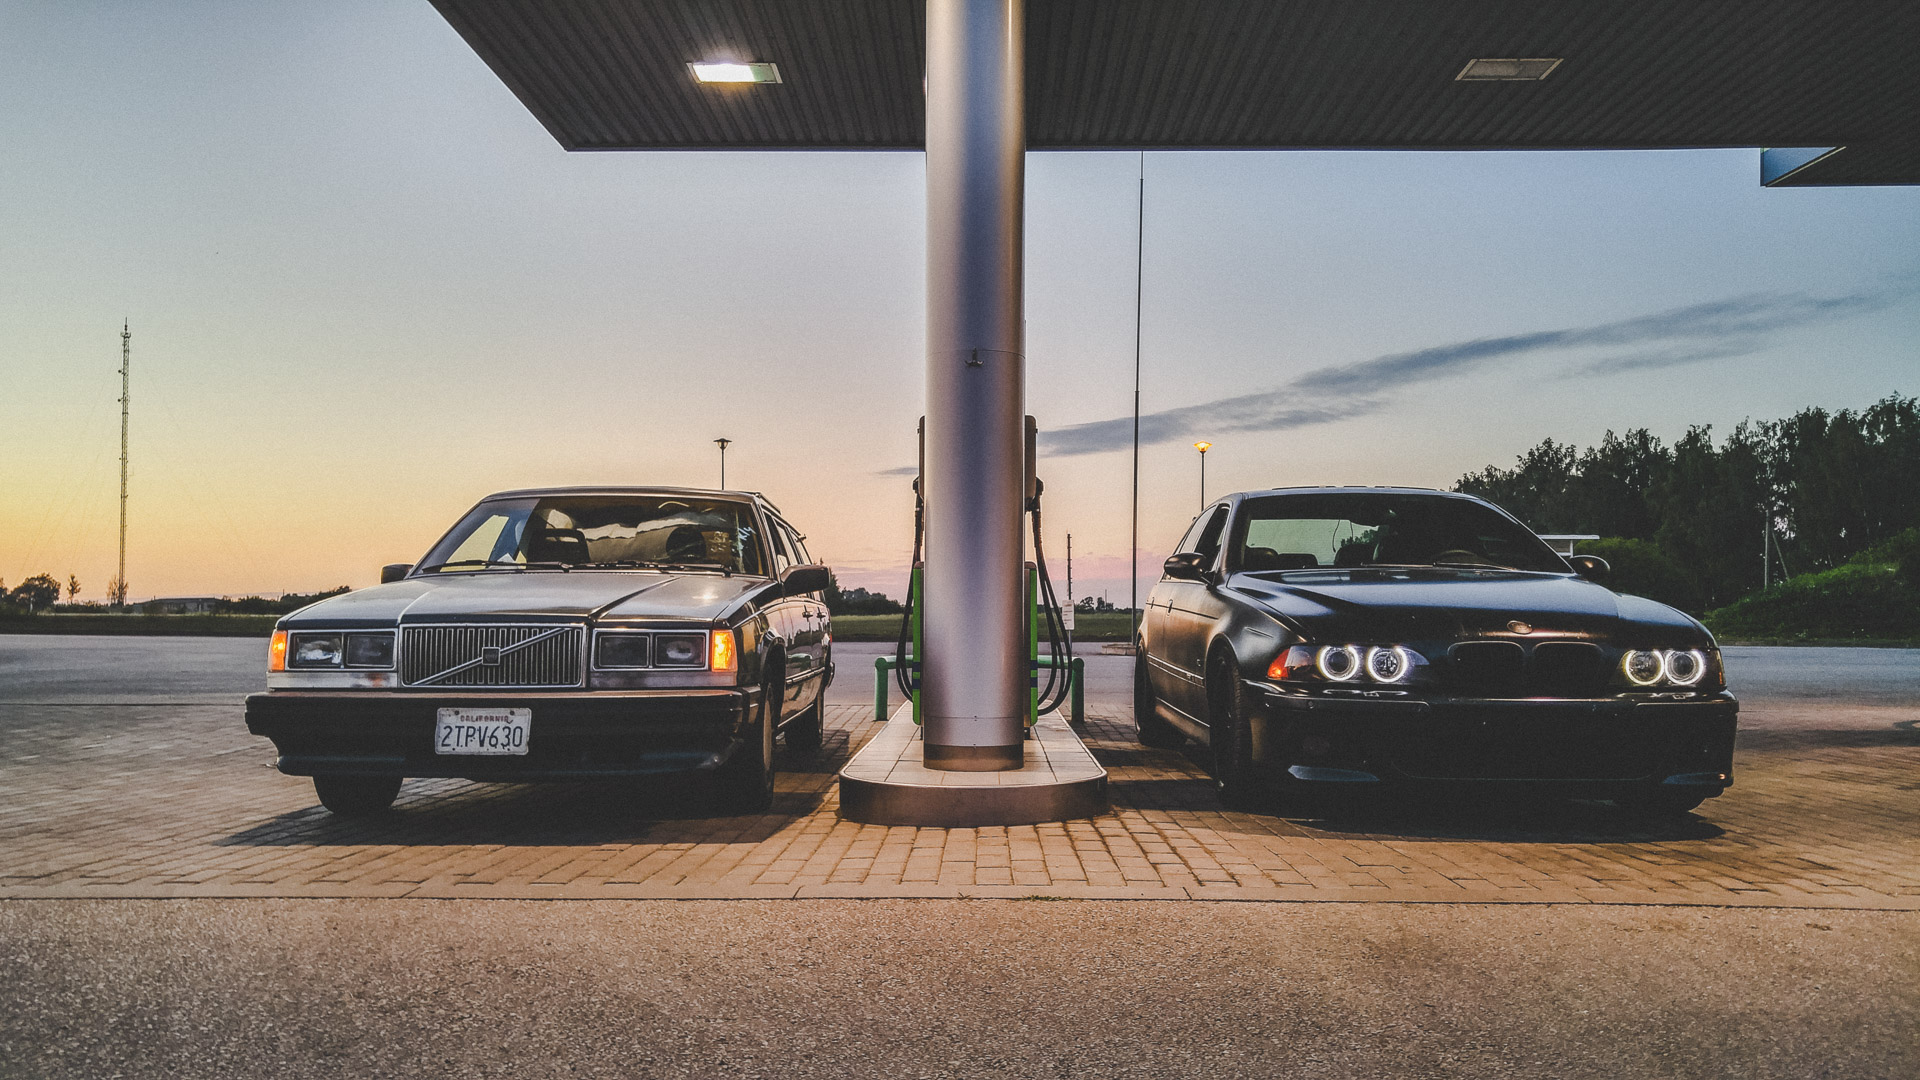
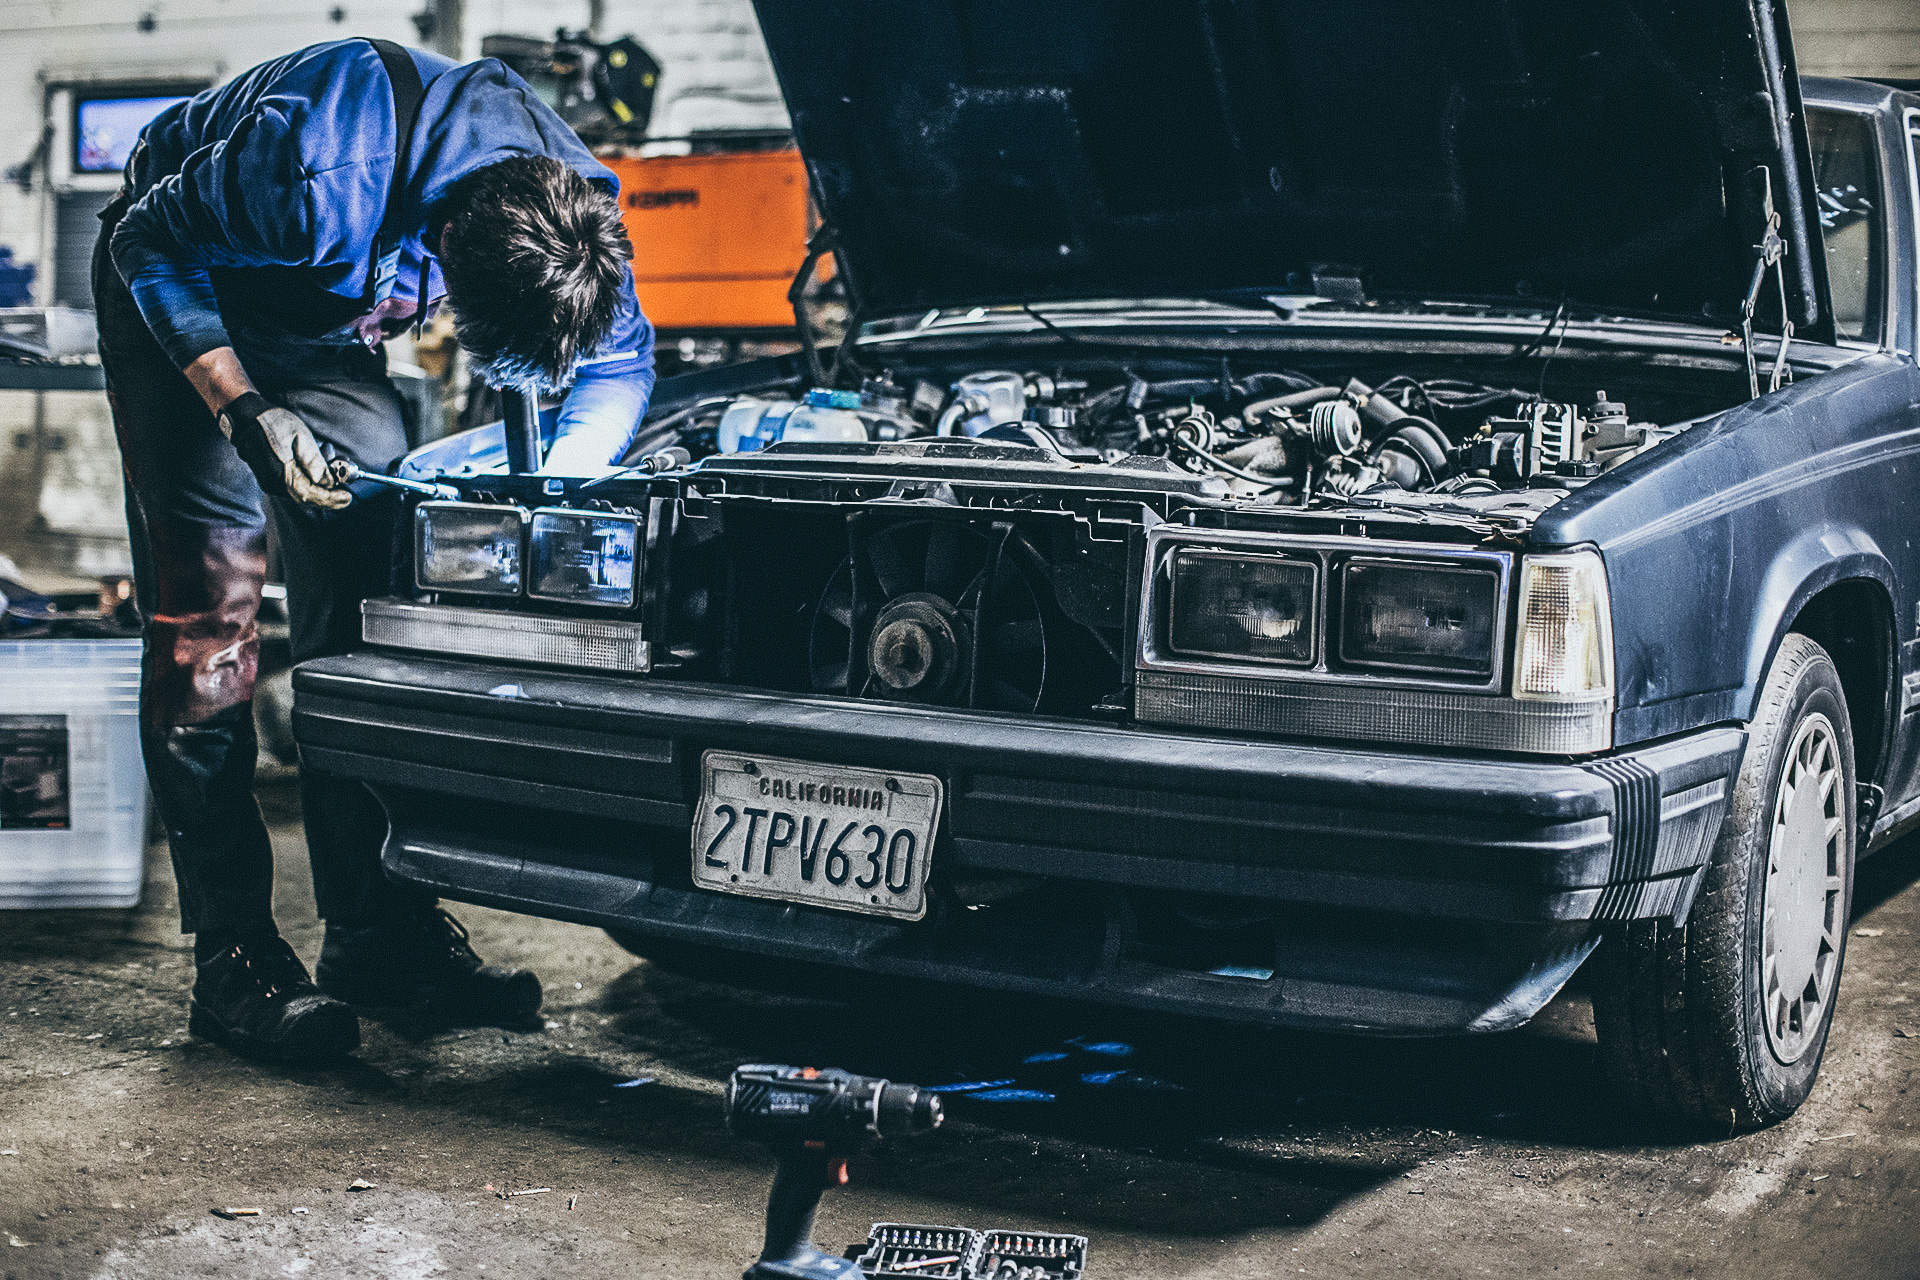
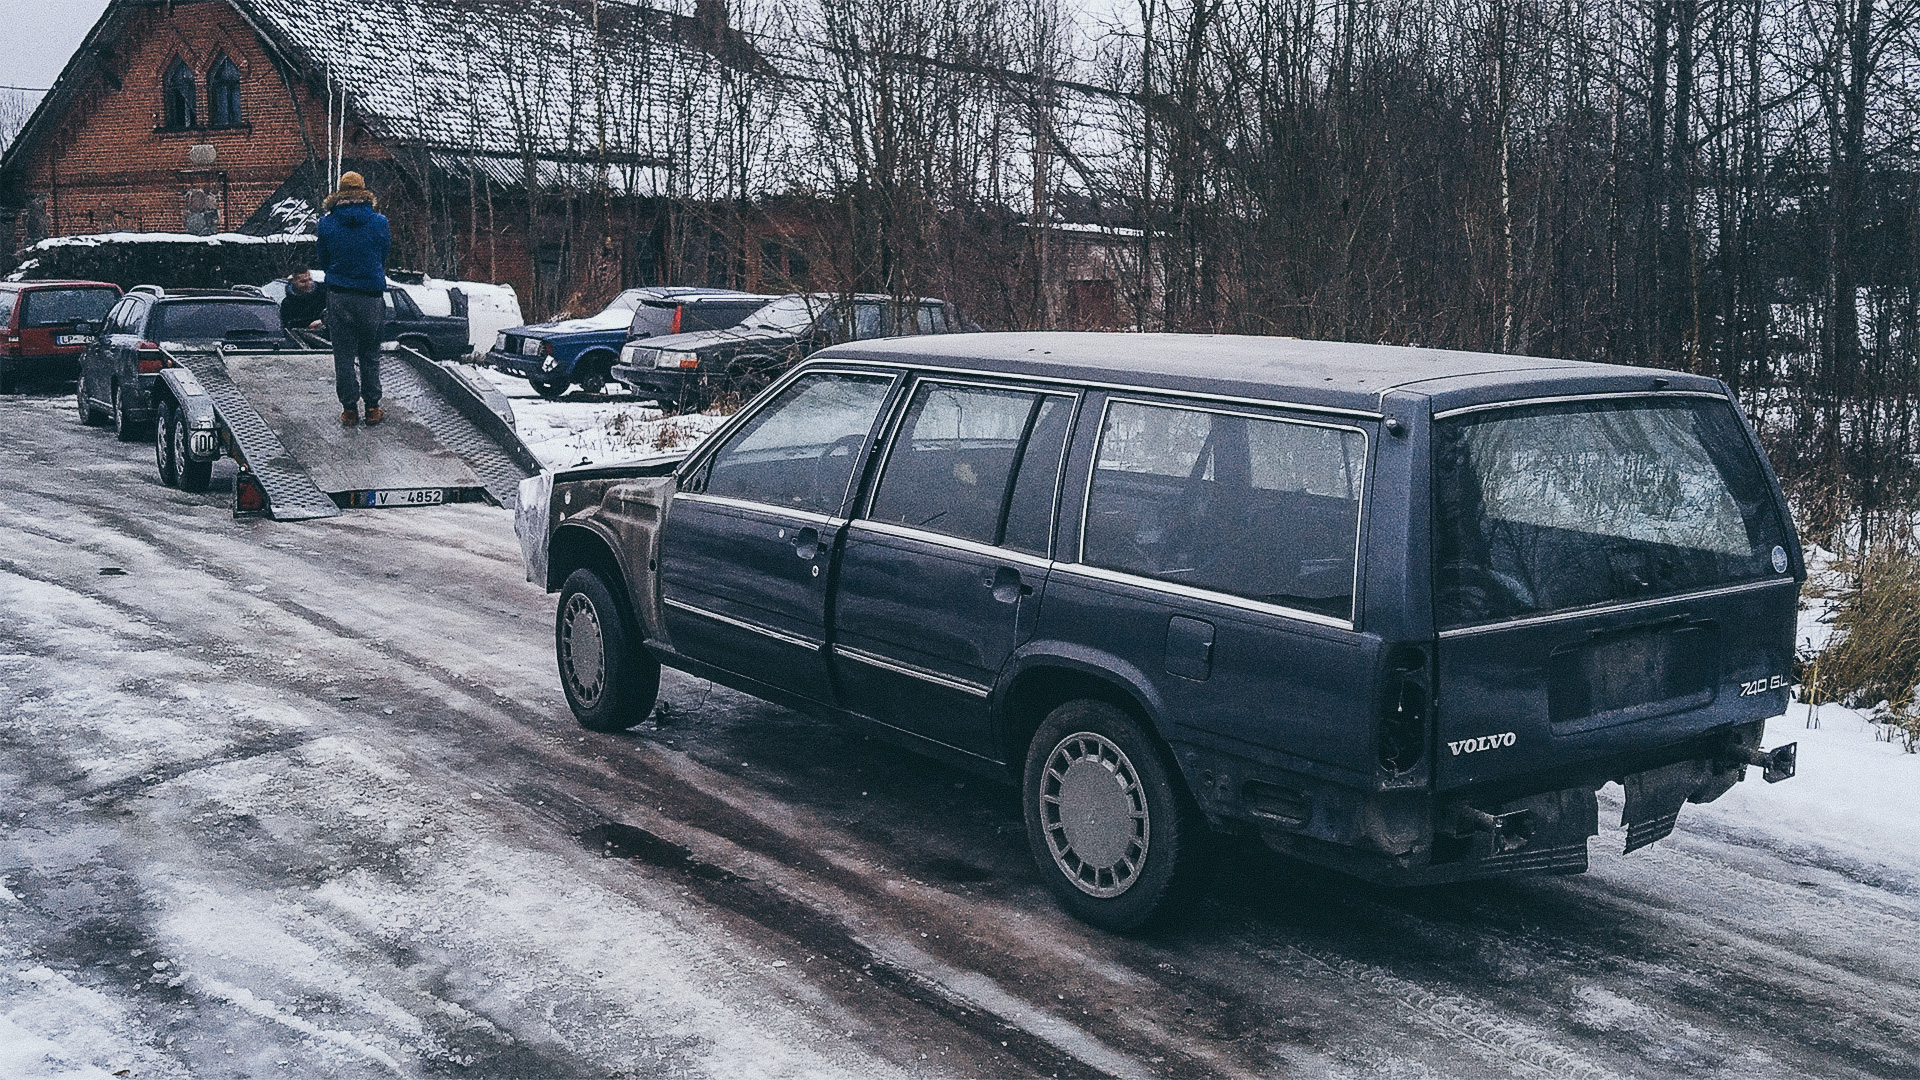
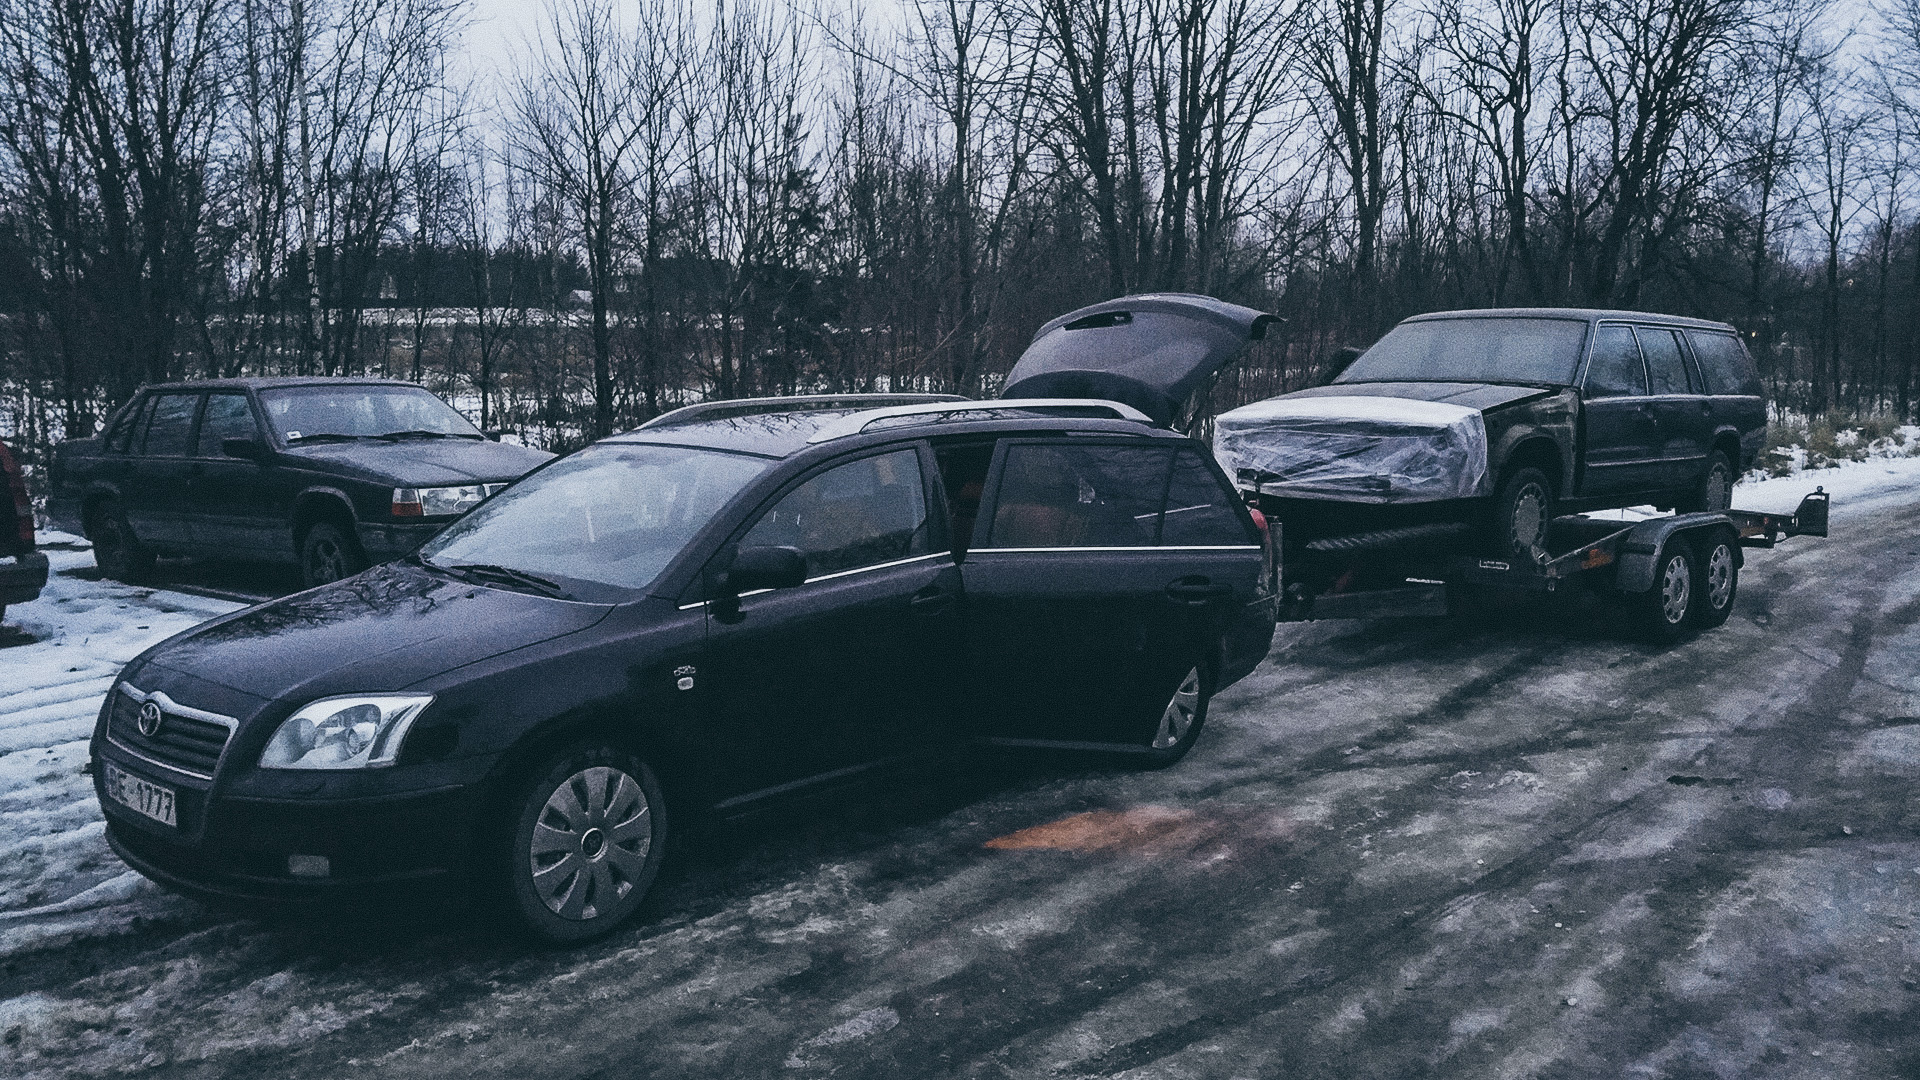
I drove to pick it up with the M5 E39.
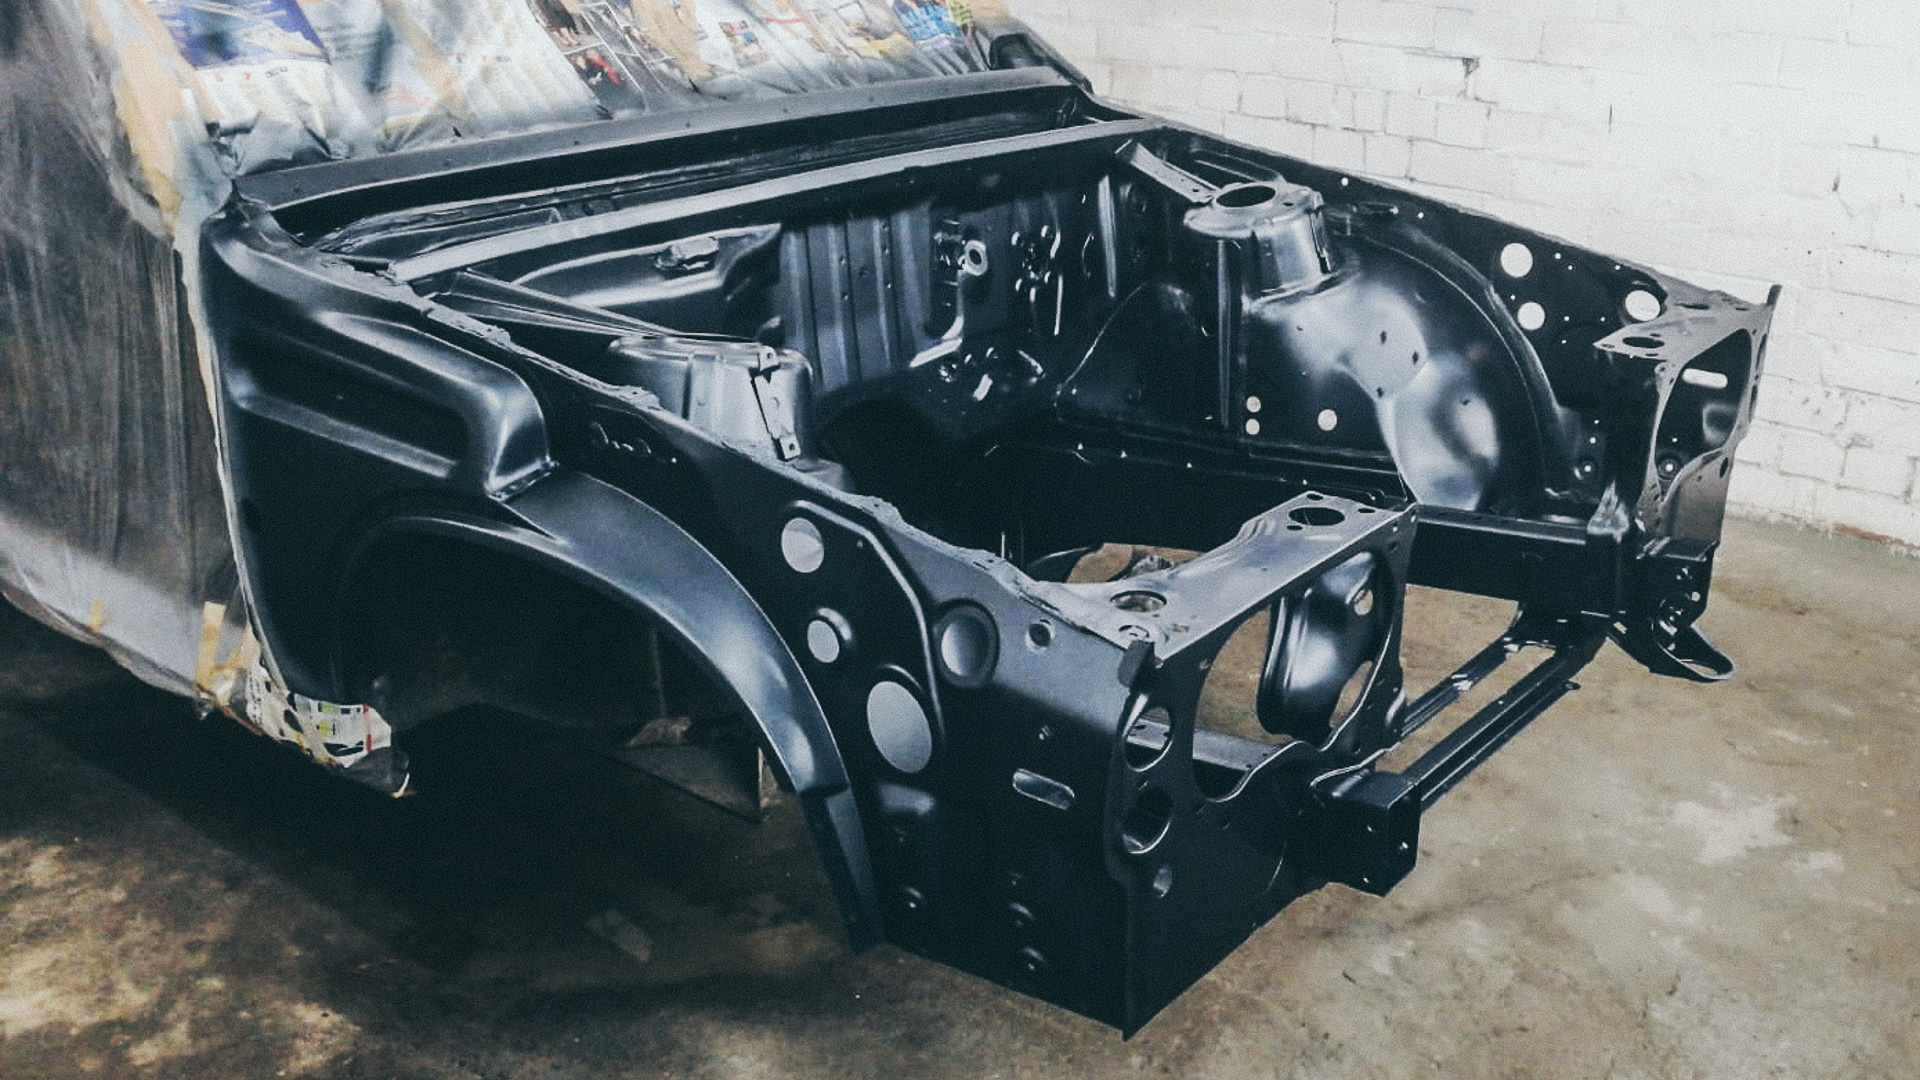
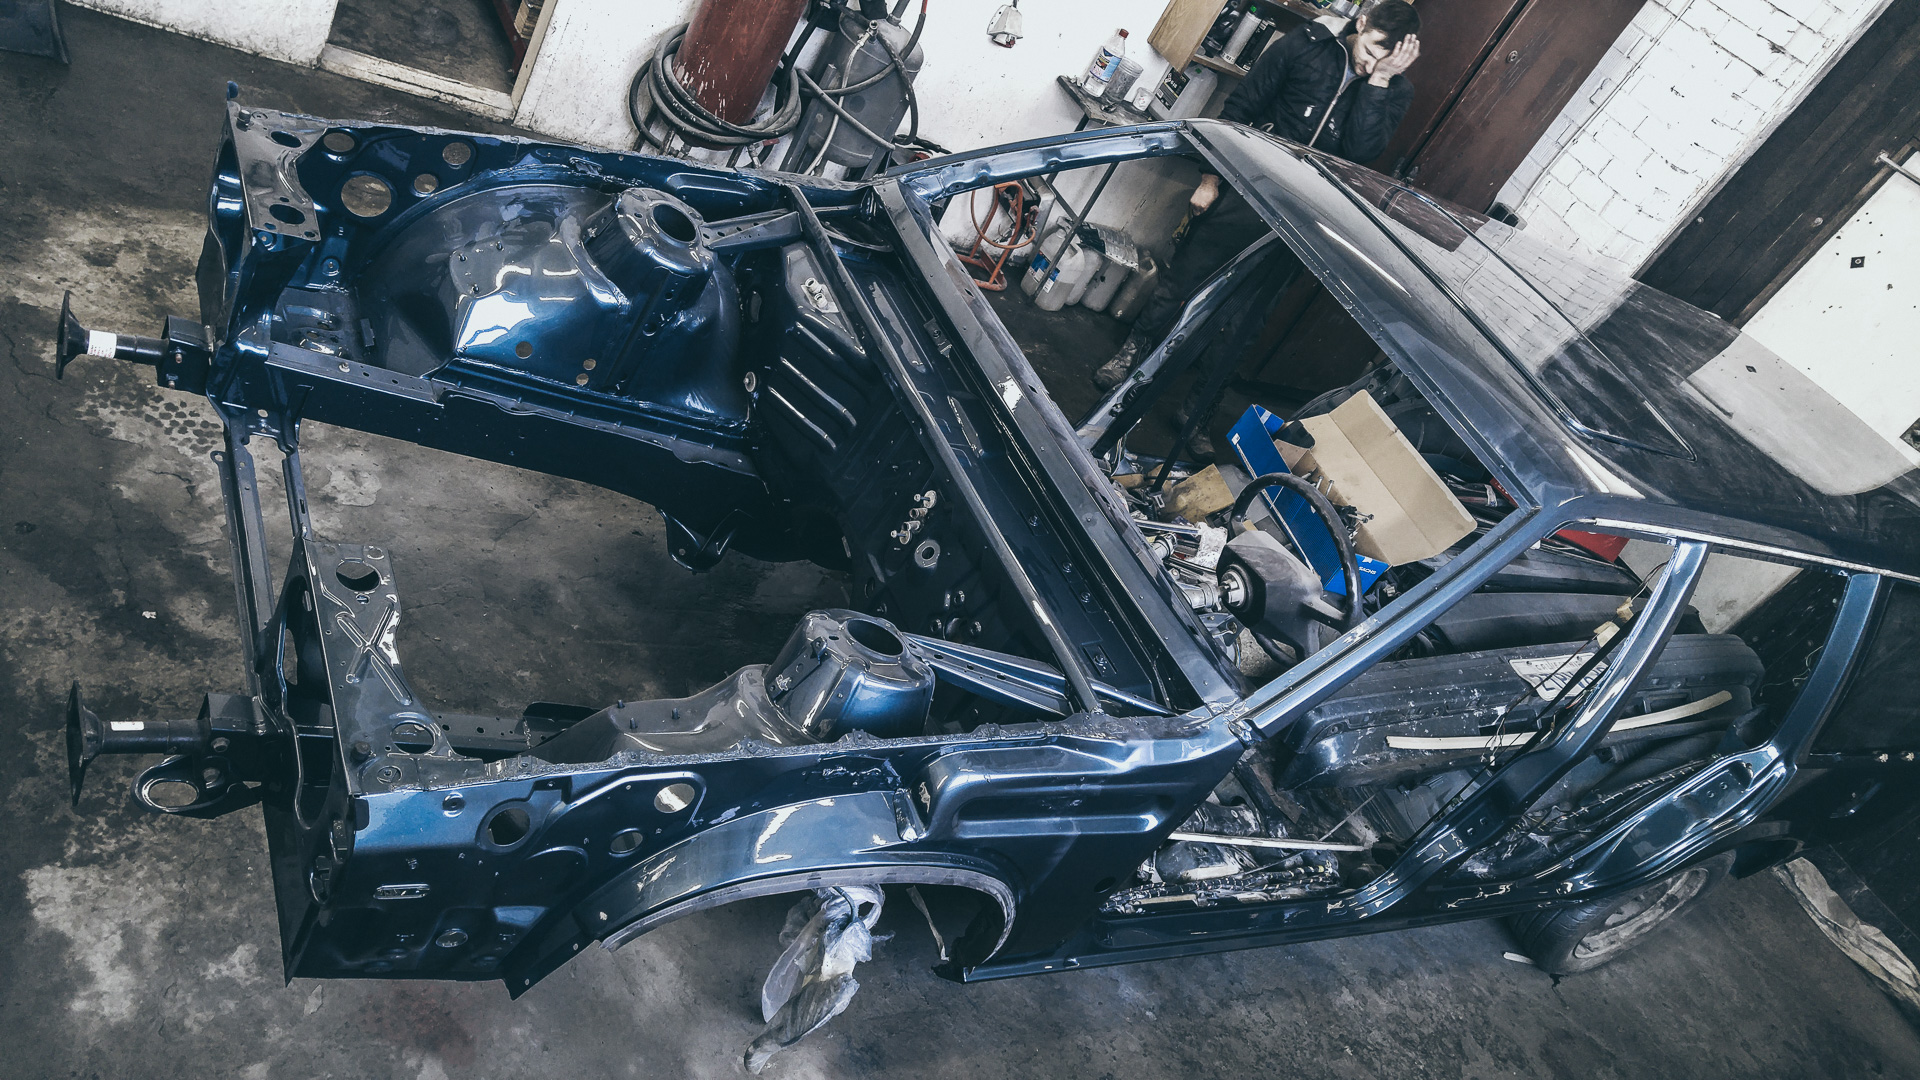
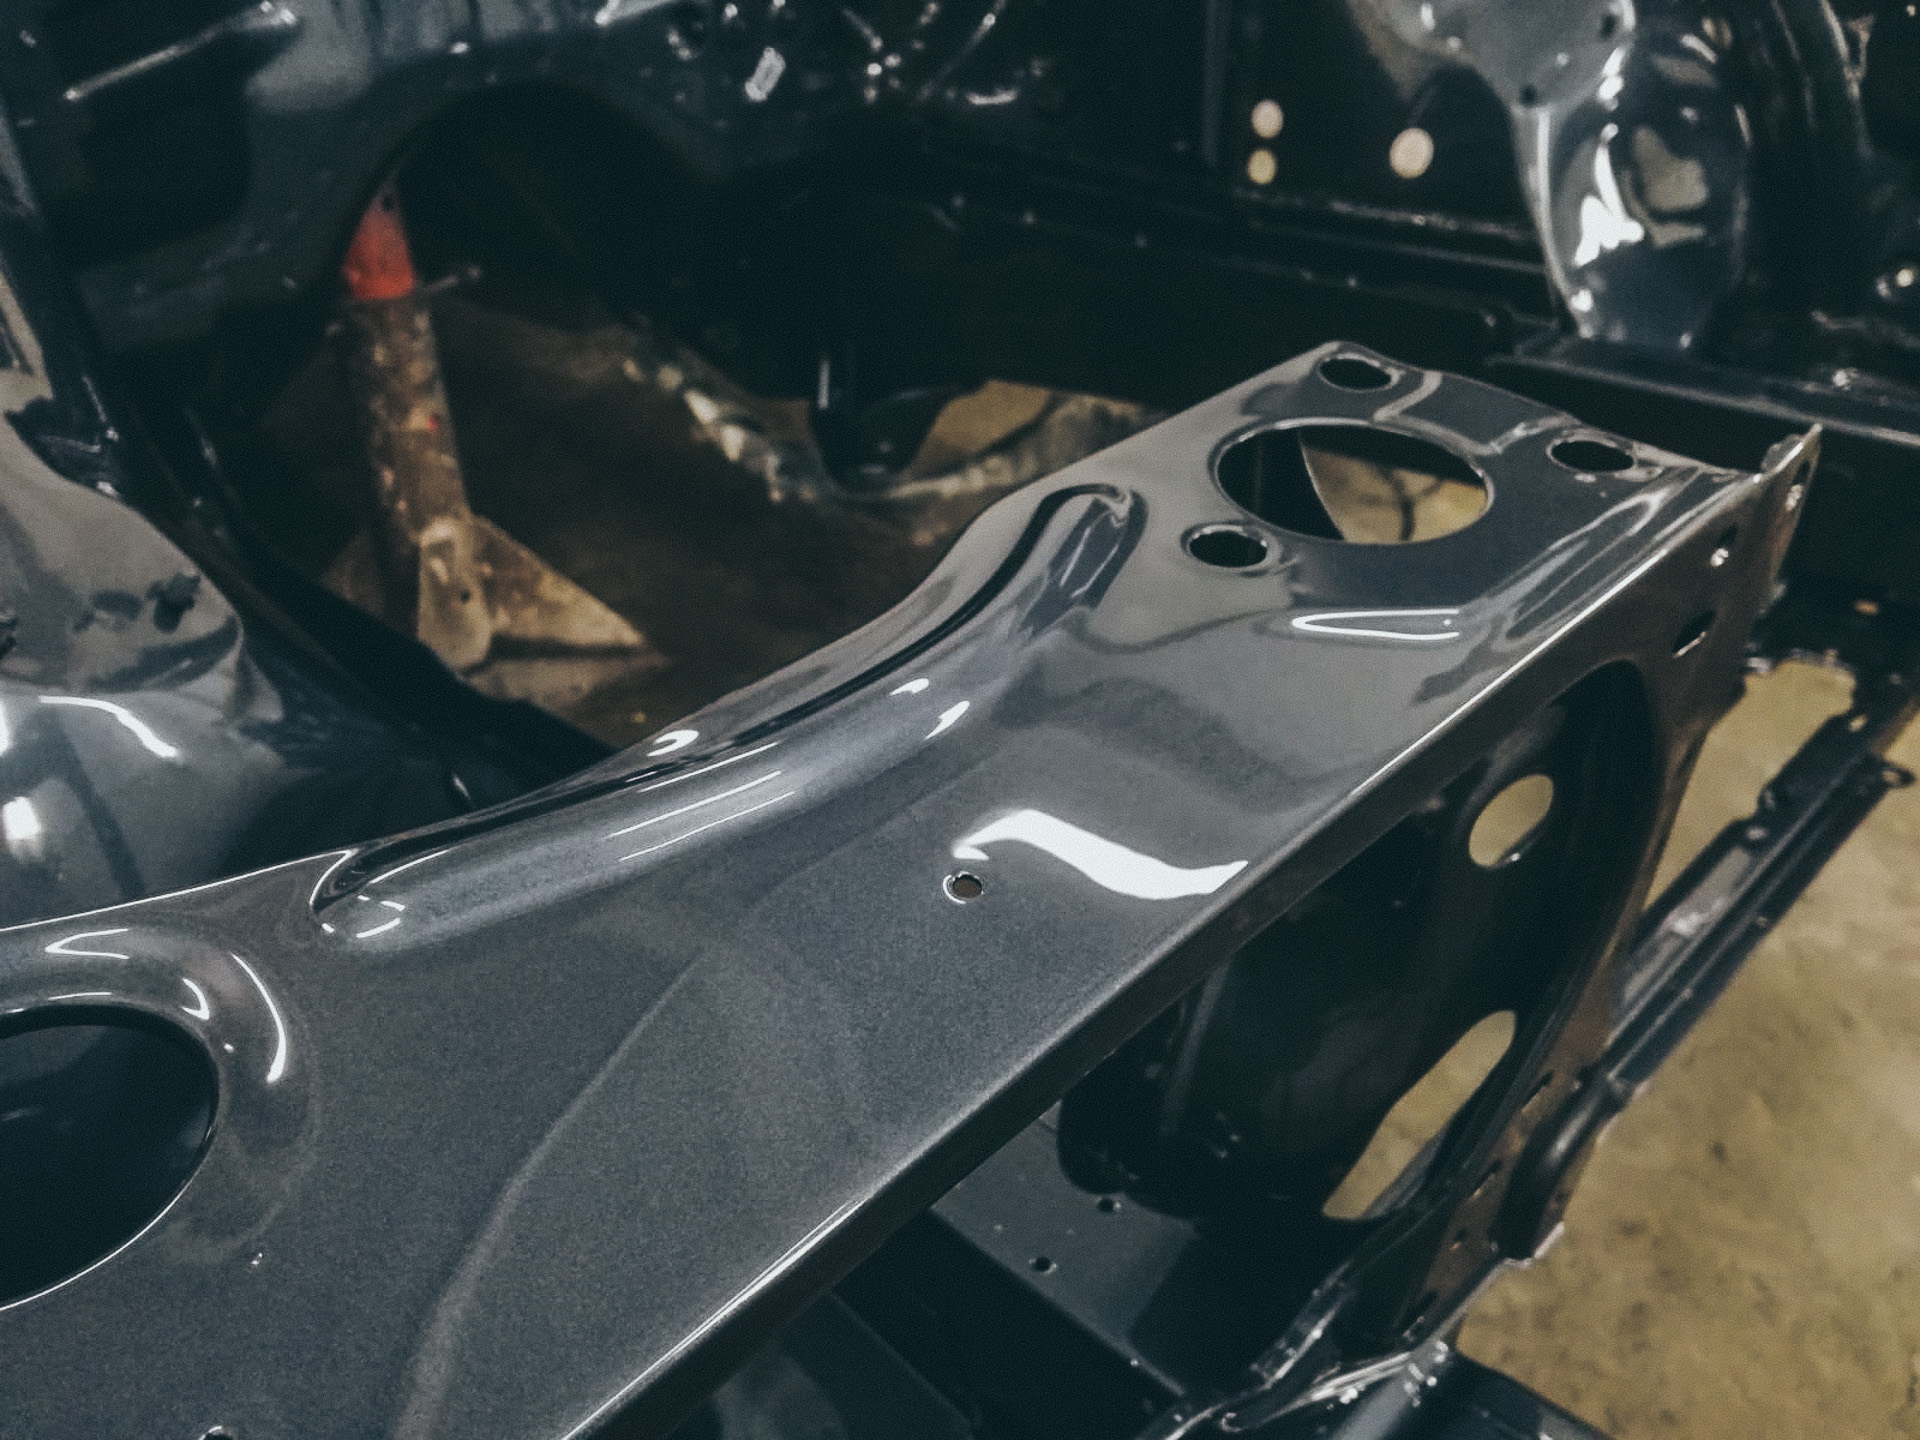
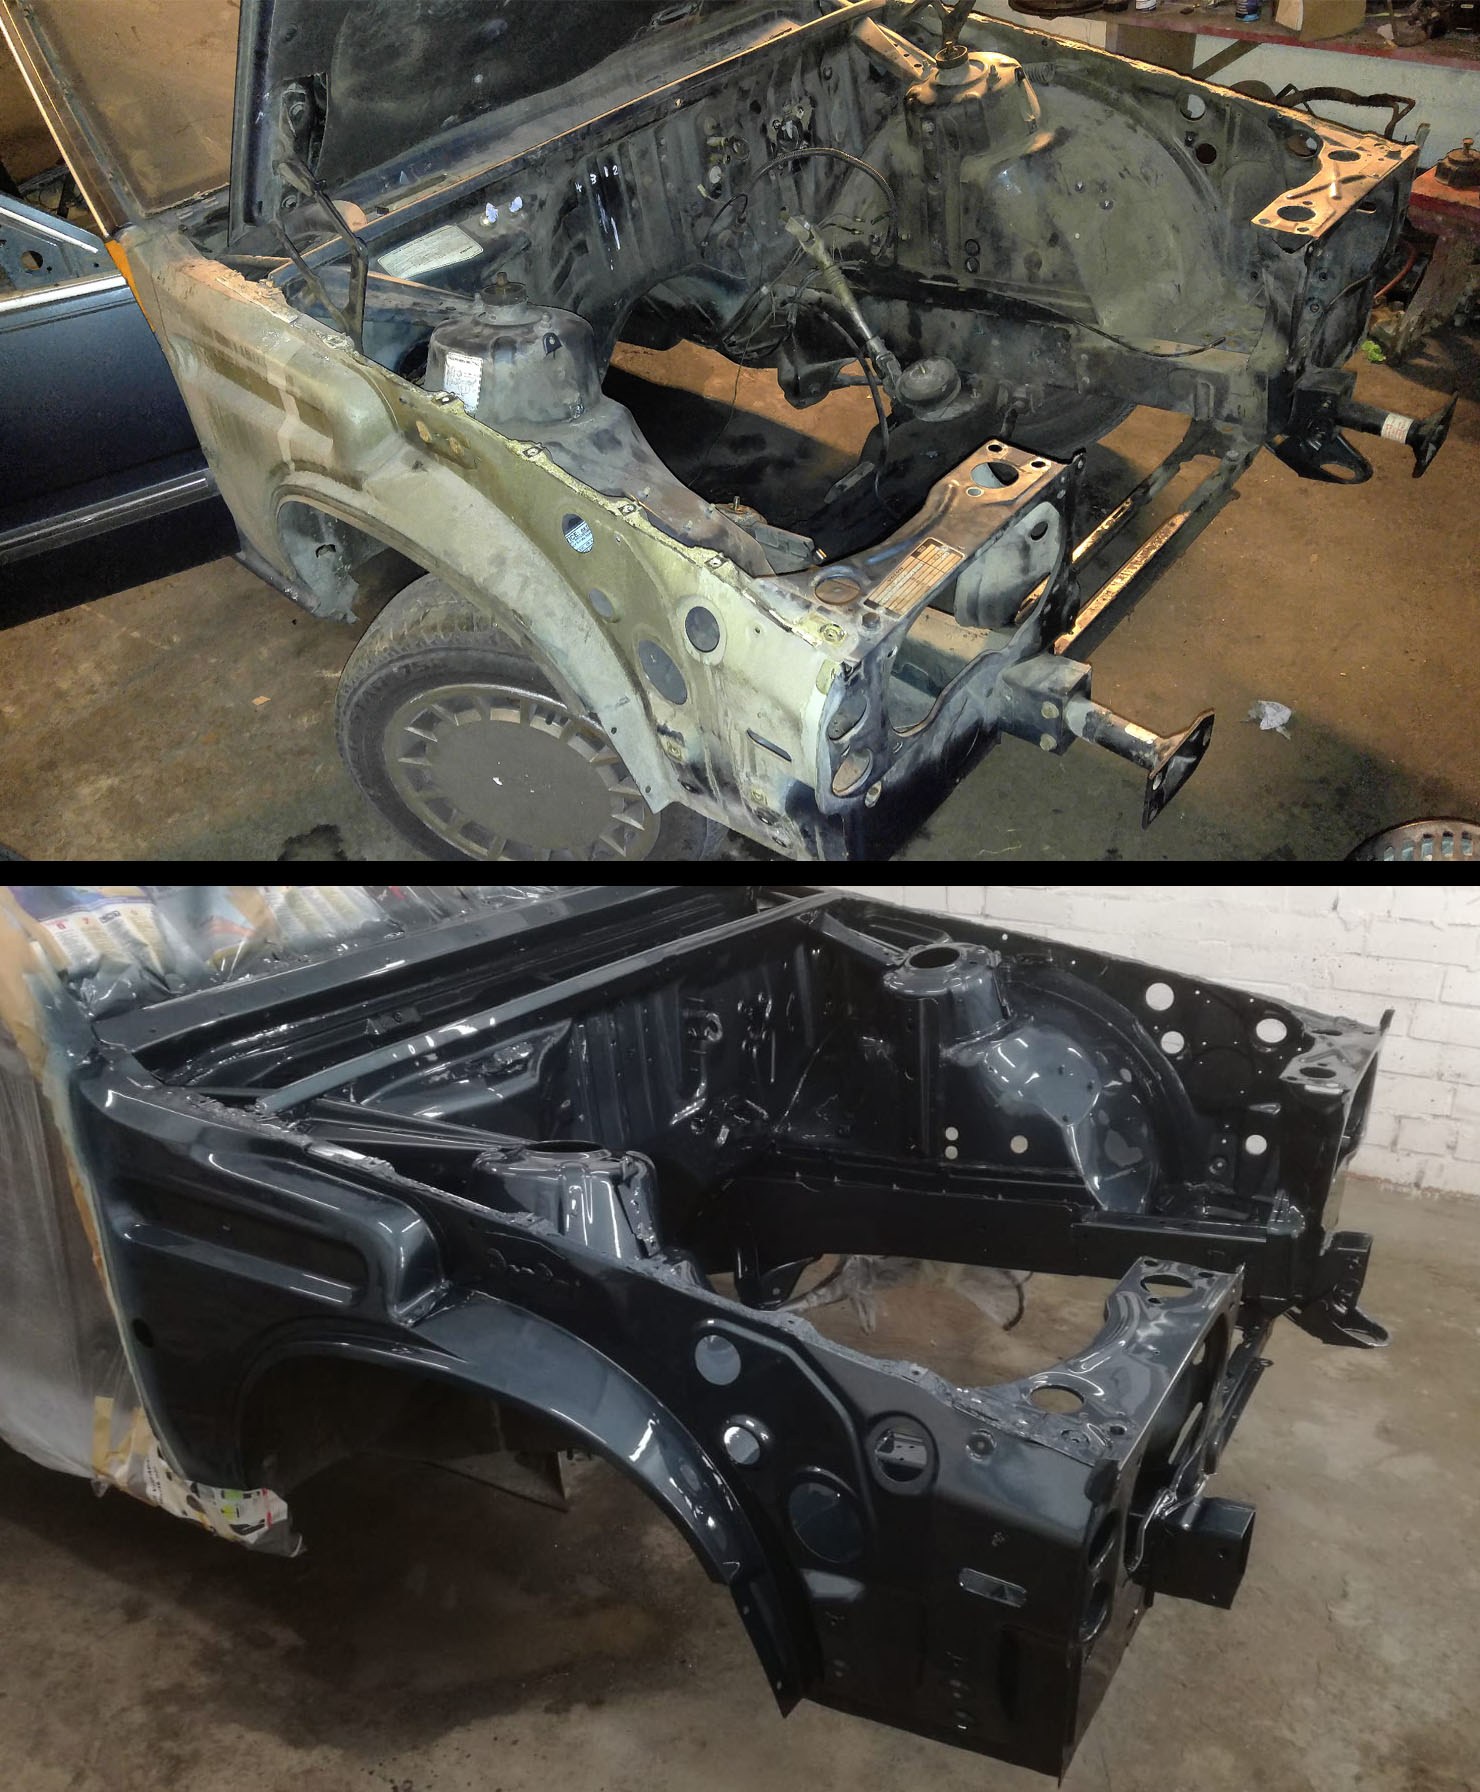
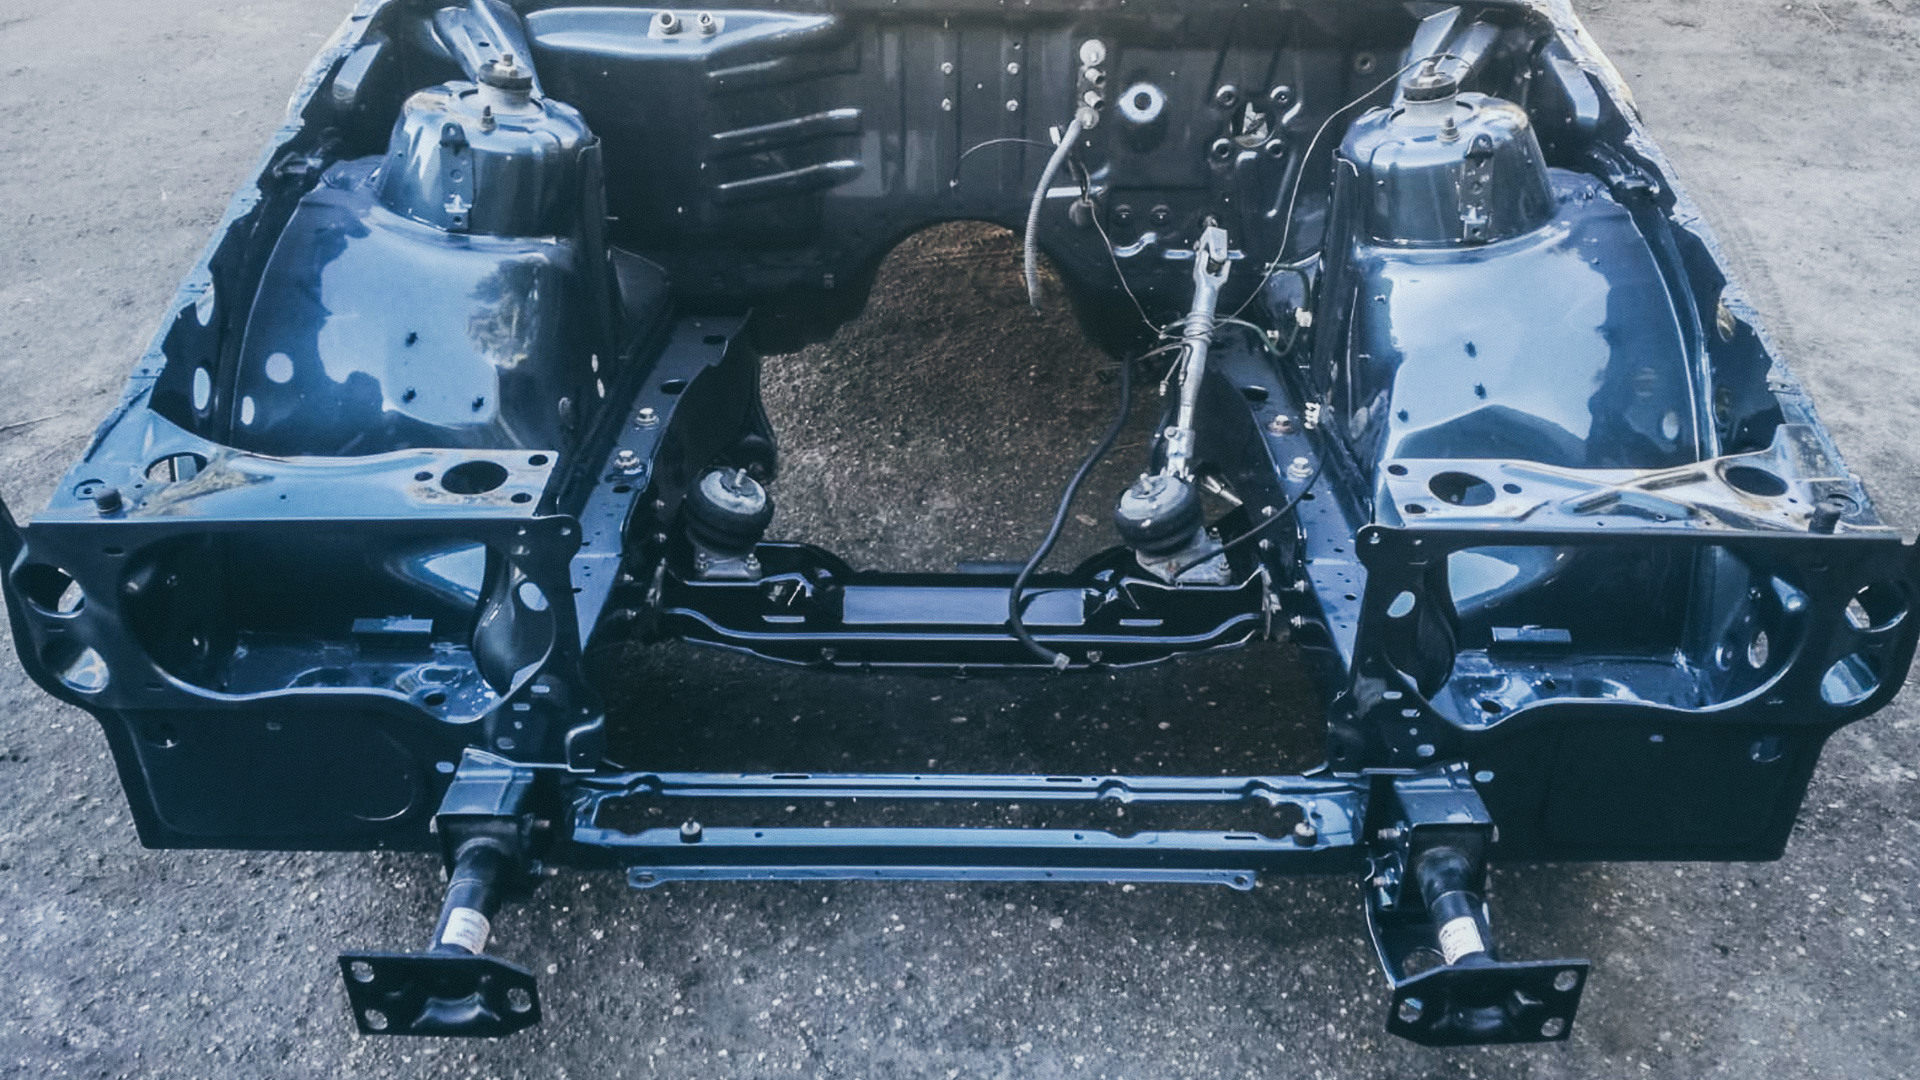
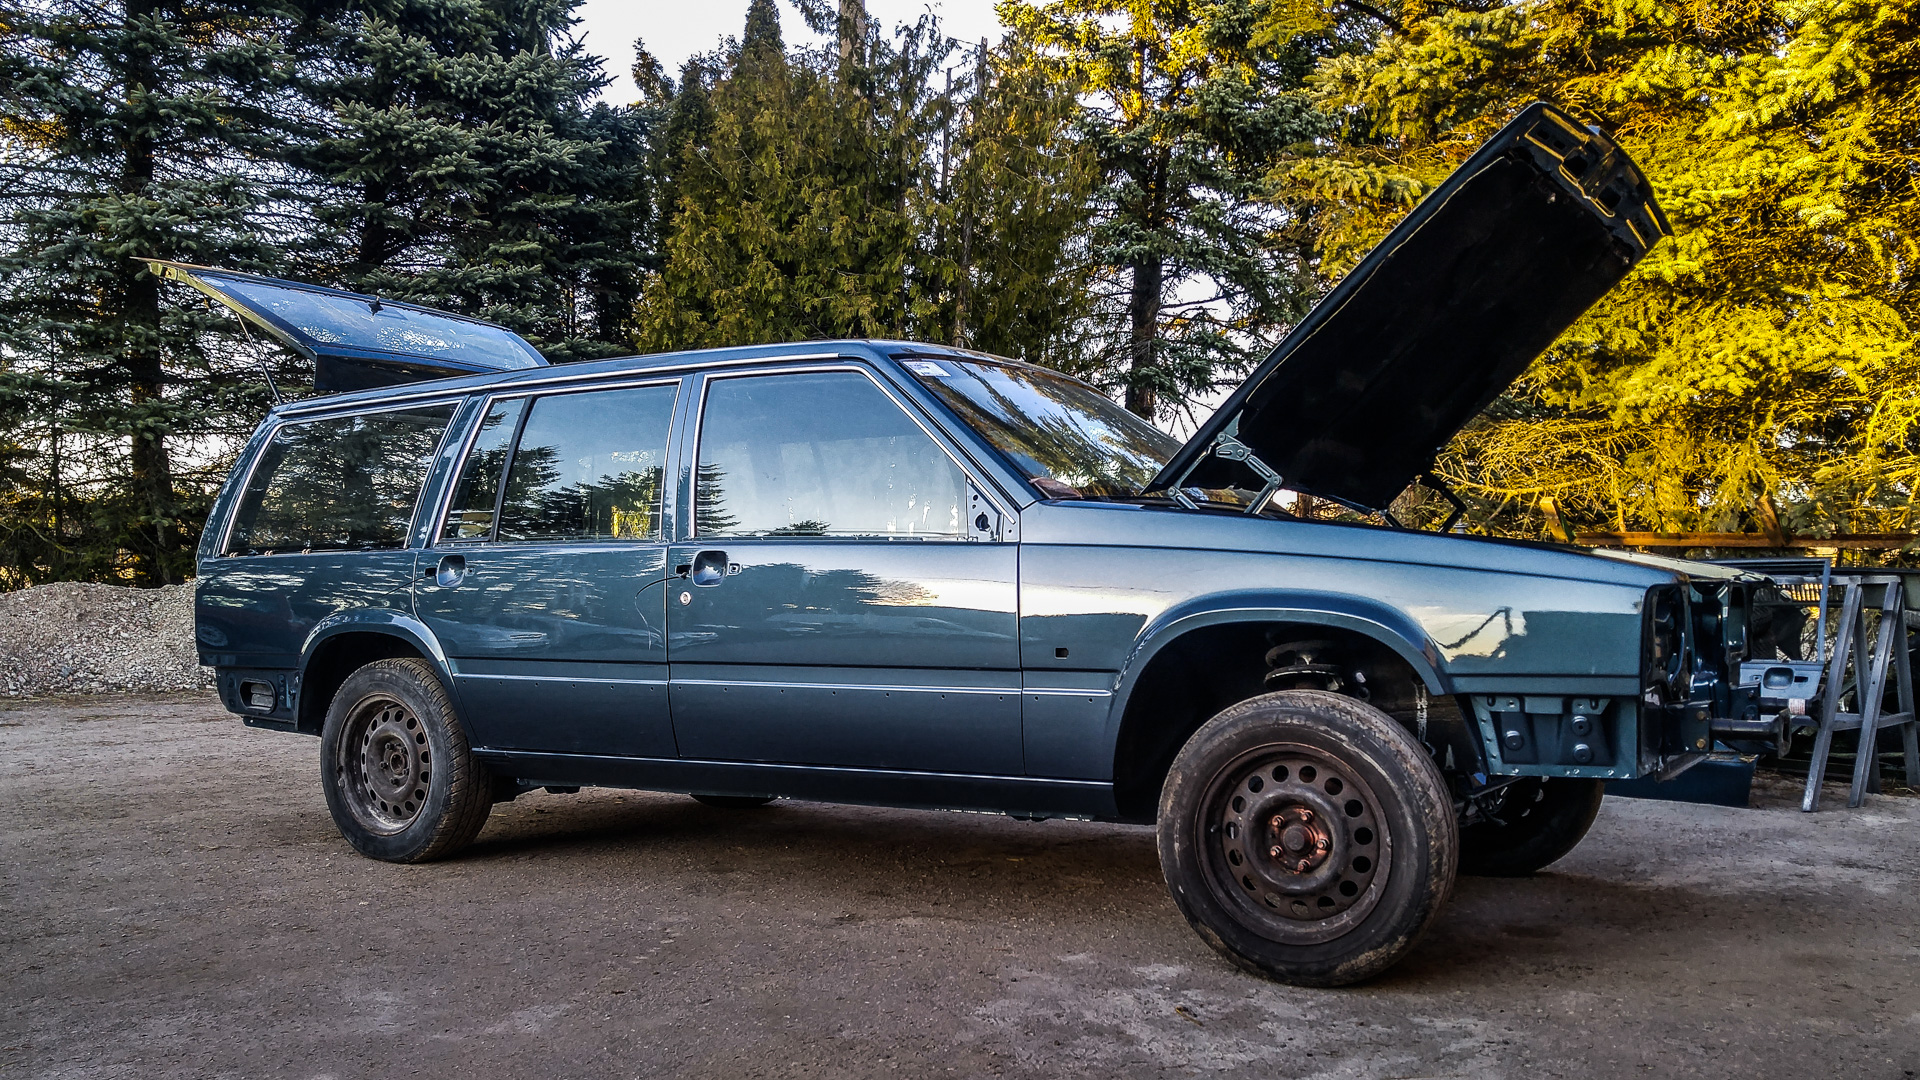
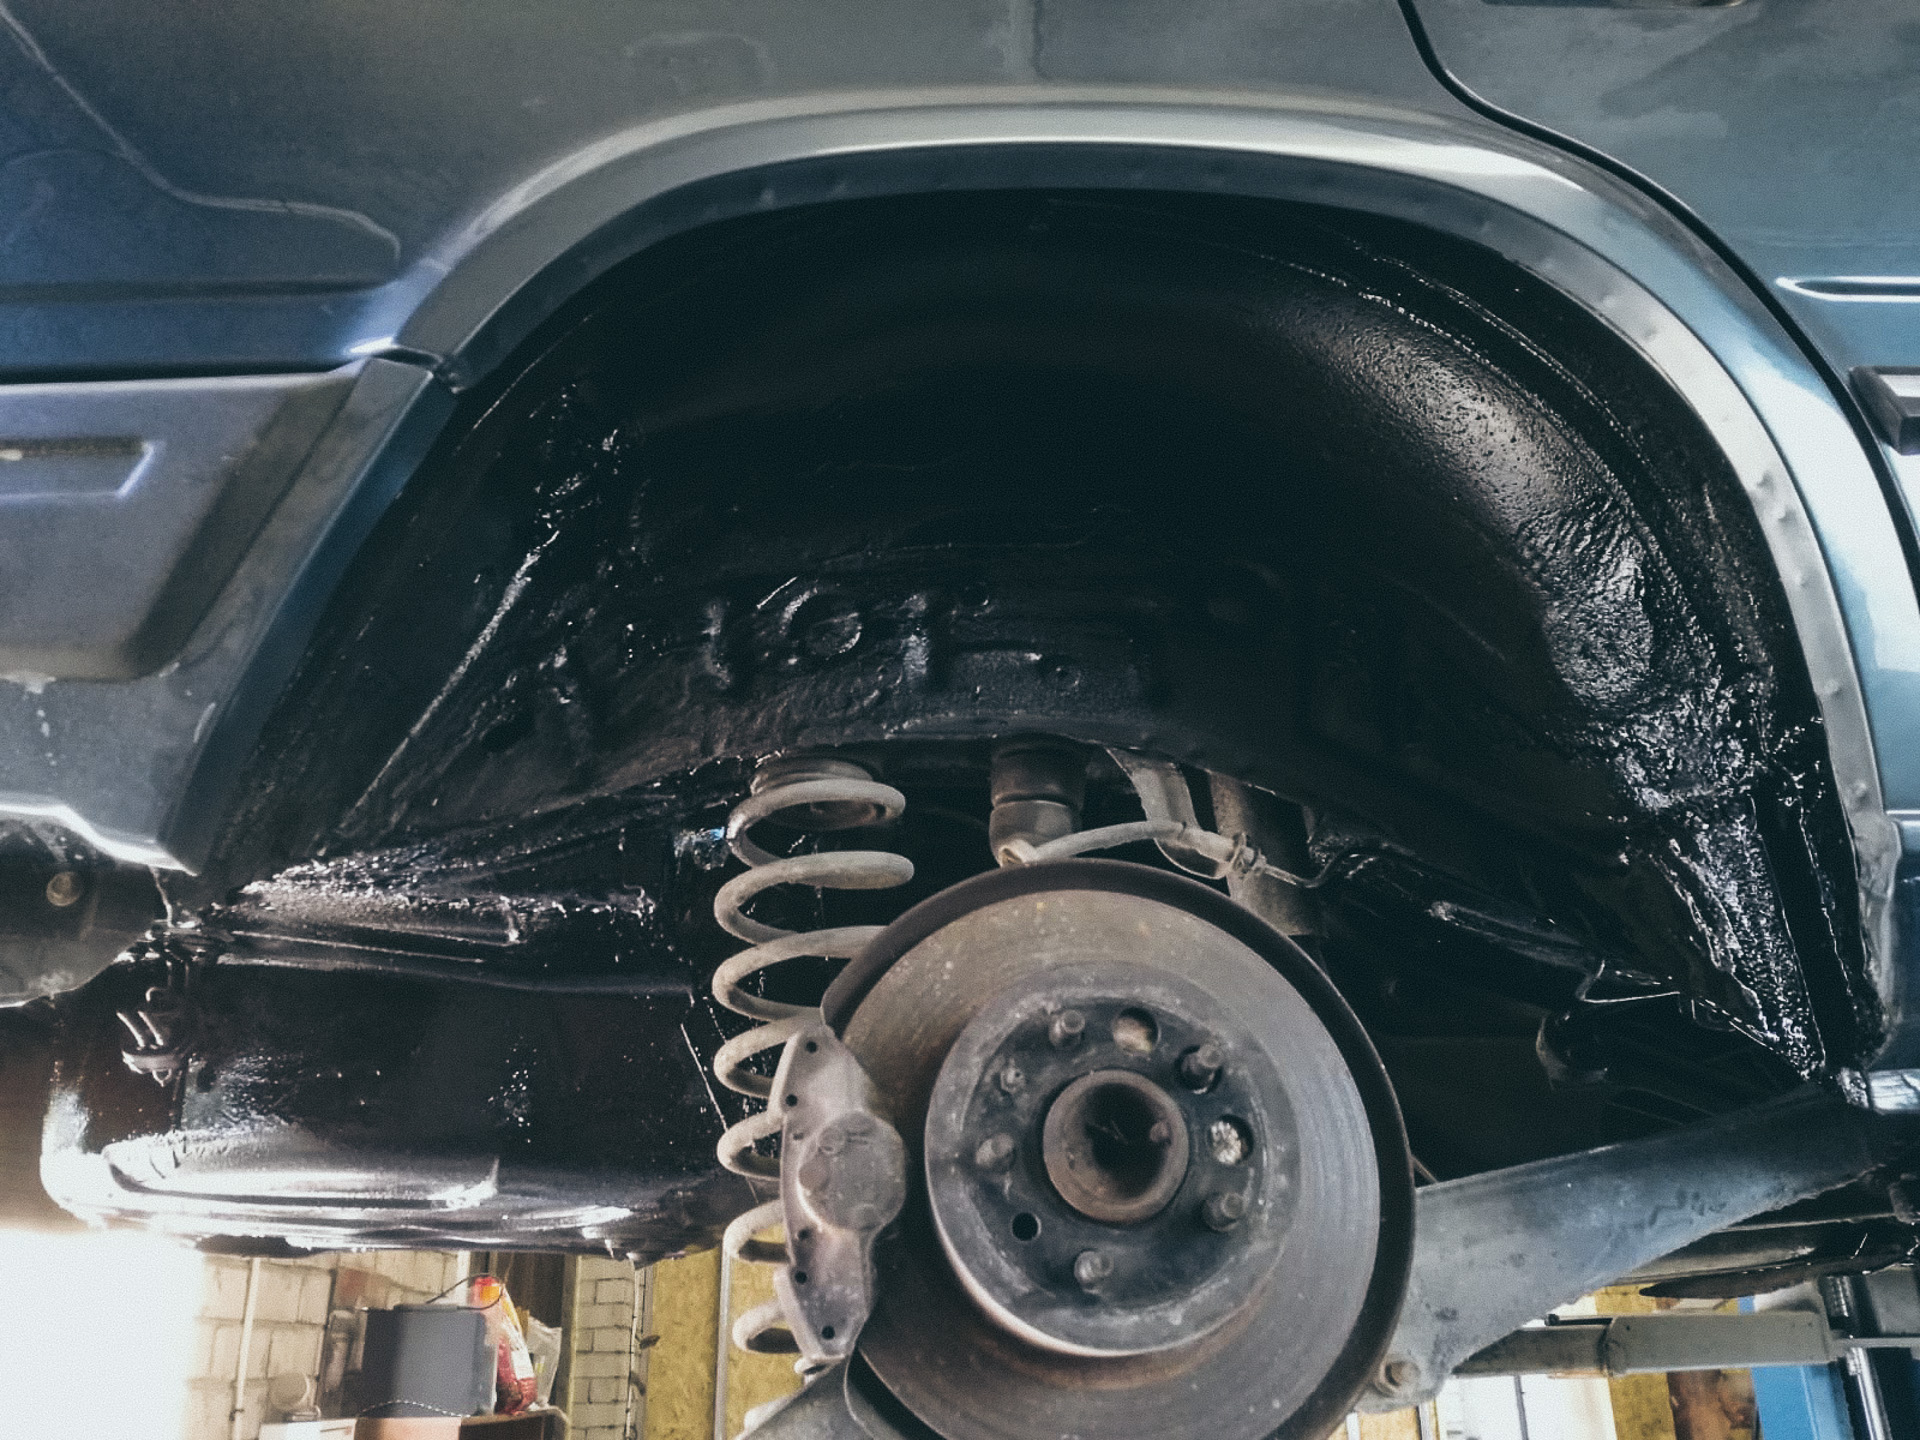
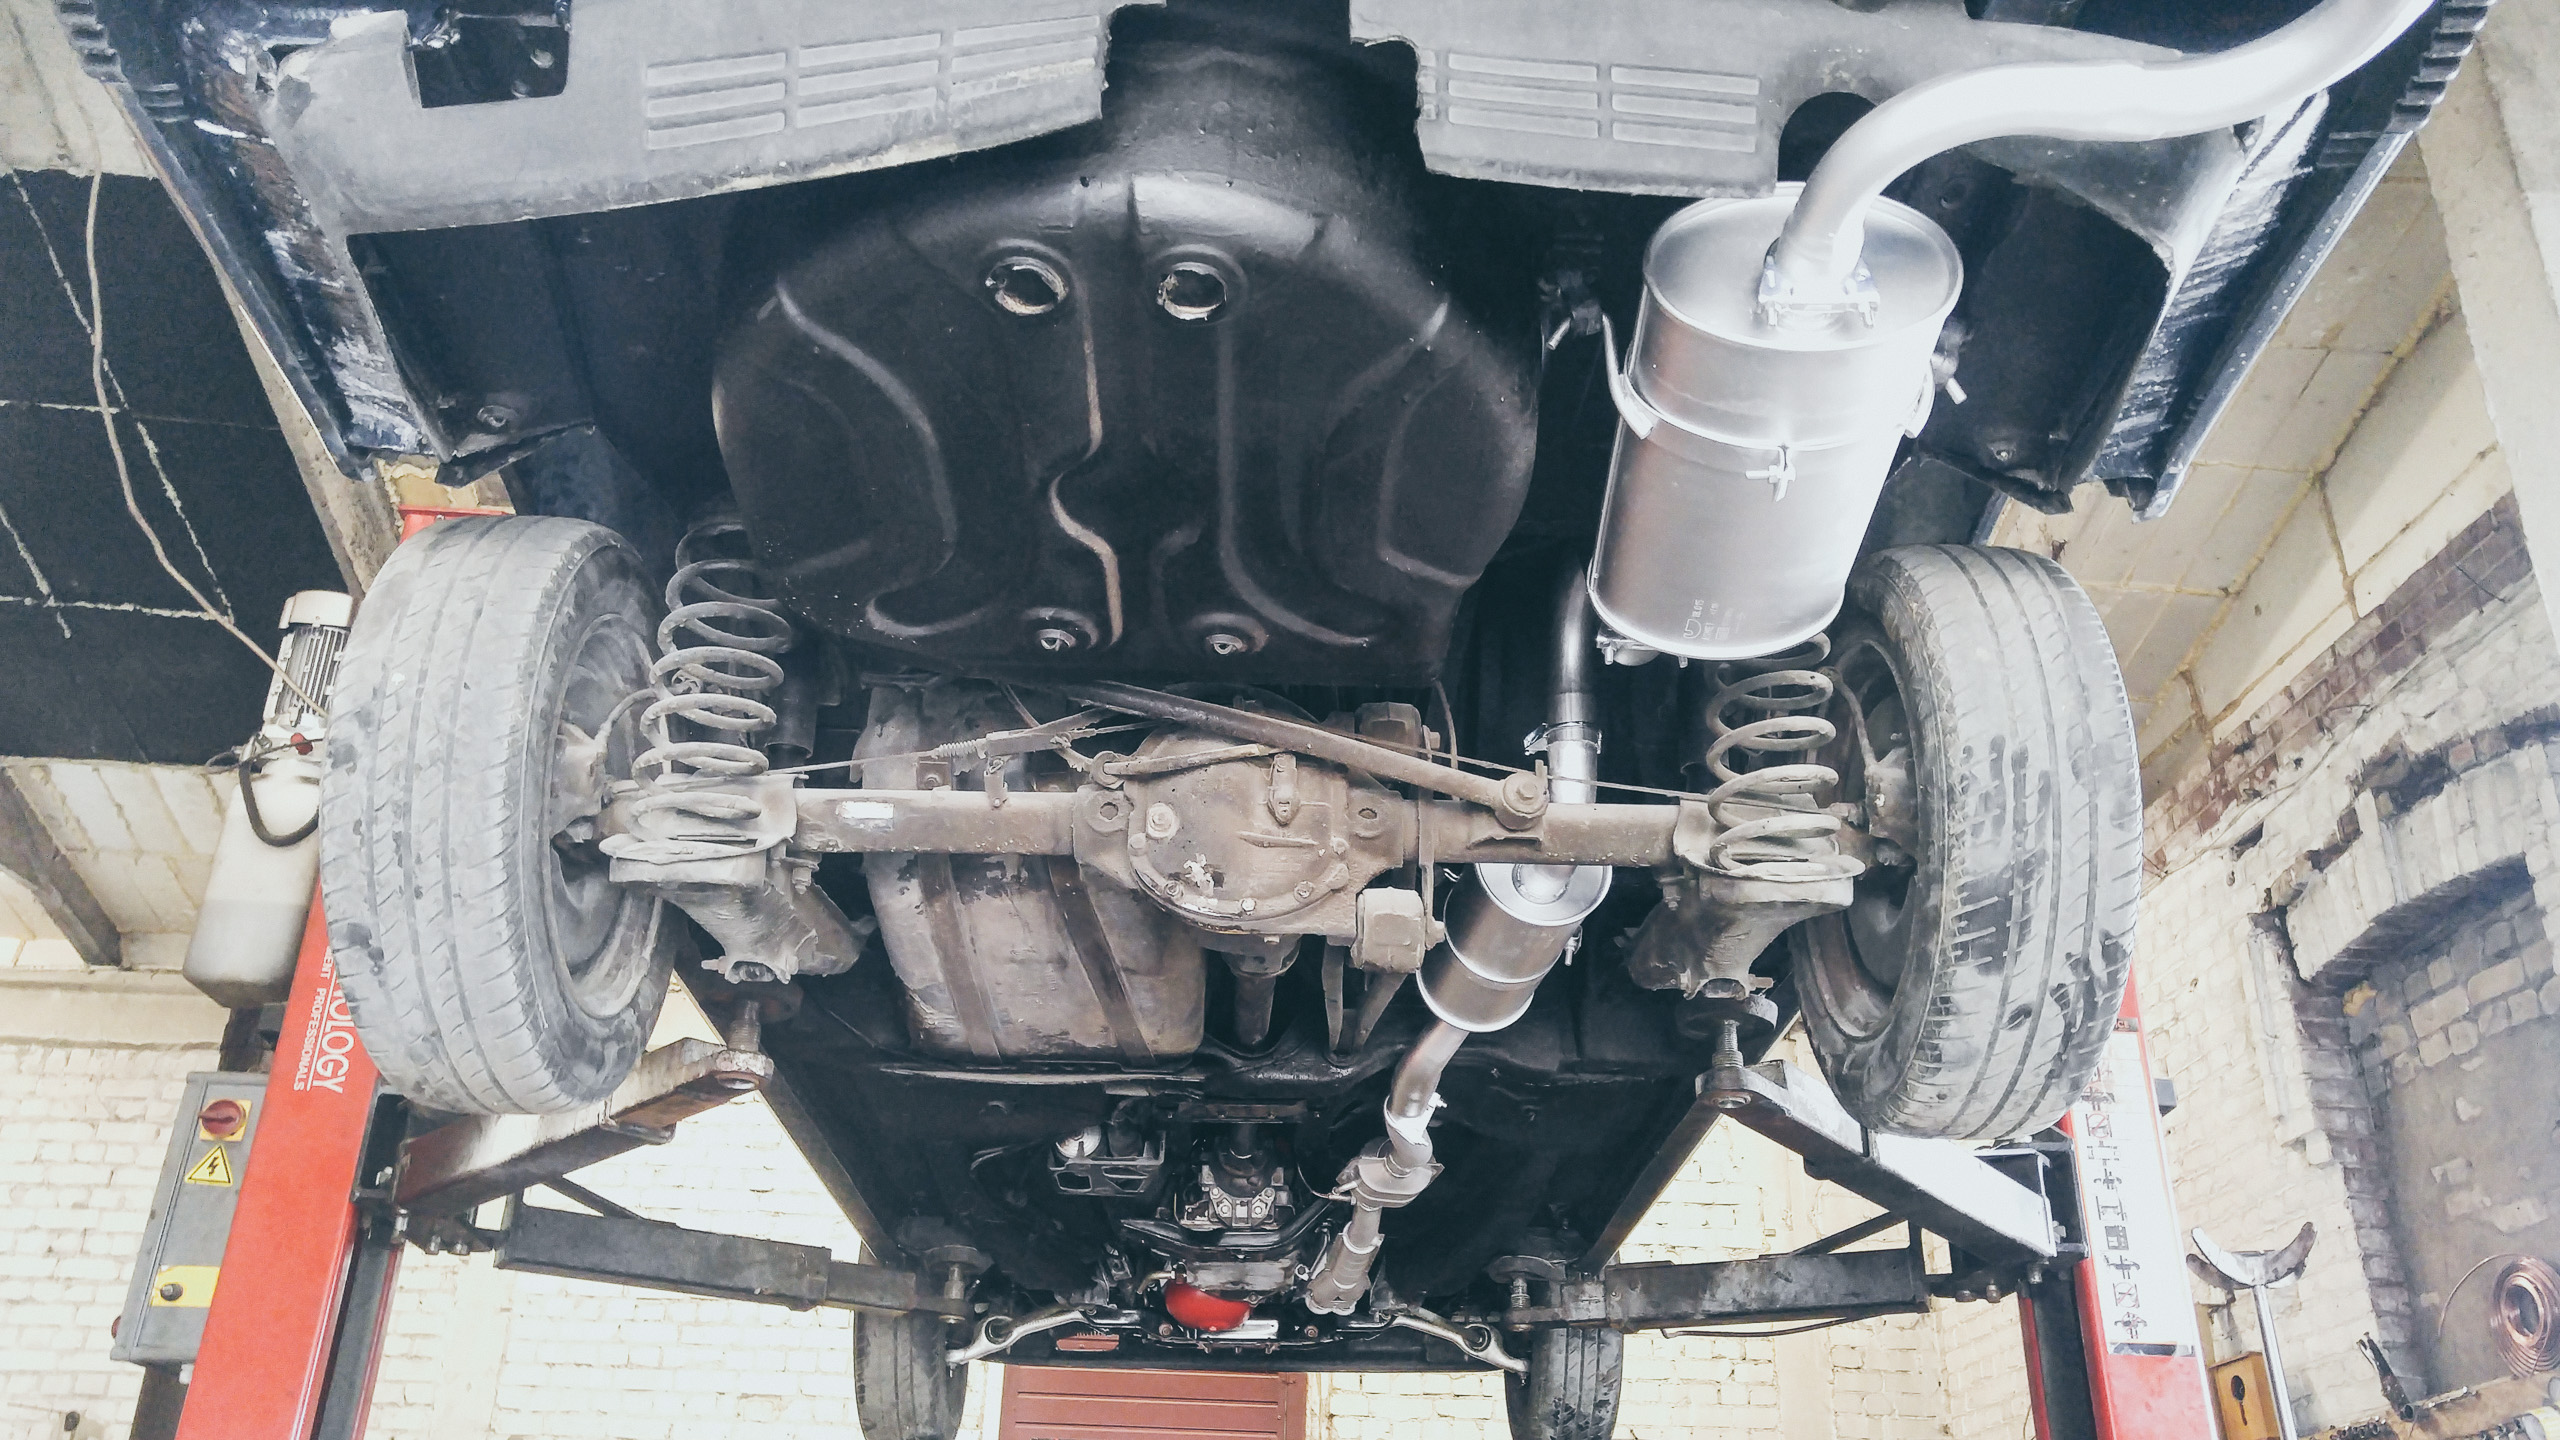
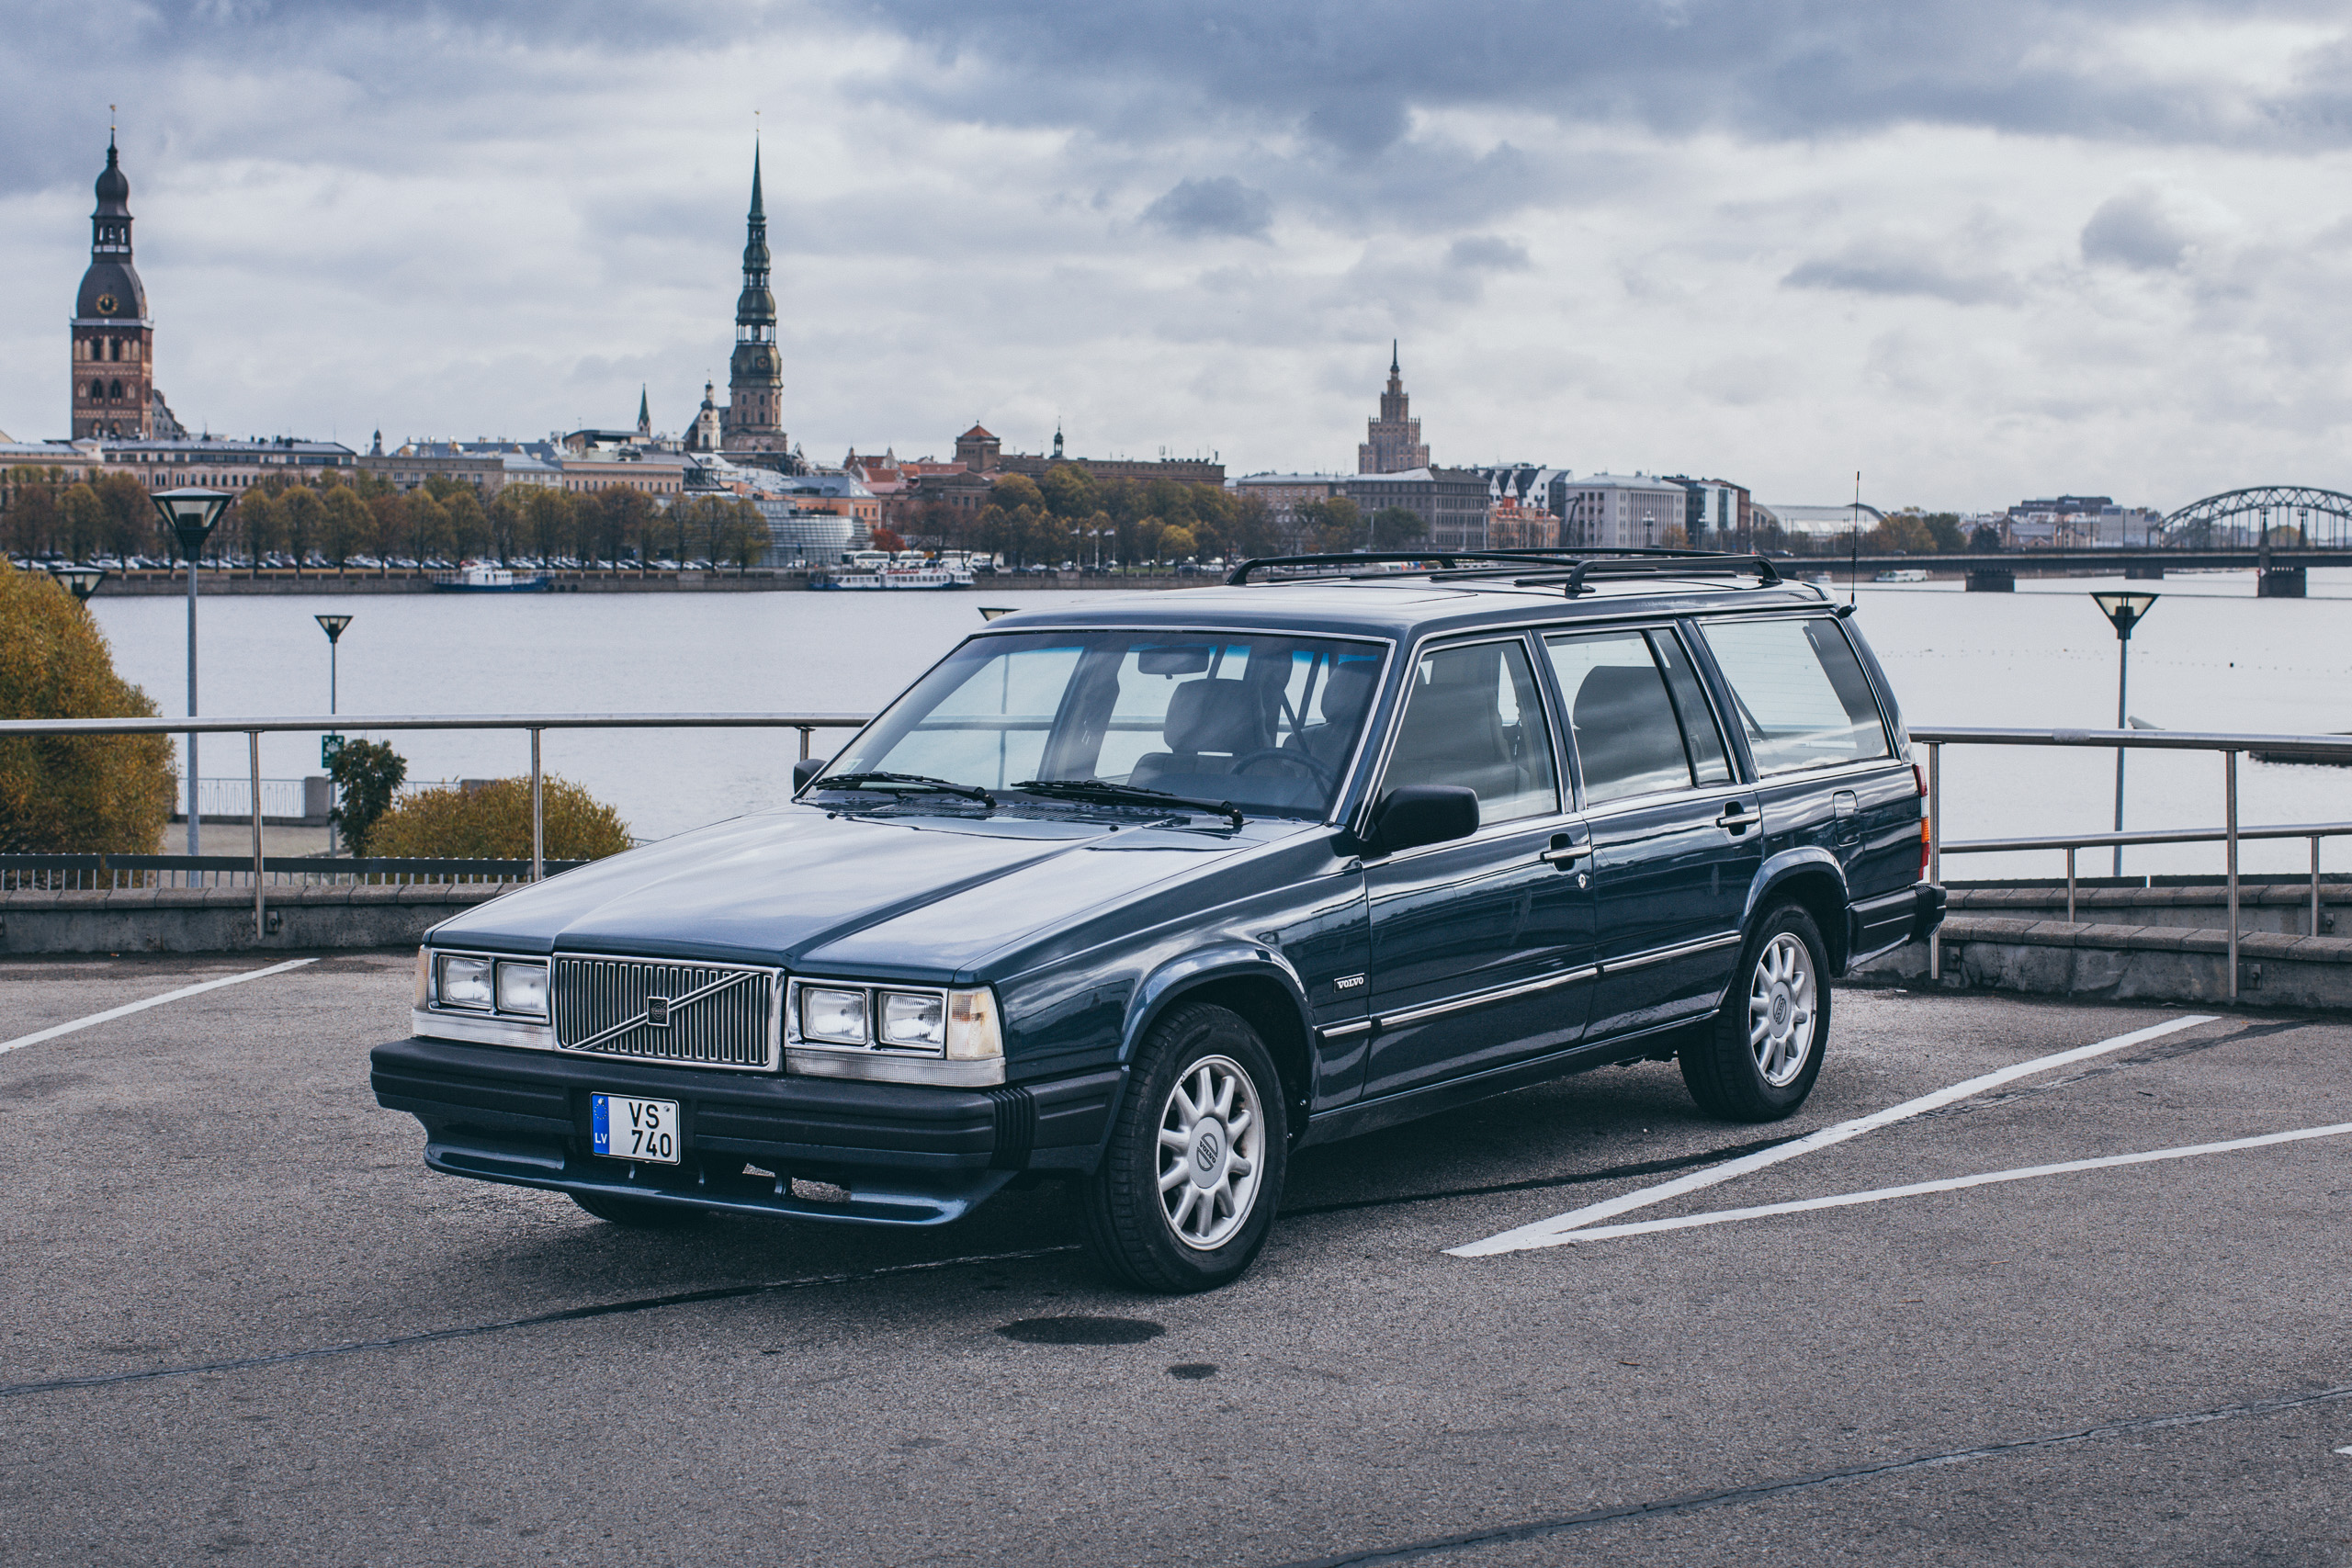
The idea is to restore the car, paint and fix up interior. I want to make a pristine retro classic out of it. The undercarriage is in excellent condition.
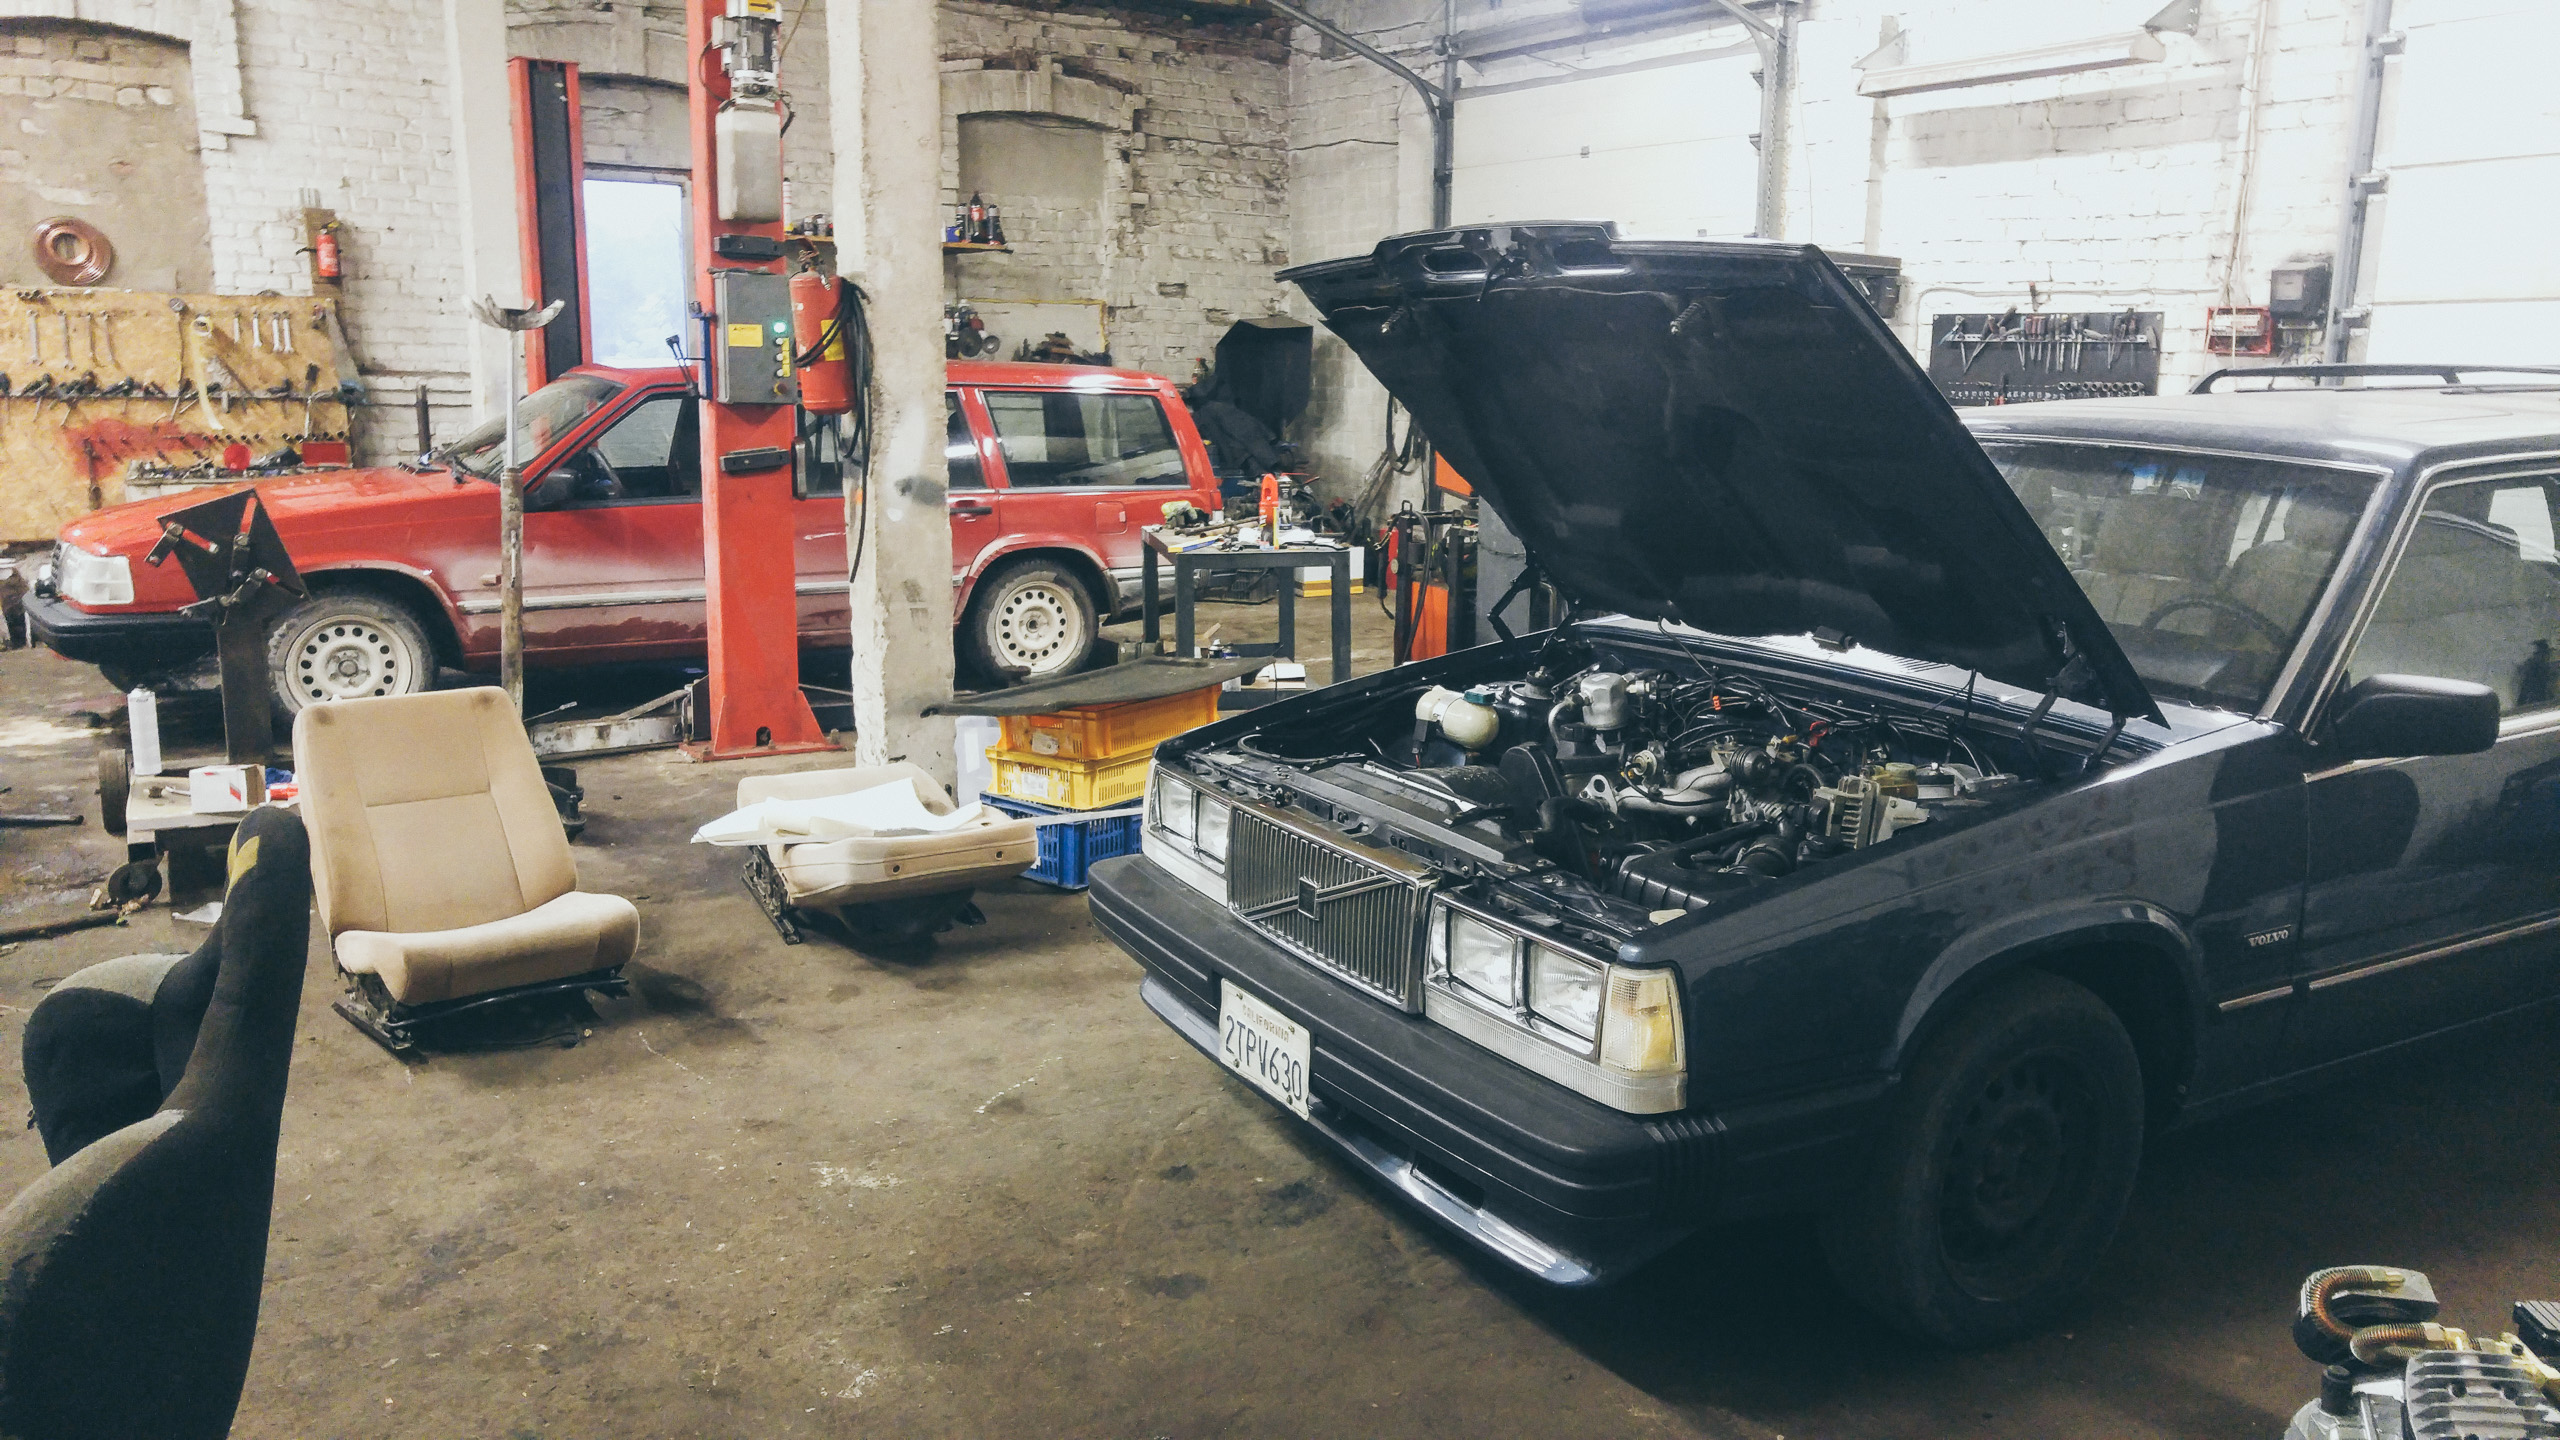
I was searching for a shop in Latvia that does old Volvos, but since old Volvos are so few, and there is no big money in the parts, finding parts and someone who is an expert on Volvos is tough. I was ready to drive across the country just to find someone competent that help me restore the car.
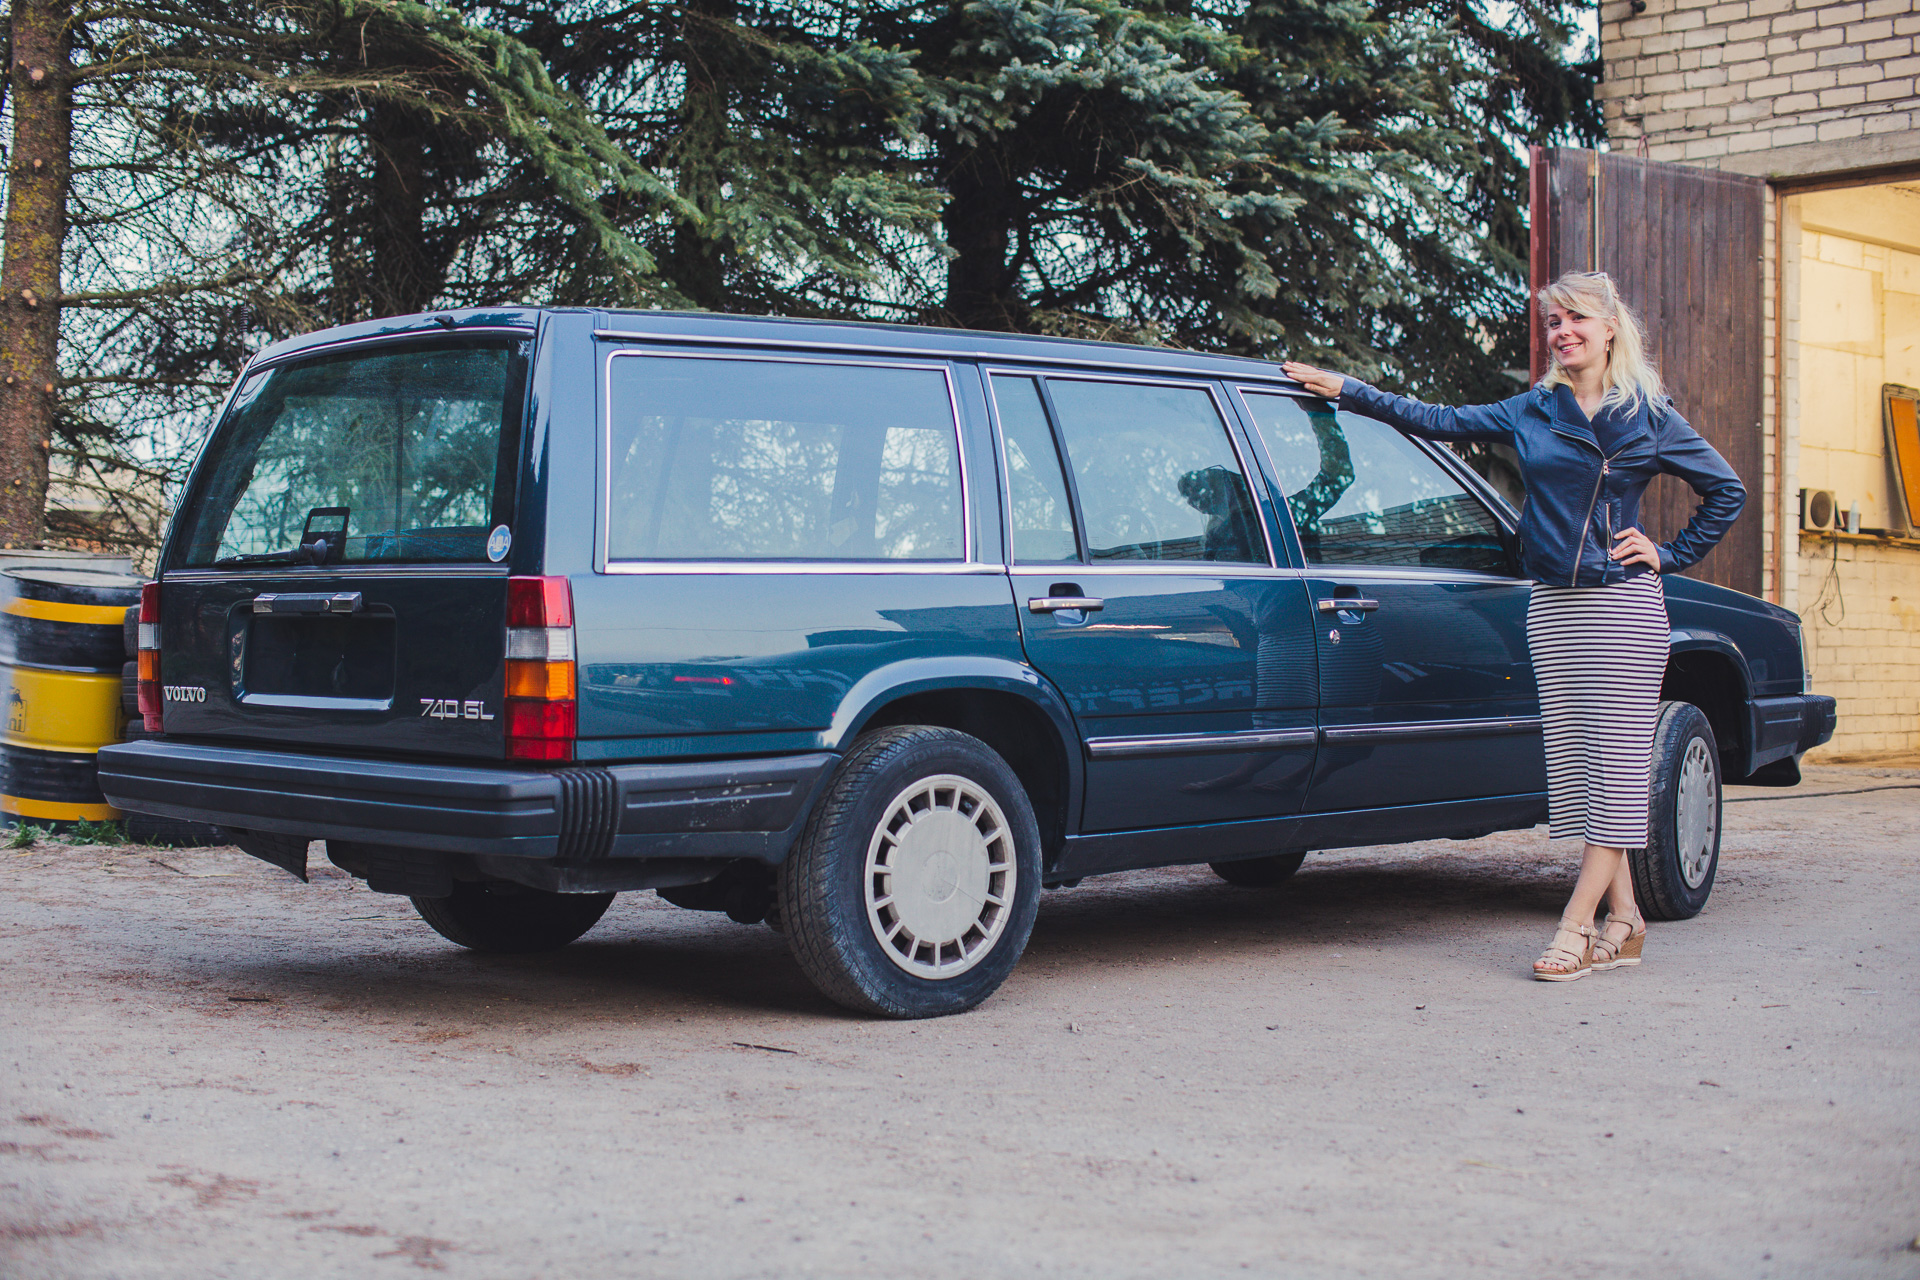
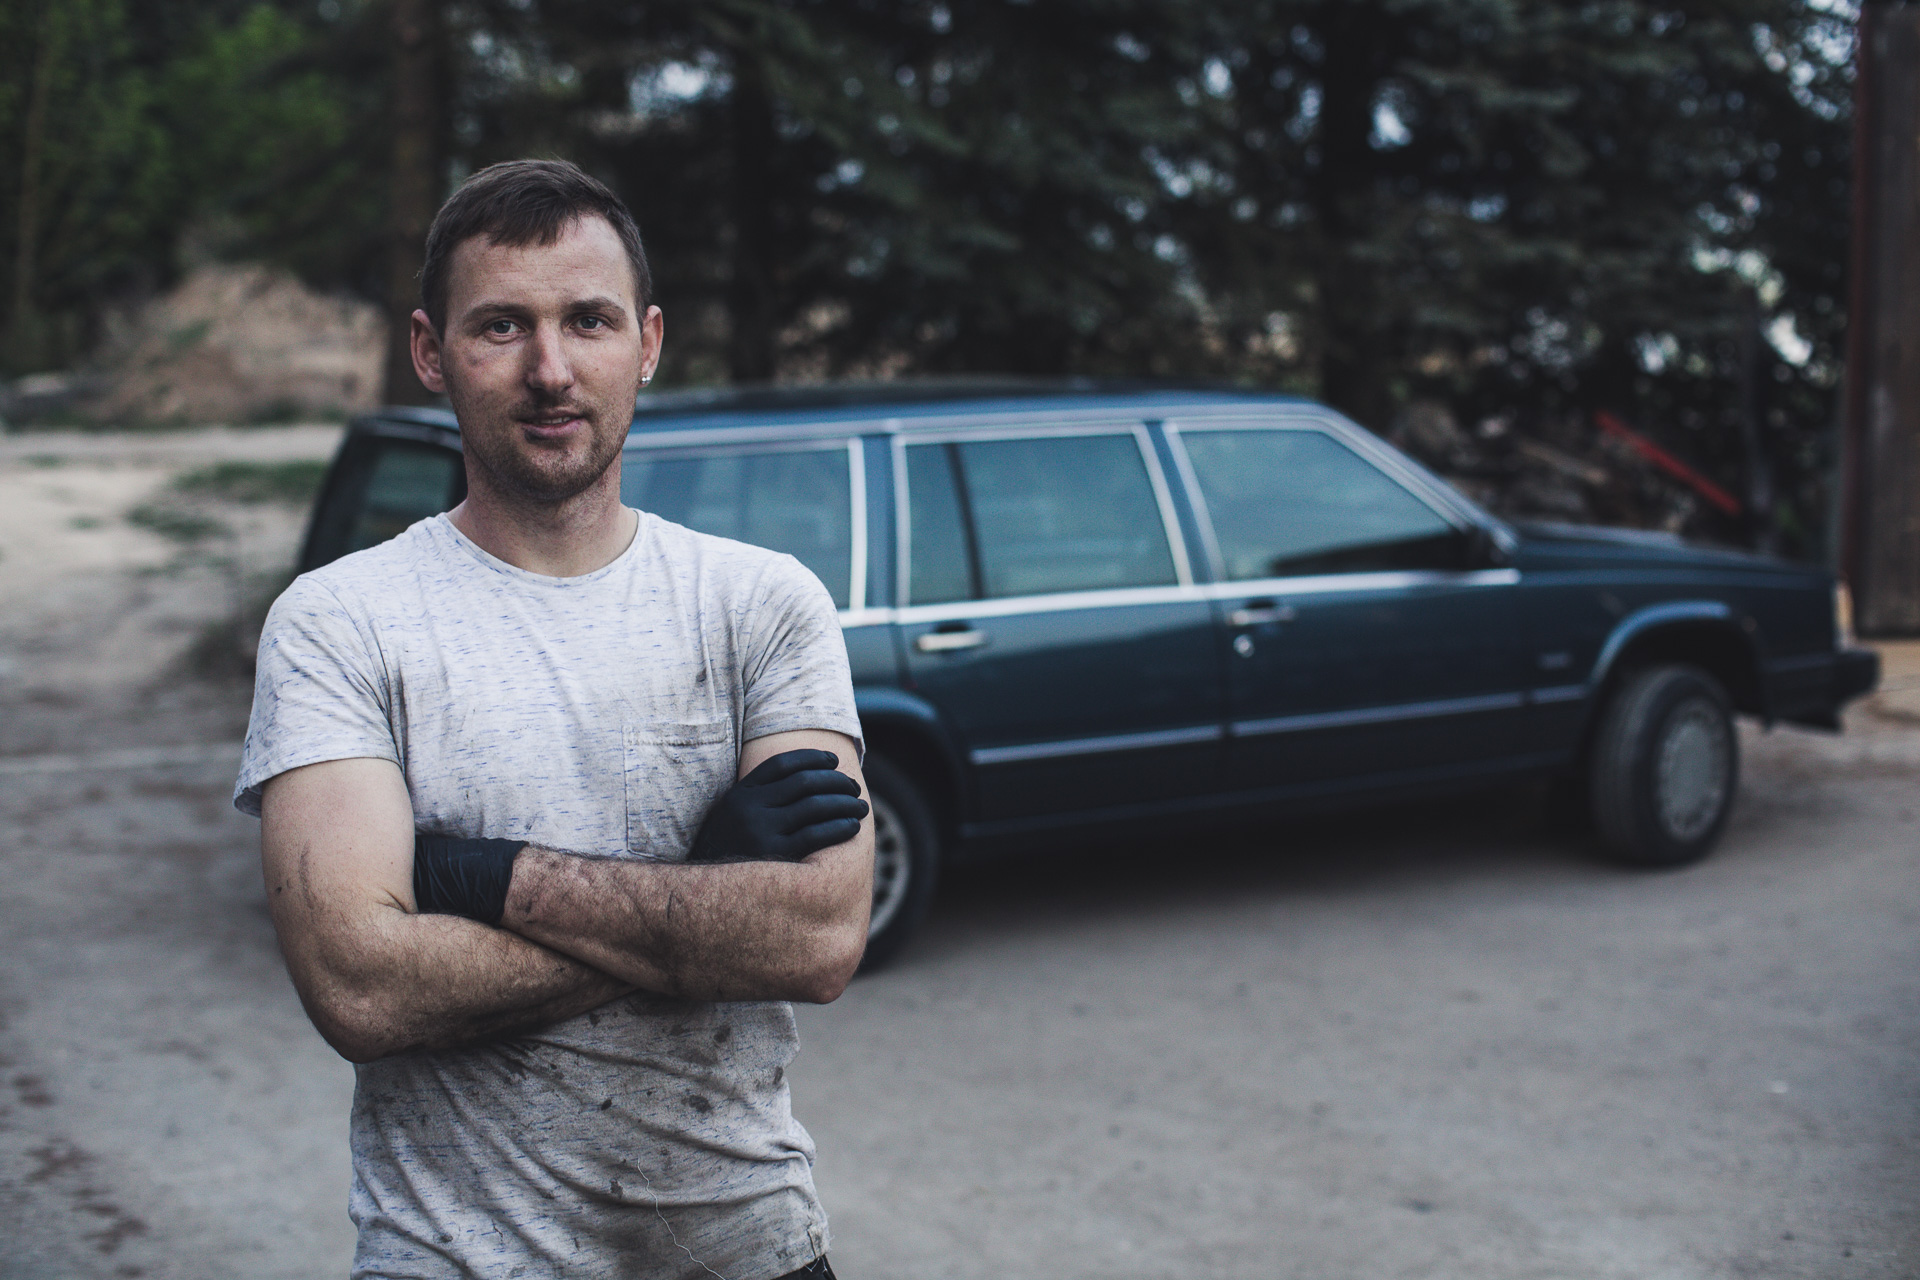
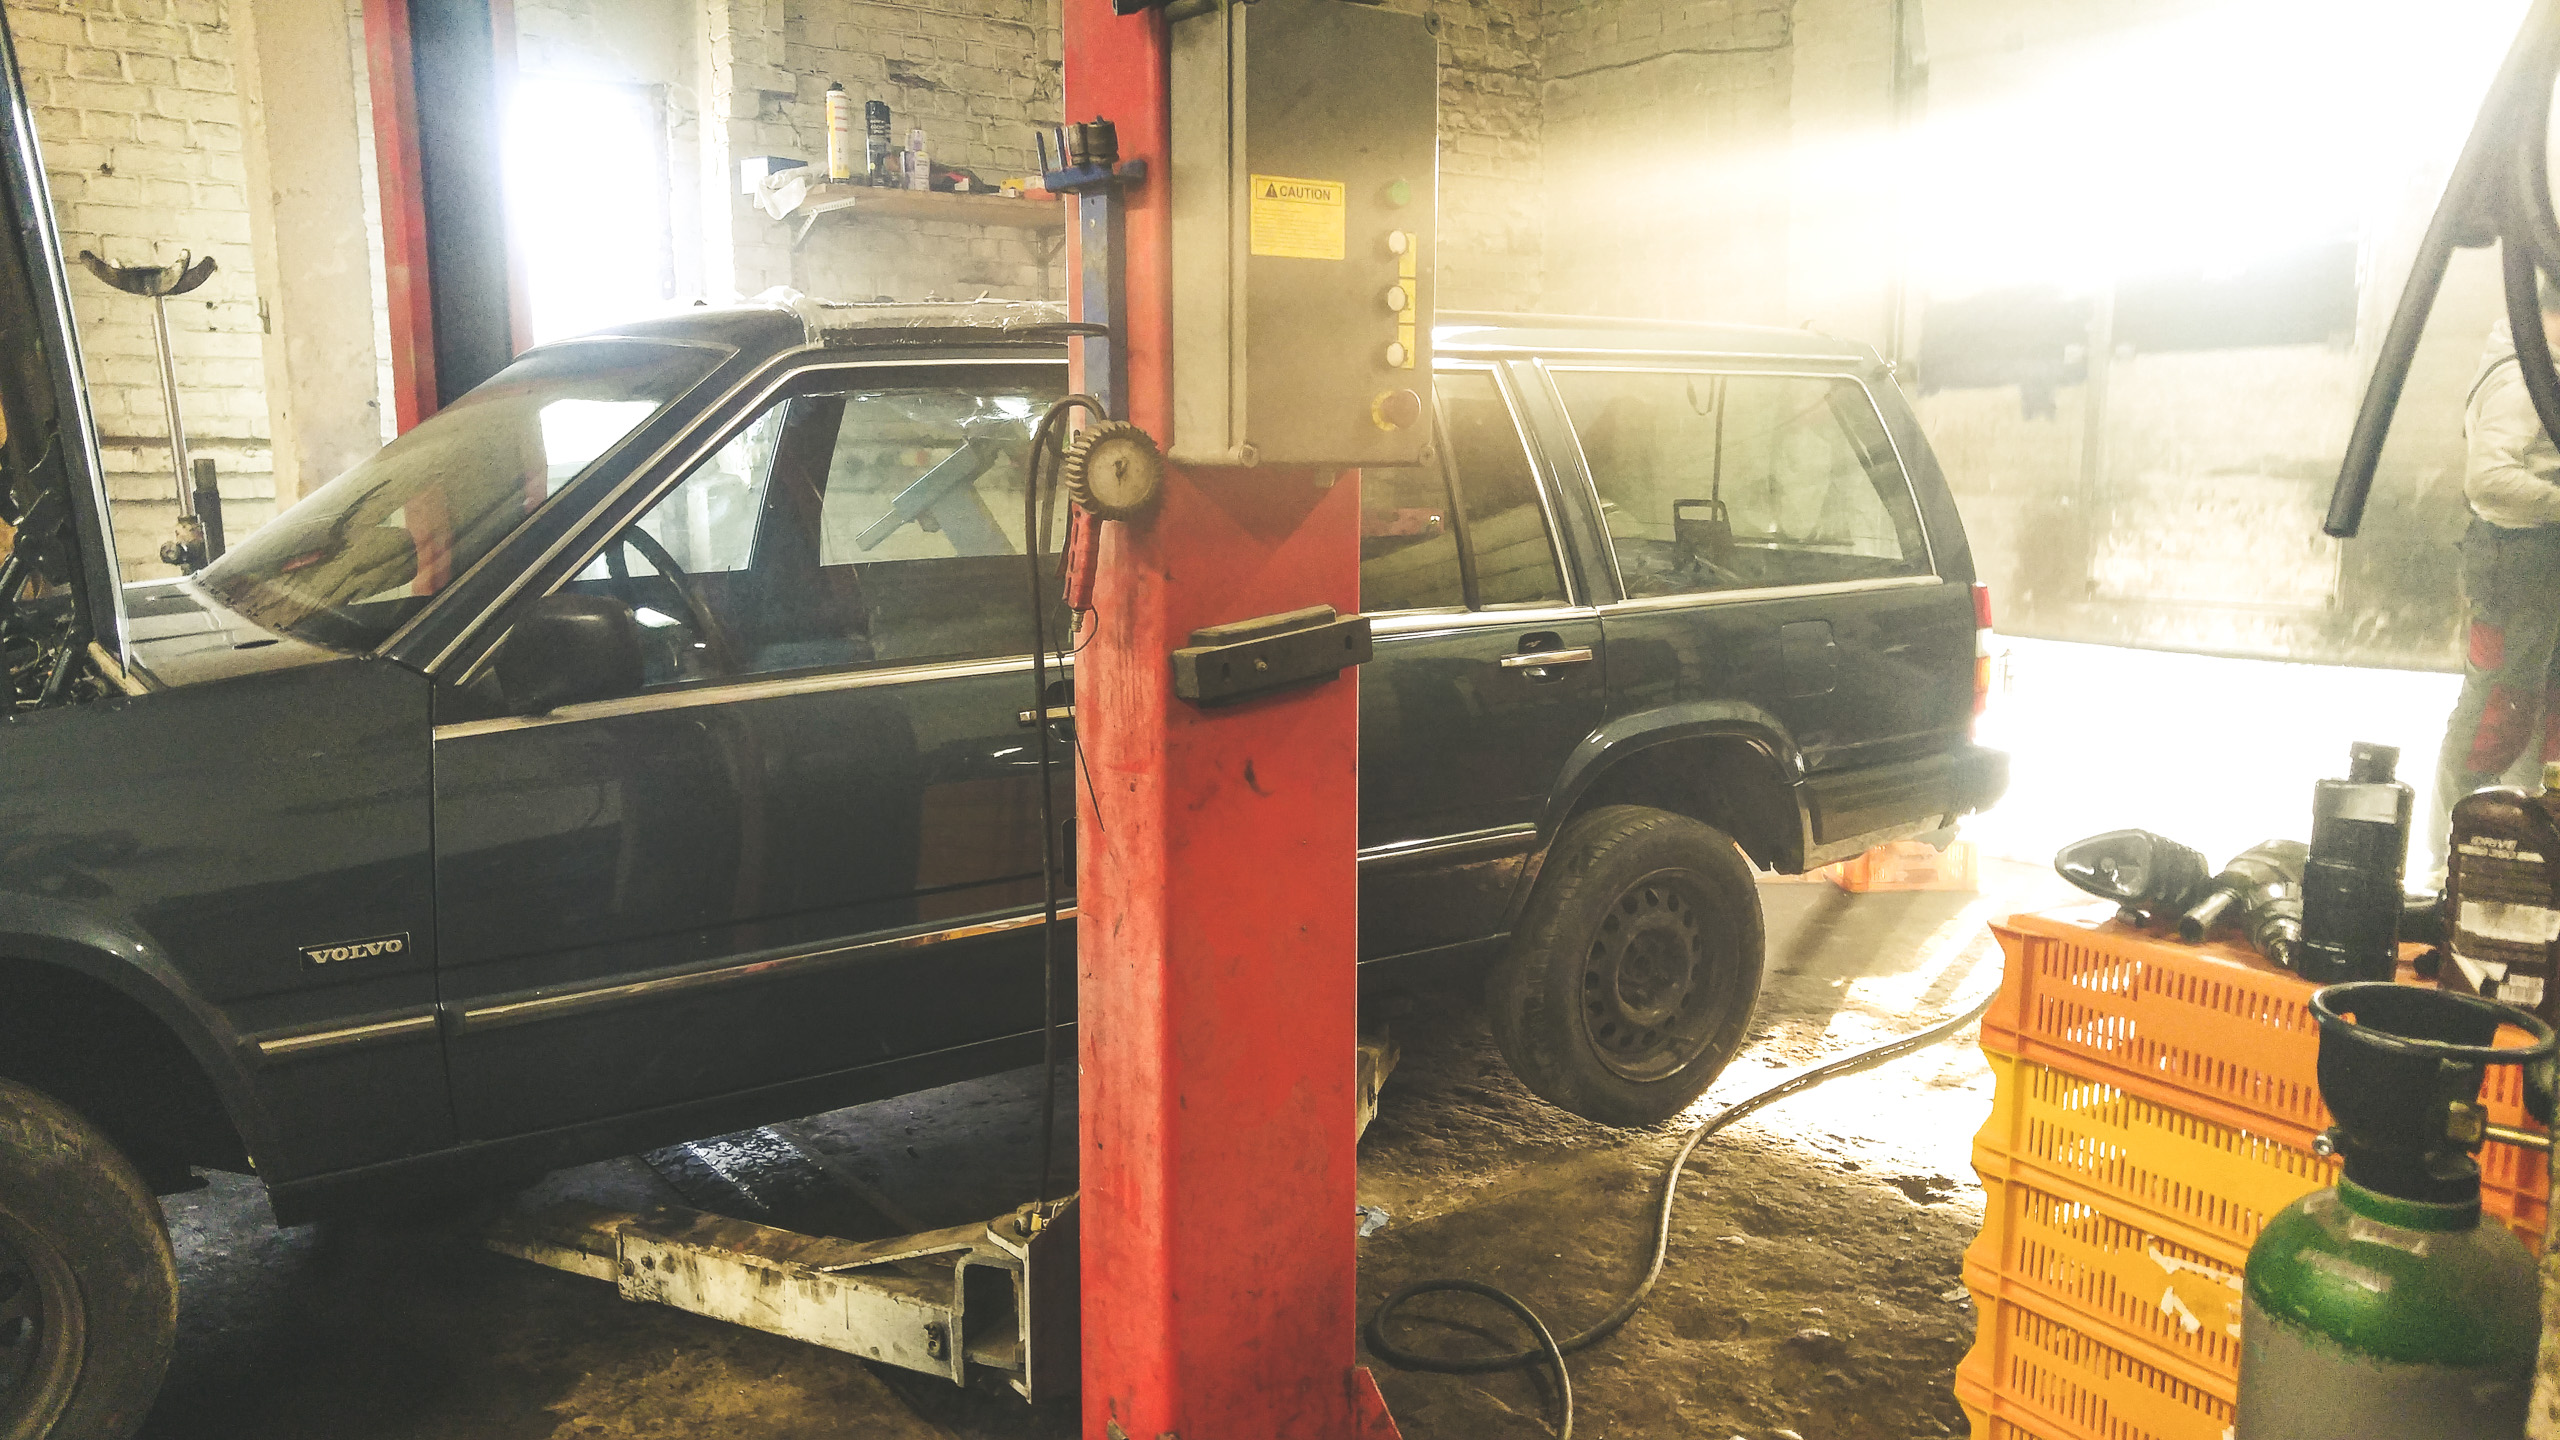
It just so happened that while I was biking to my grandma’s on the countryside (I spent my summers as a kid there), girl in a Volvo is pulling out in front of me from a side road and it turns out that I know her, I pull over and say hello. She’s heading to a Volvo master mechanic Janis Haritonovs, to check up, also turns out the shop is closest shop with car lift to my grandma. Total jackpot. I can leave the car on the country side in a familiar place and my other friends already know the mechanic and say he is an honest straight forward guy. He also already knew of my Volvo being shipped to Latvia, before I met him, through friends.
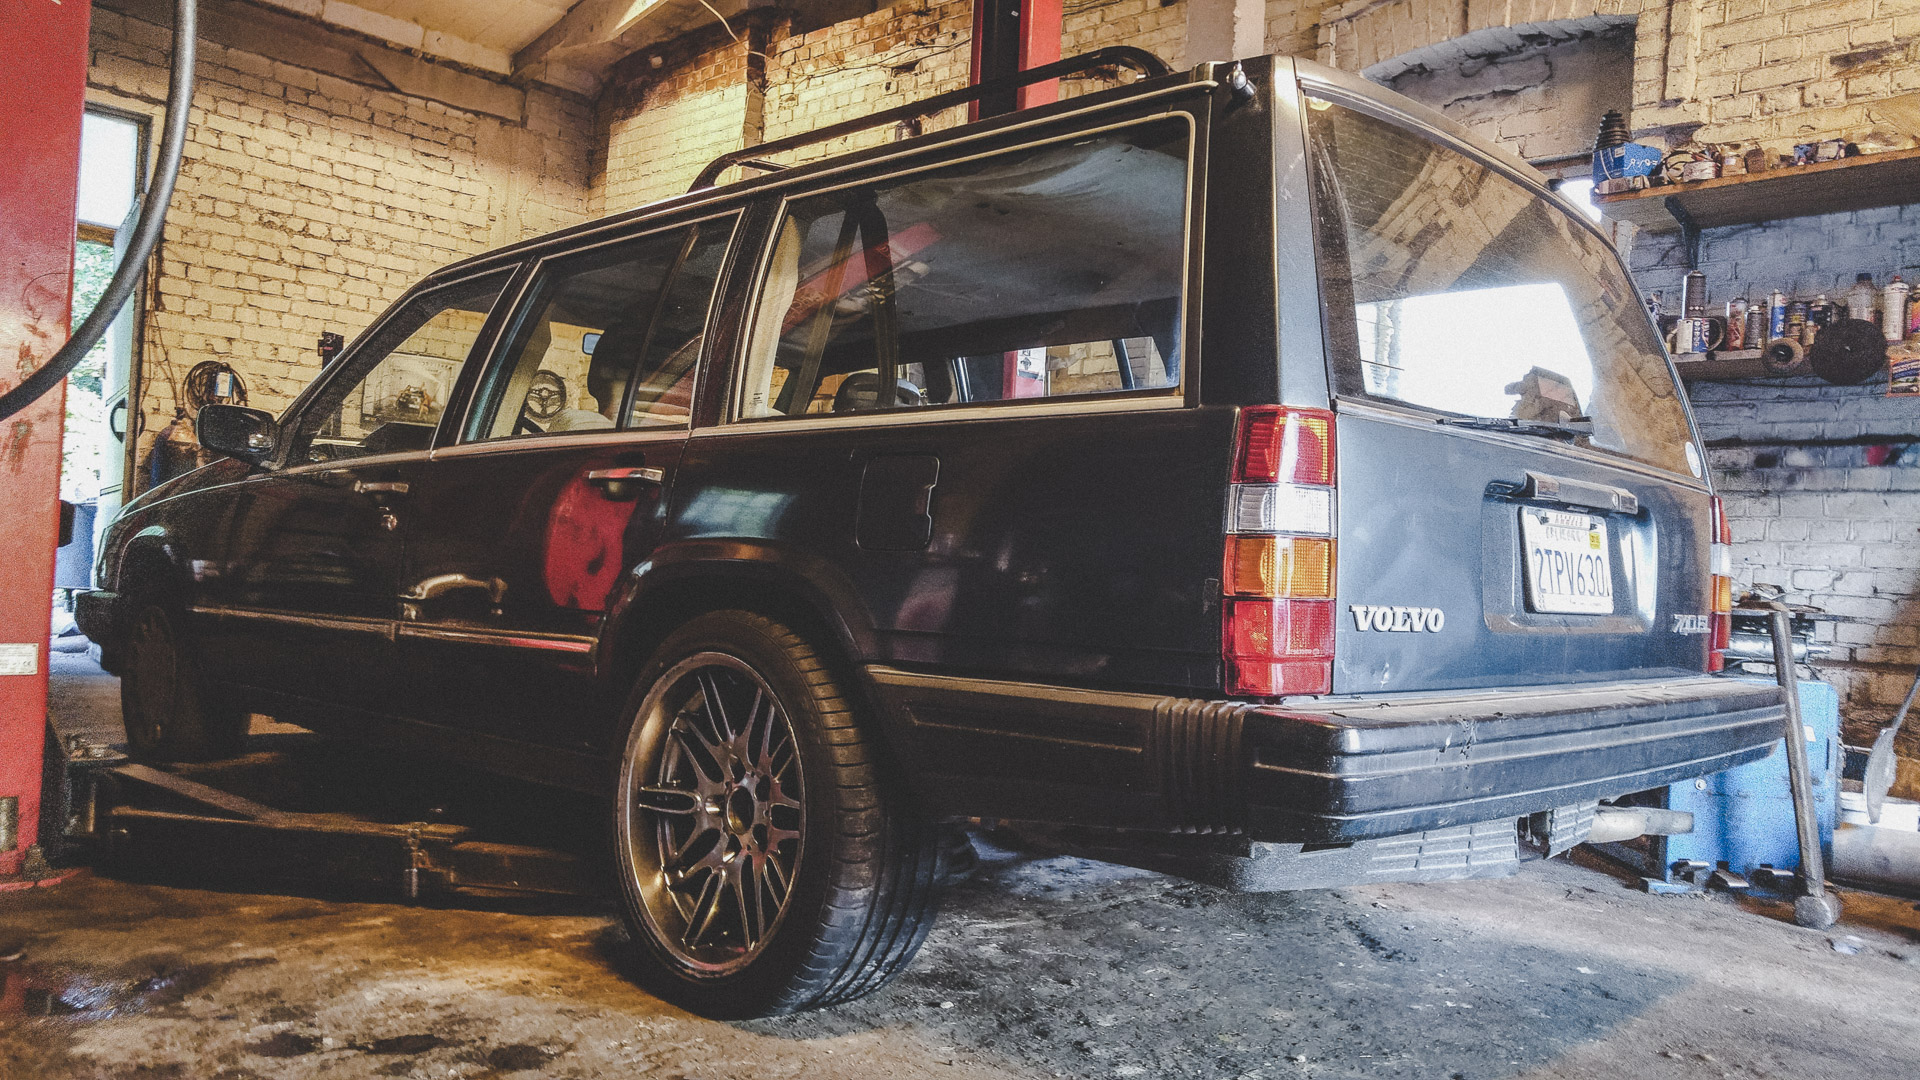
The mechanic is a Volvo mastermind, he has a Volvo 240 with big ass turbo, 300hp and BMW wheels, and then 5 other brick Volvos and plenty of parts. ….Janis the mechanic, has wheel/hub converters from Volvo to E39 BMW wheels. I ended up trying the Style 65 BMW M5 E39 wheels on the Volvo. The BMW rear tires are 275/35/r18 and sit out of the wheel arches on the Volvo. They will rub, even the Style65 245’s will rub. I do like the look but I prefer something more classic Volvo for the wheels, at least on this car.

Trying to work out the interior fabric right now.. Checked with SMS Fabrics, but they sent me something that is not matching at all with the interior. This is proving to be a difficult task to locate the interior fabric.
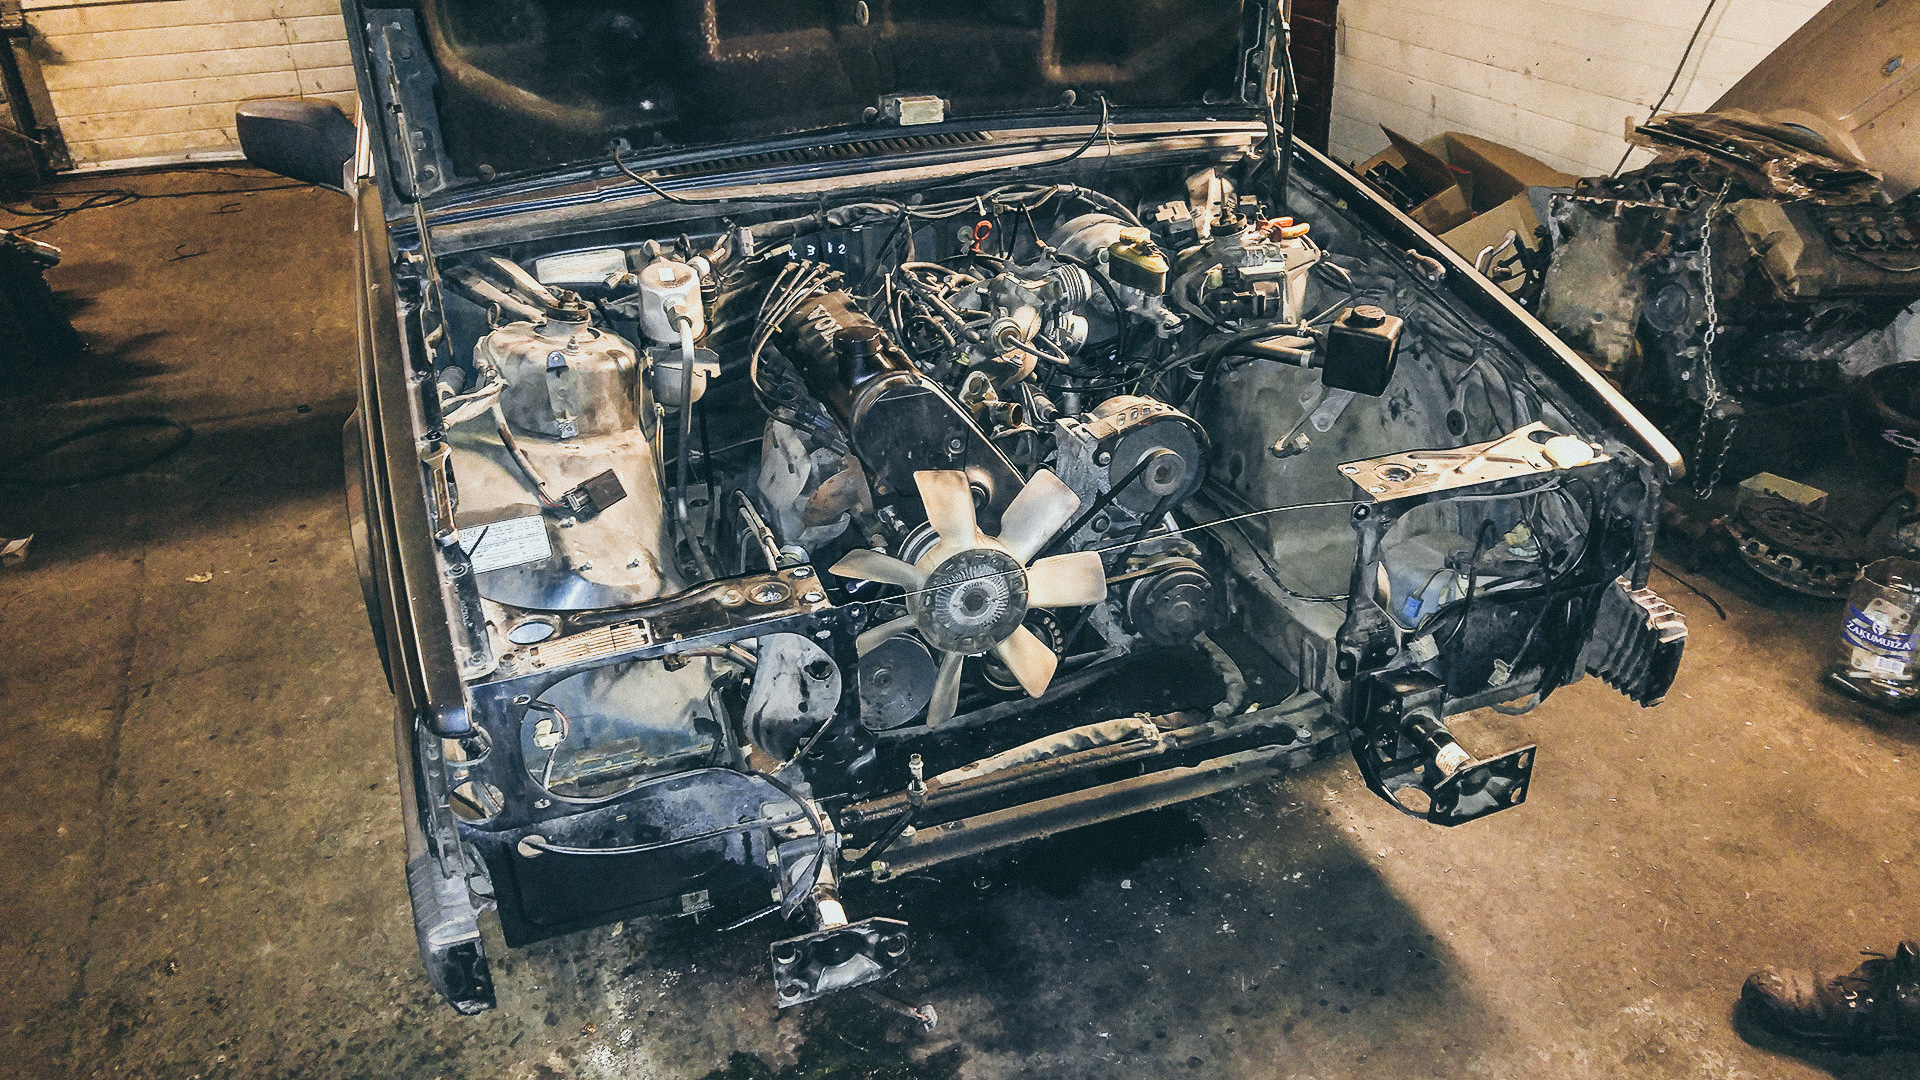
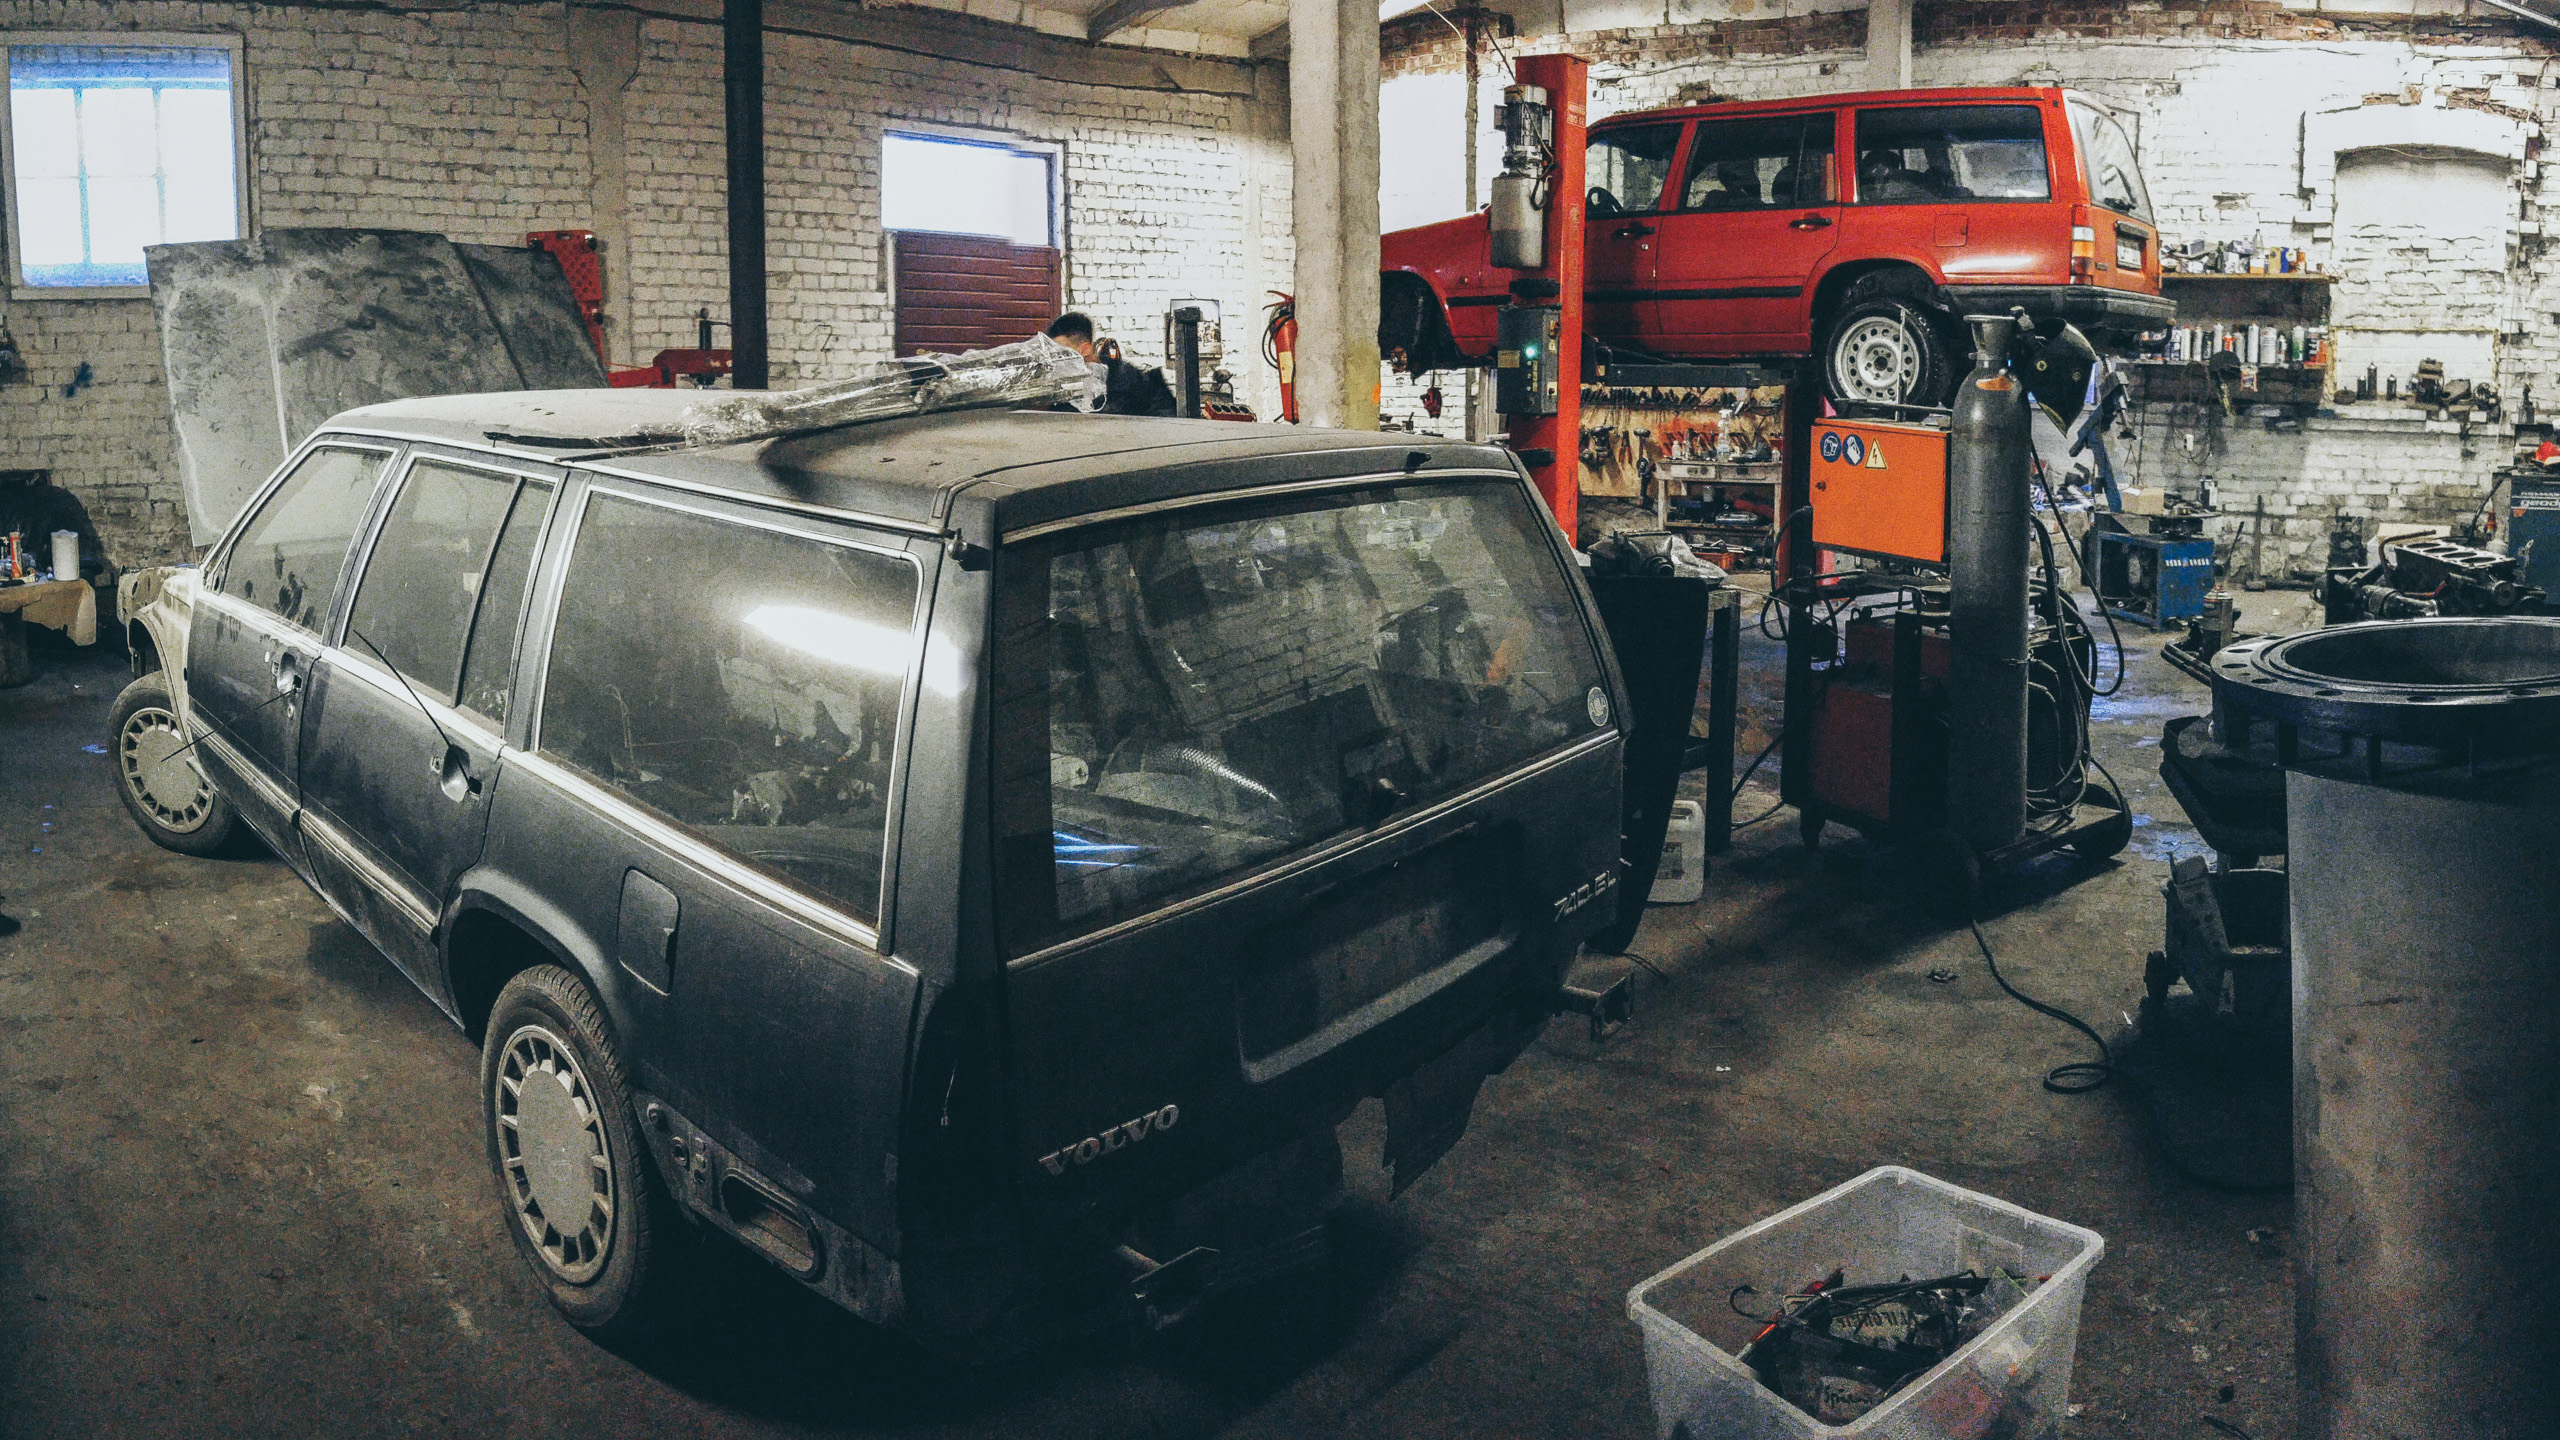
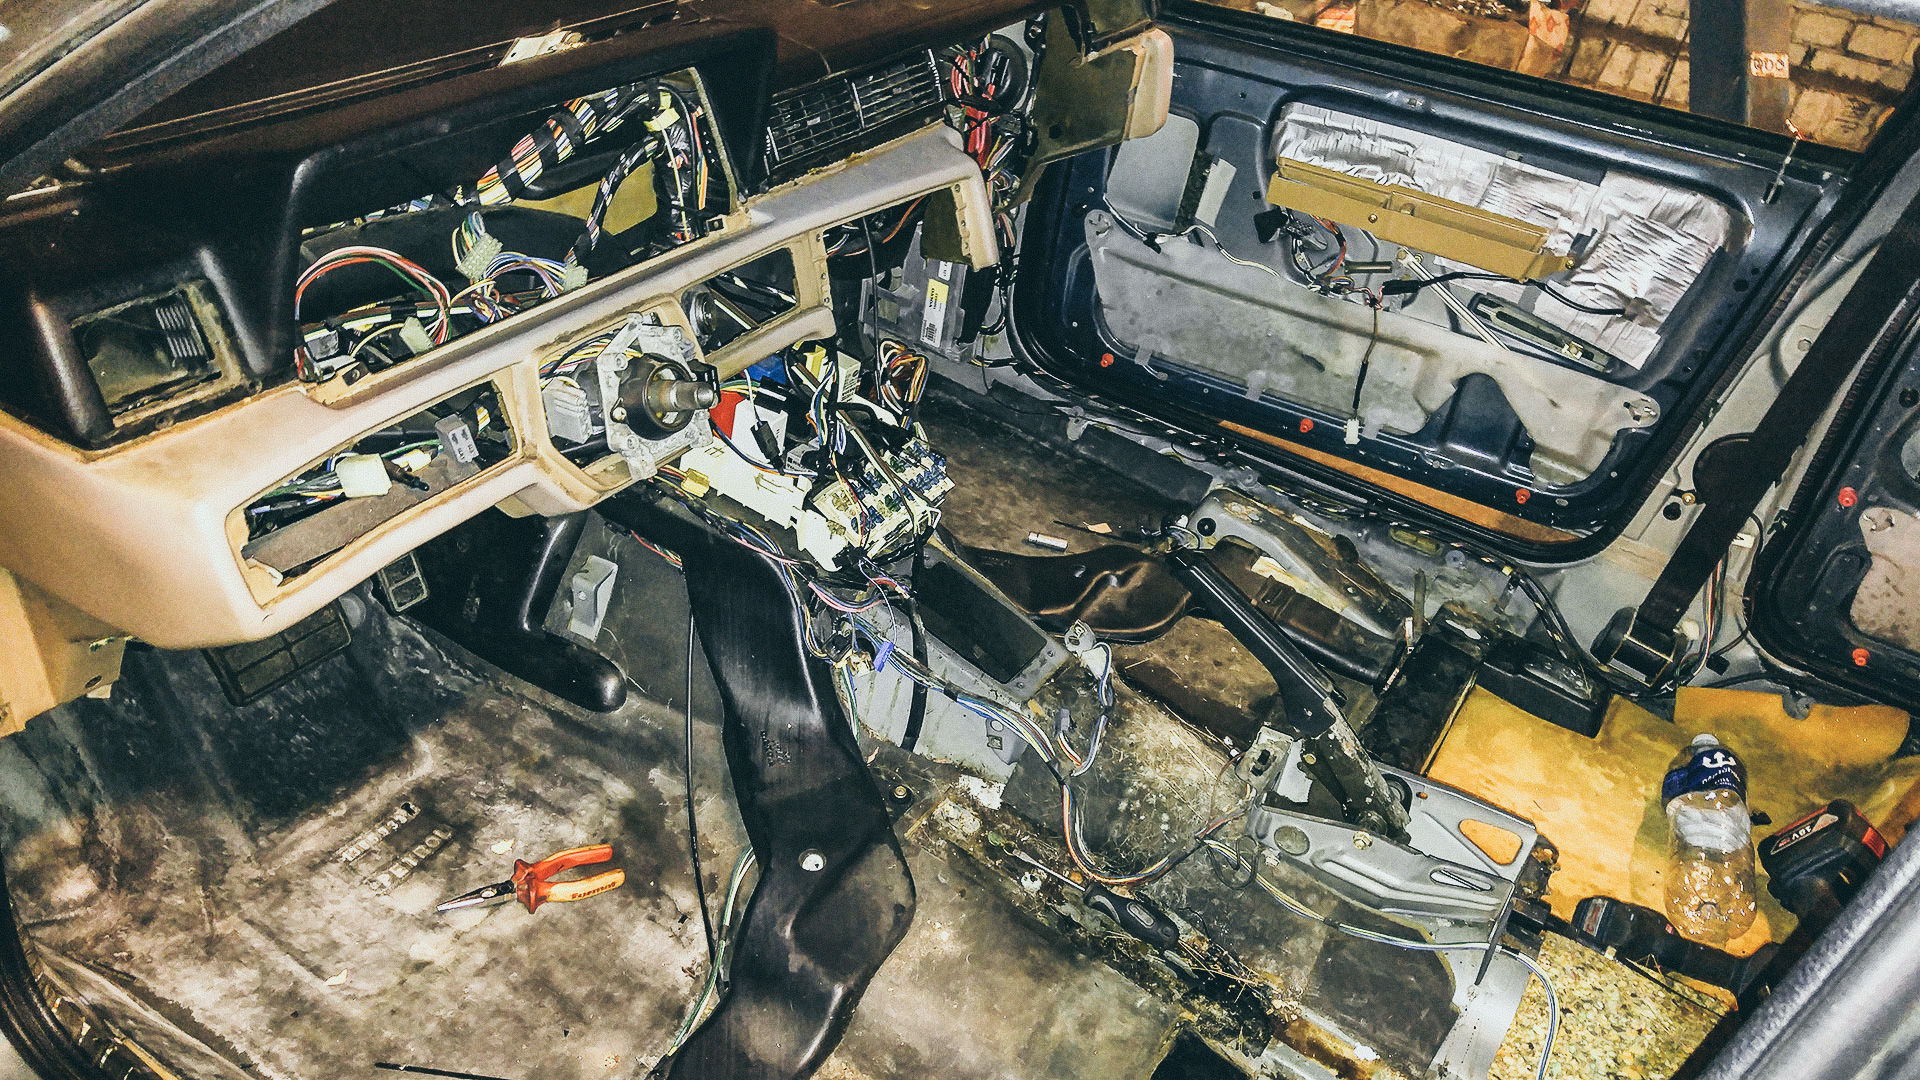
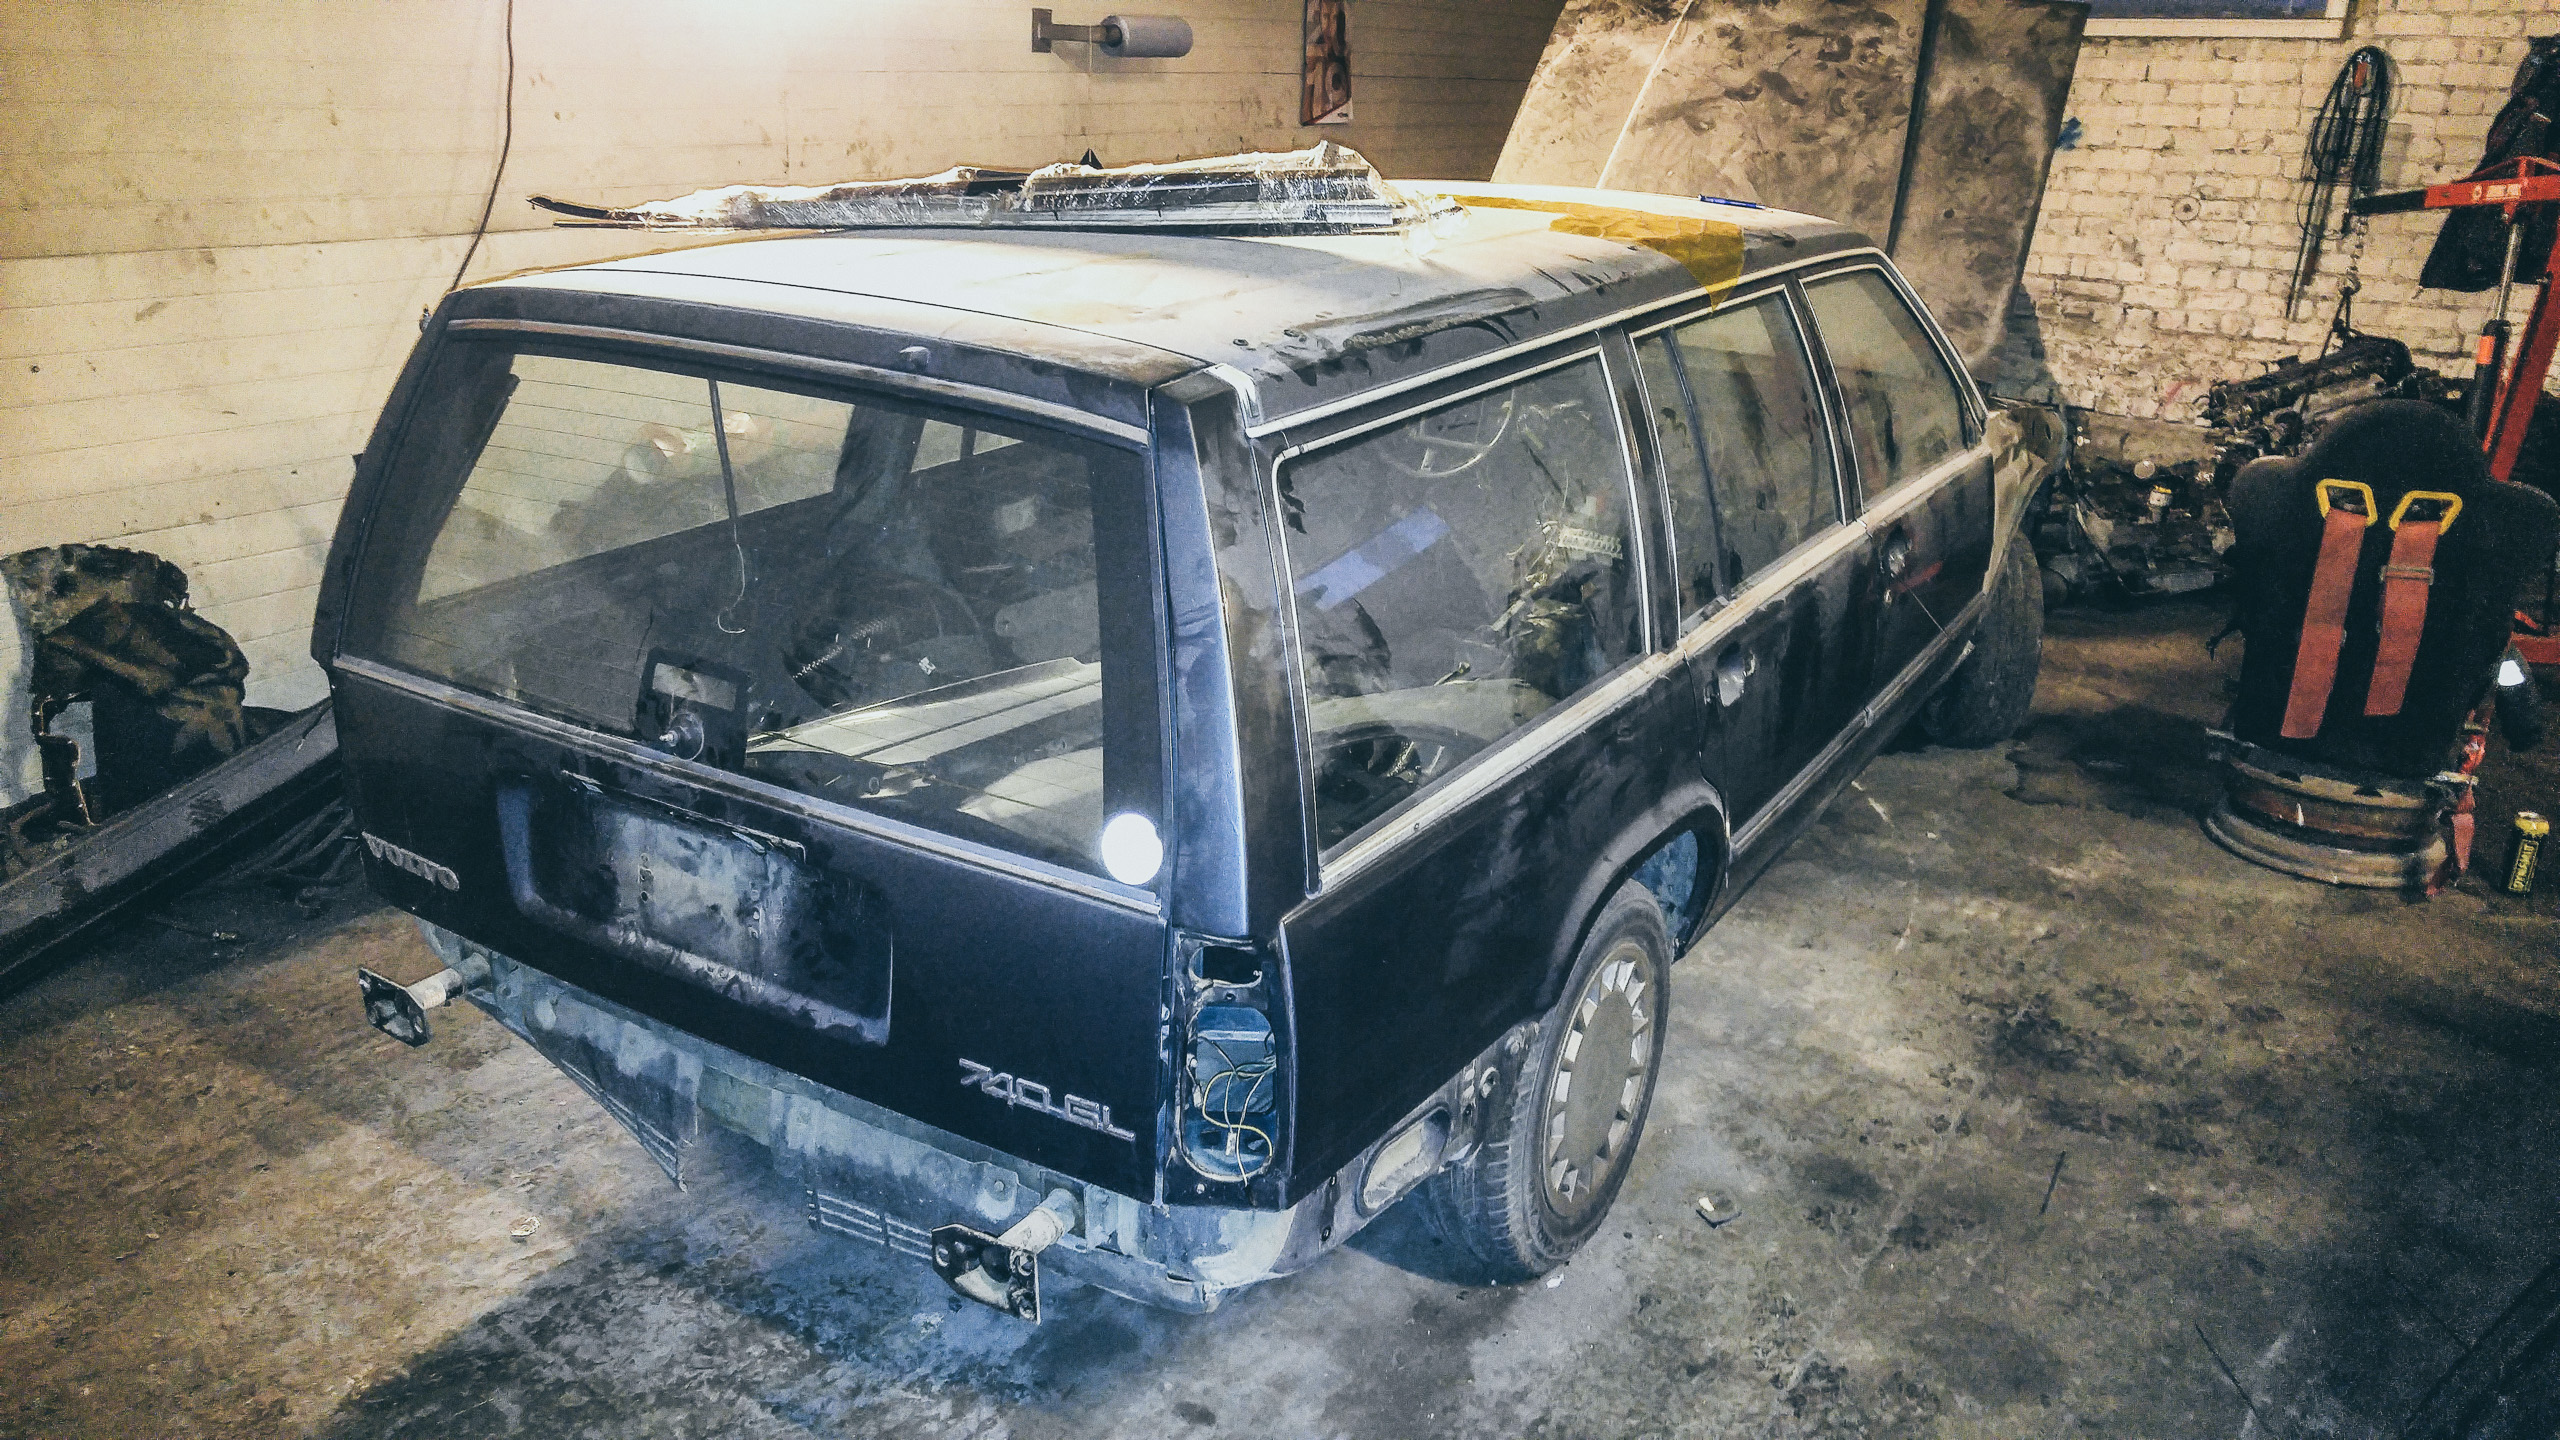
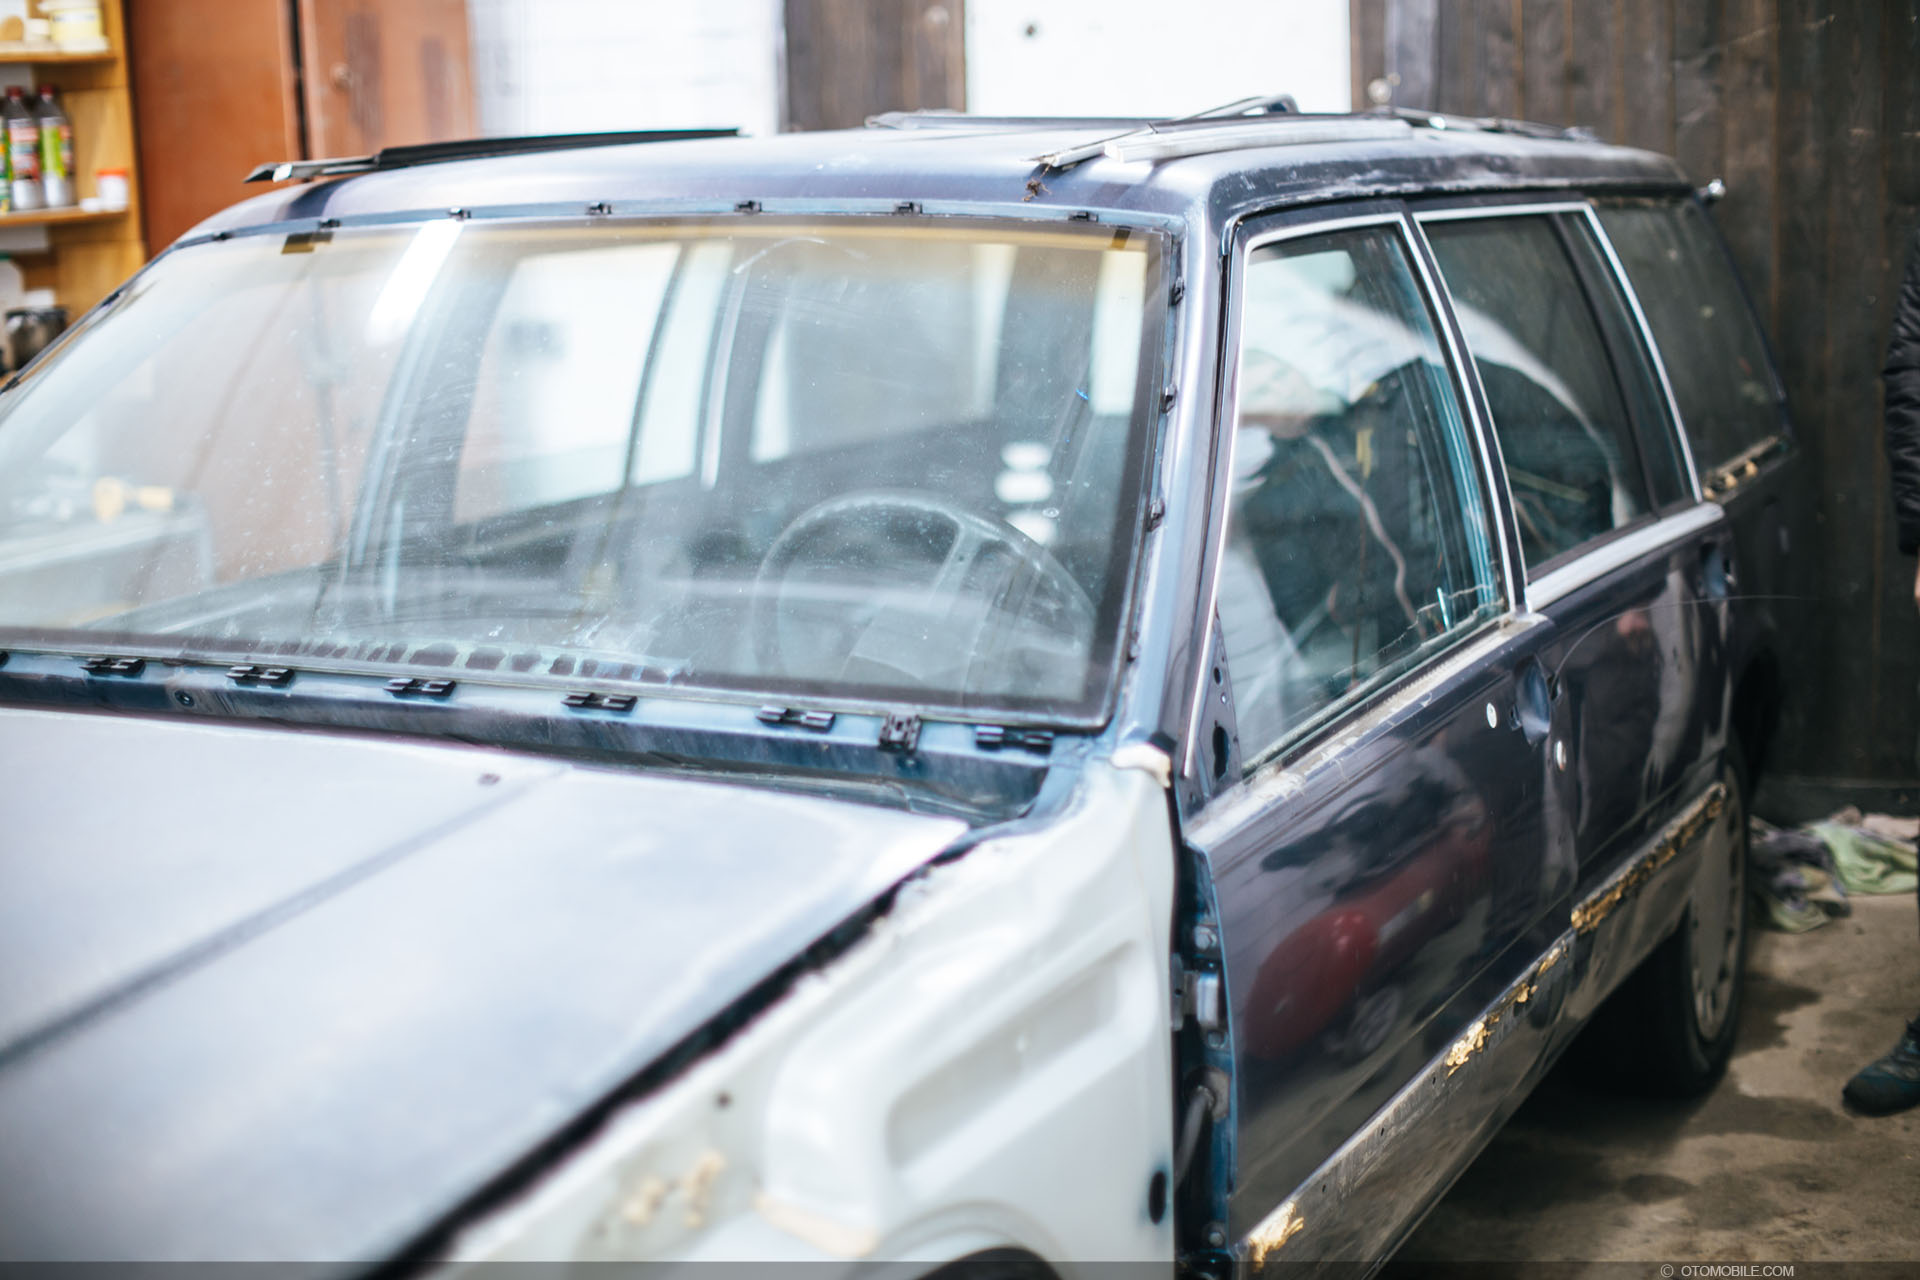
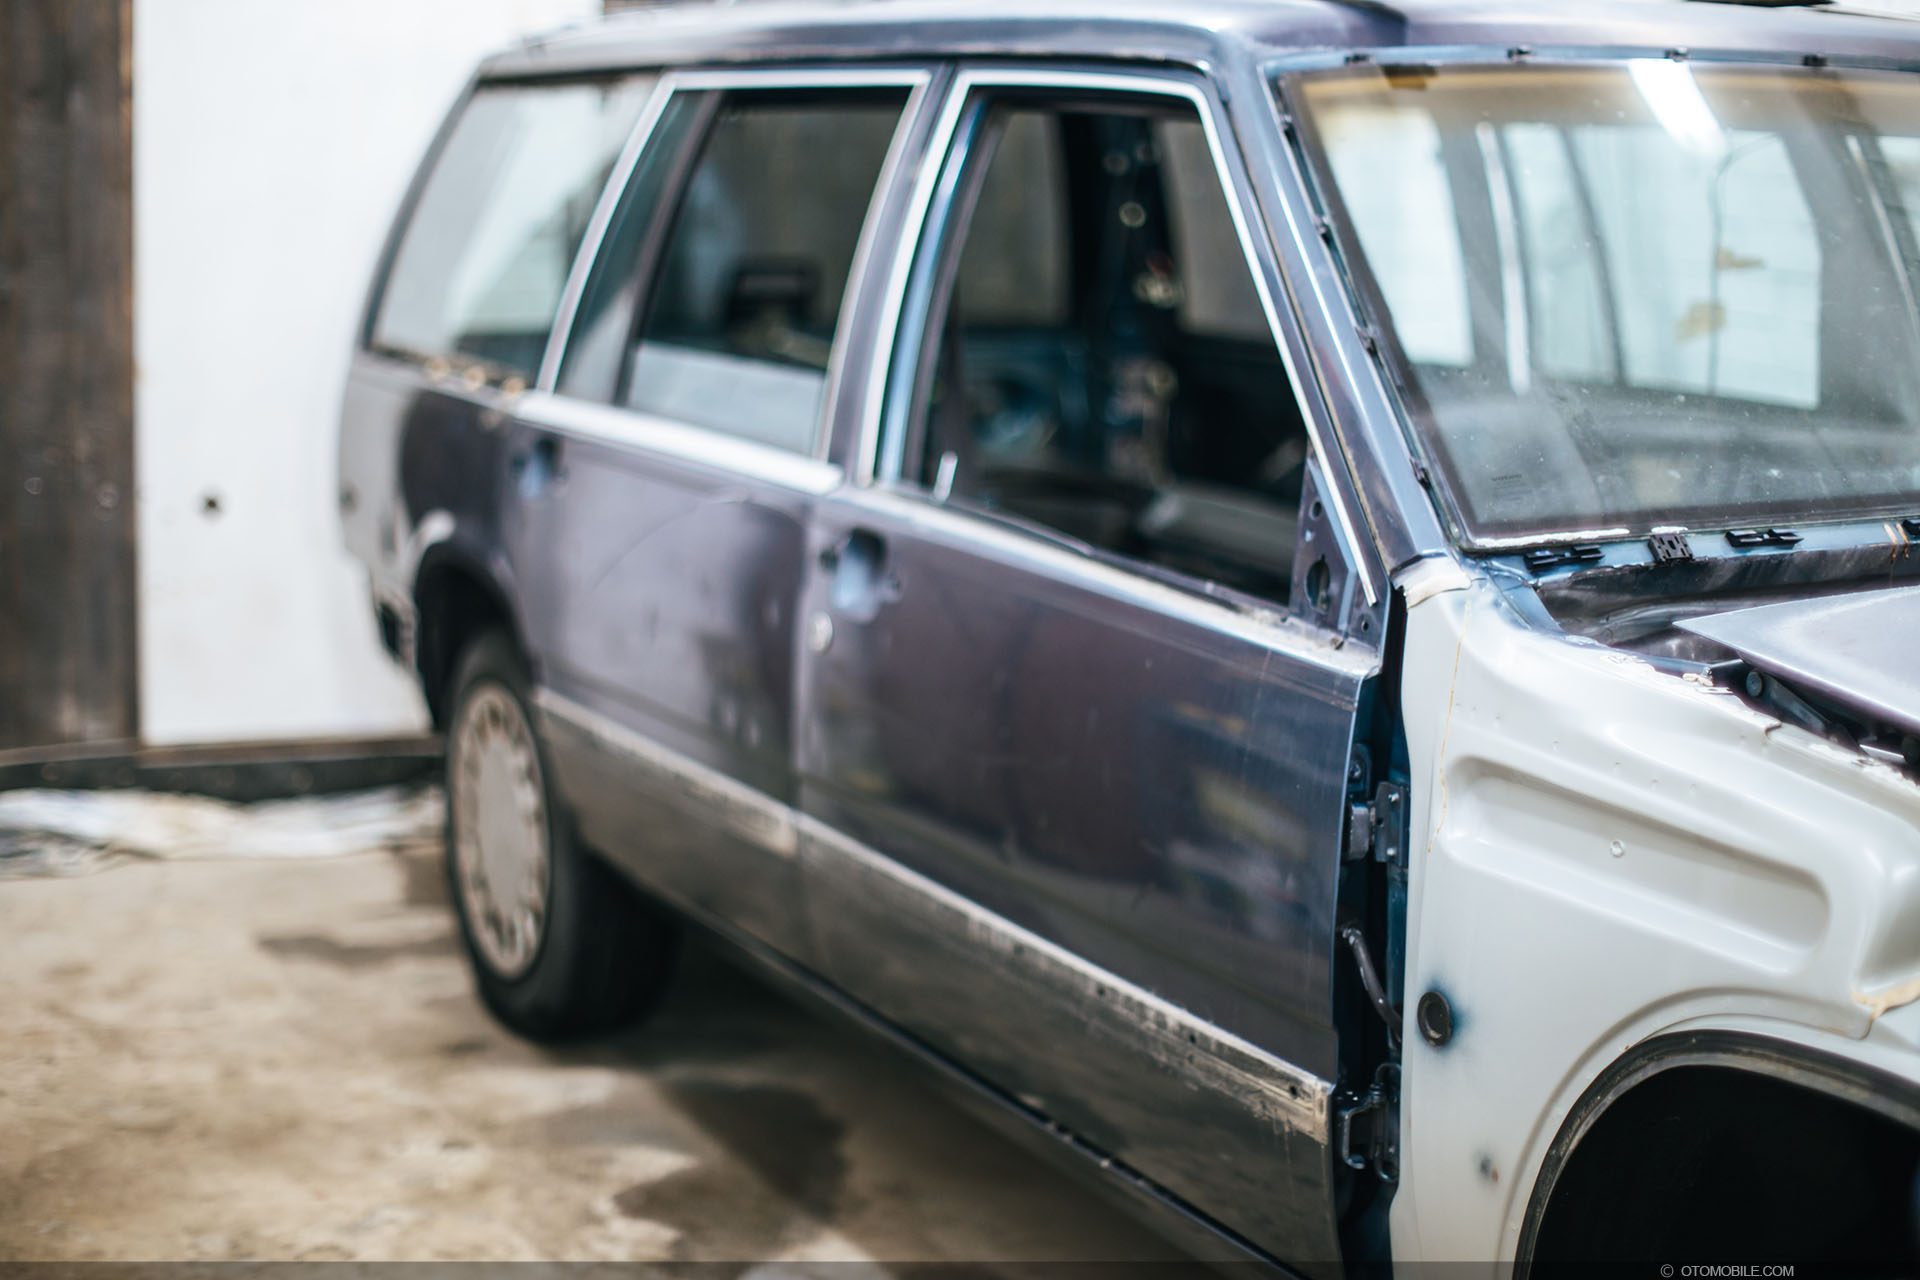
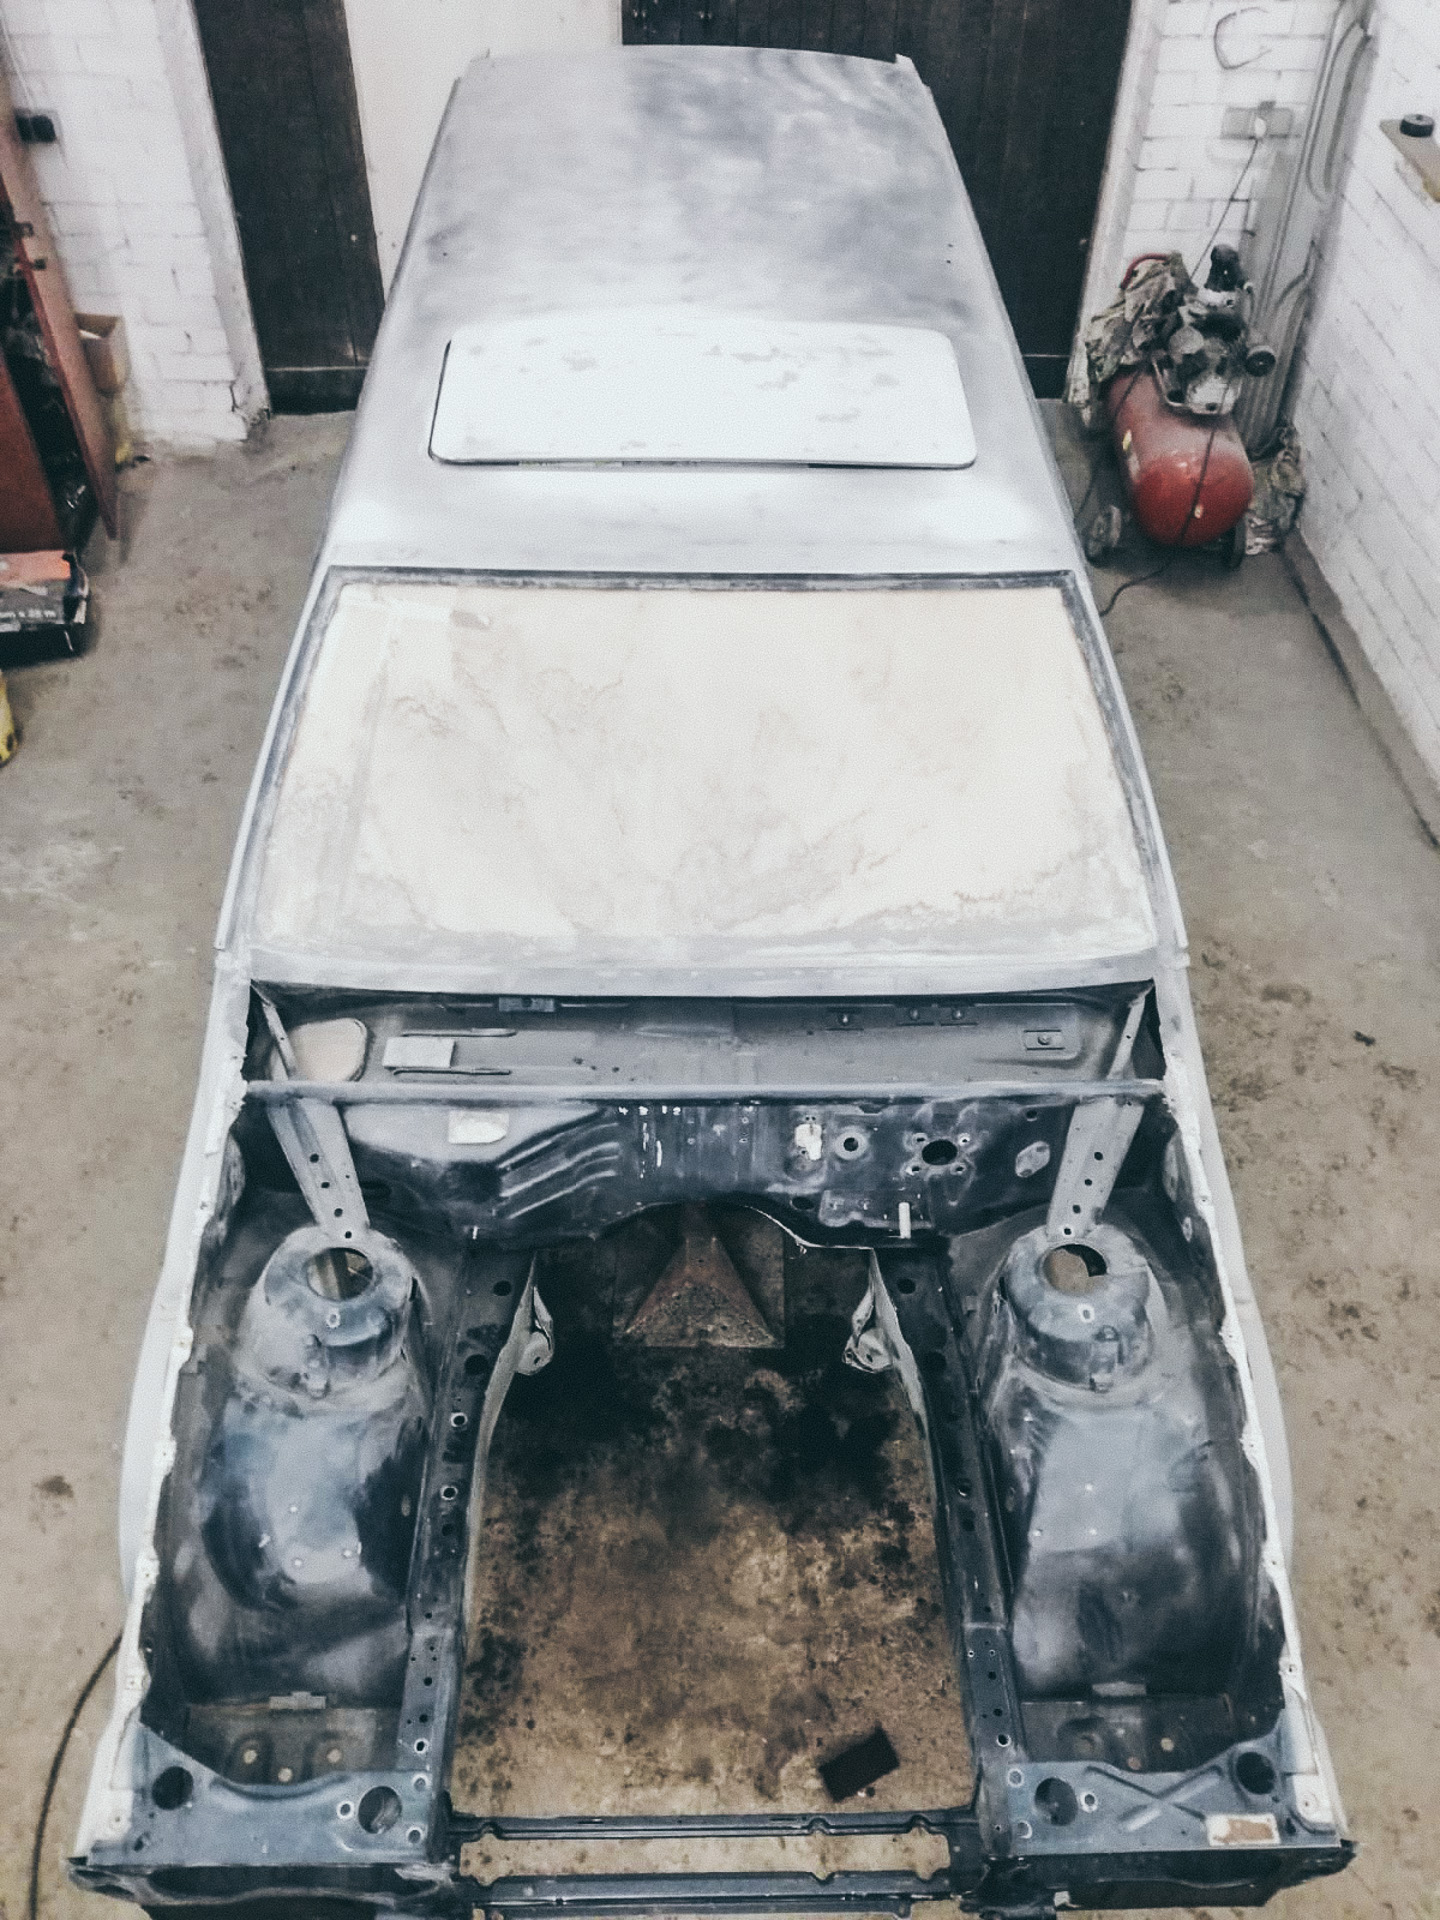
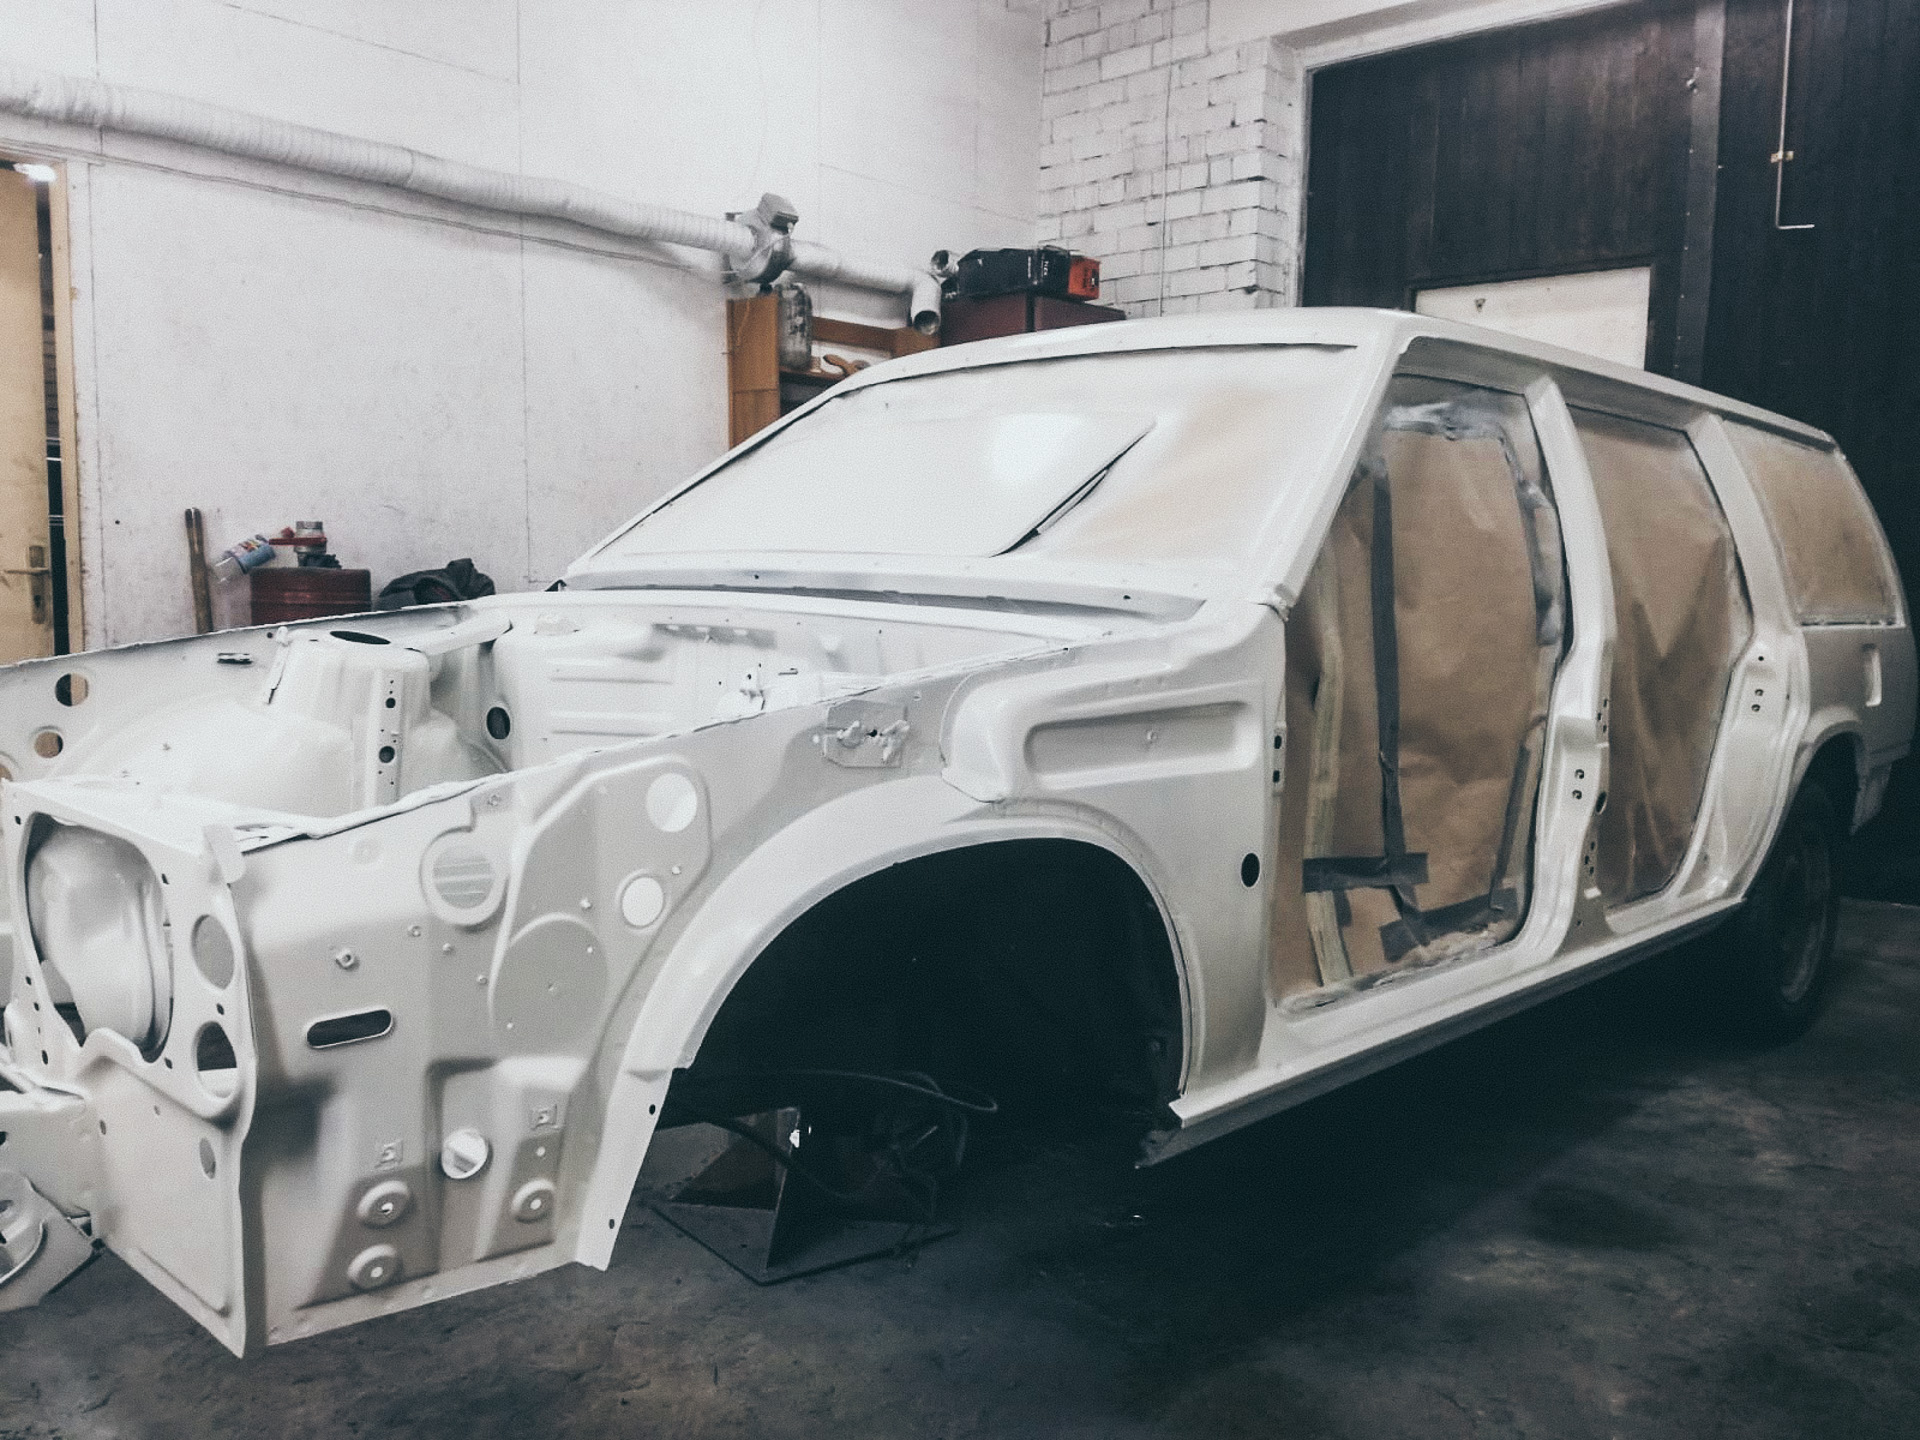
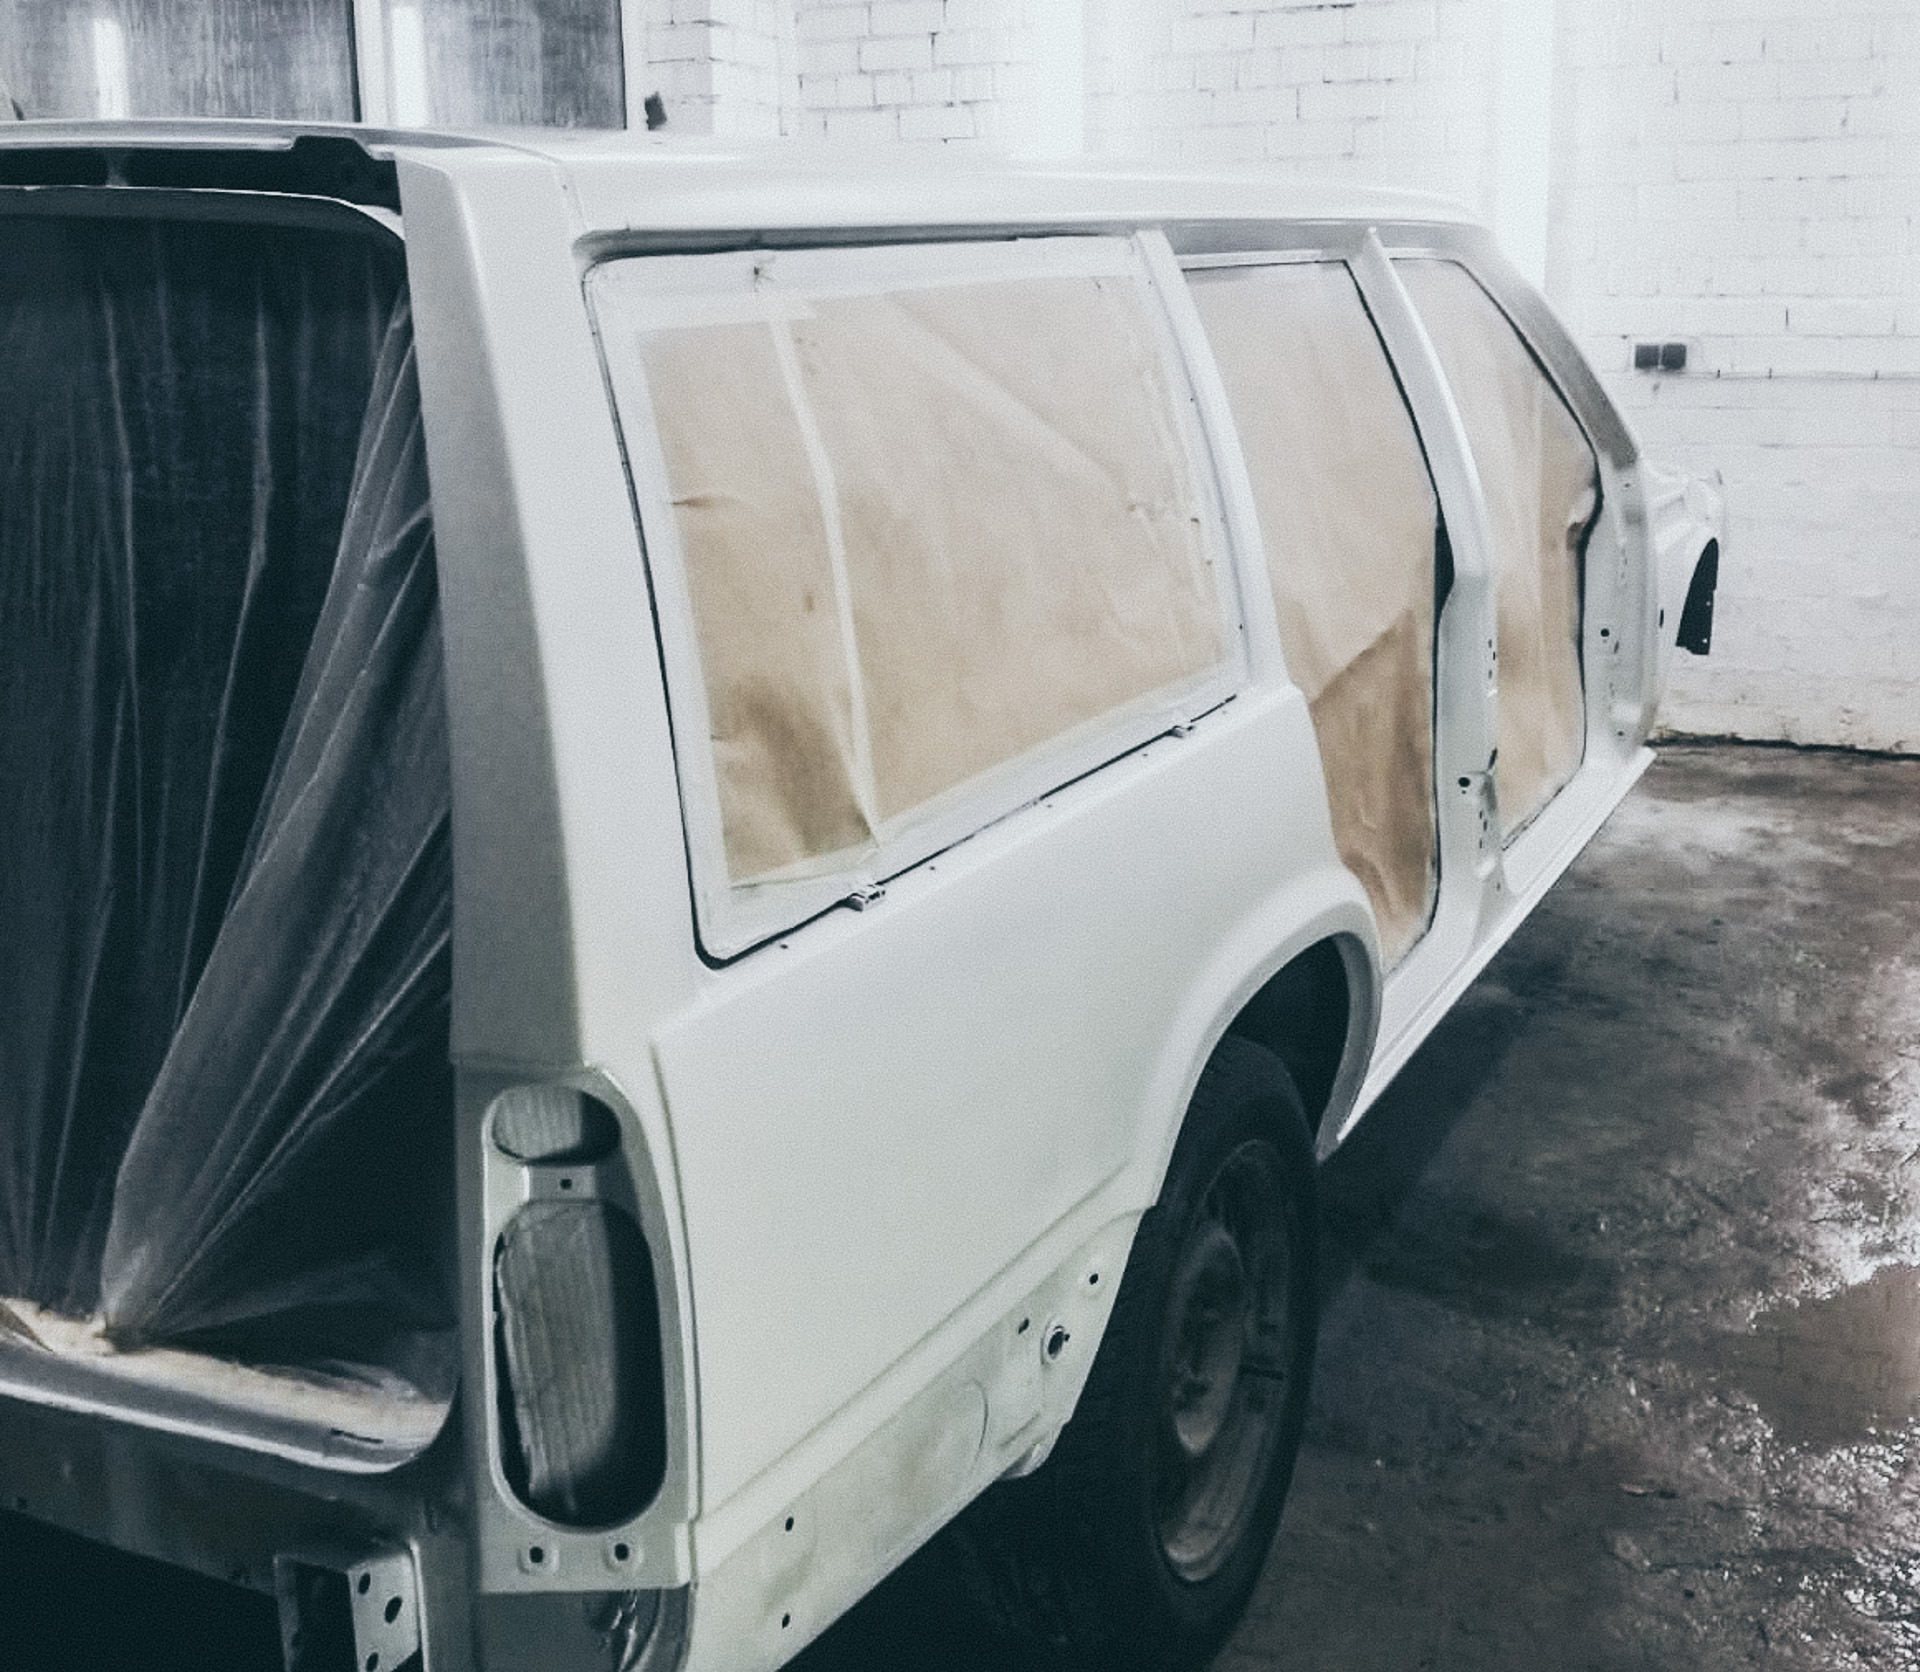
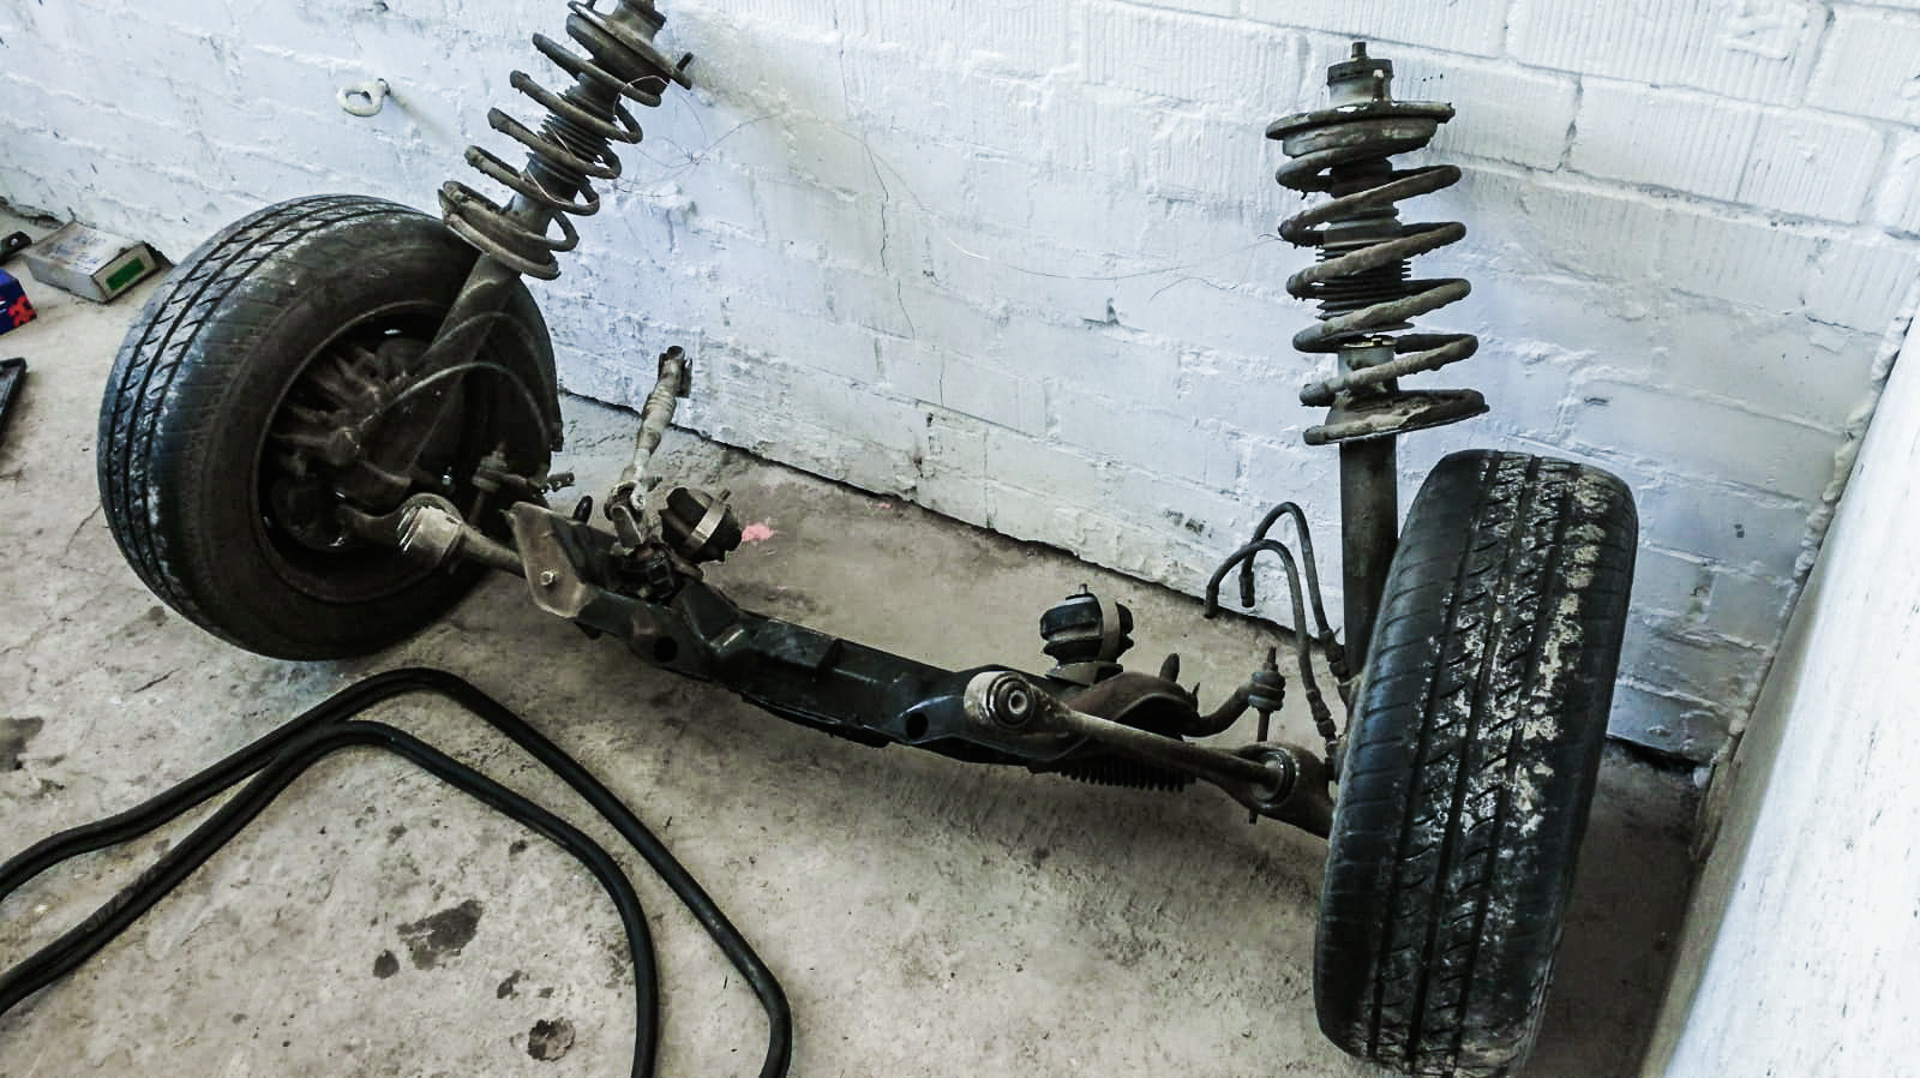
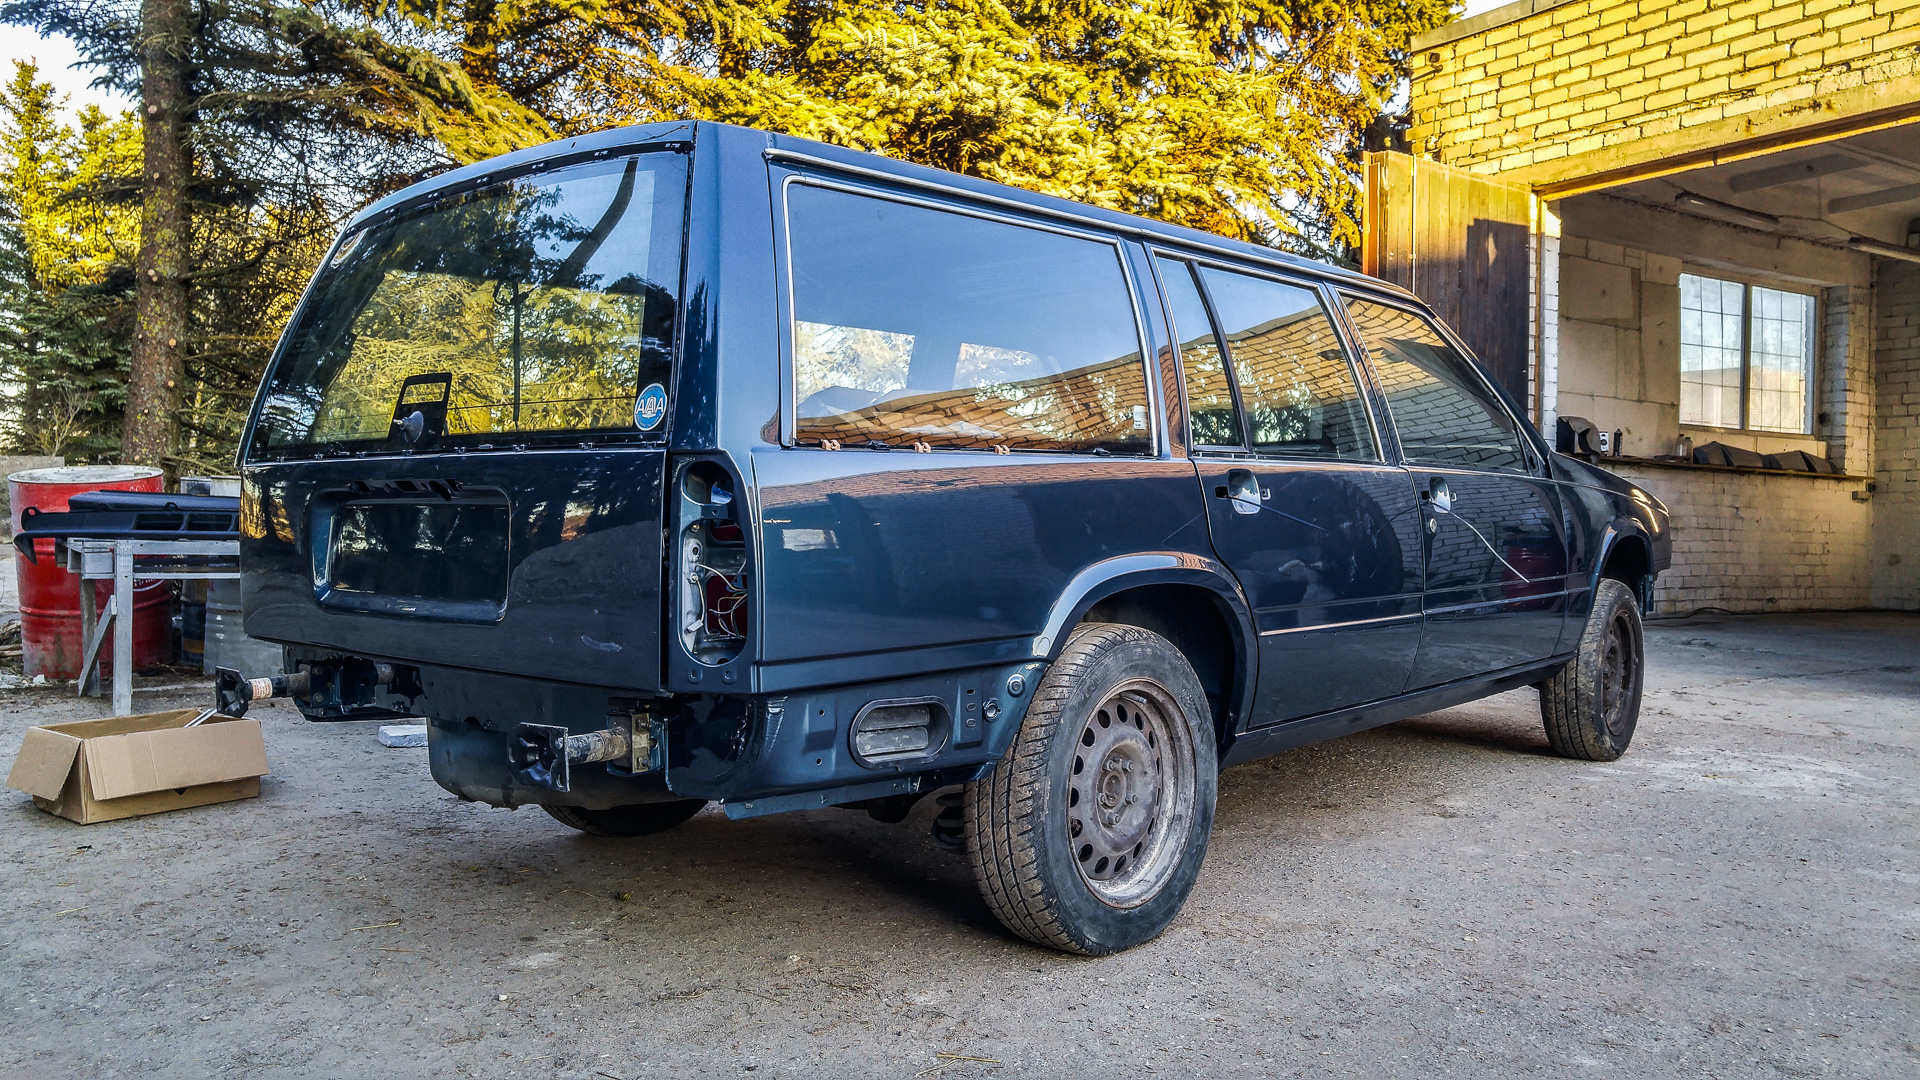
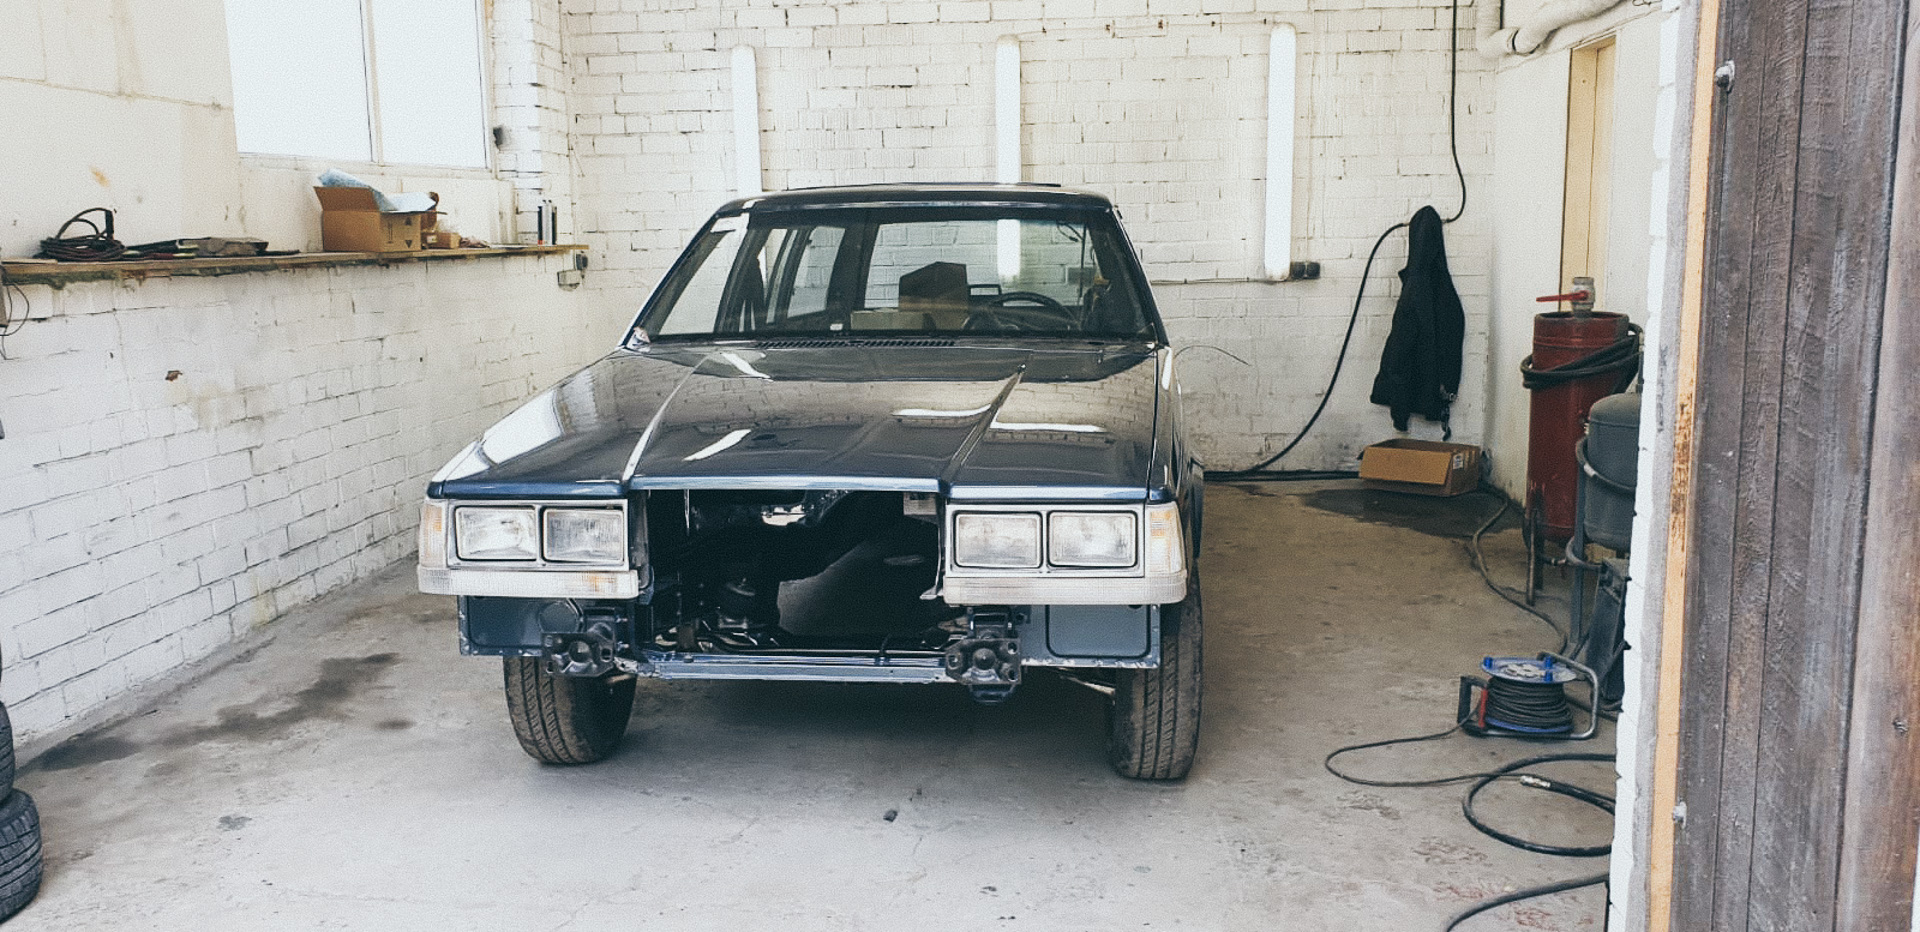
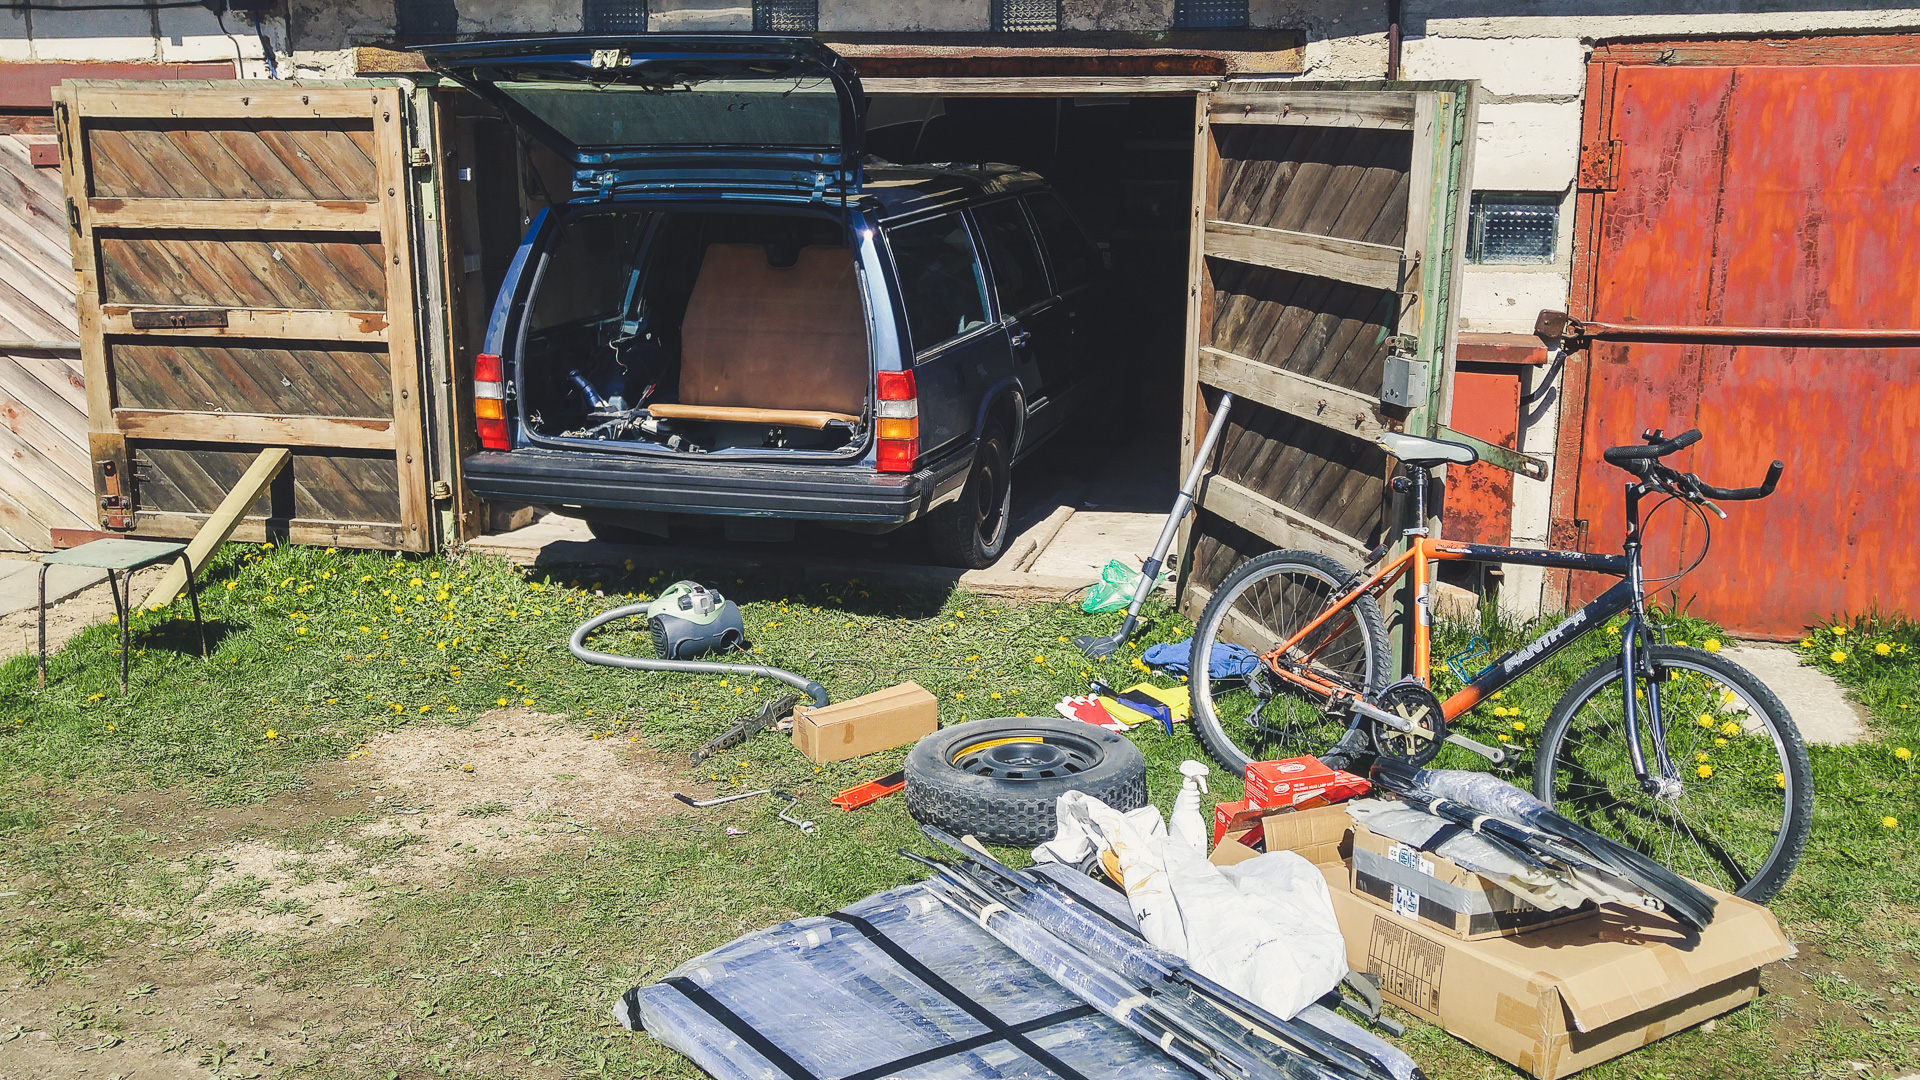
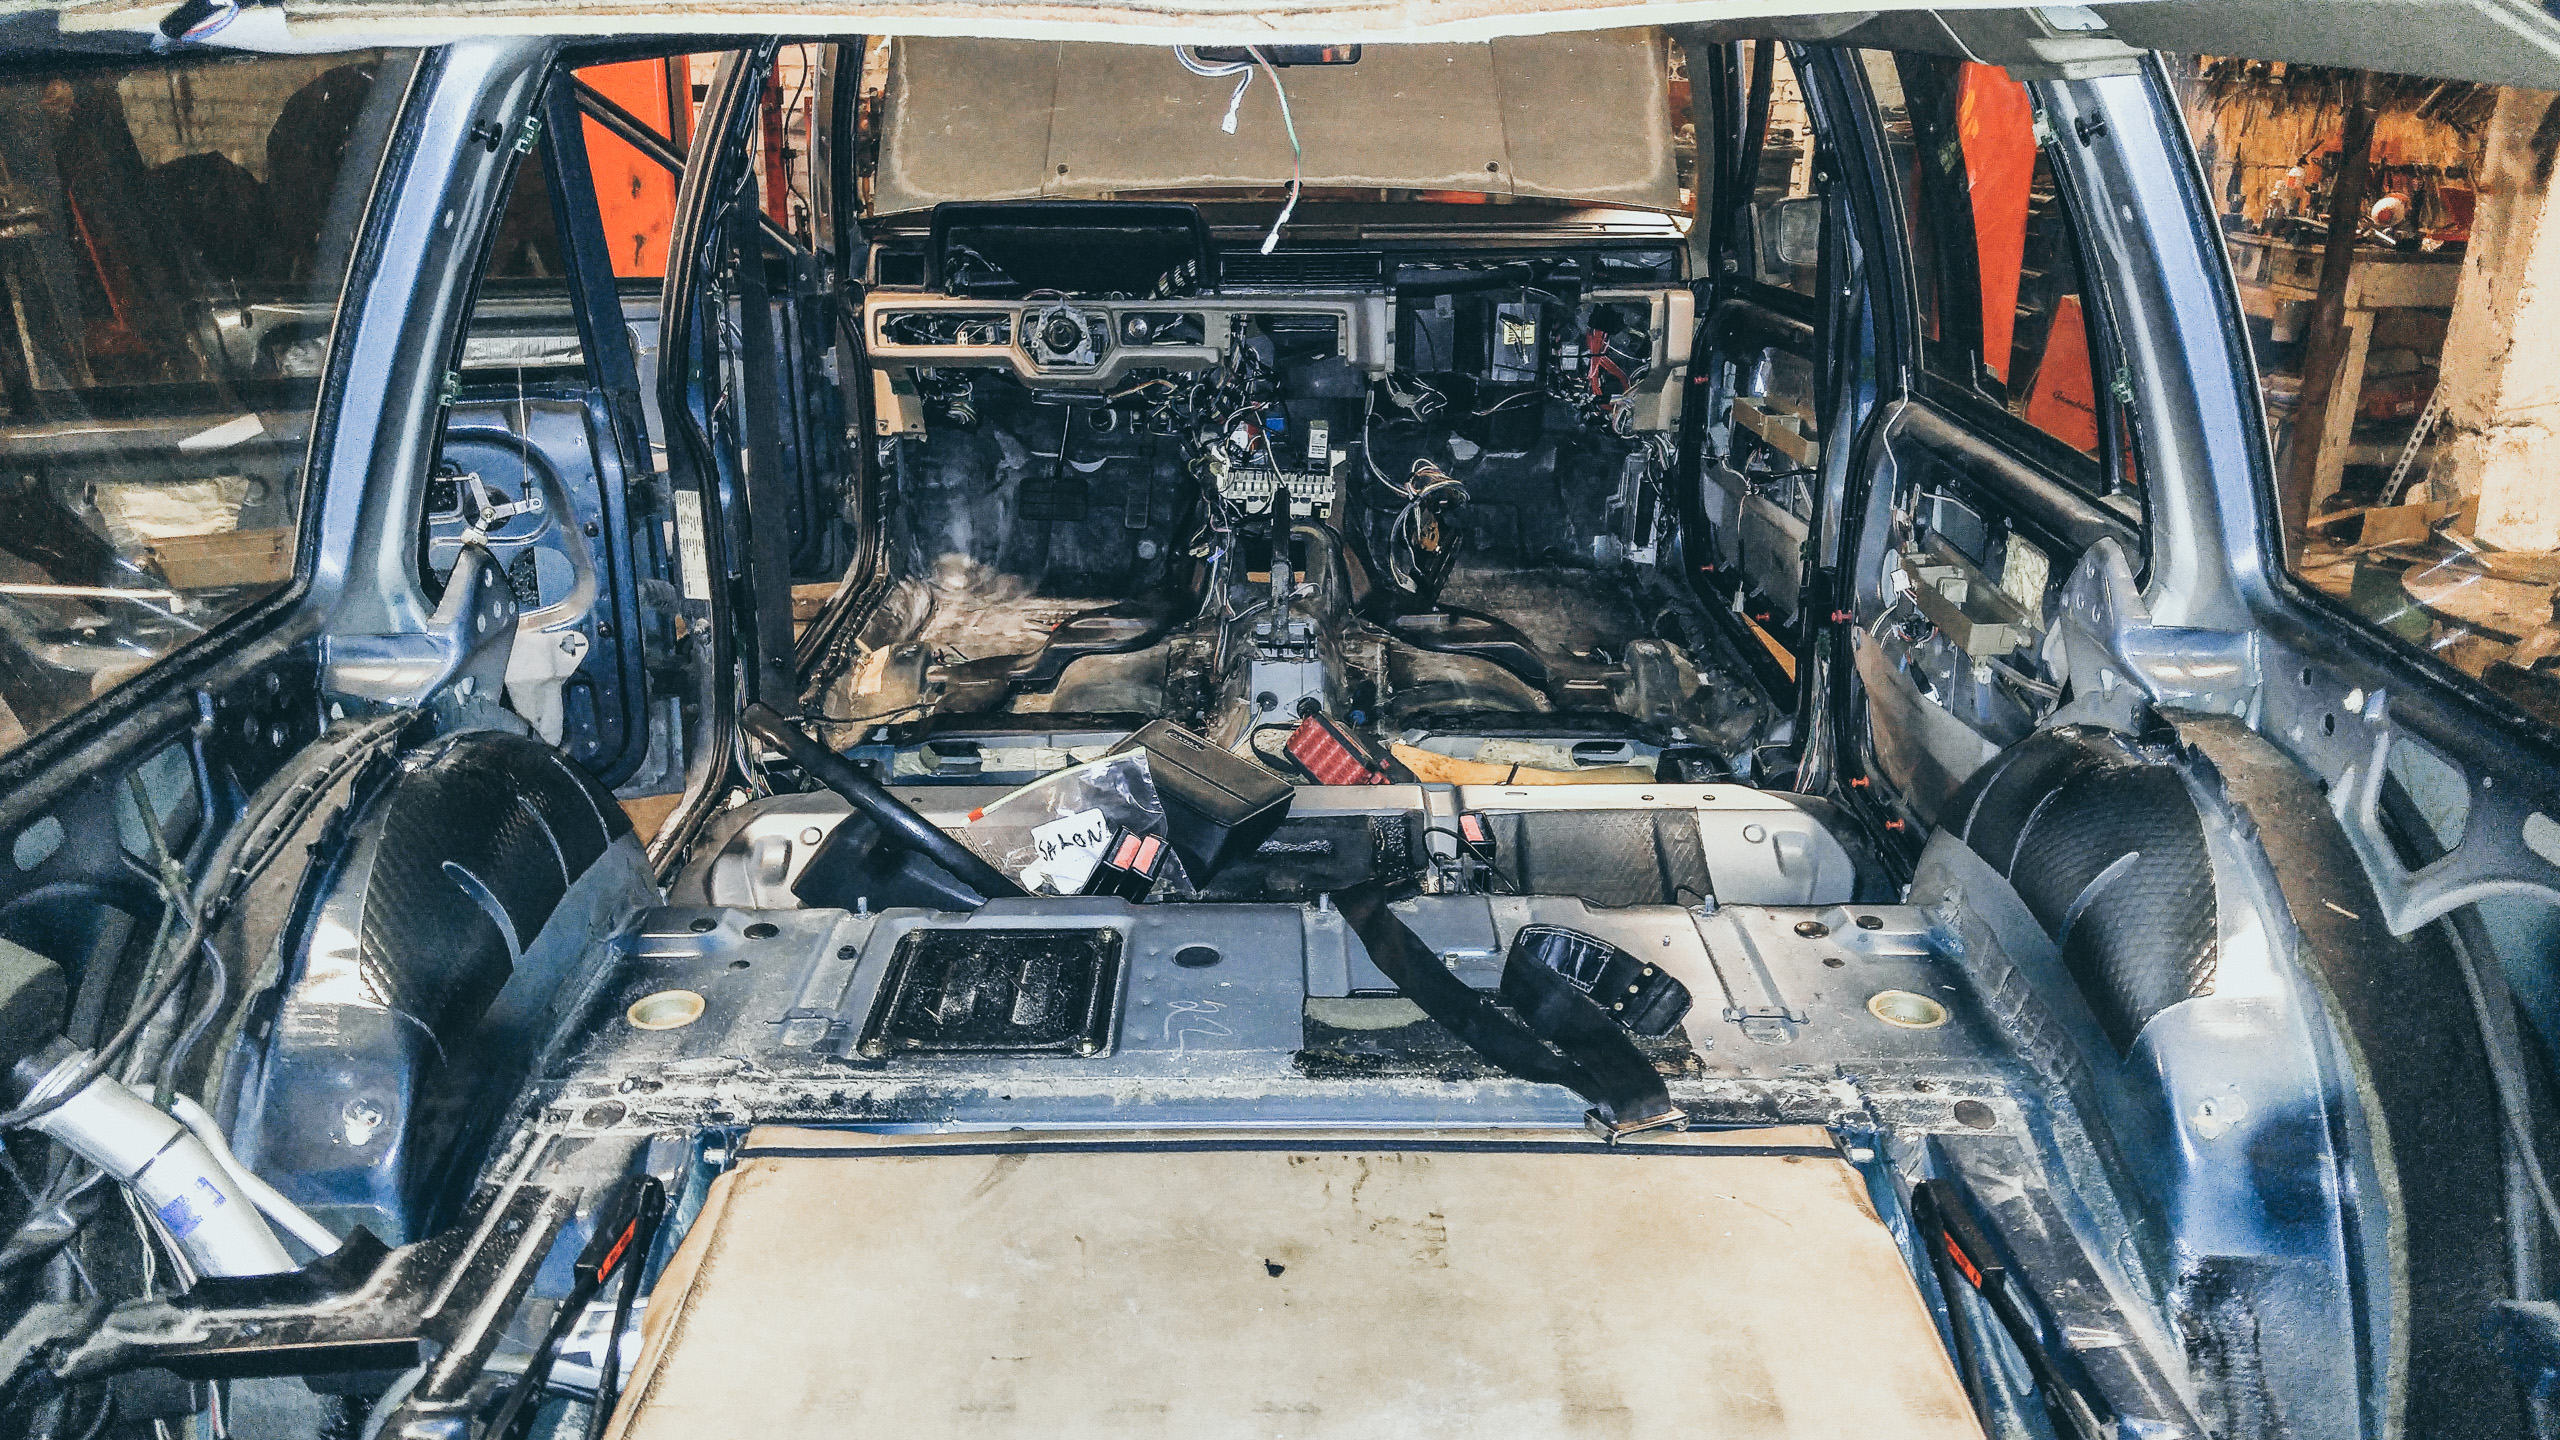
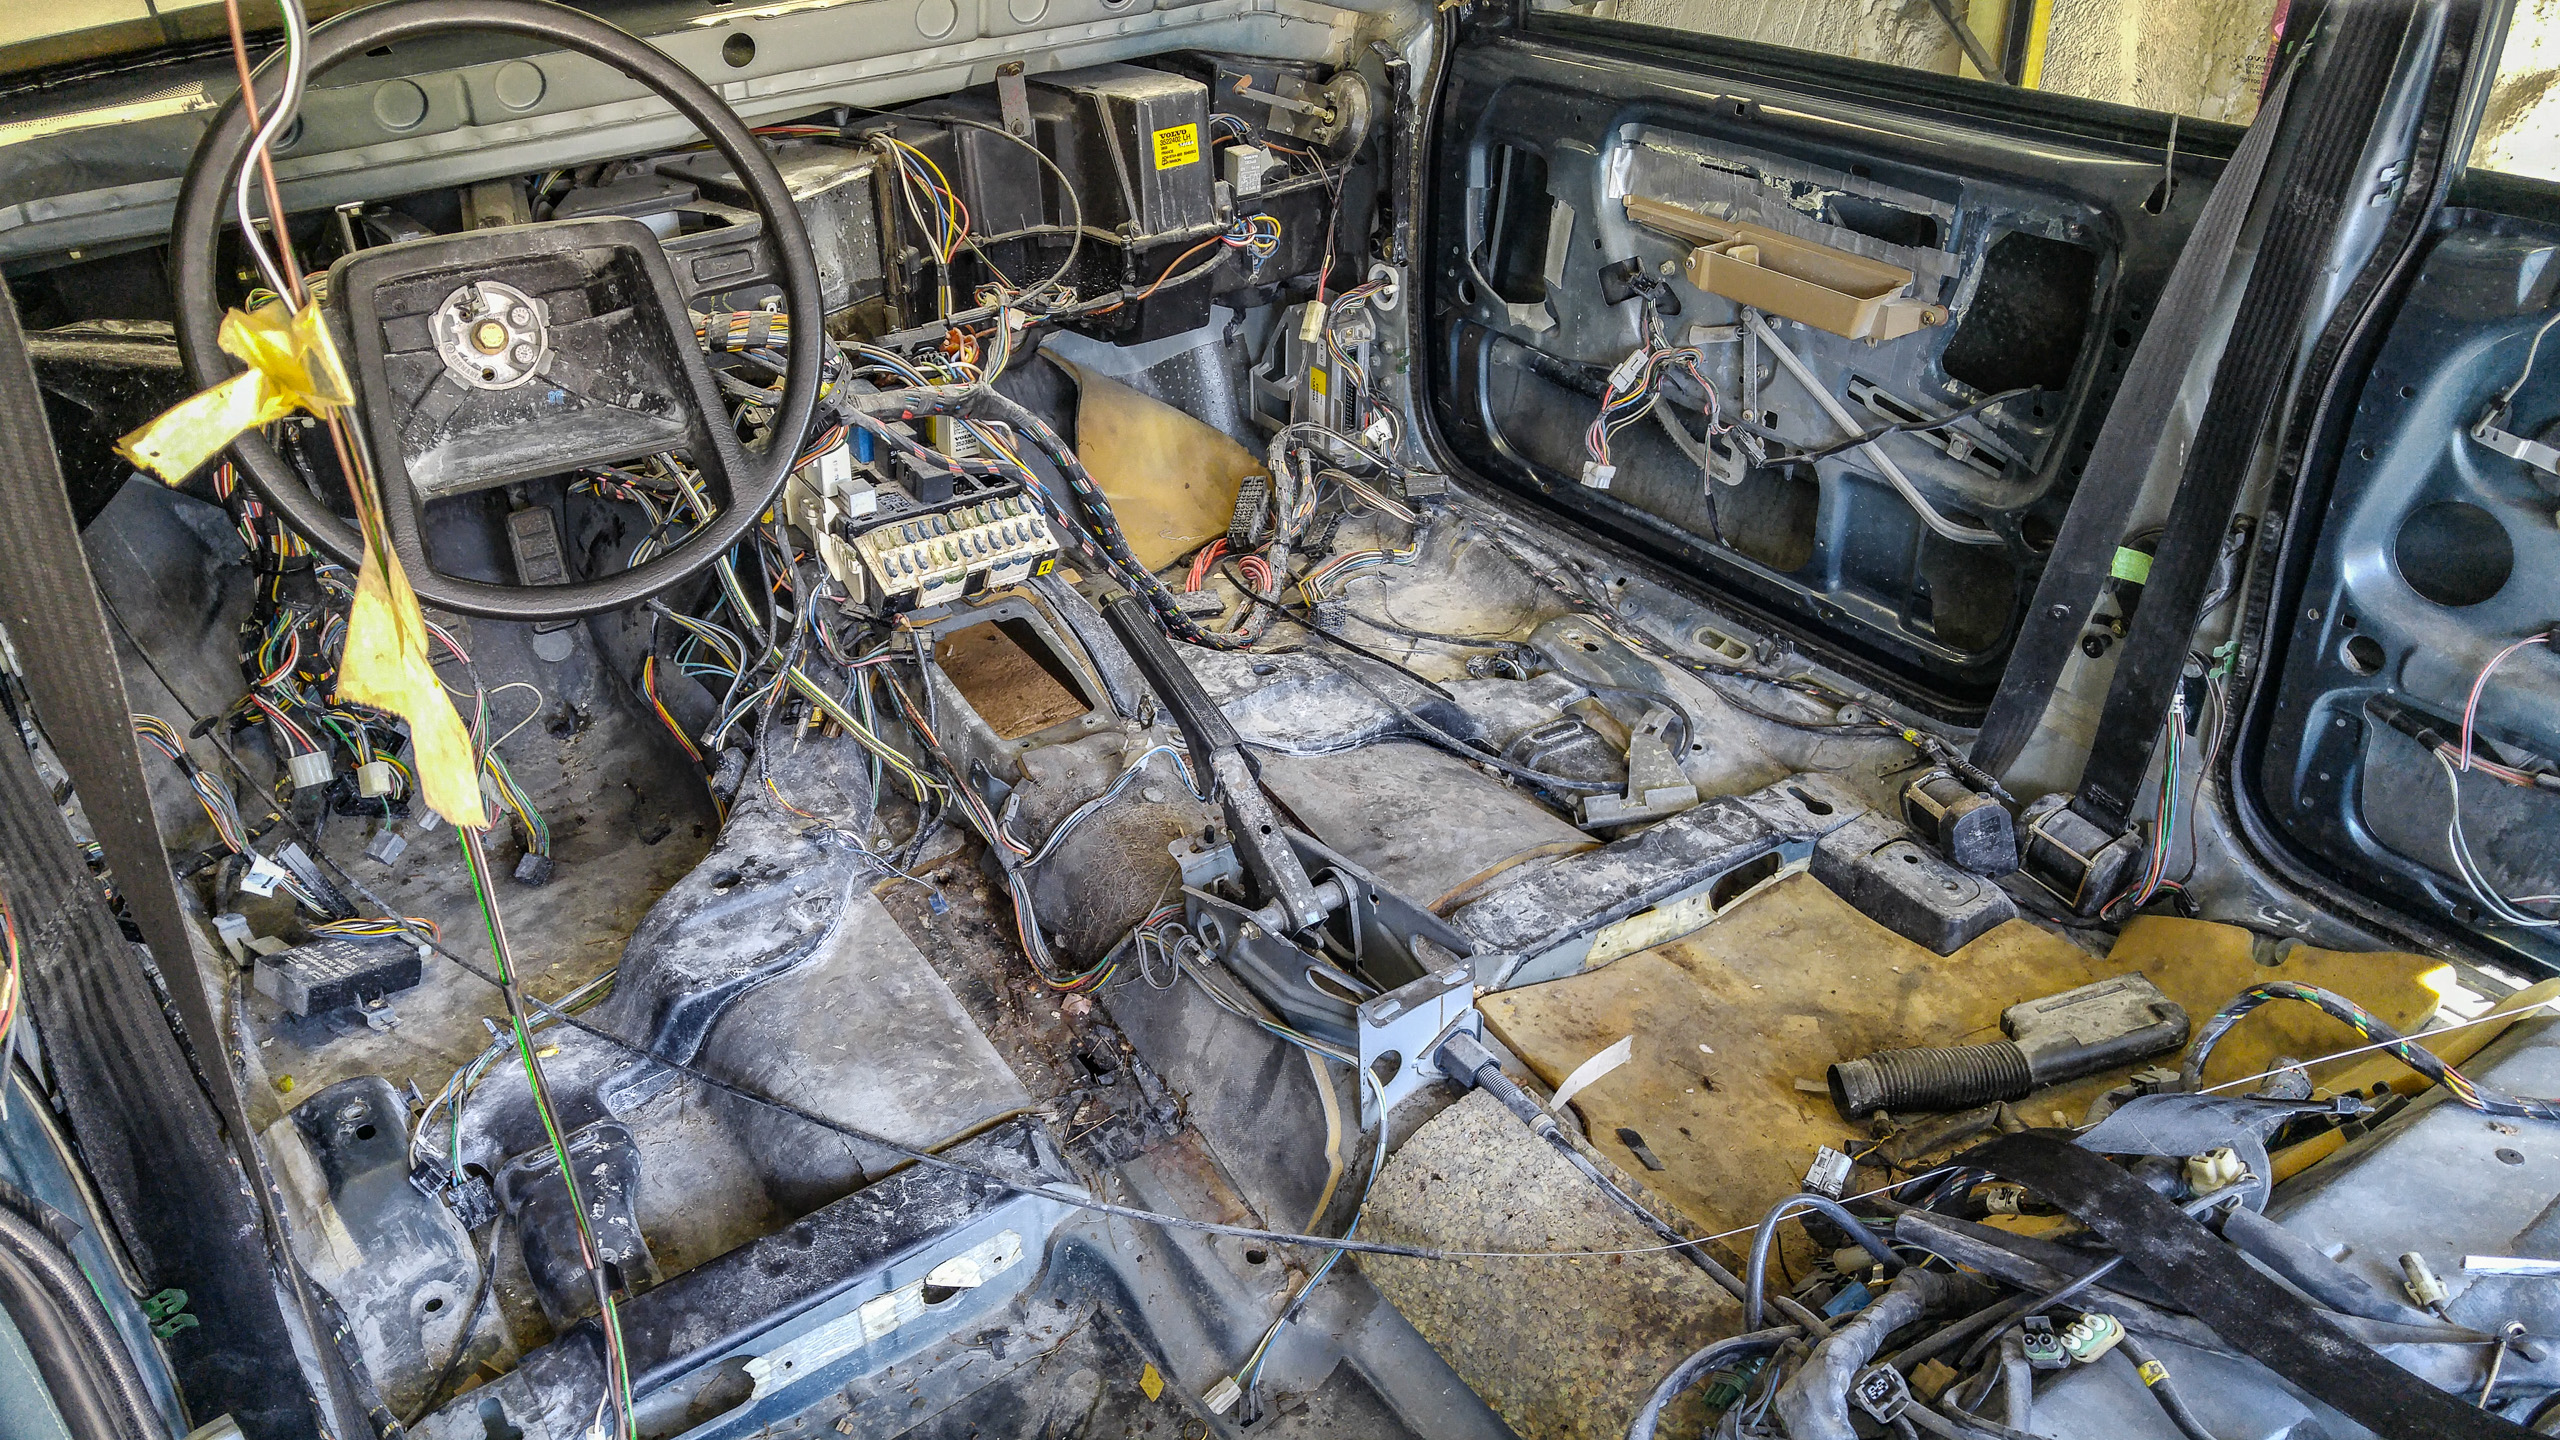
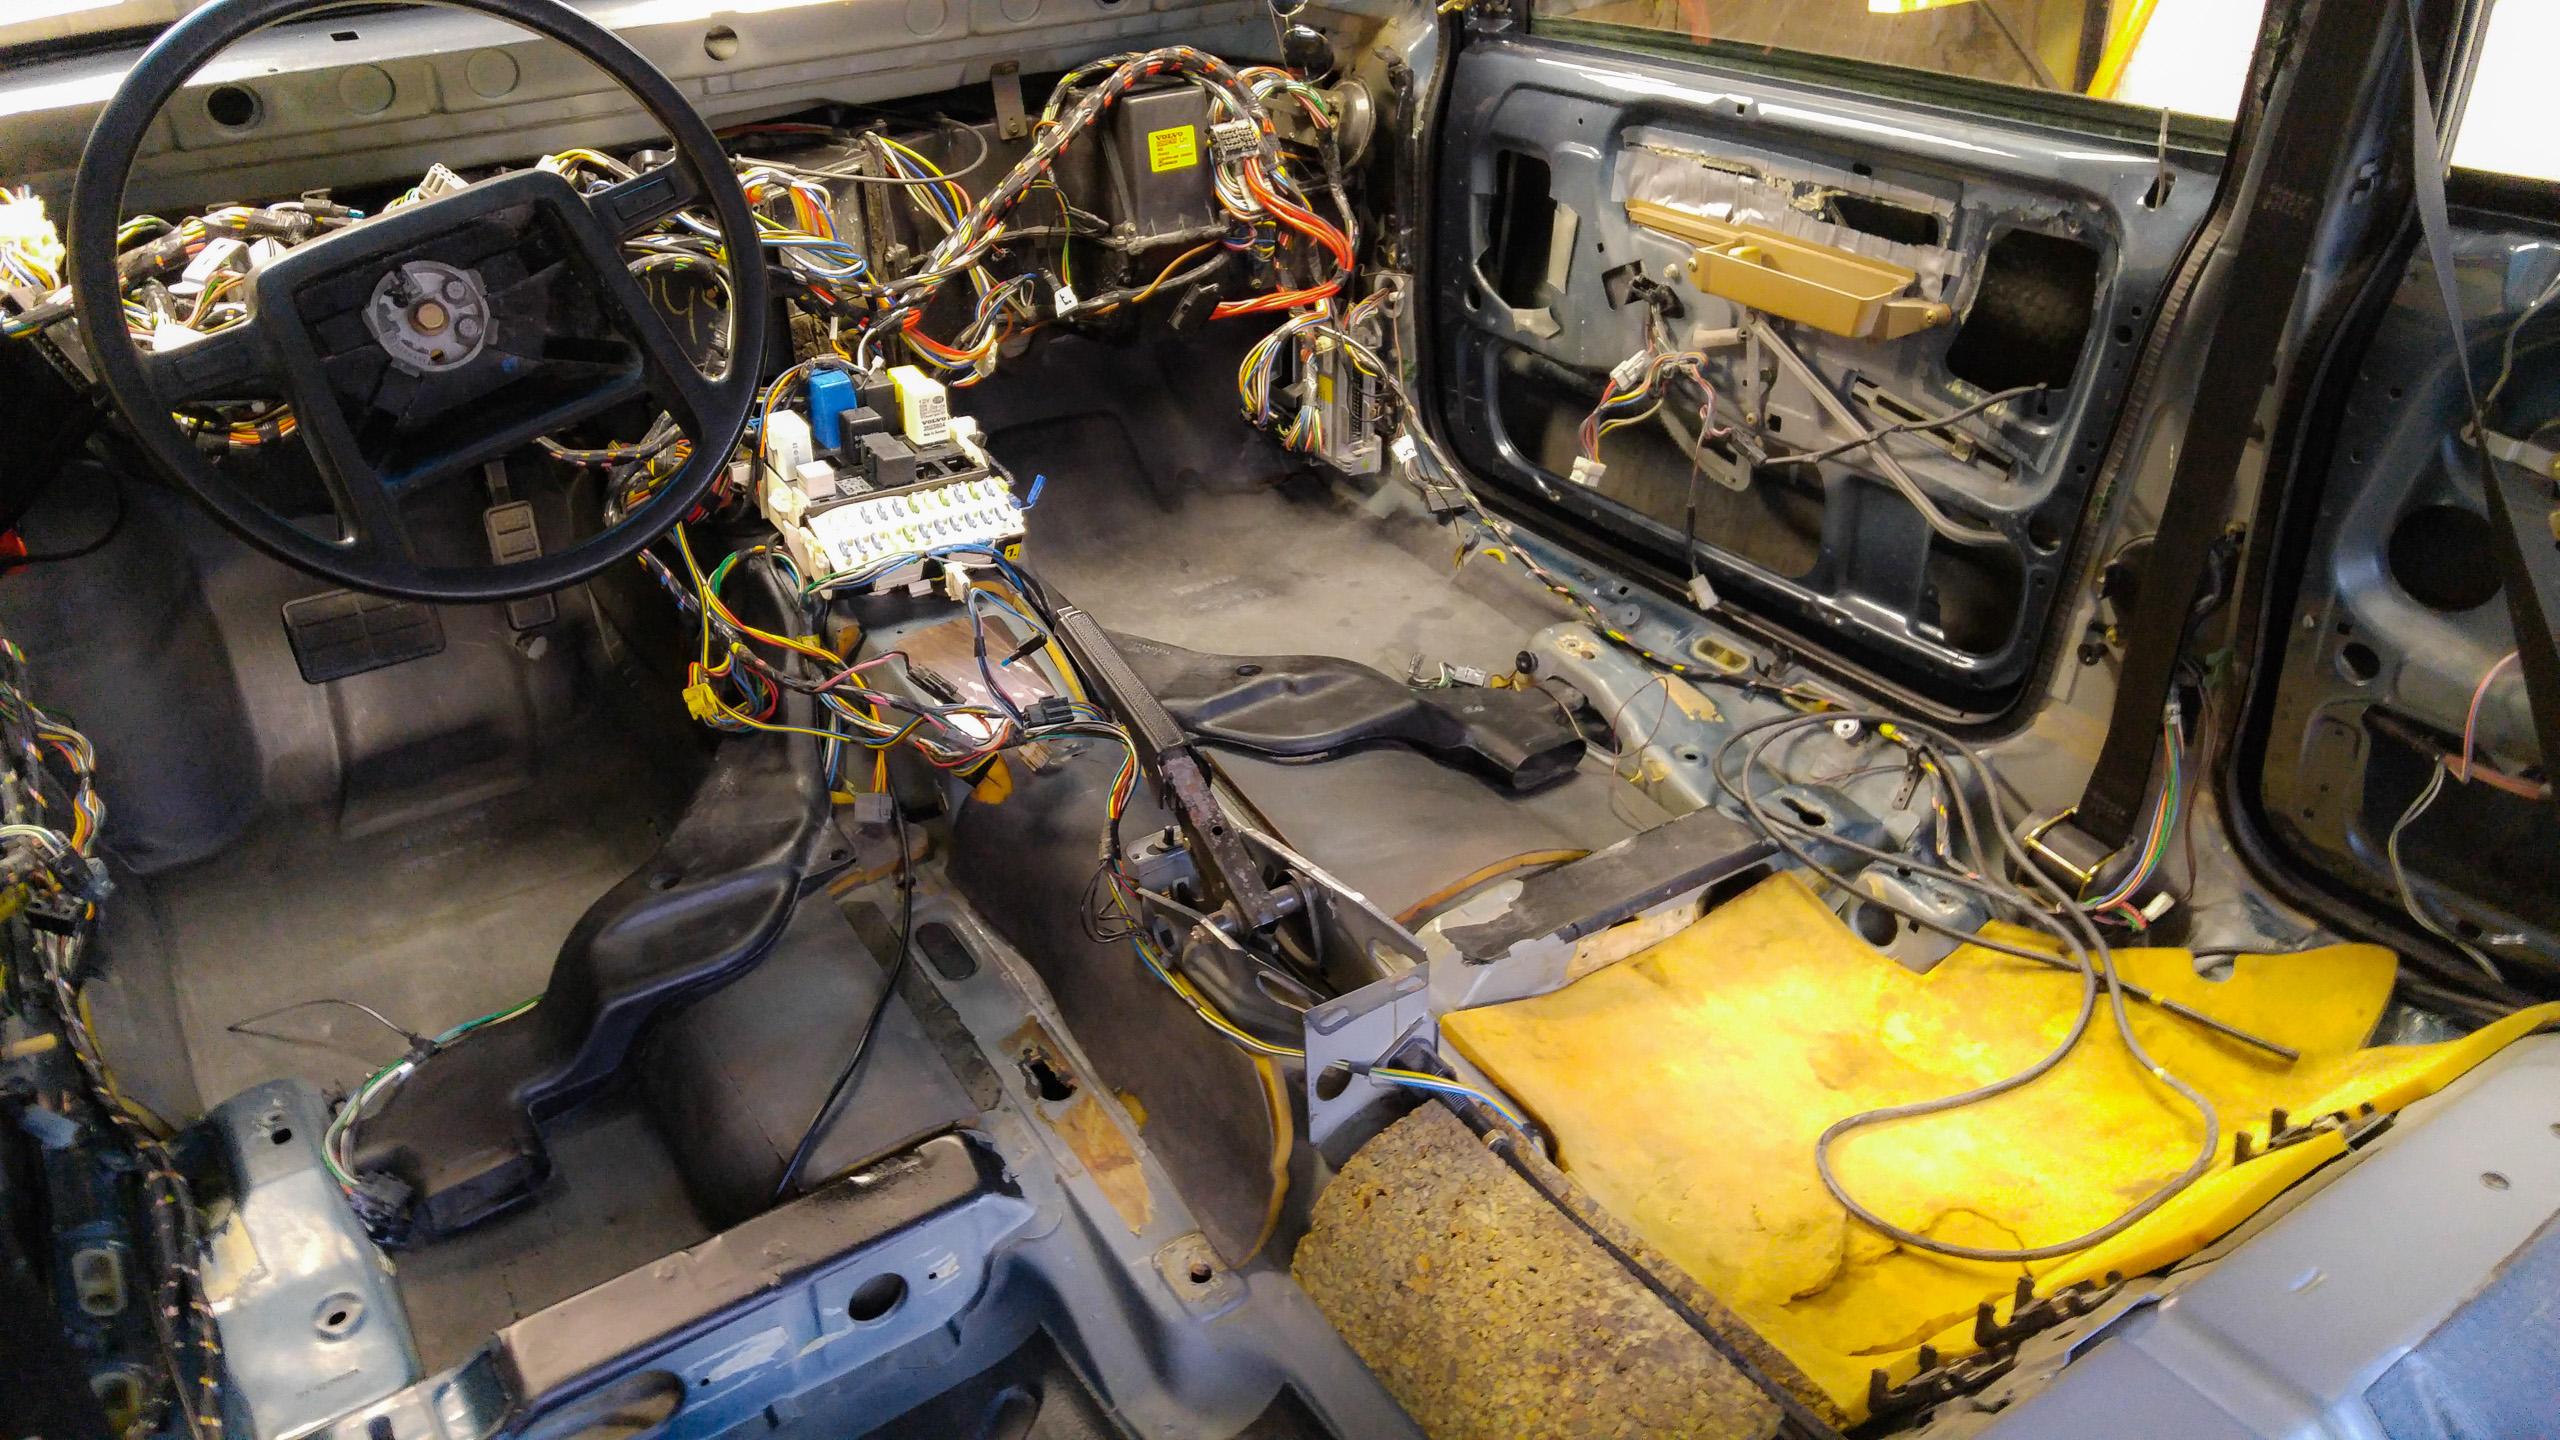
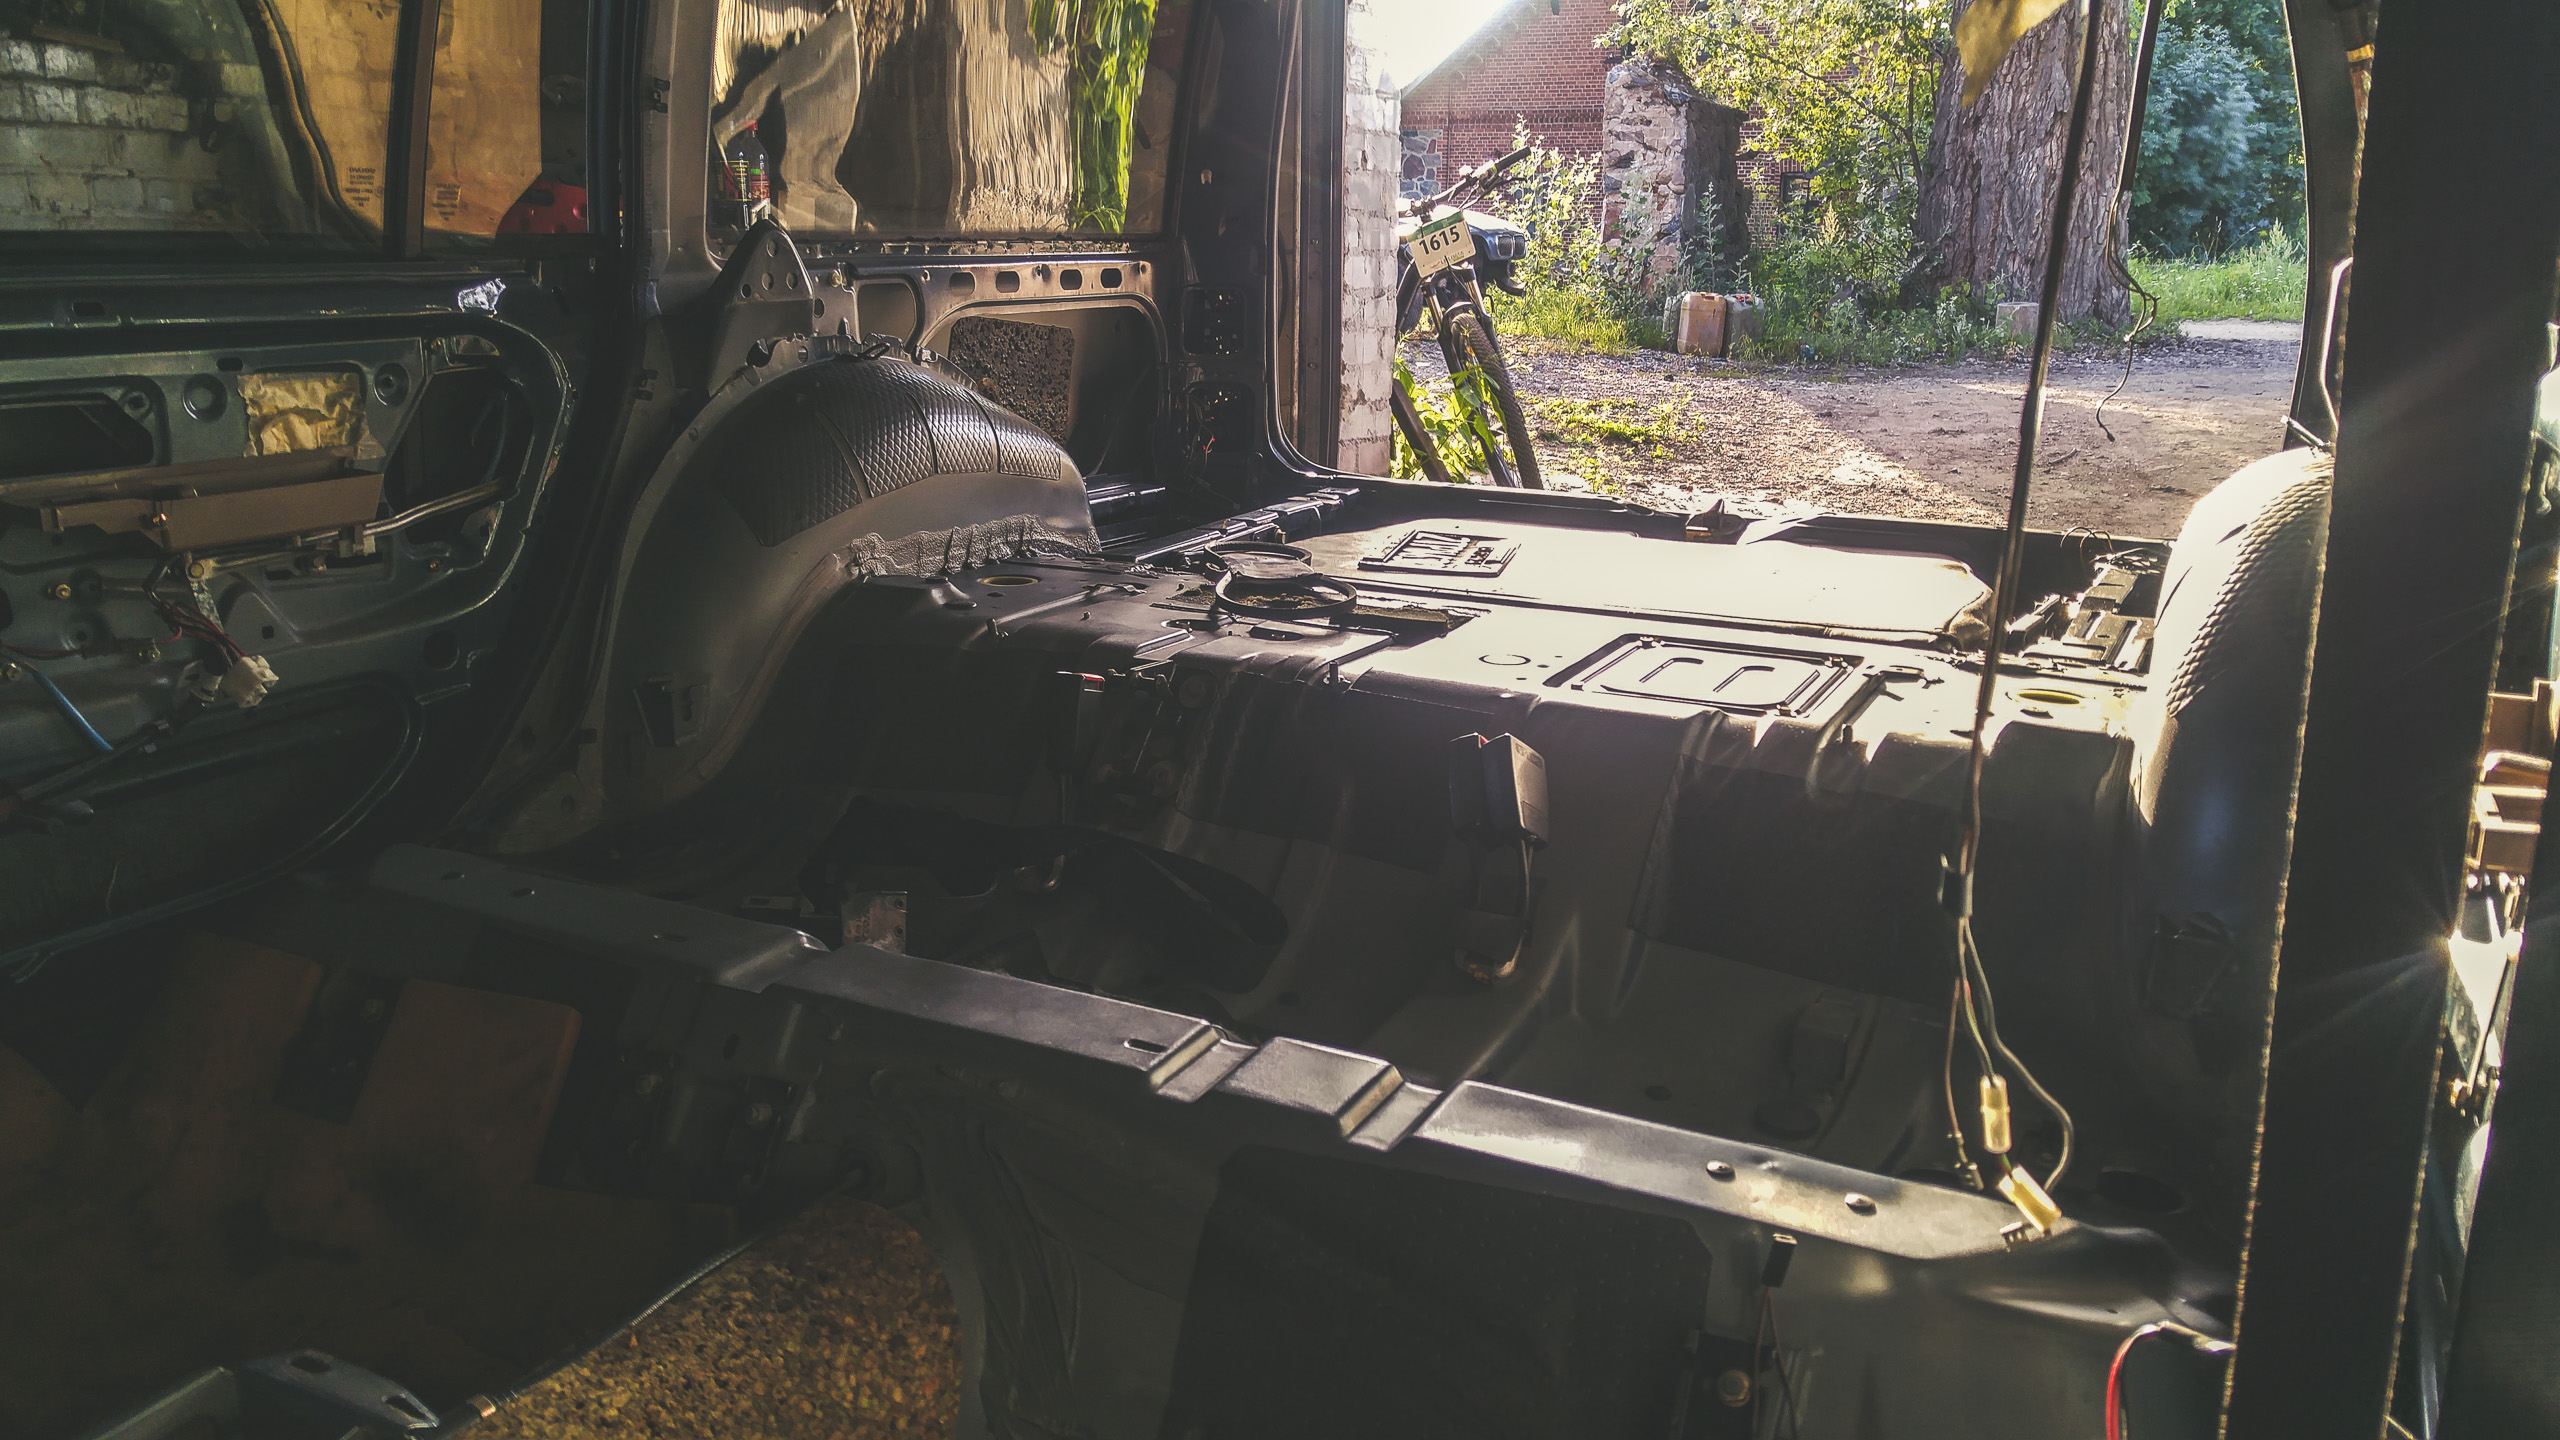
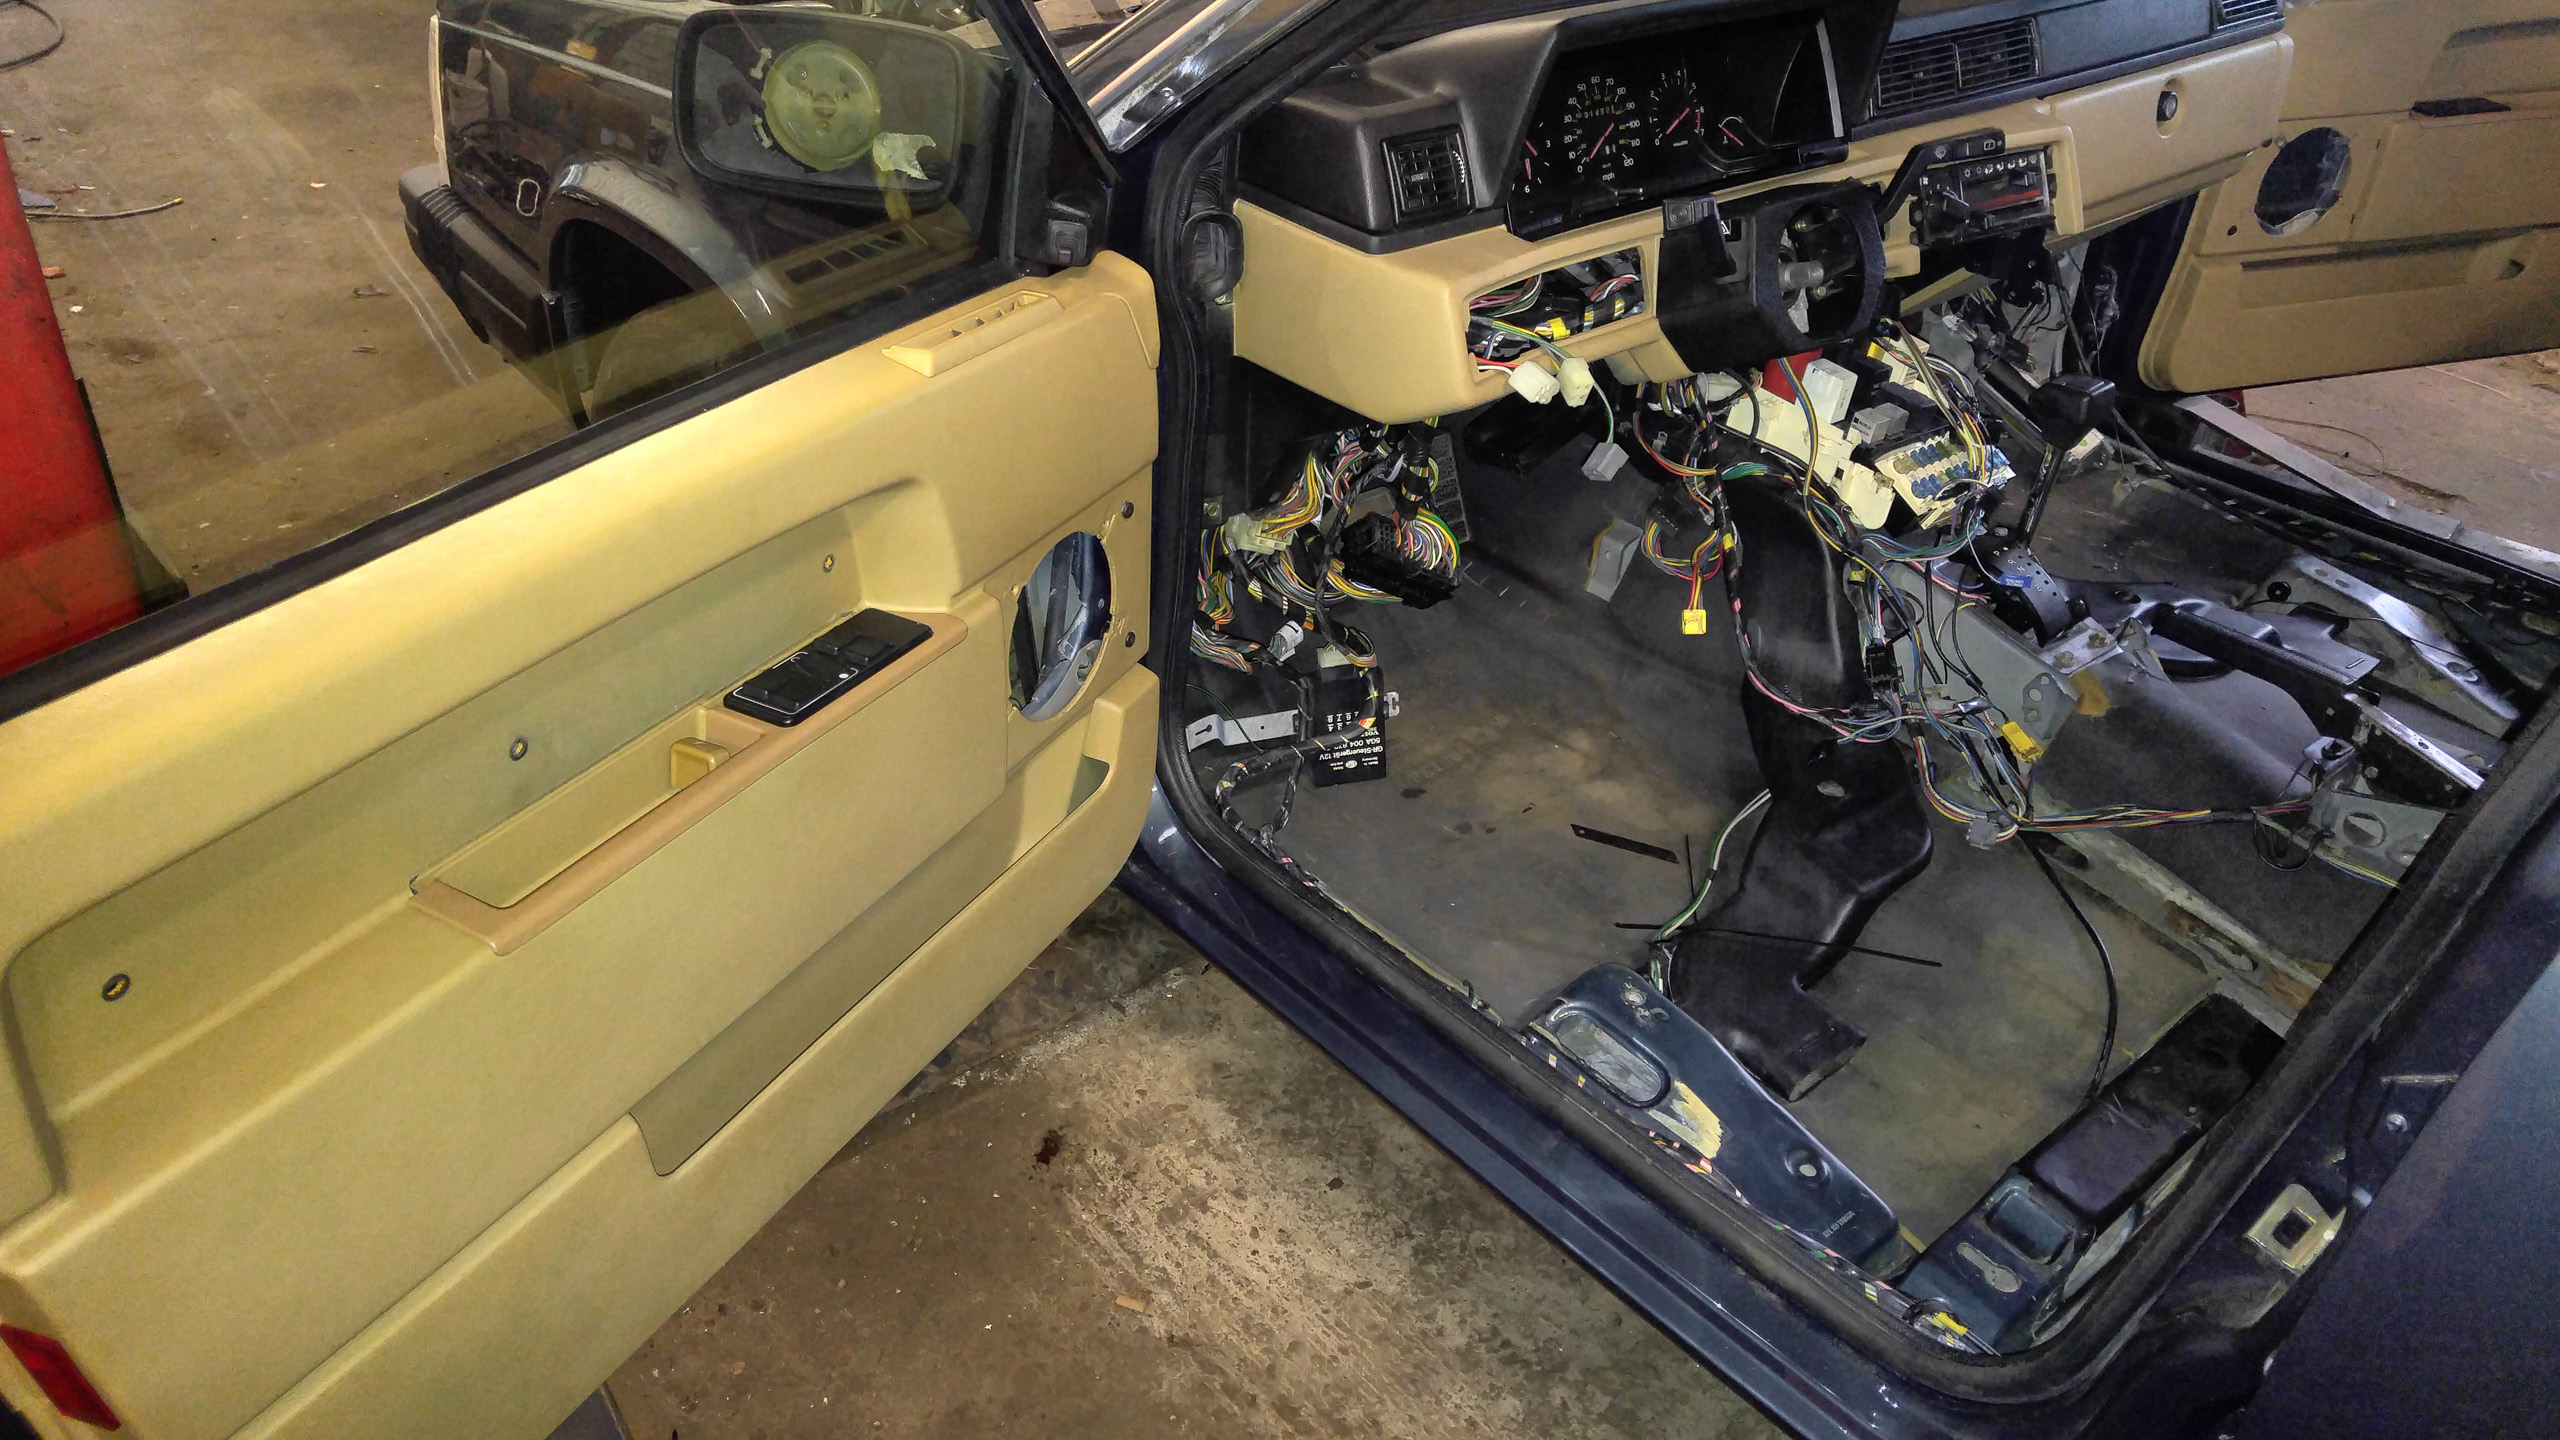
Total Disassembly
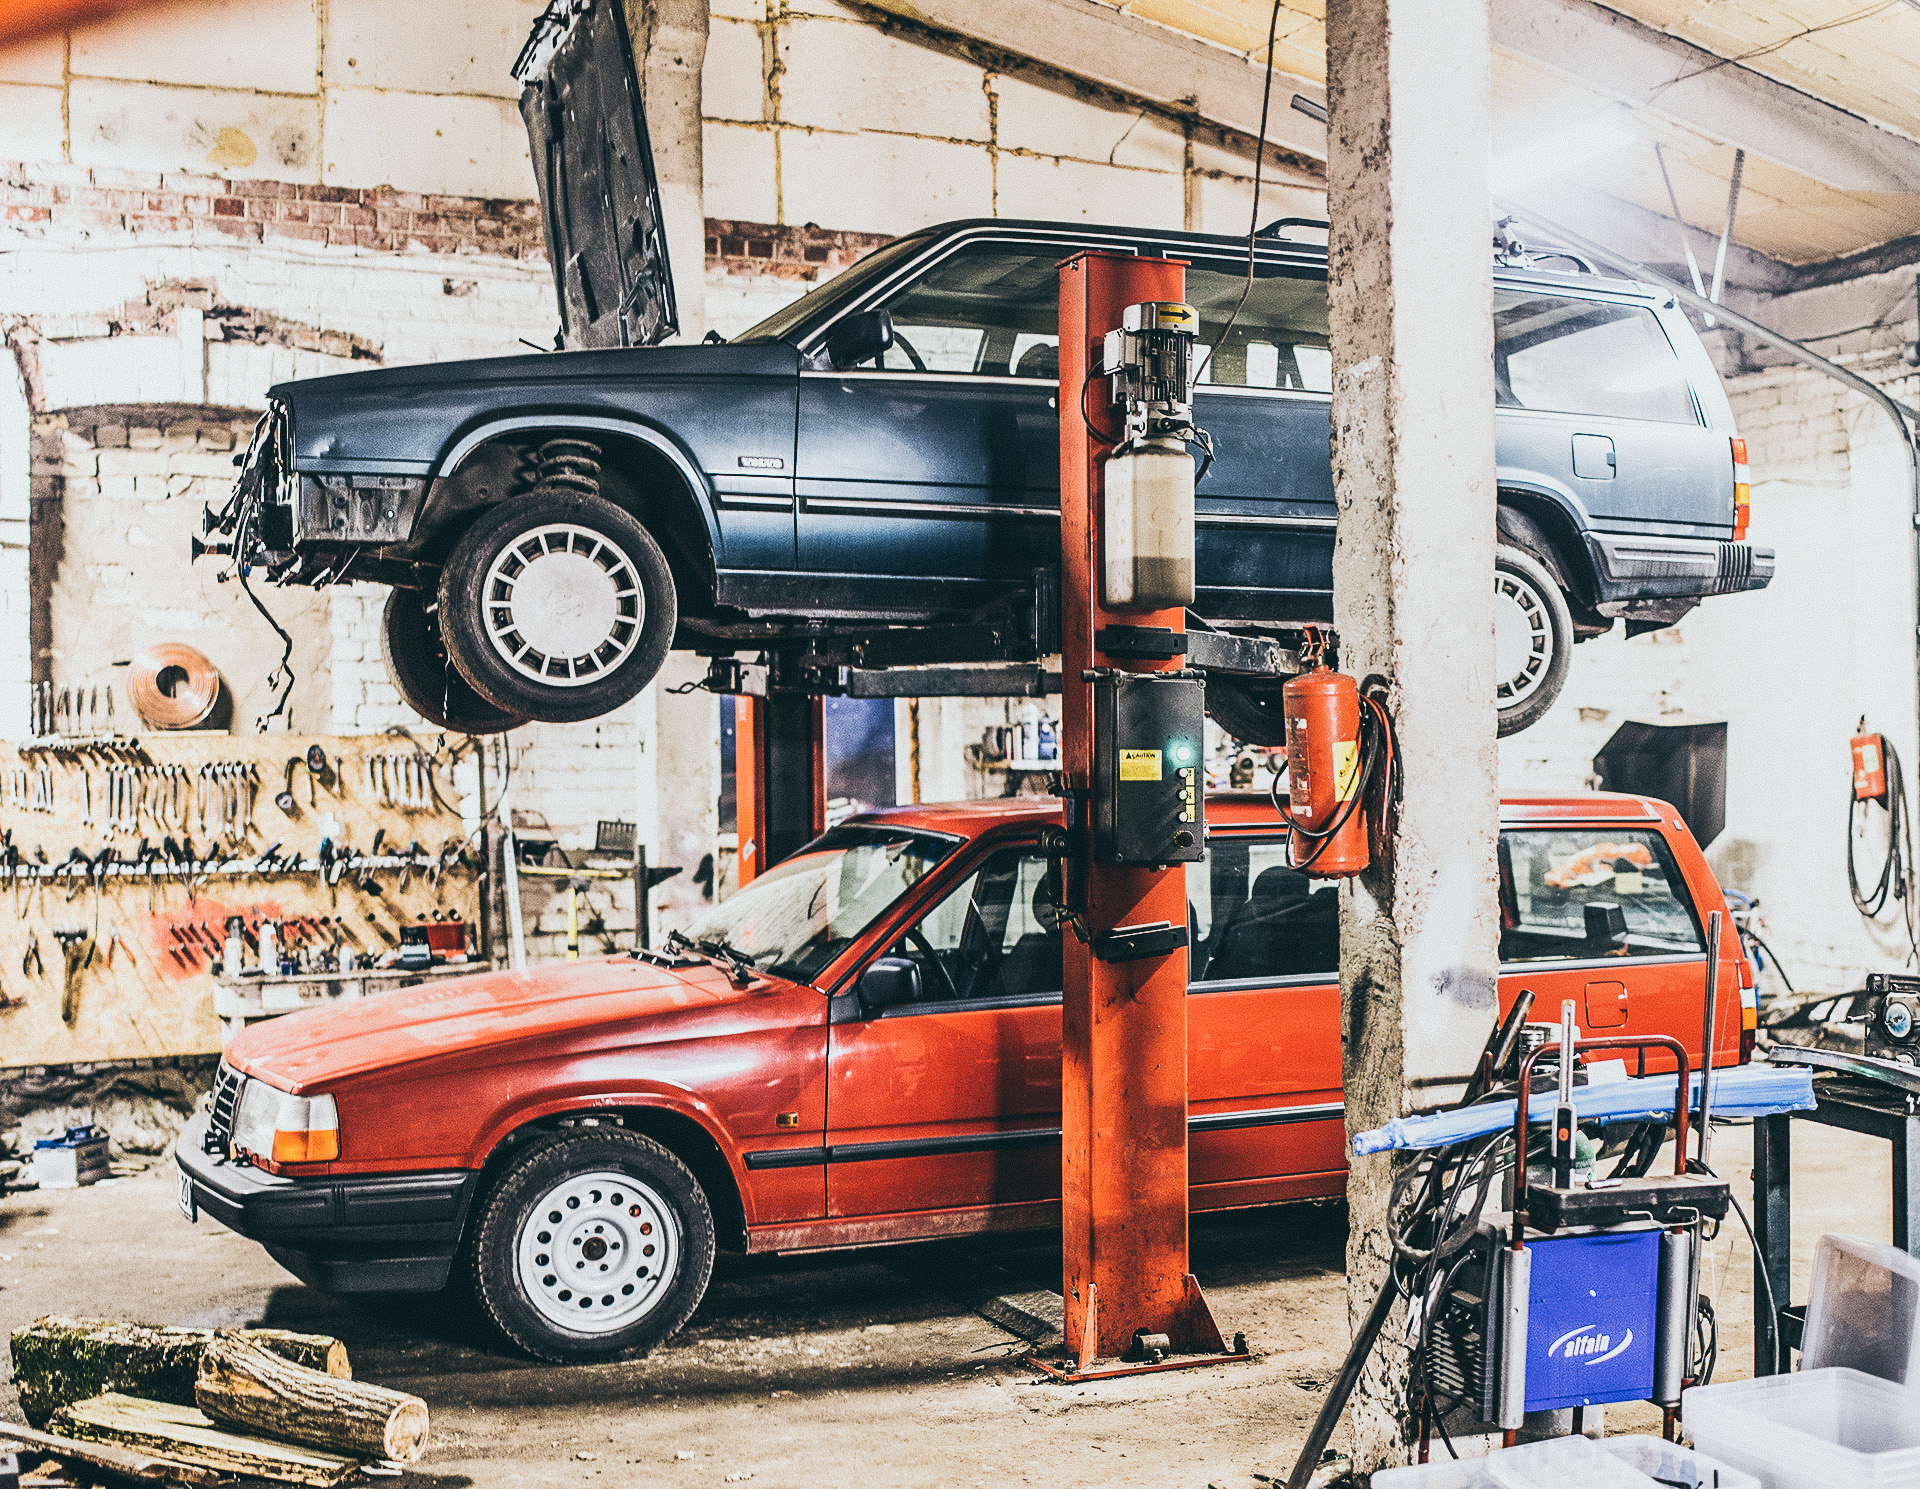
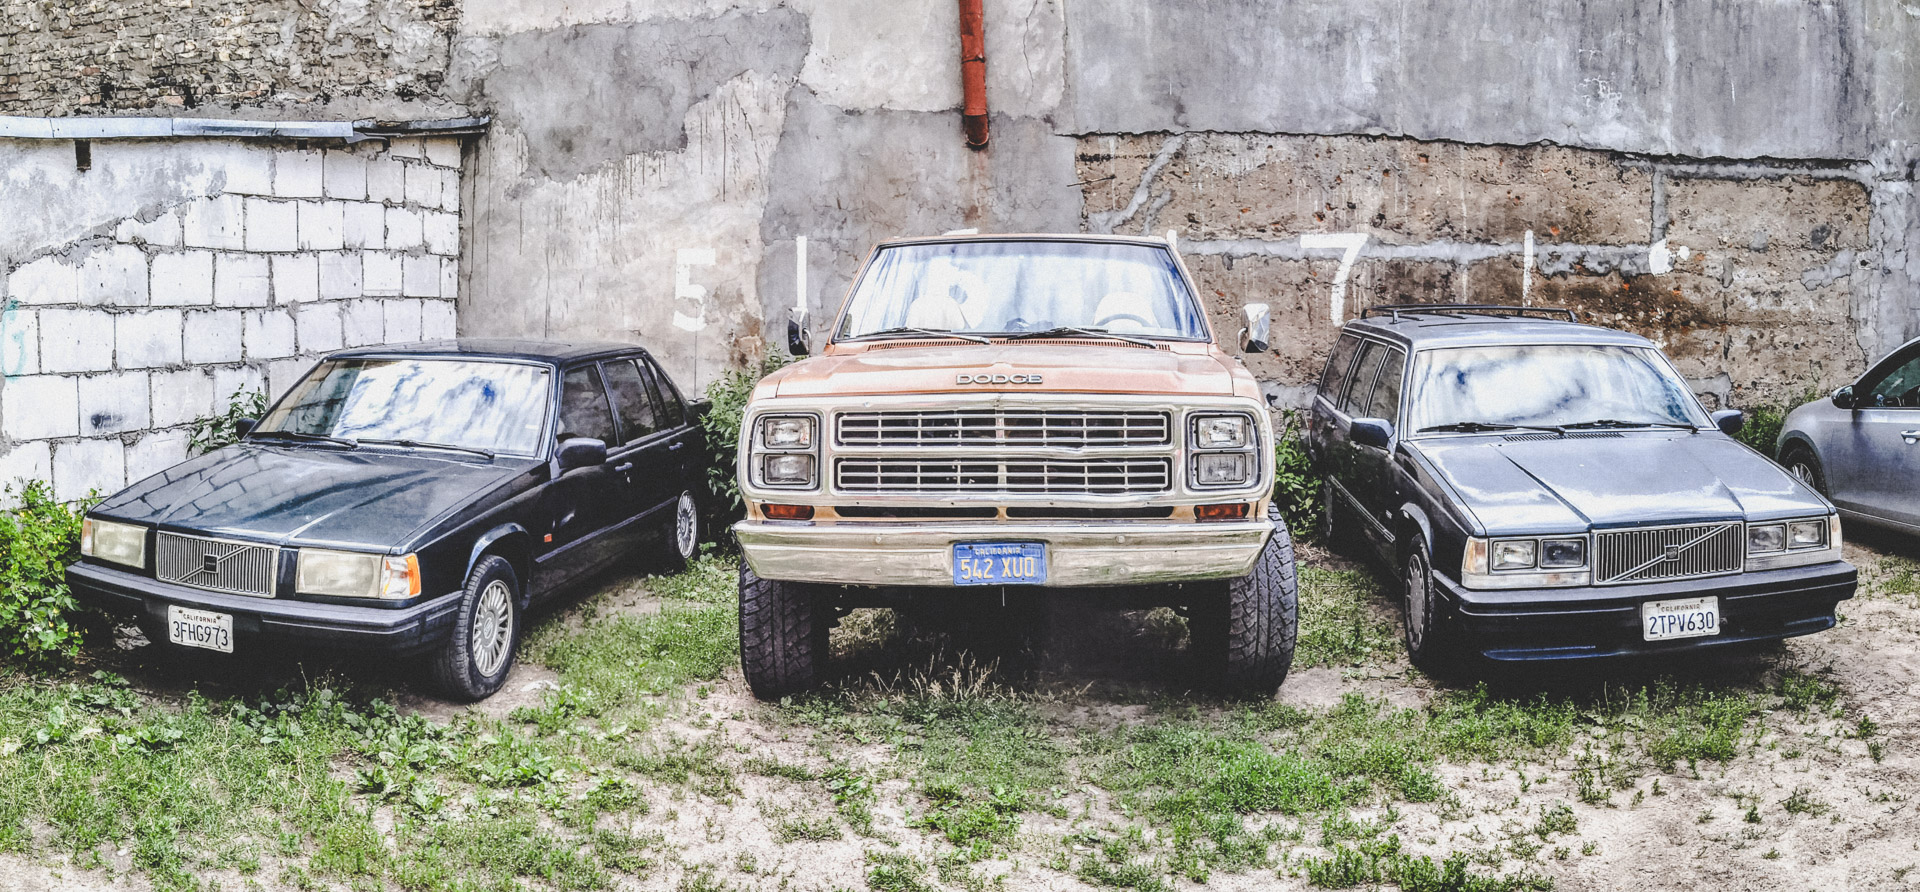
Another Volvo 940 pictured here, was purchased, to have another winter car and transport the 740 parts around. Now I got 3x Volvos… and I must admit significant time currently is going to keep the two Volvos rolling due to recent issues with both and getting the 3rd one restored.
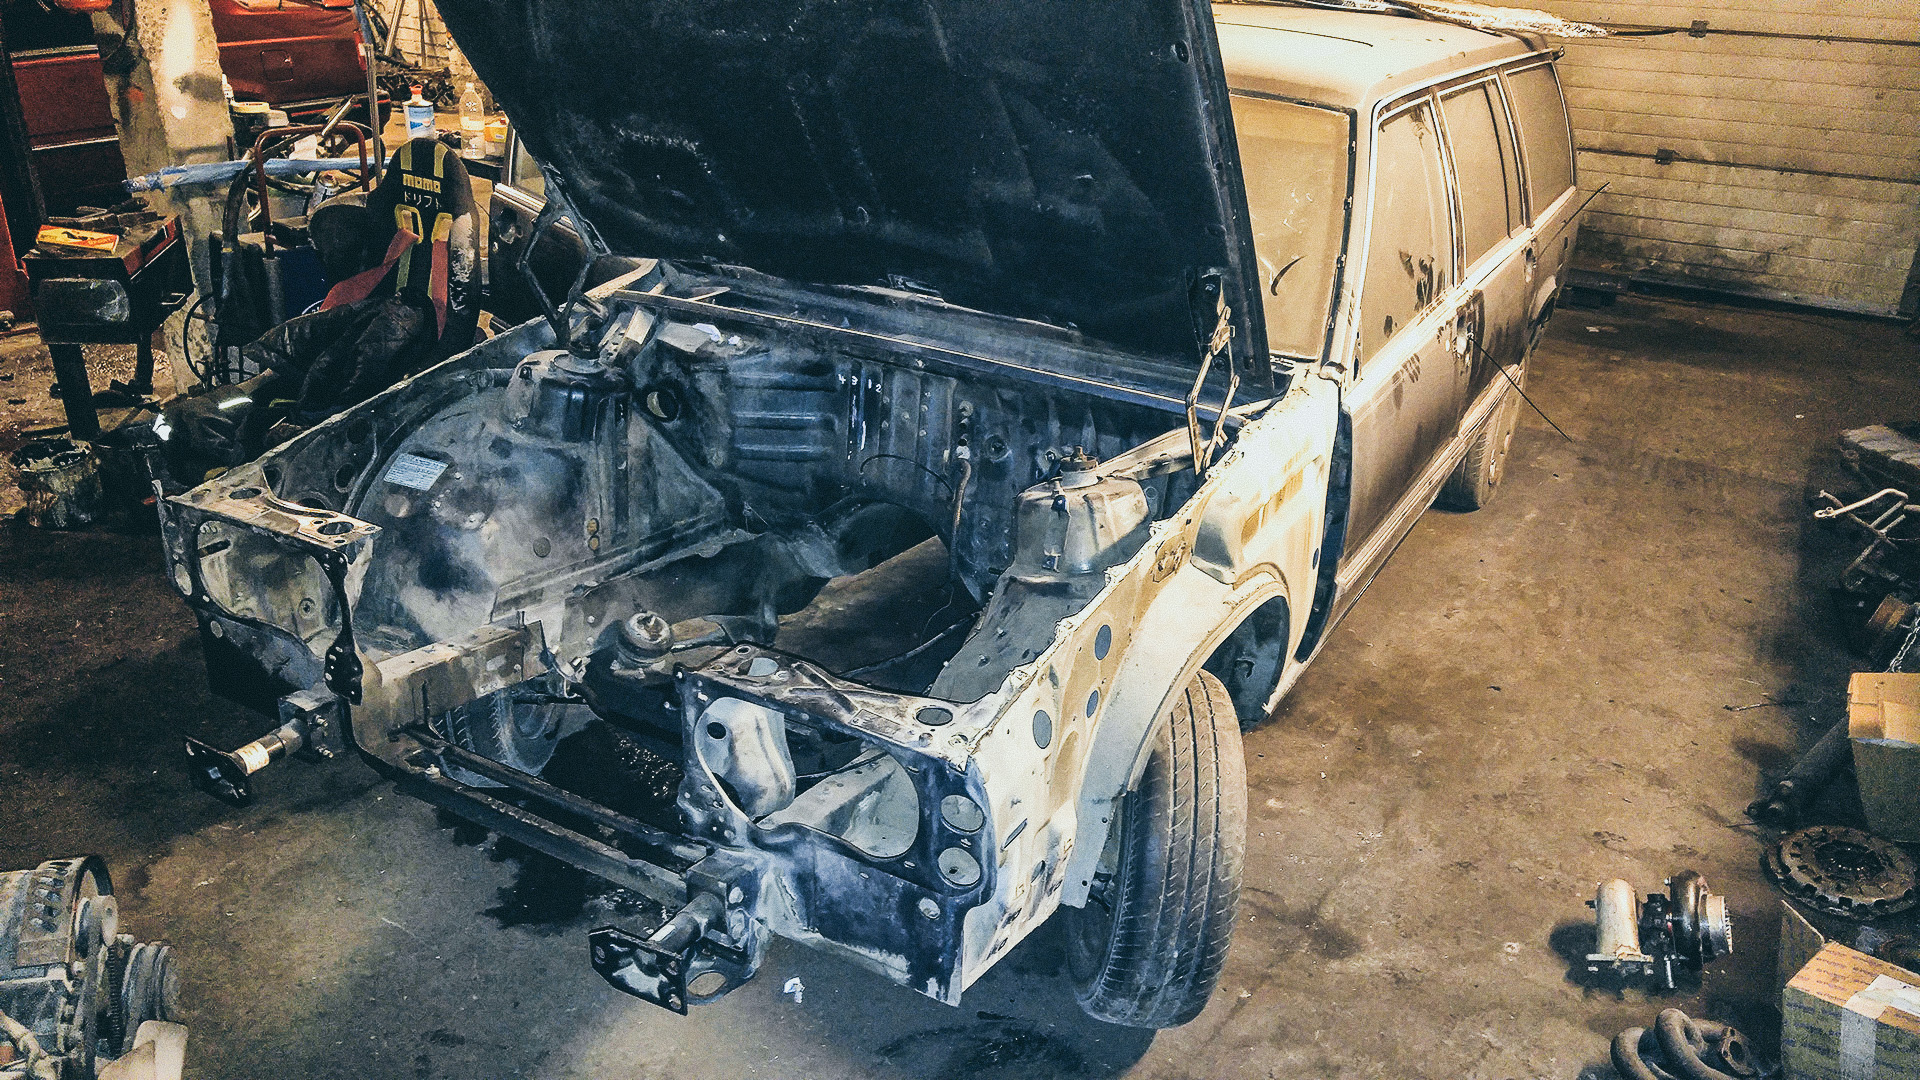

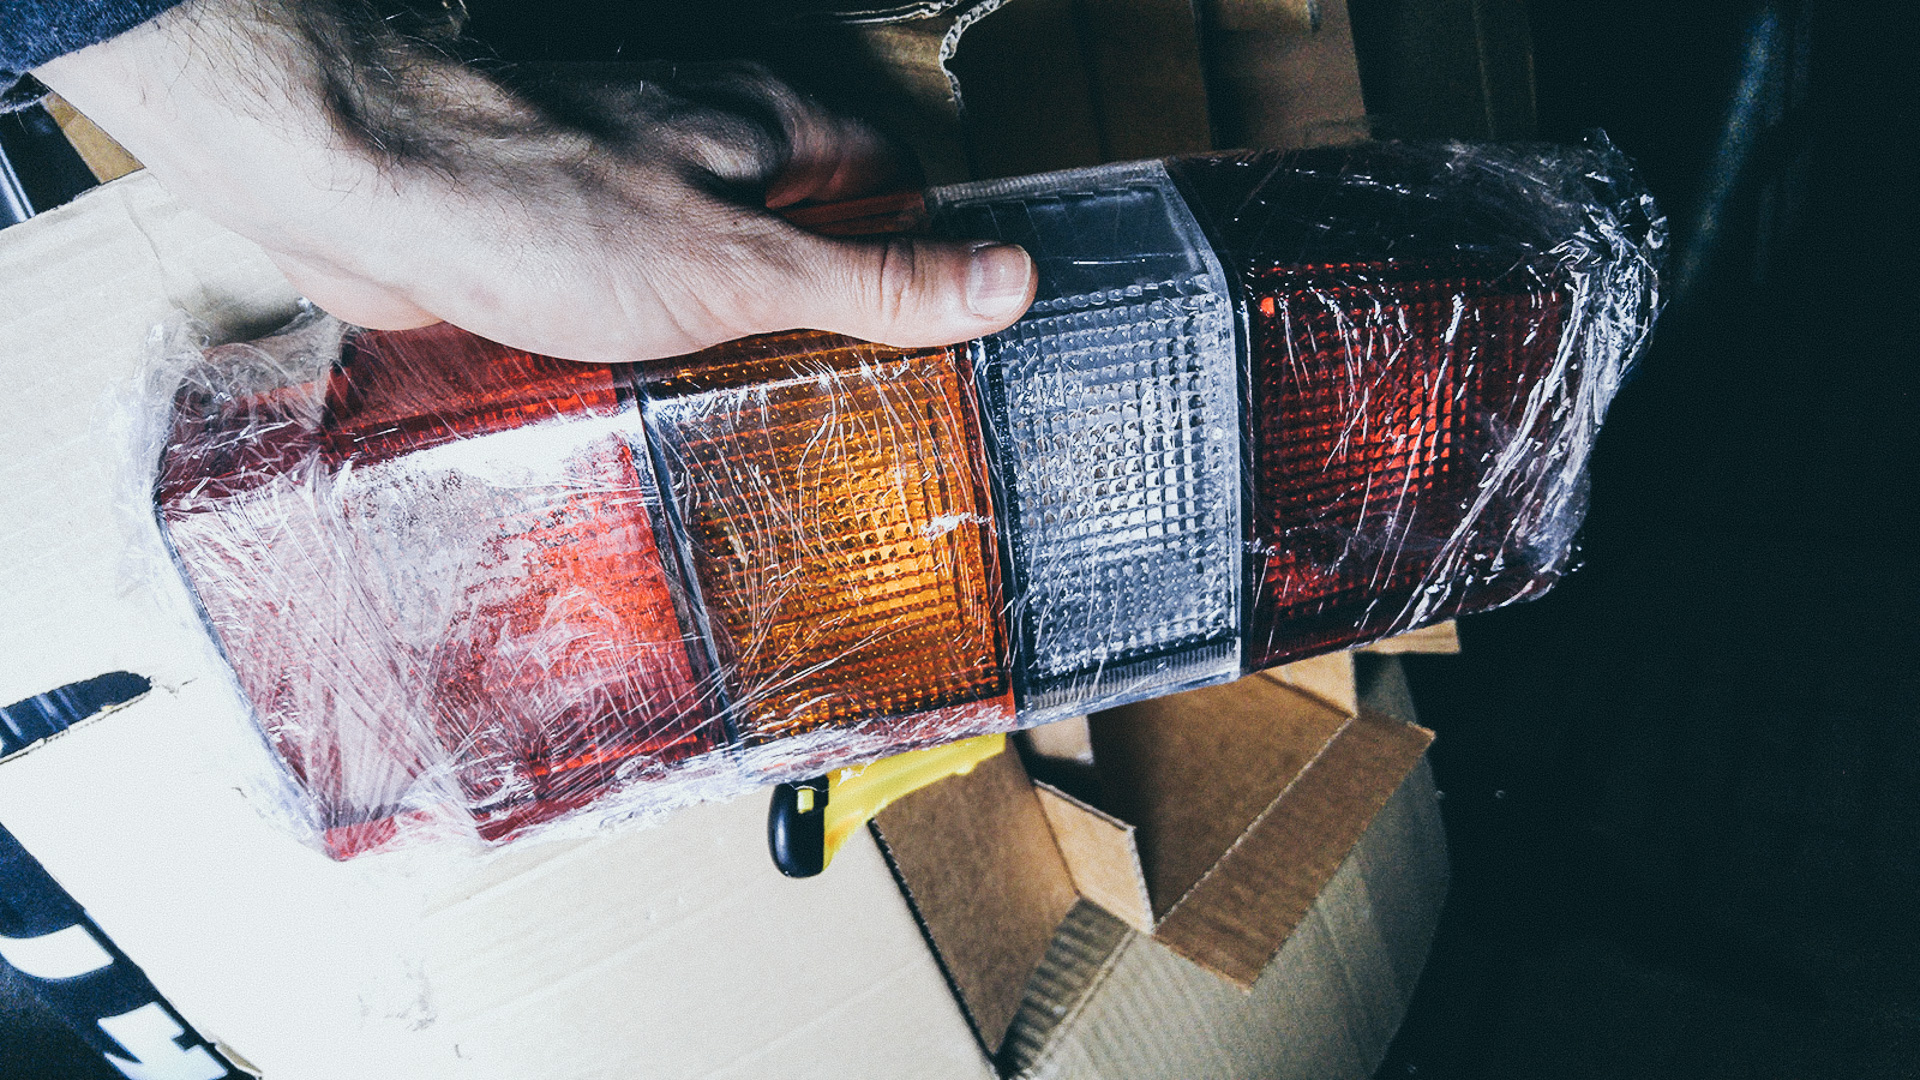
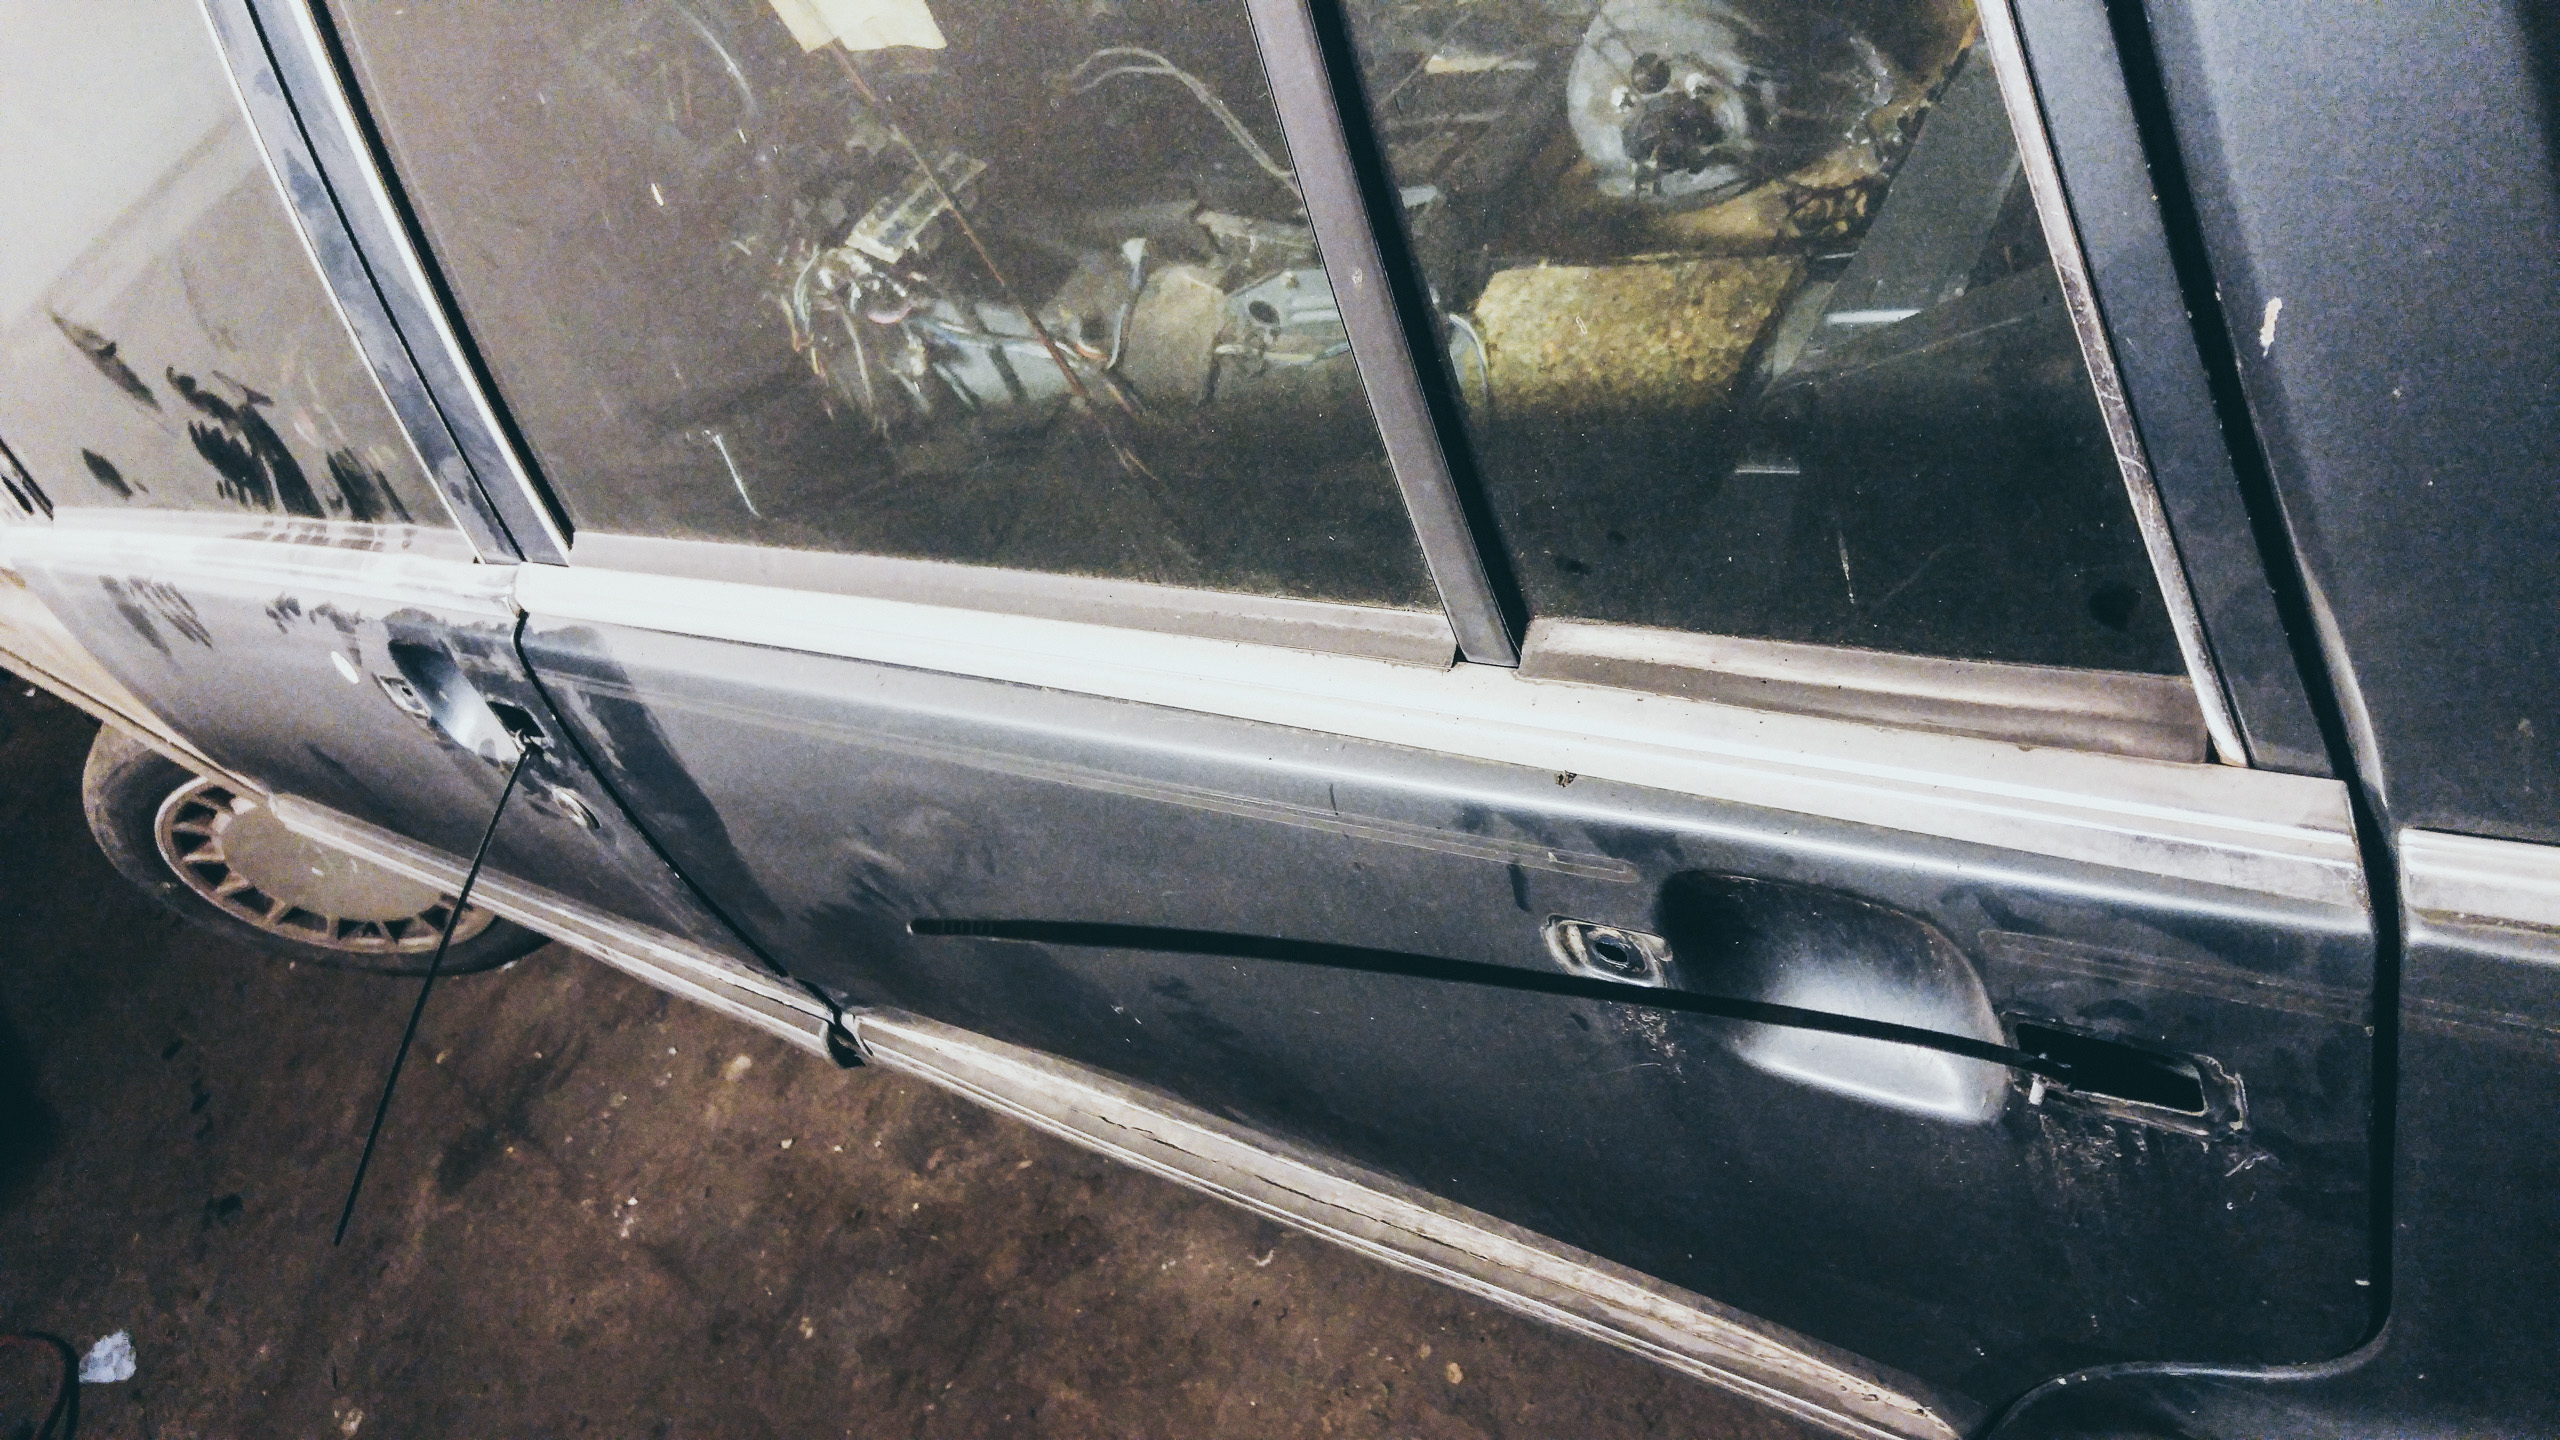

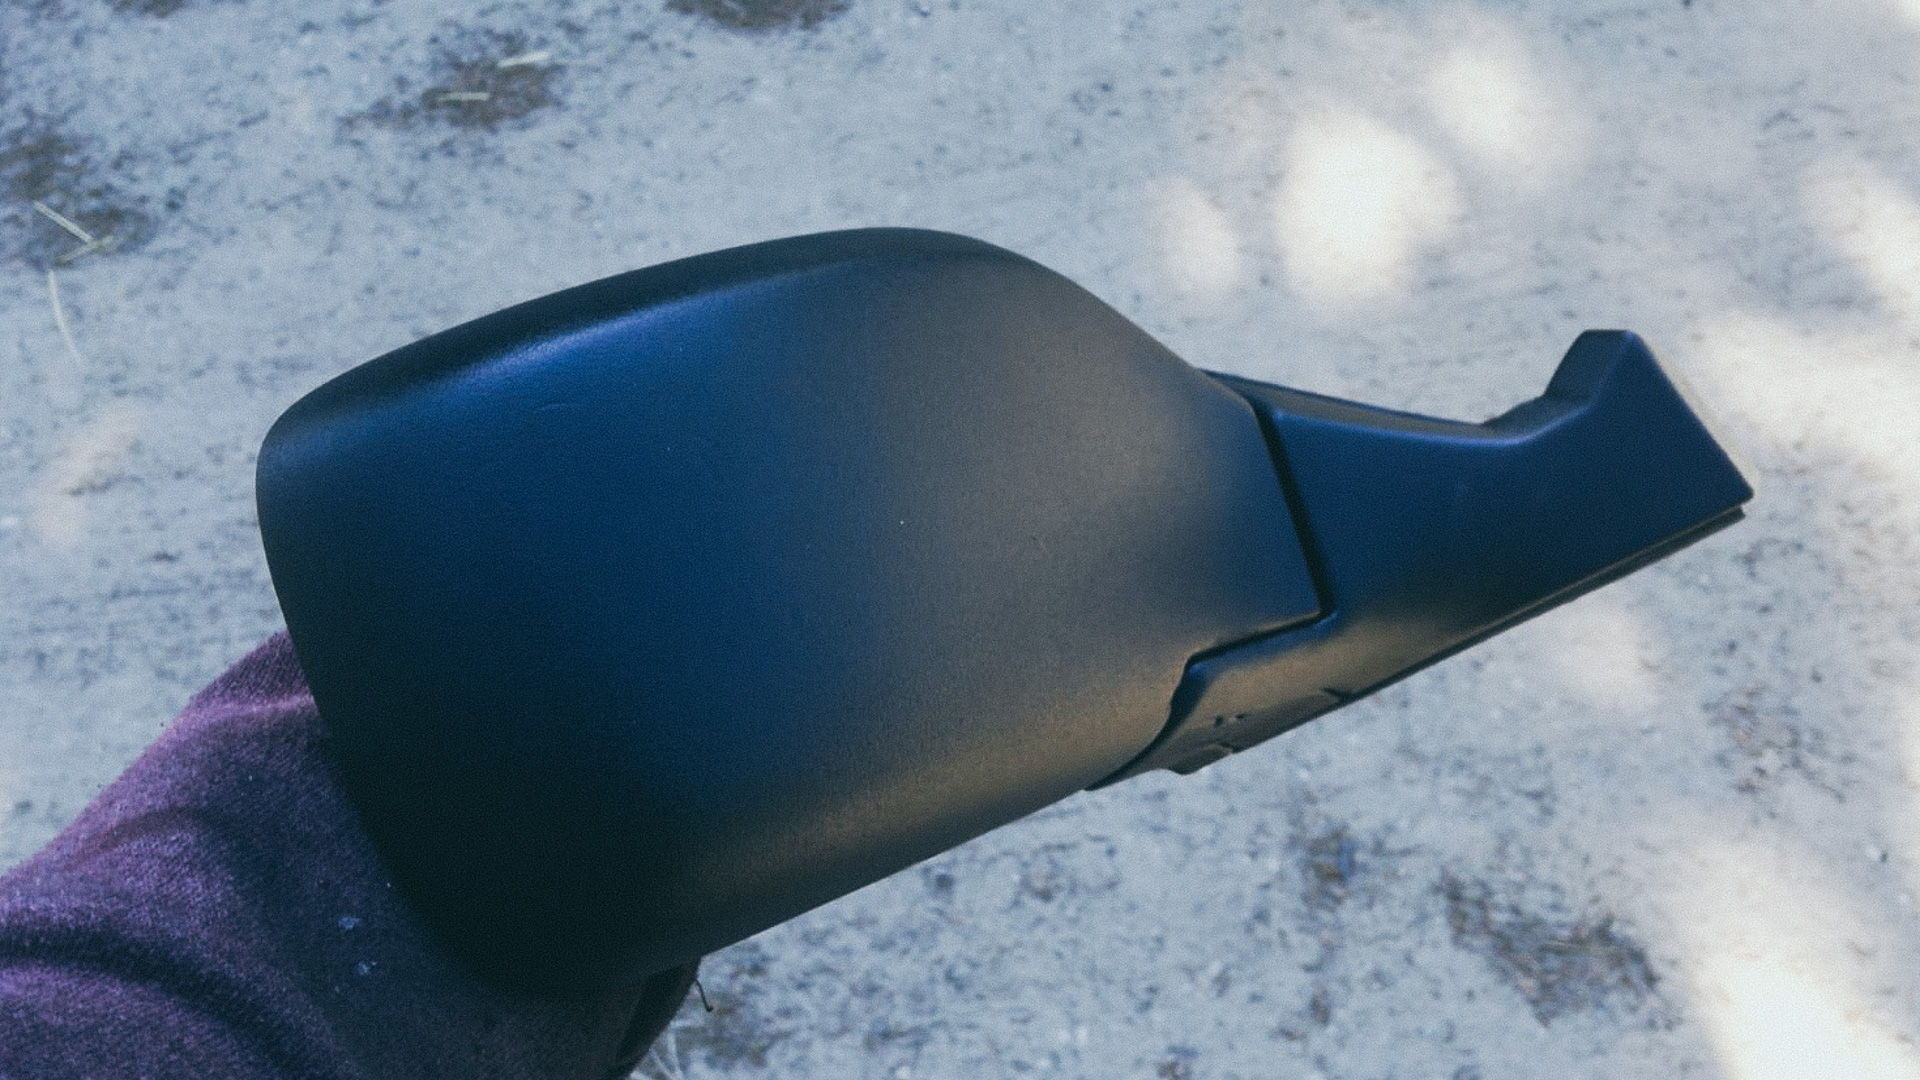
It is very hard to remove and it is also already damaged.
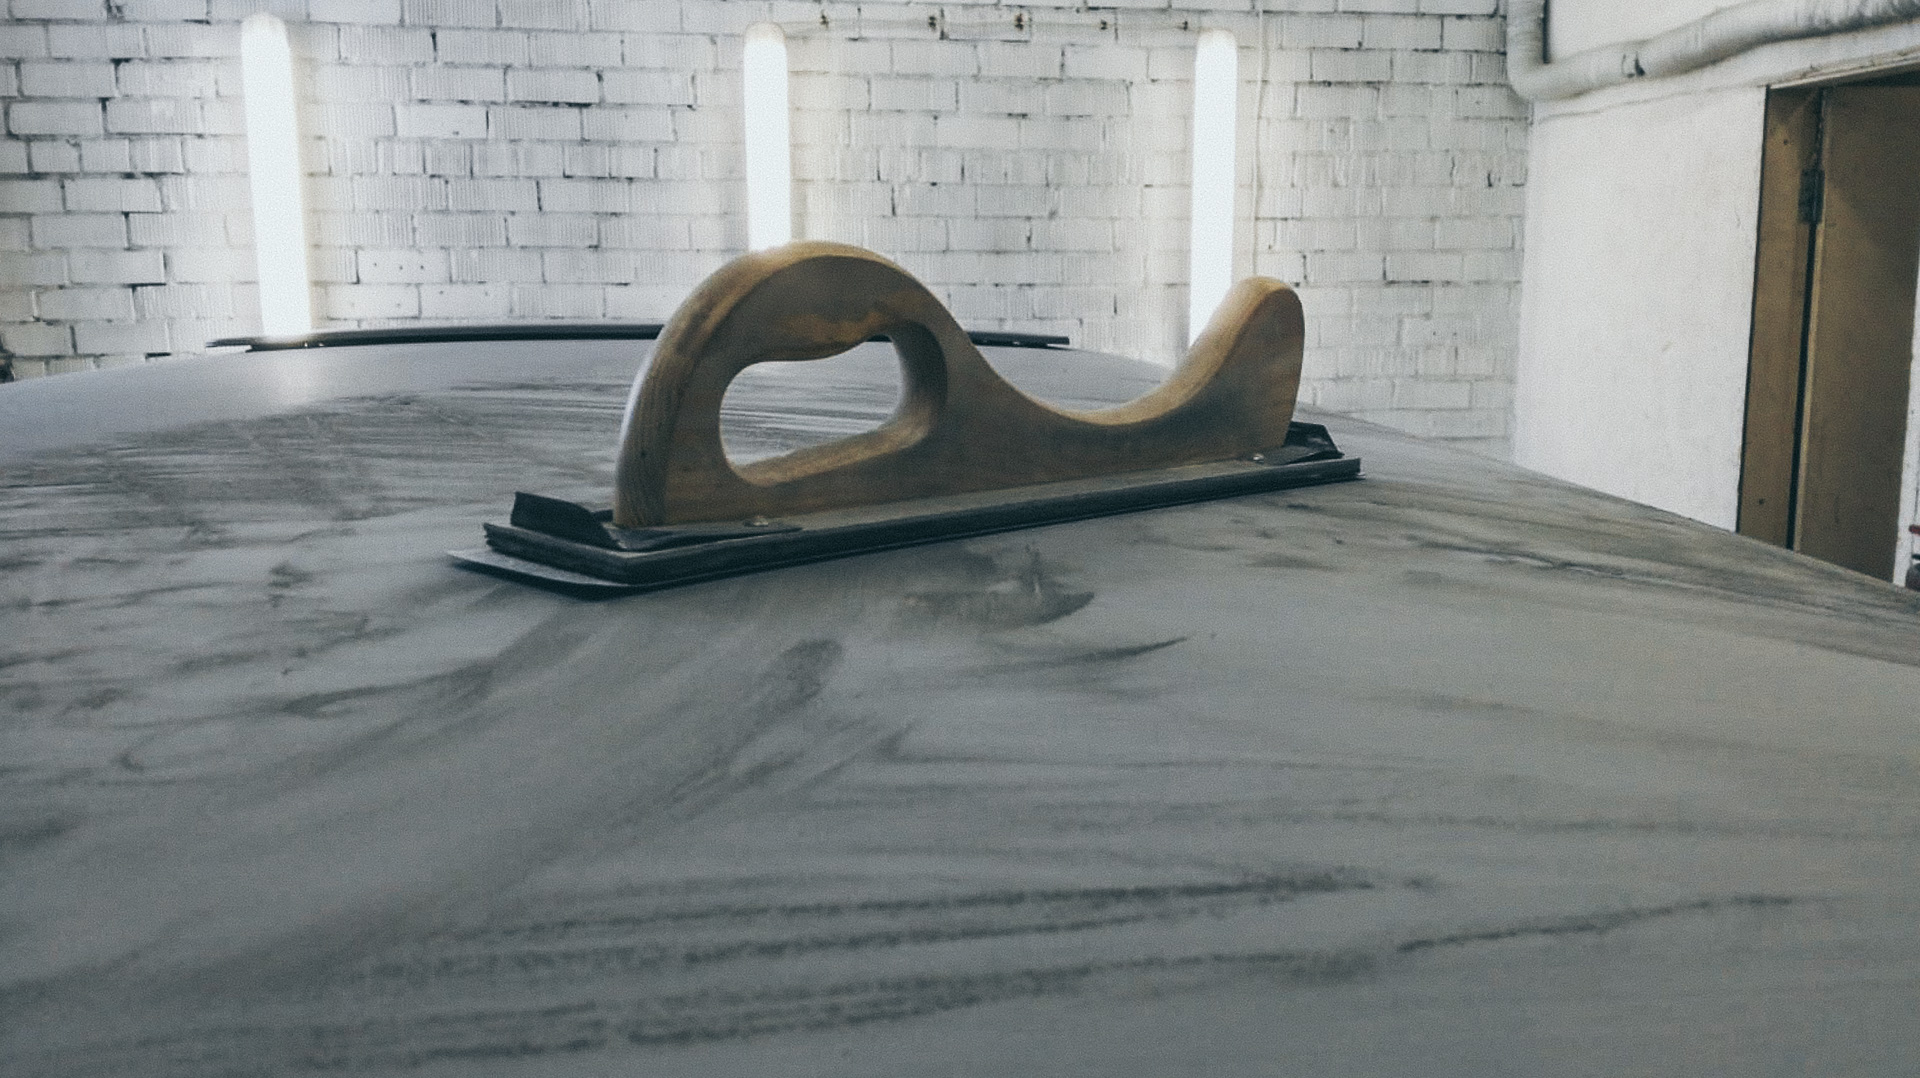
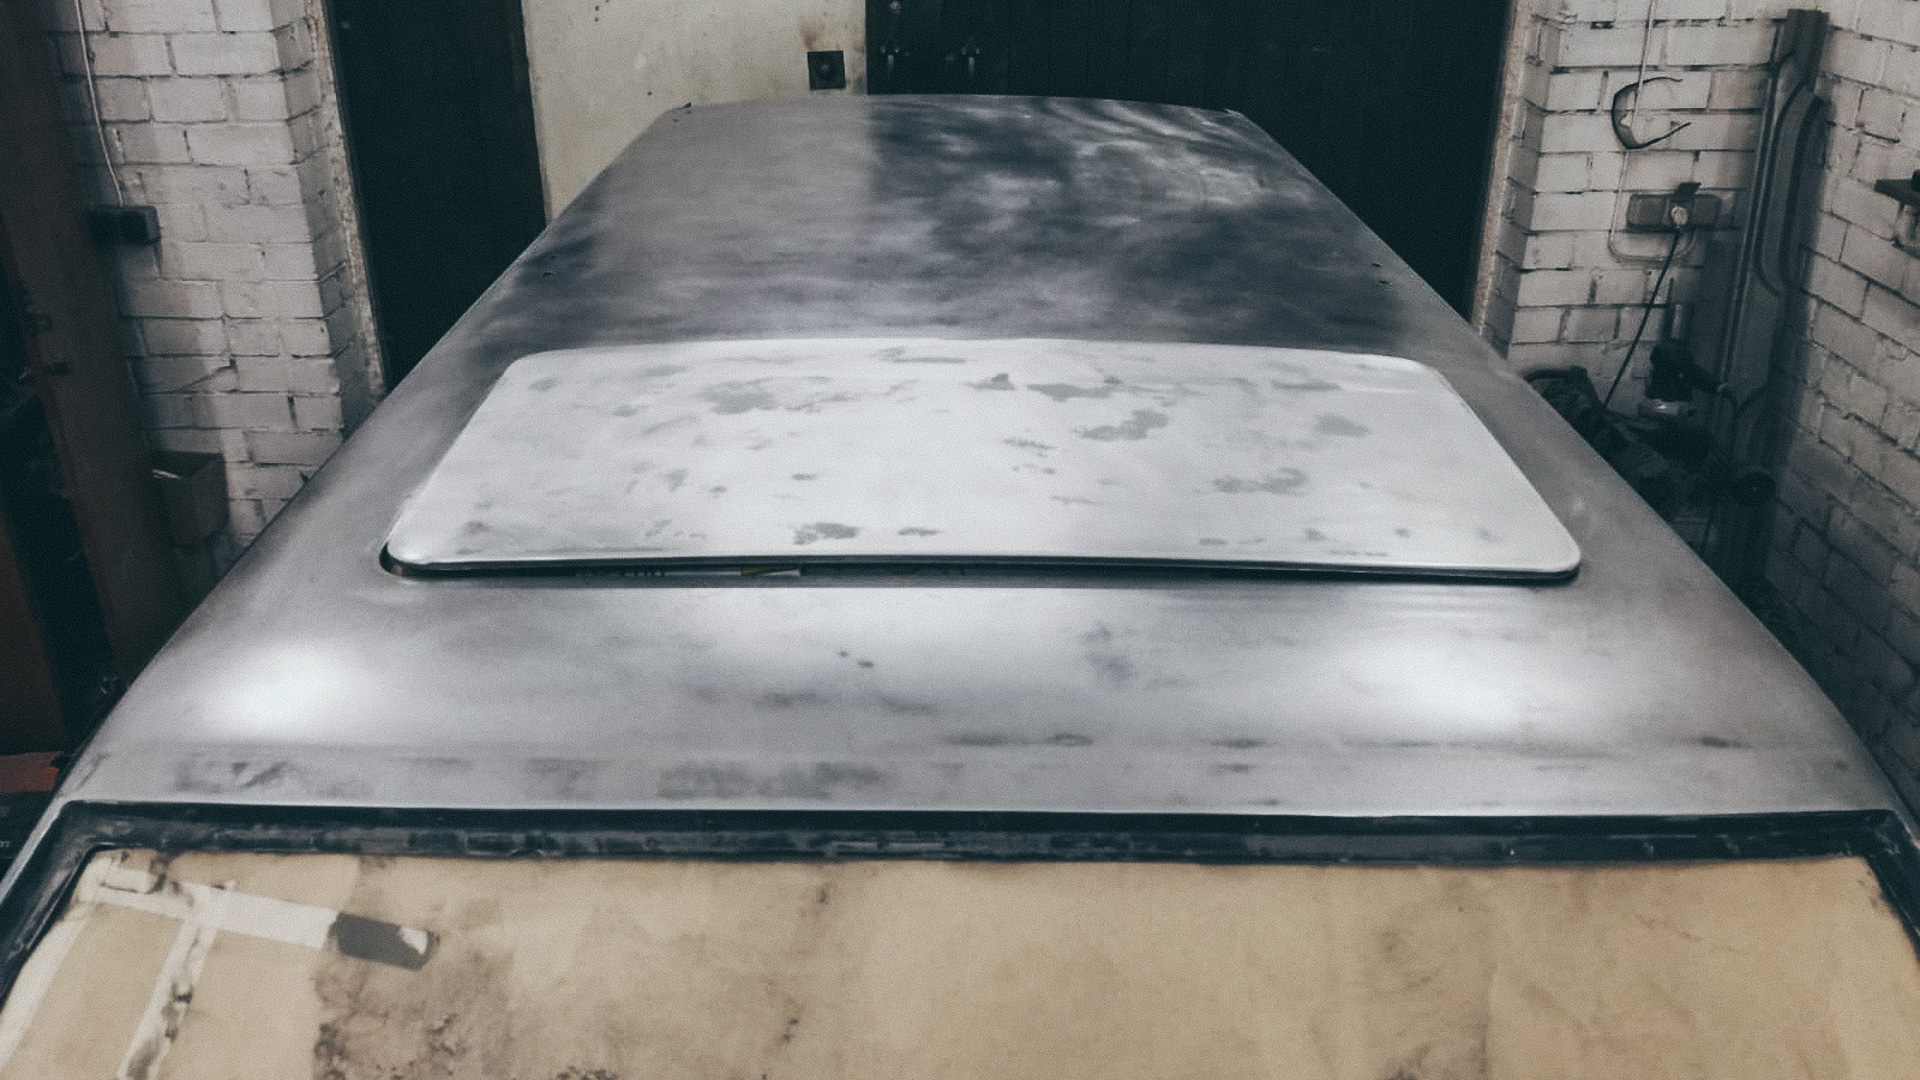
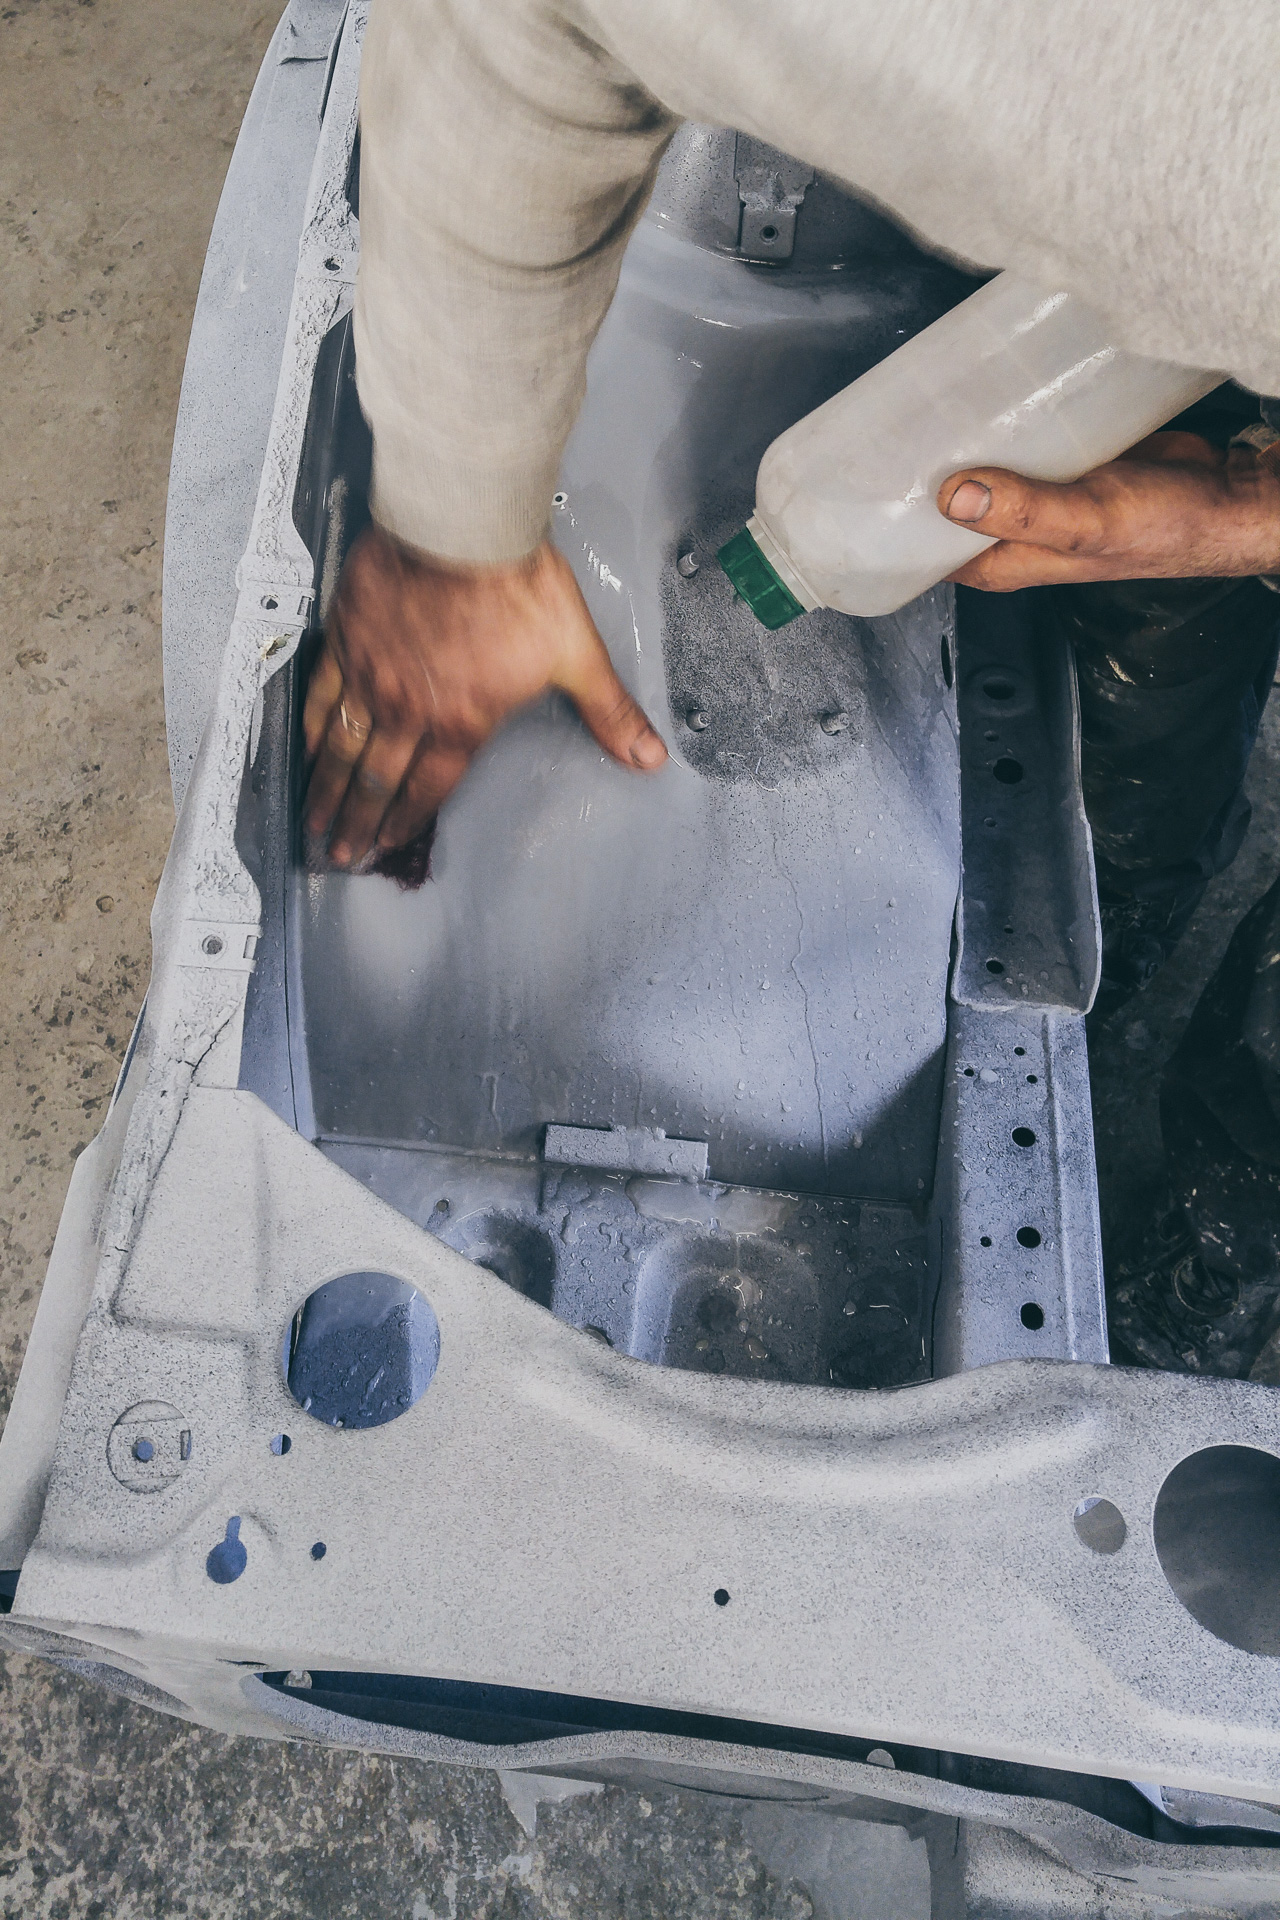
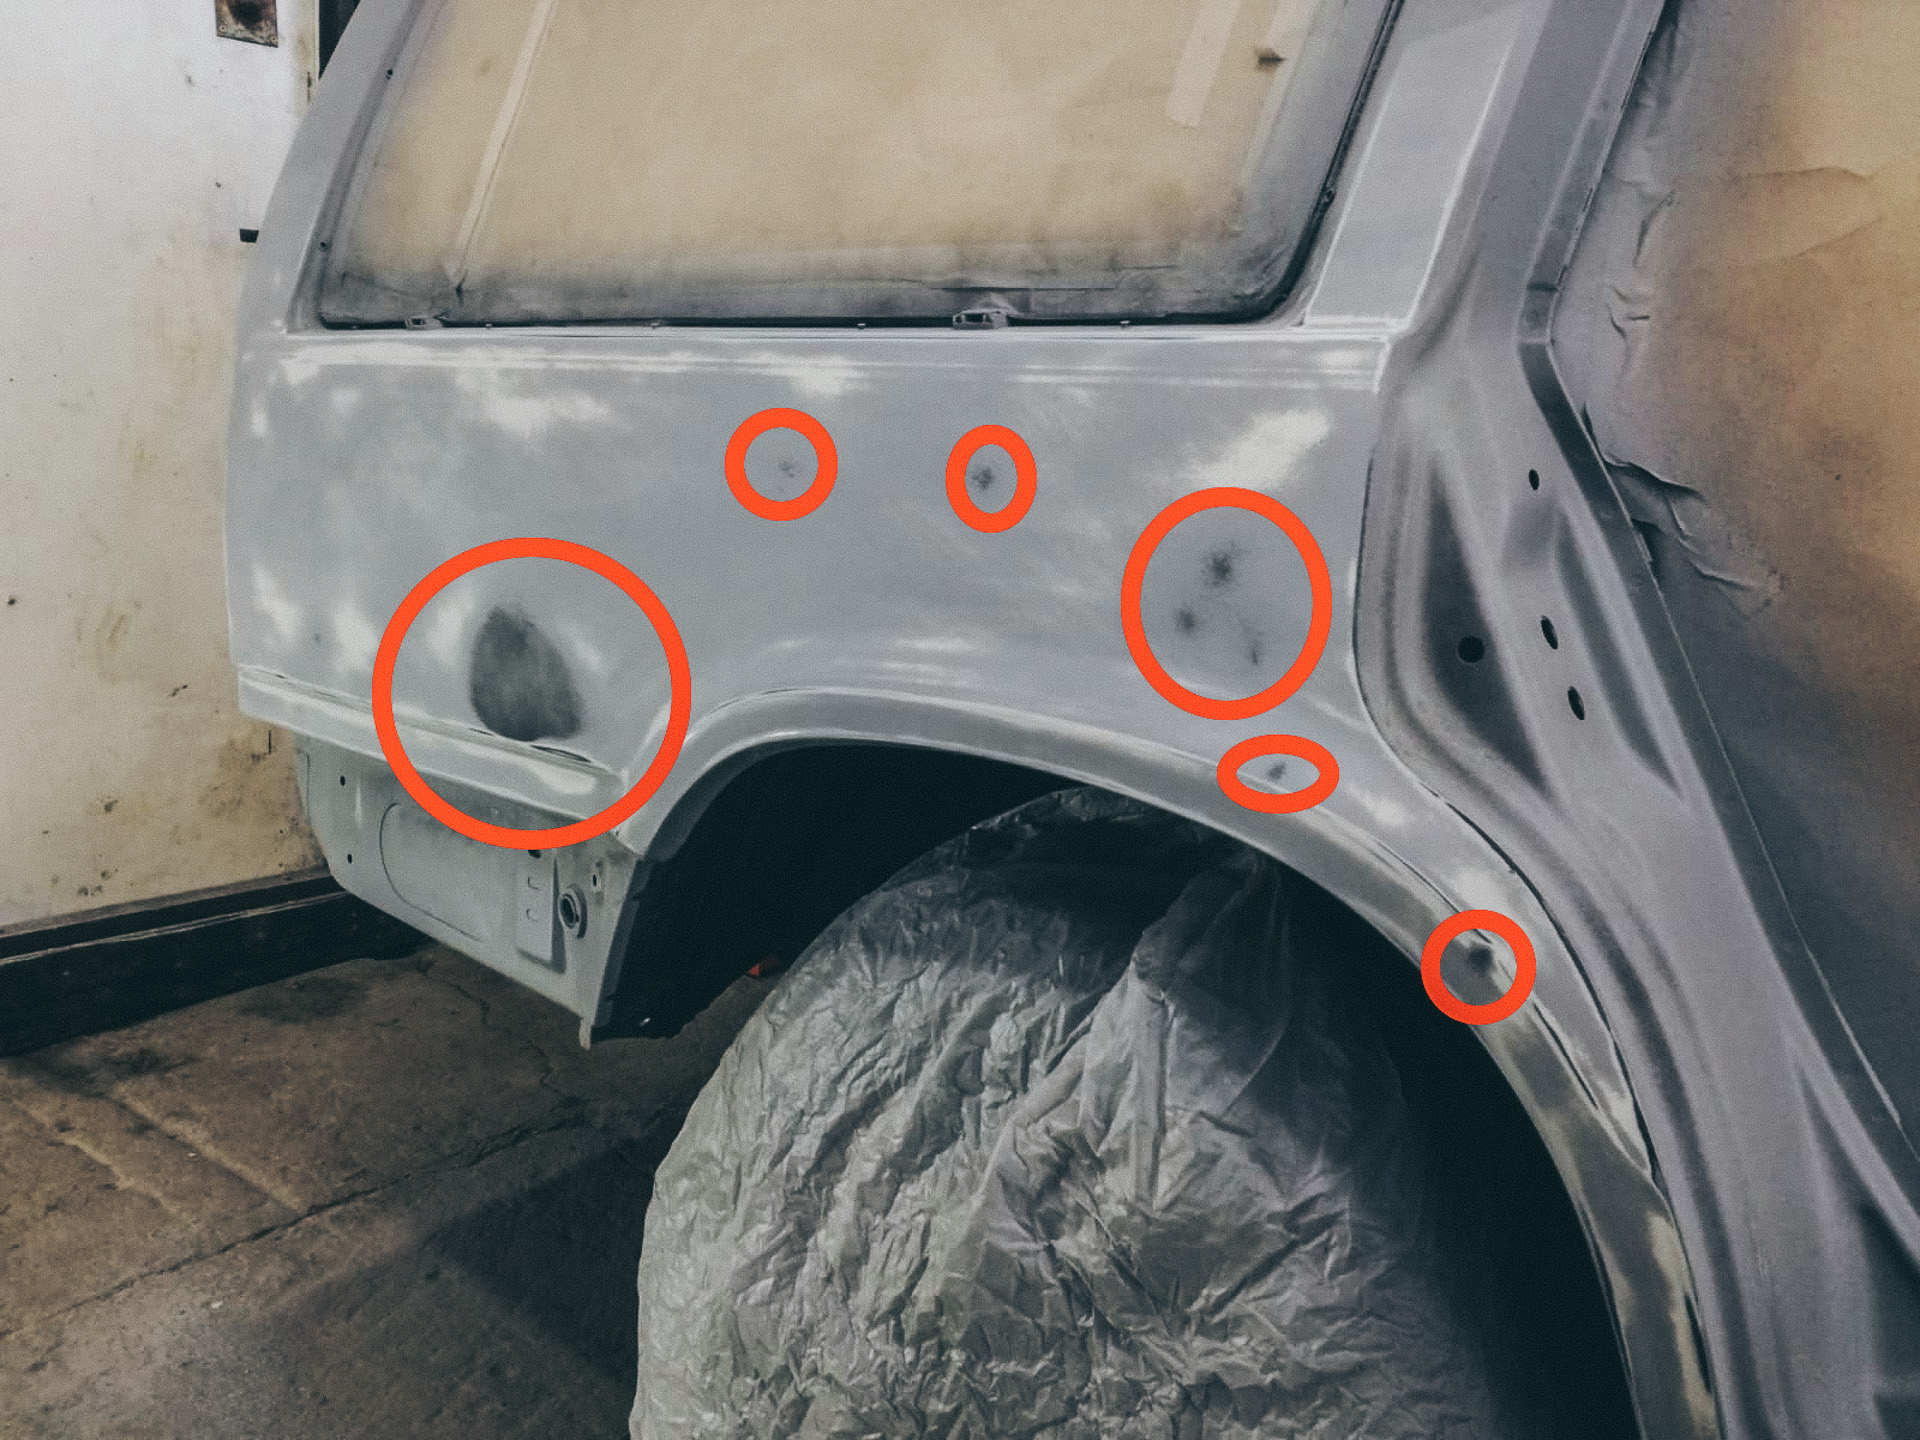
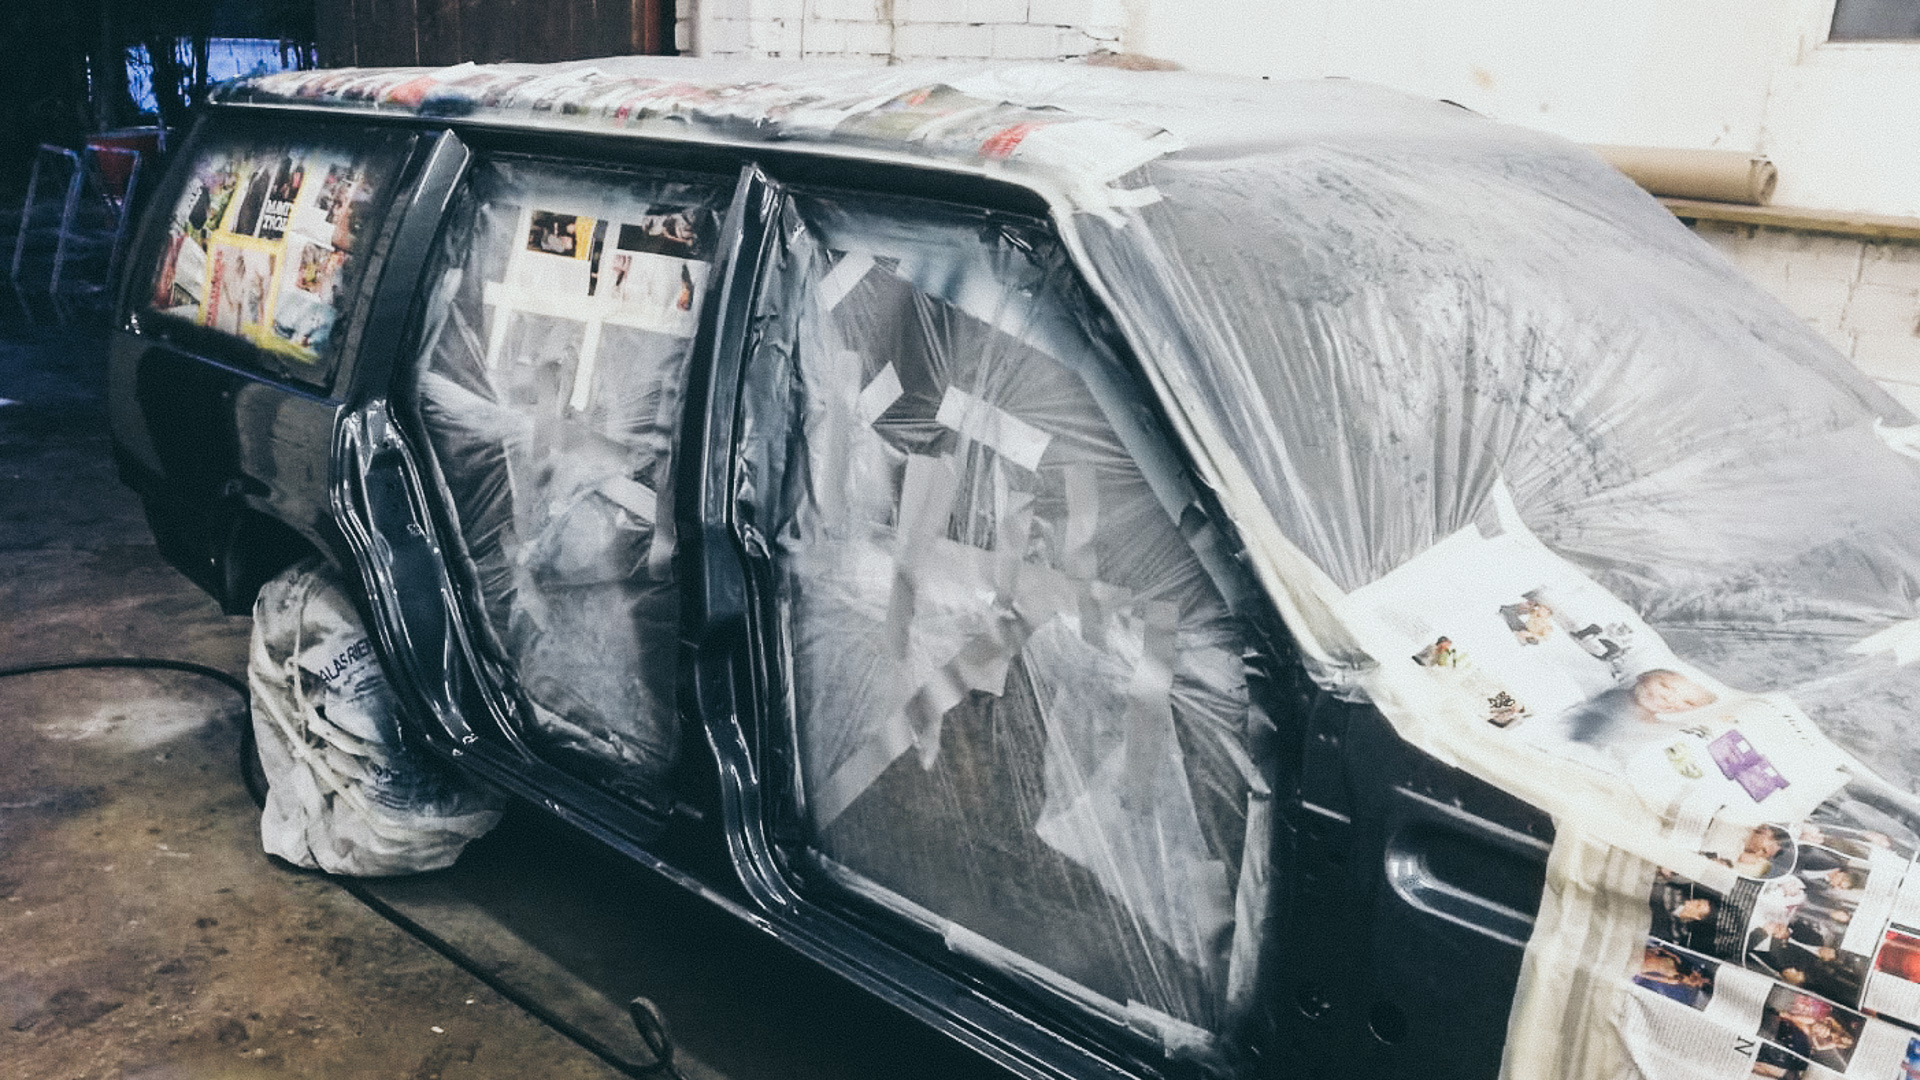
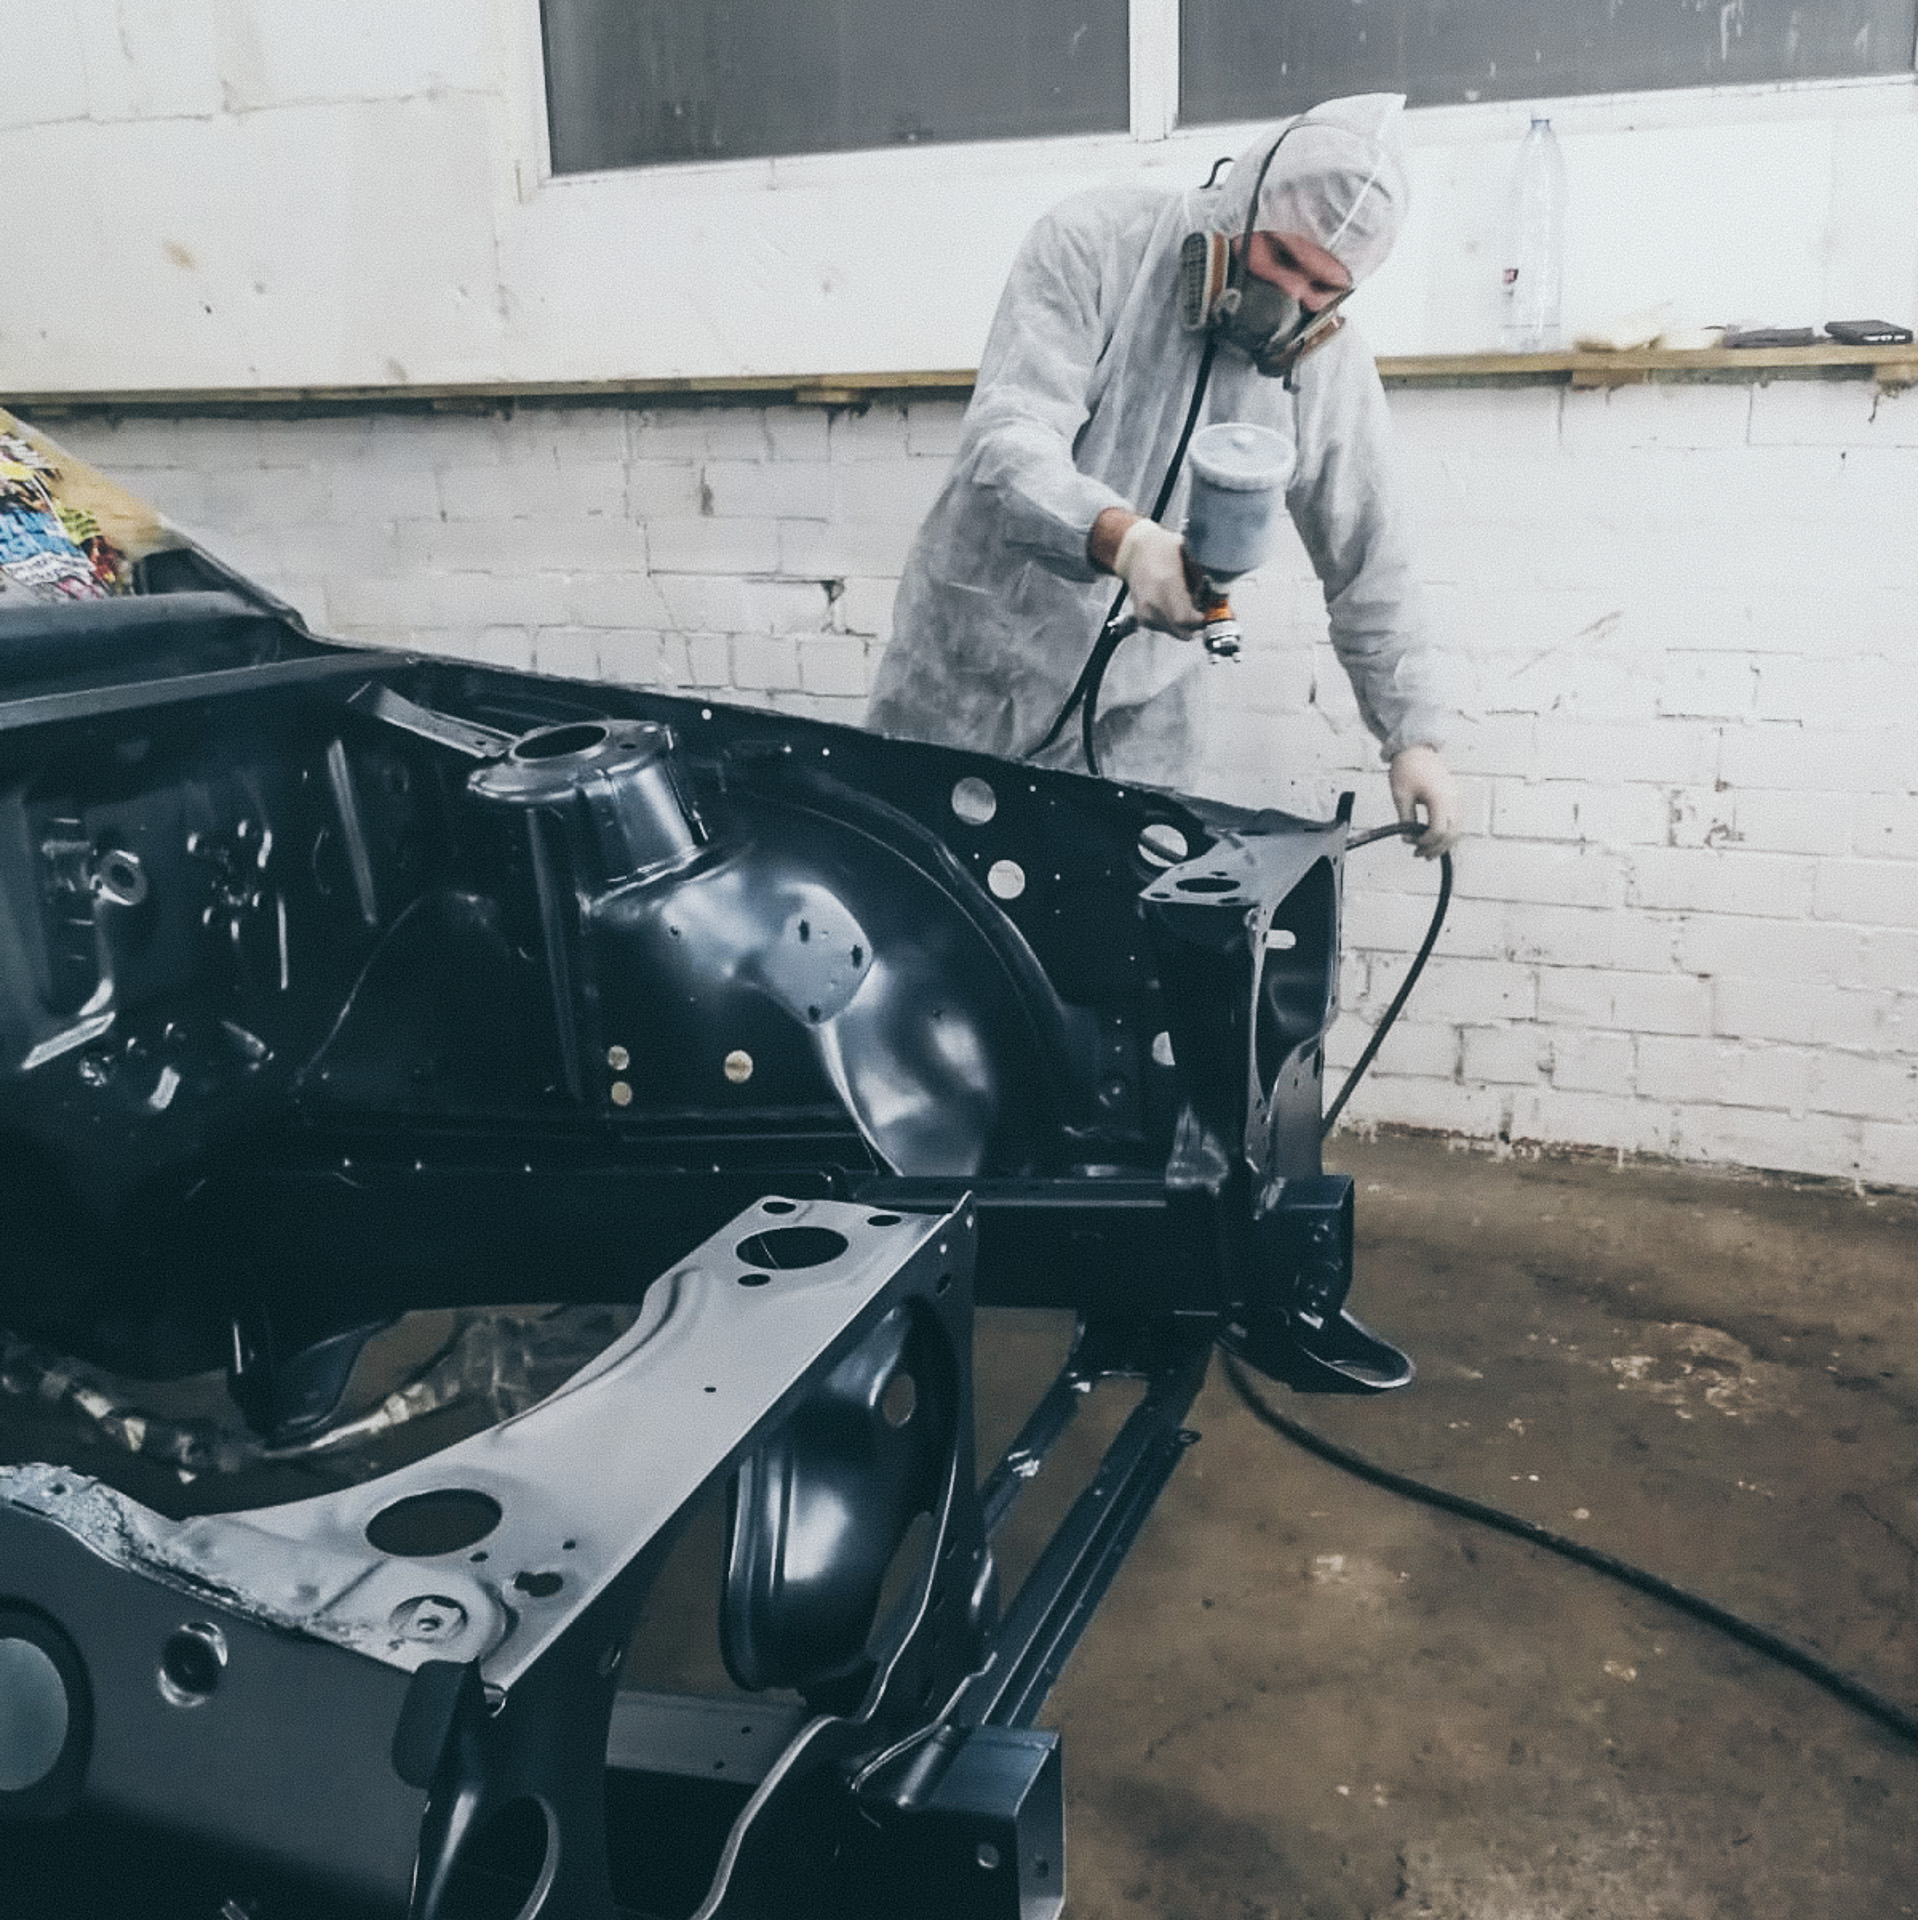
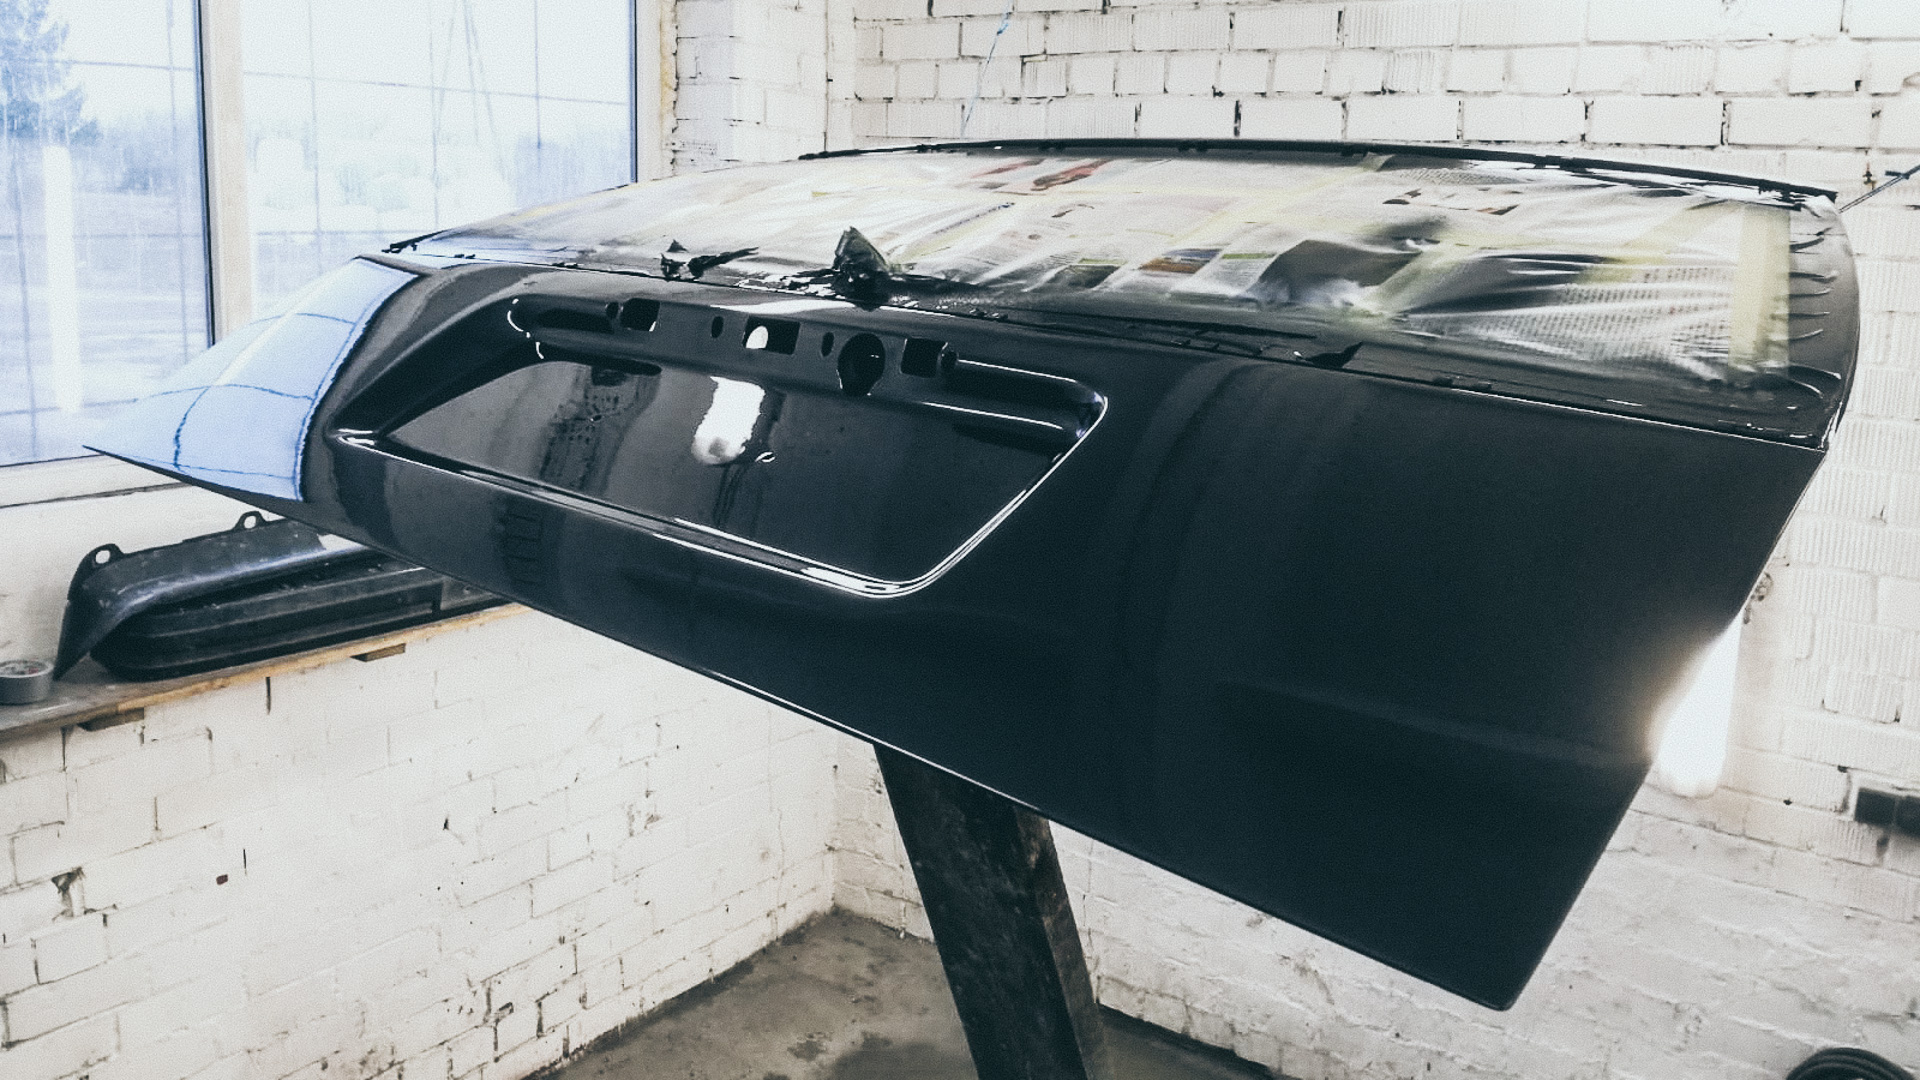
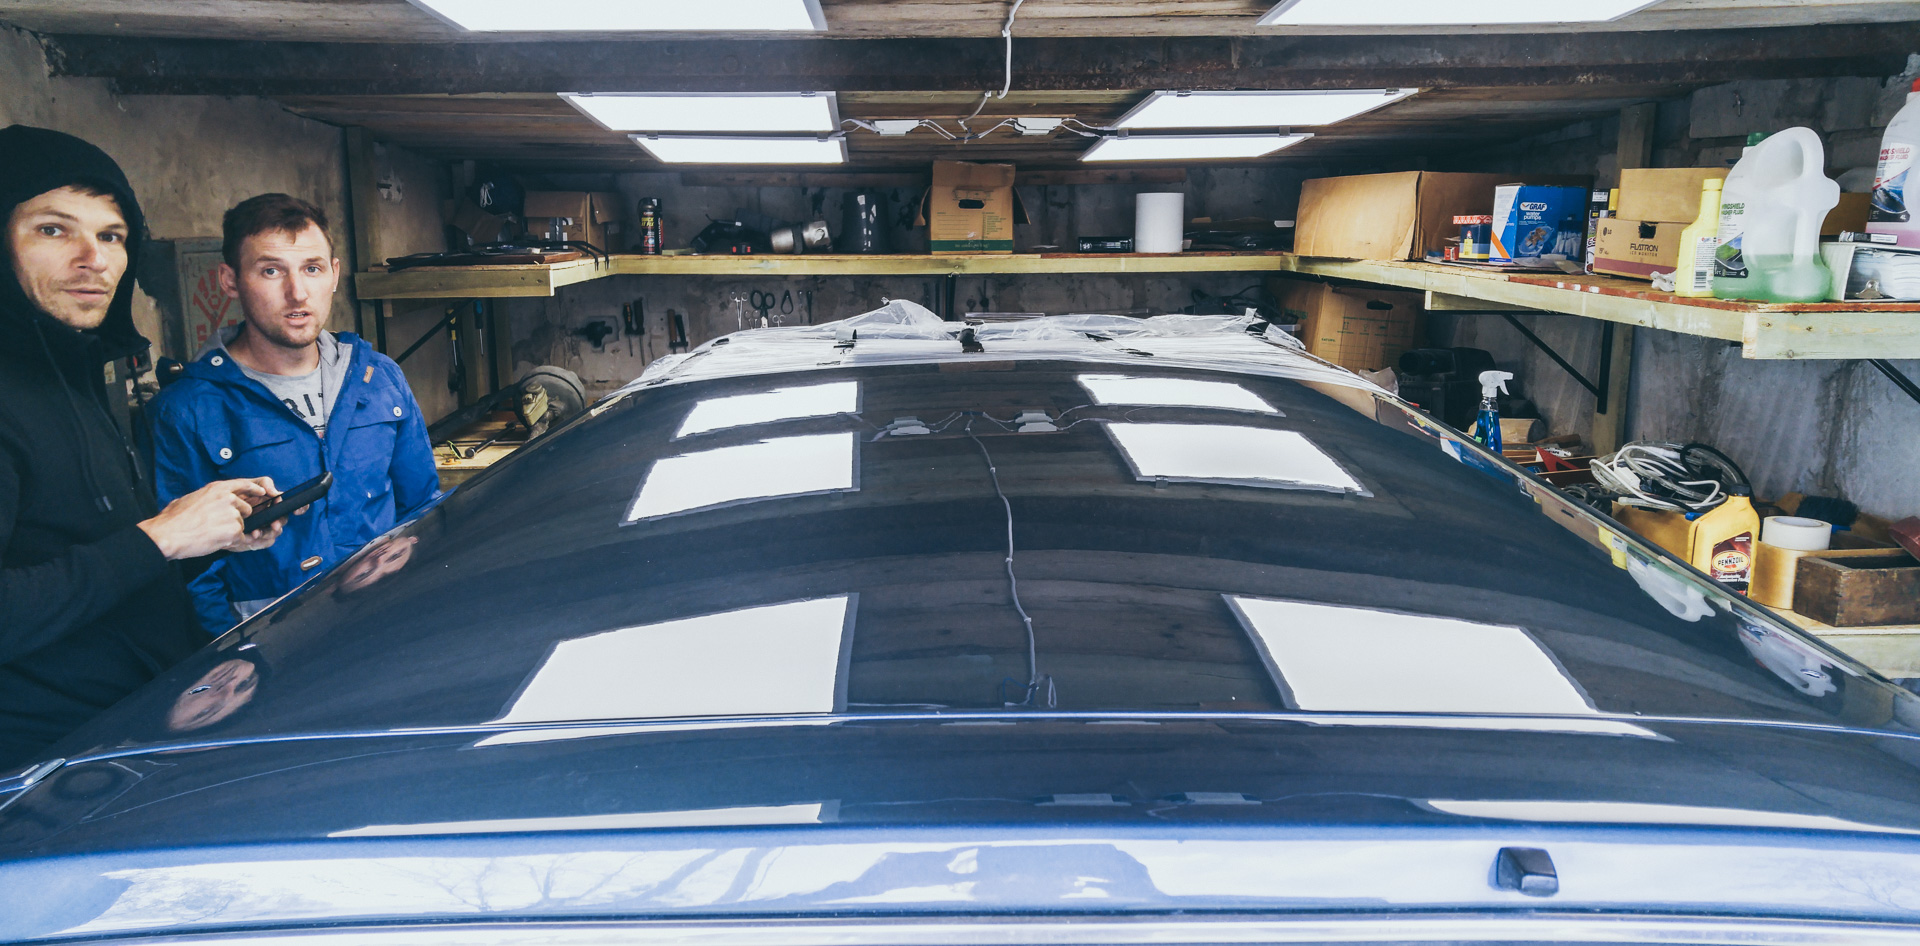
The Painting Process
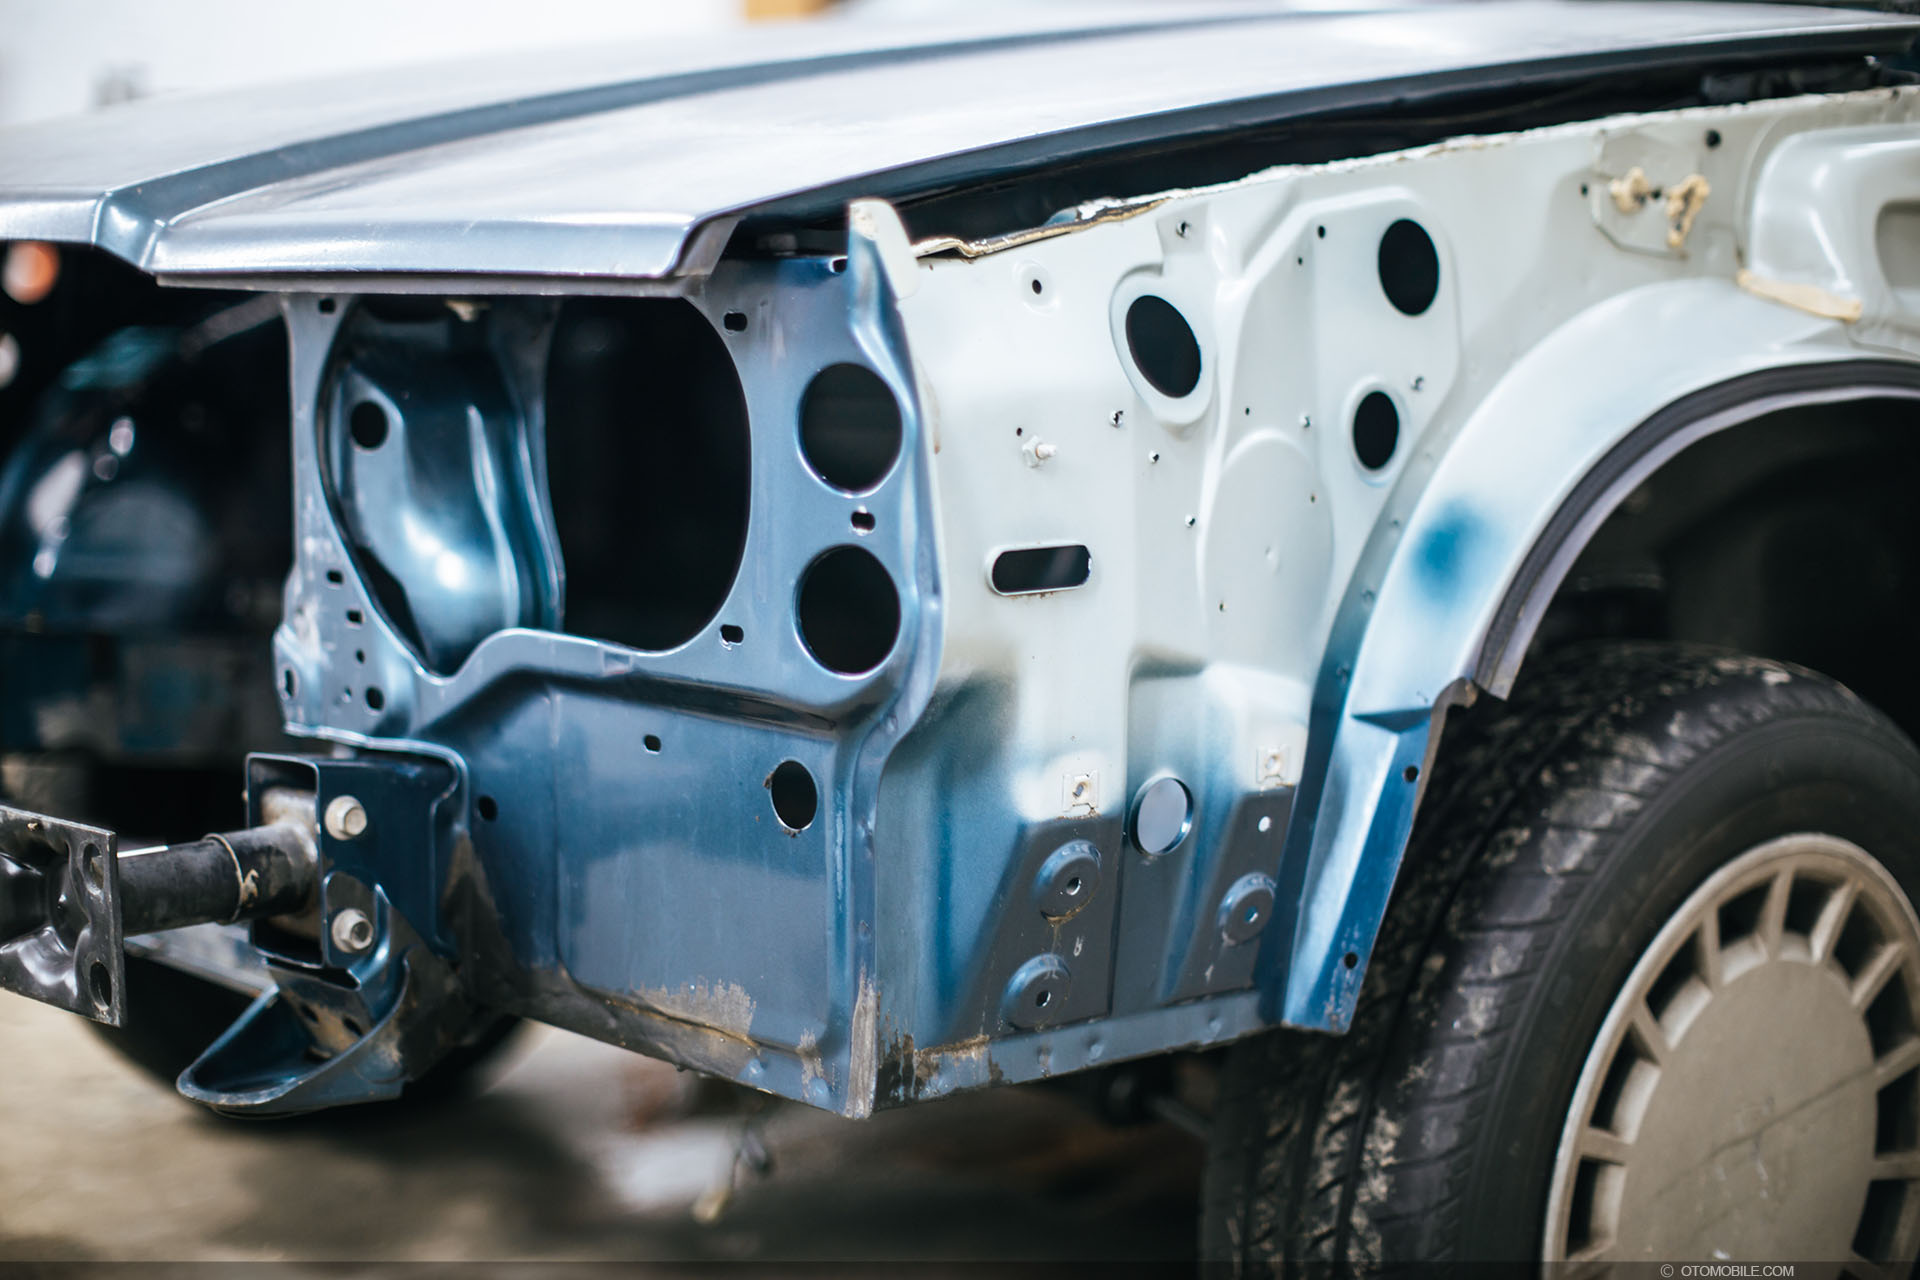

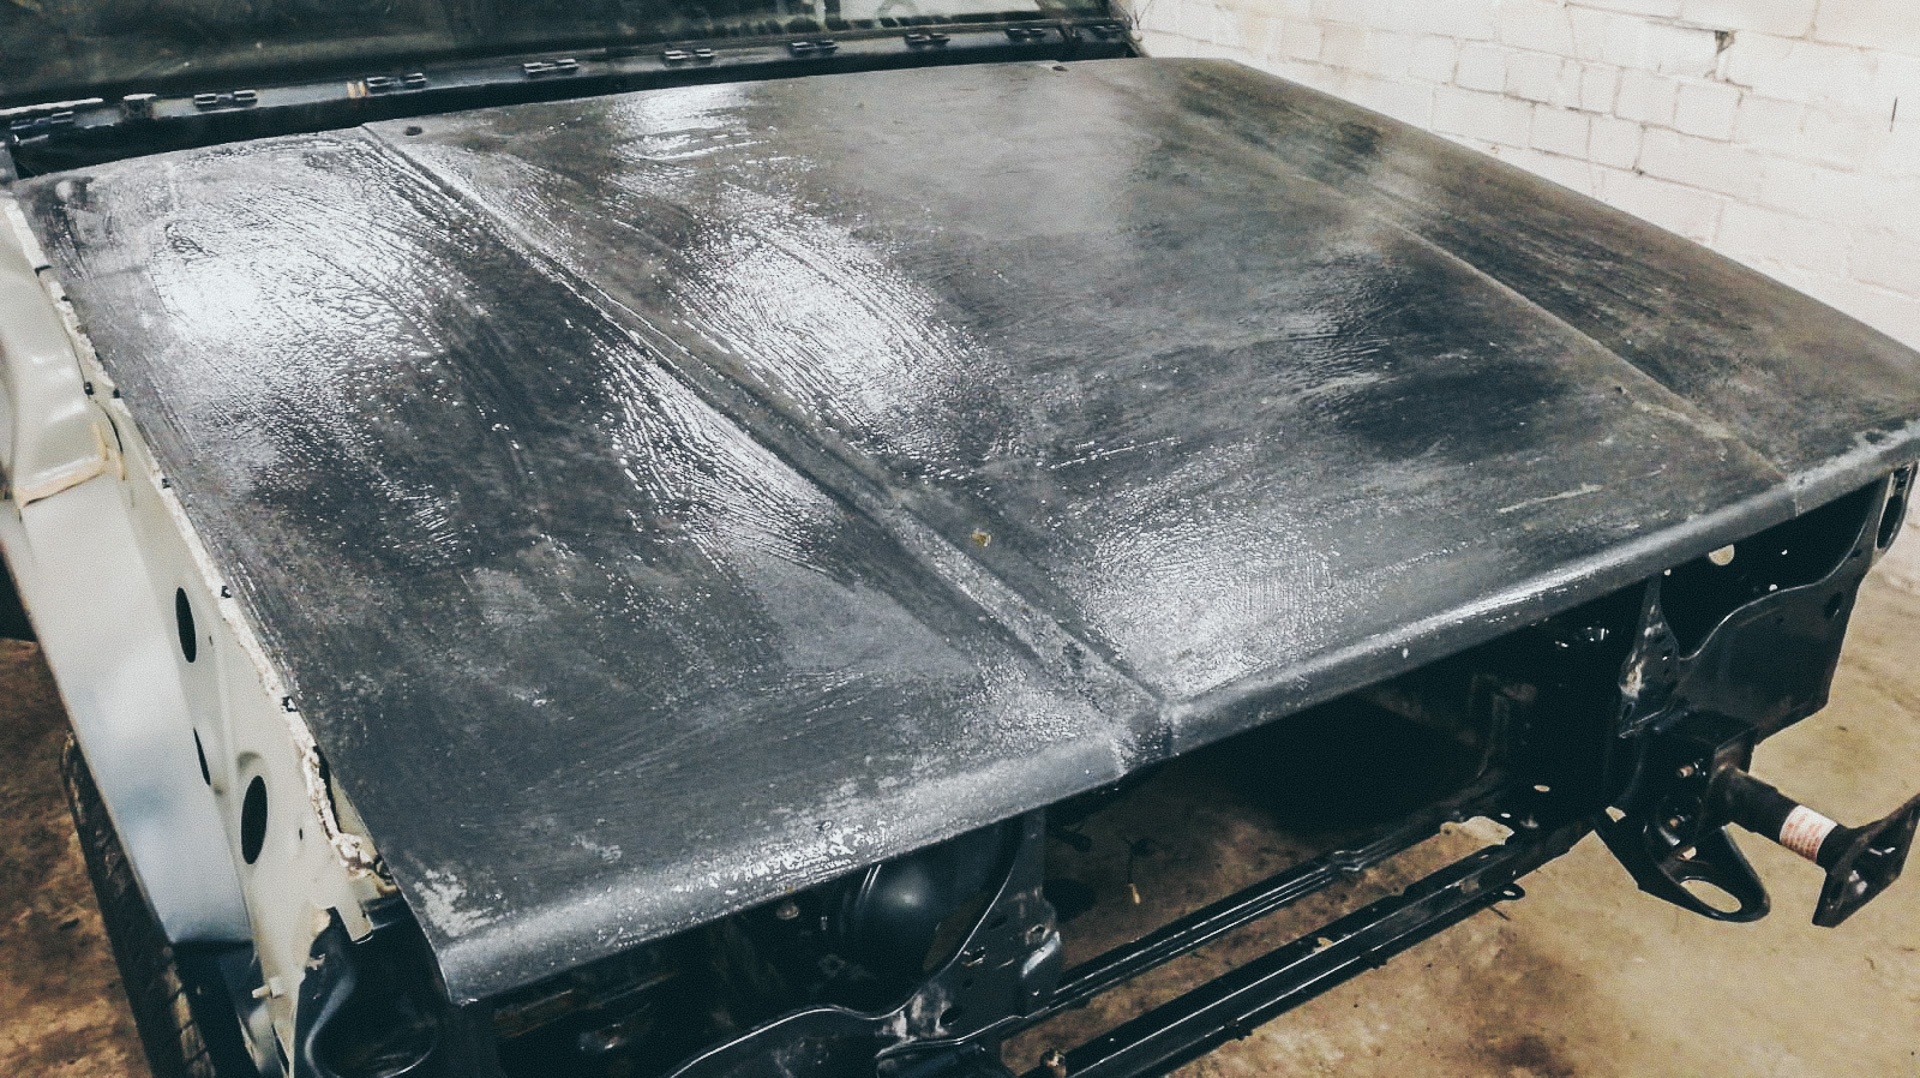
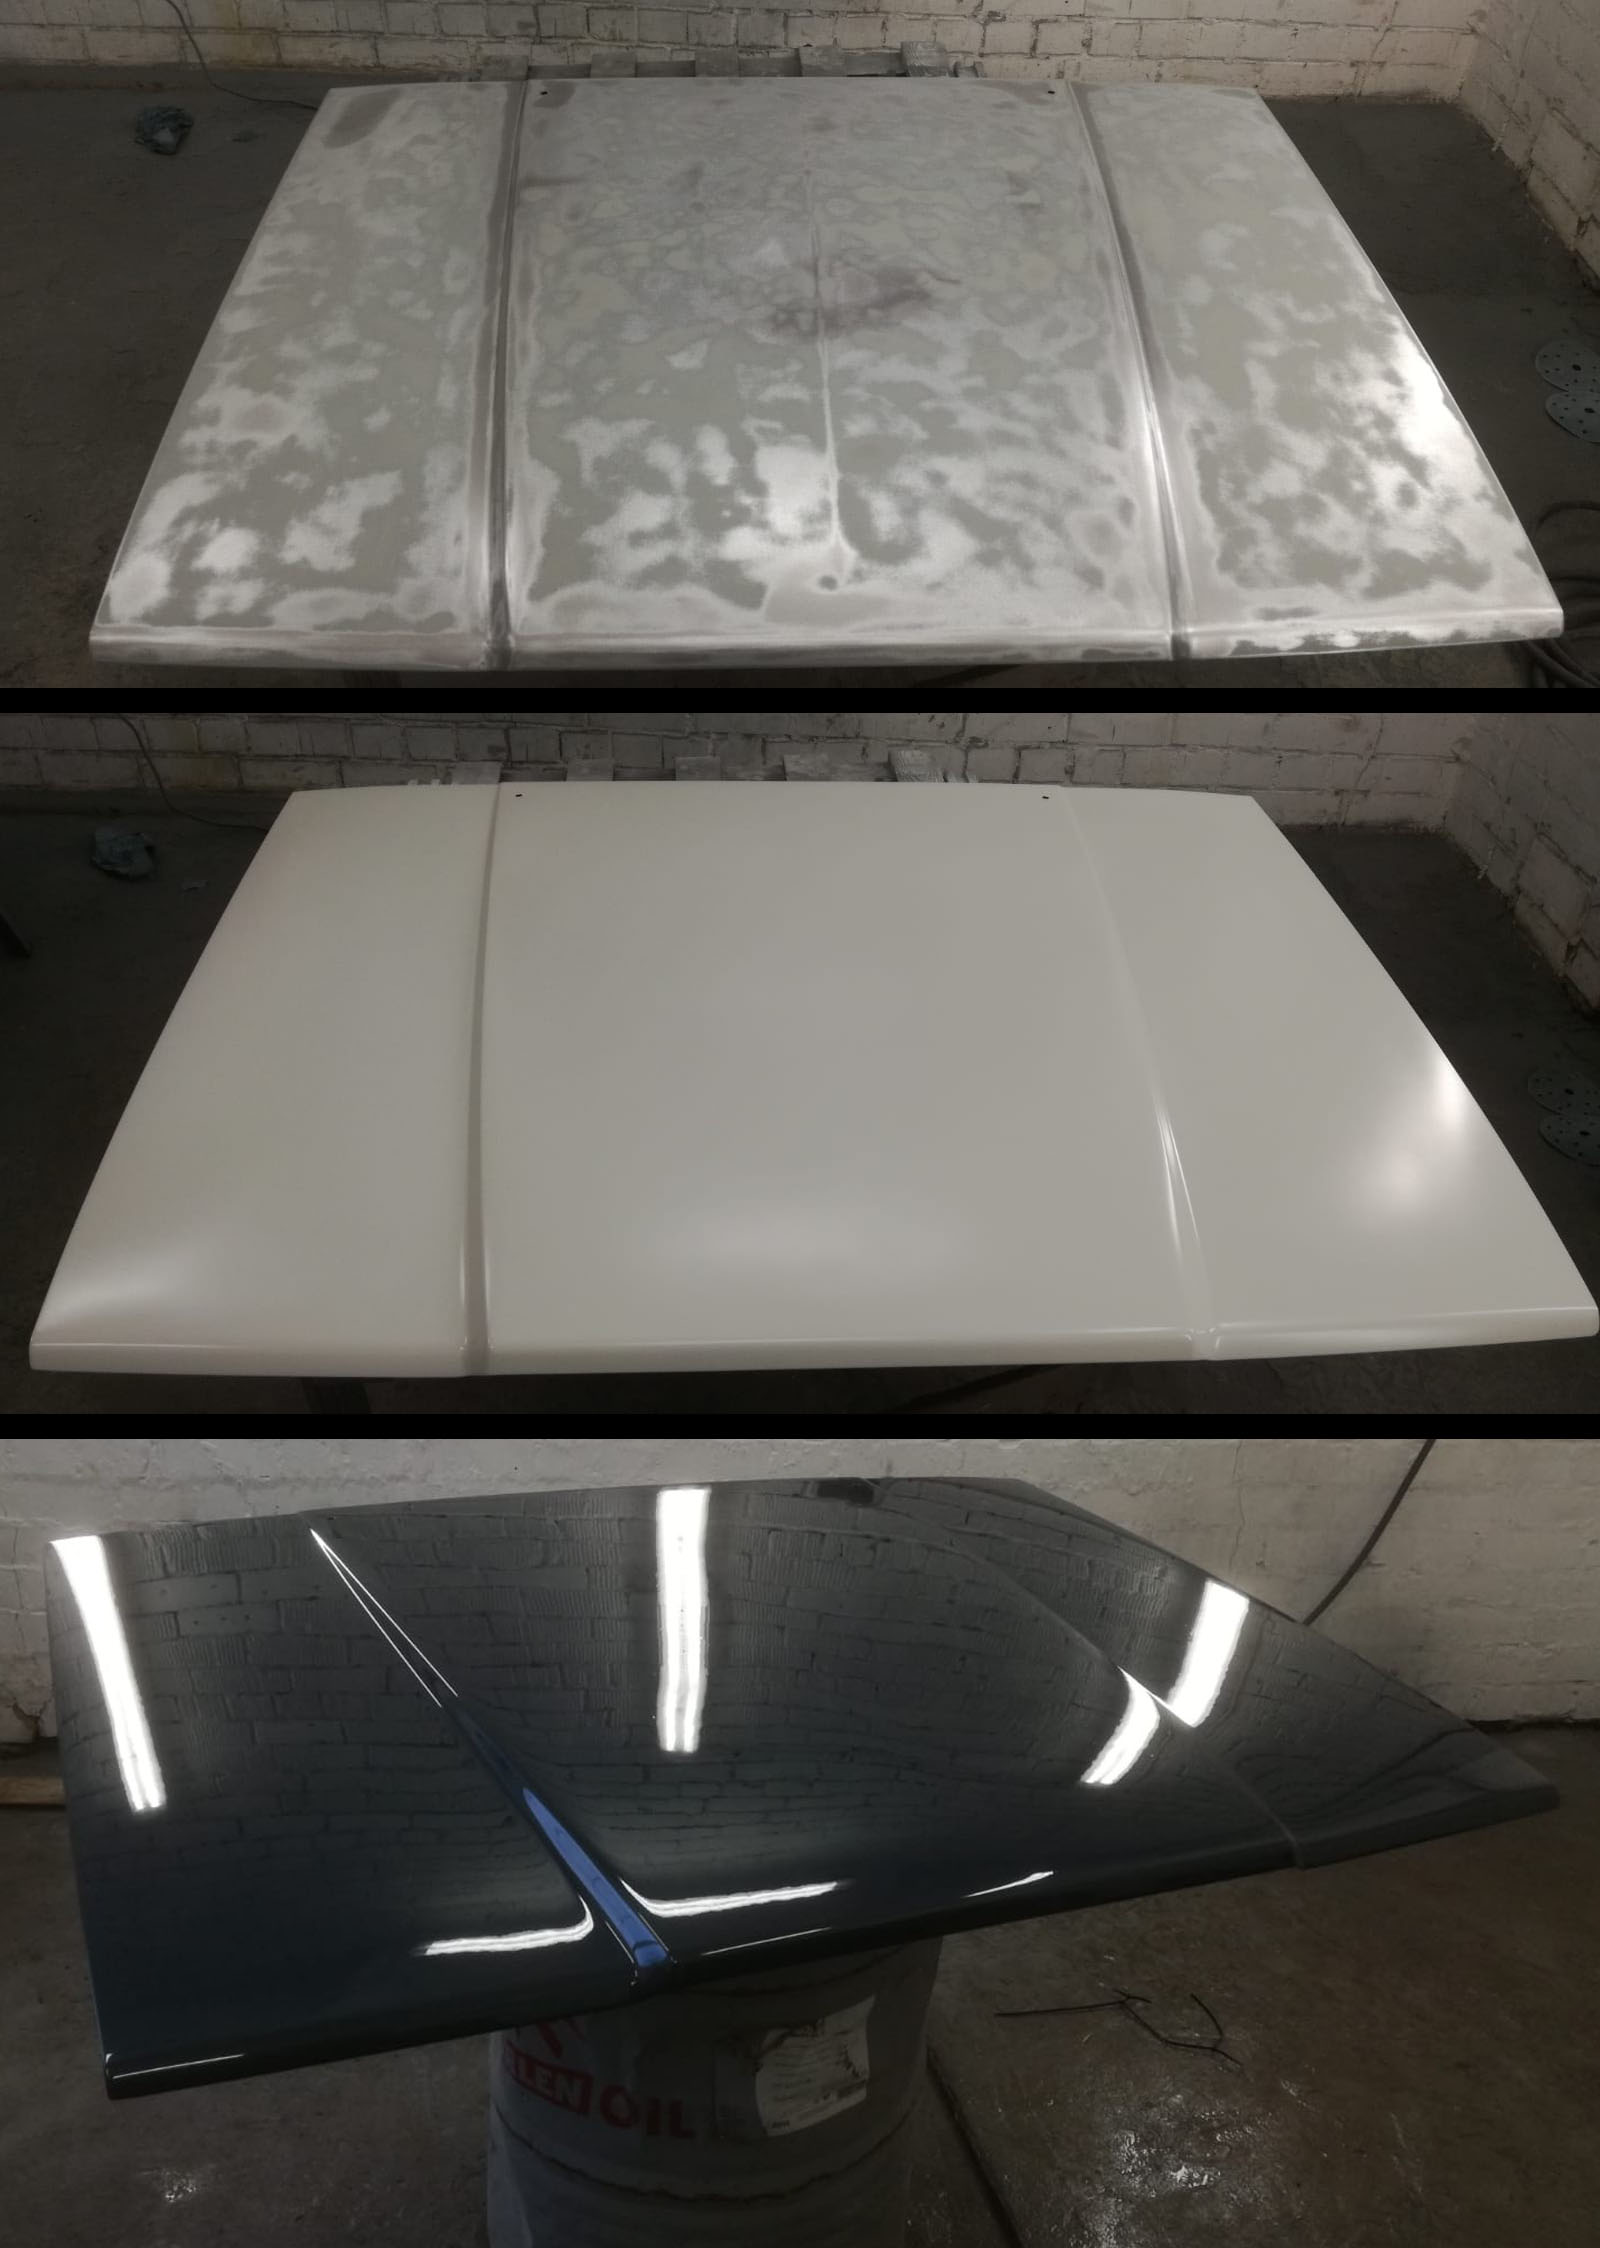
The hood was washed off from paint remover and sanding by hand continued until bare metal.


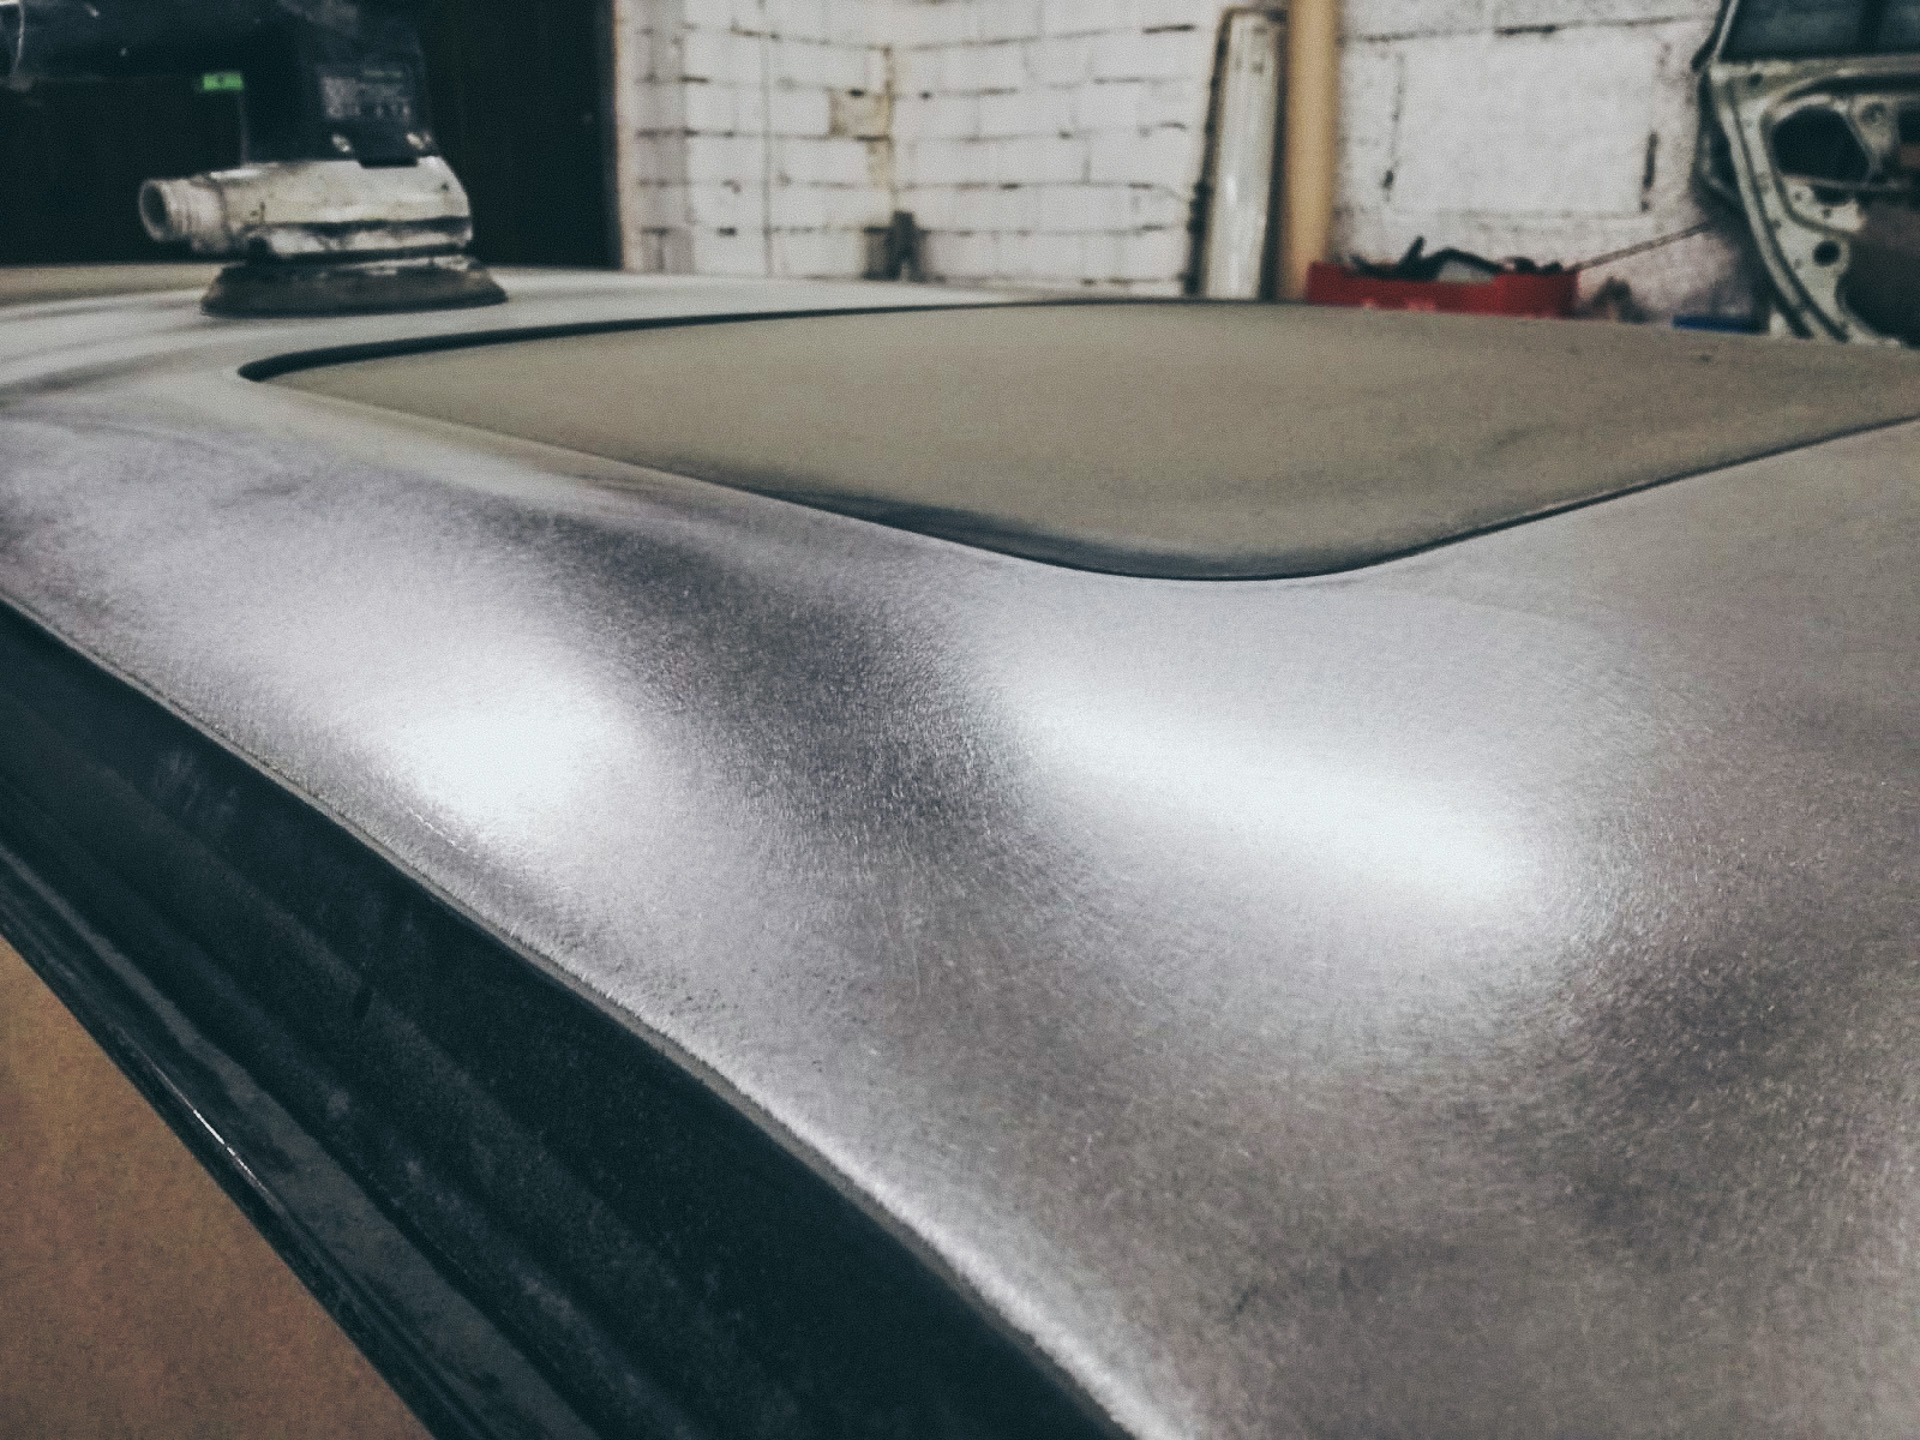
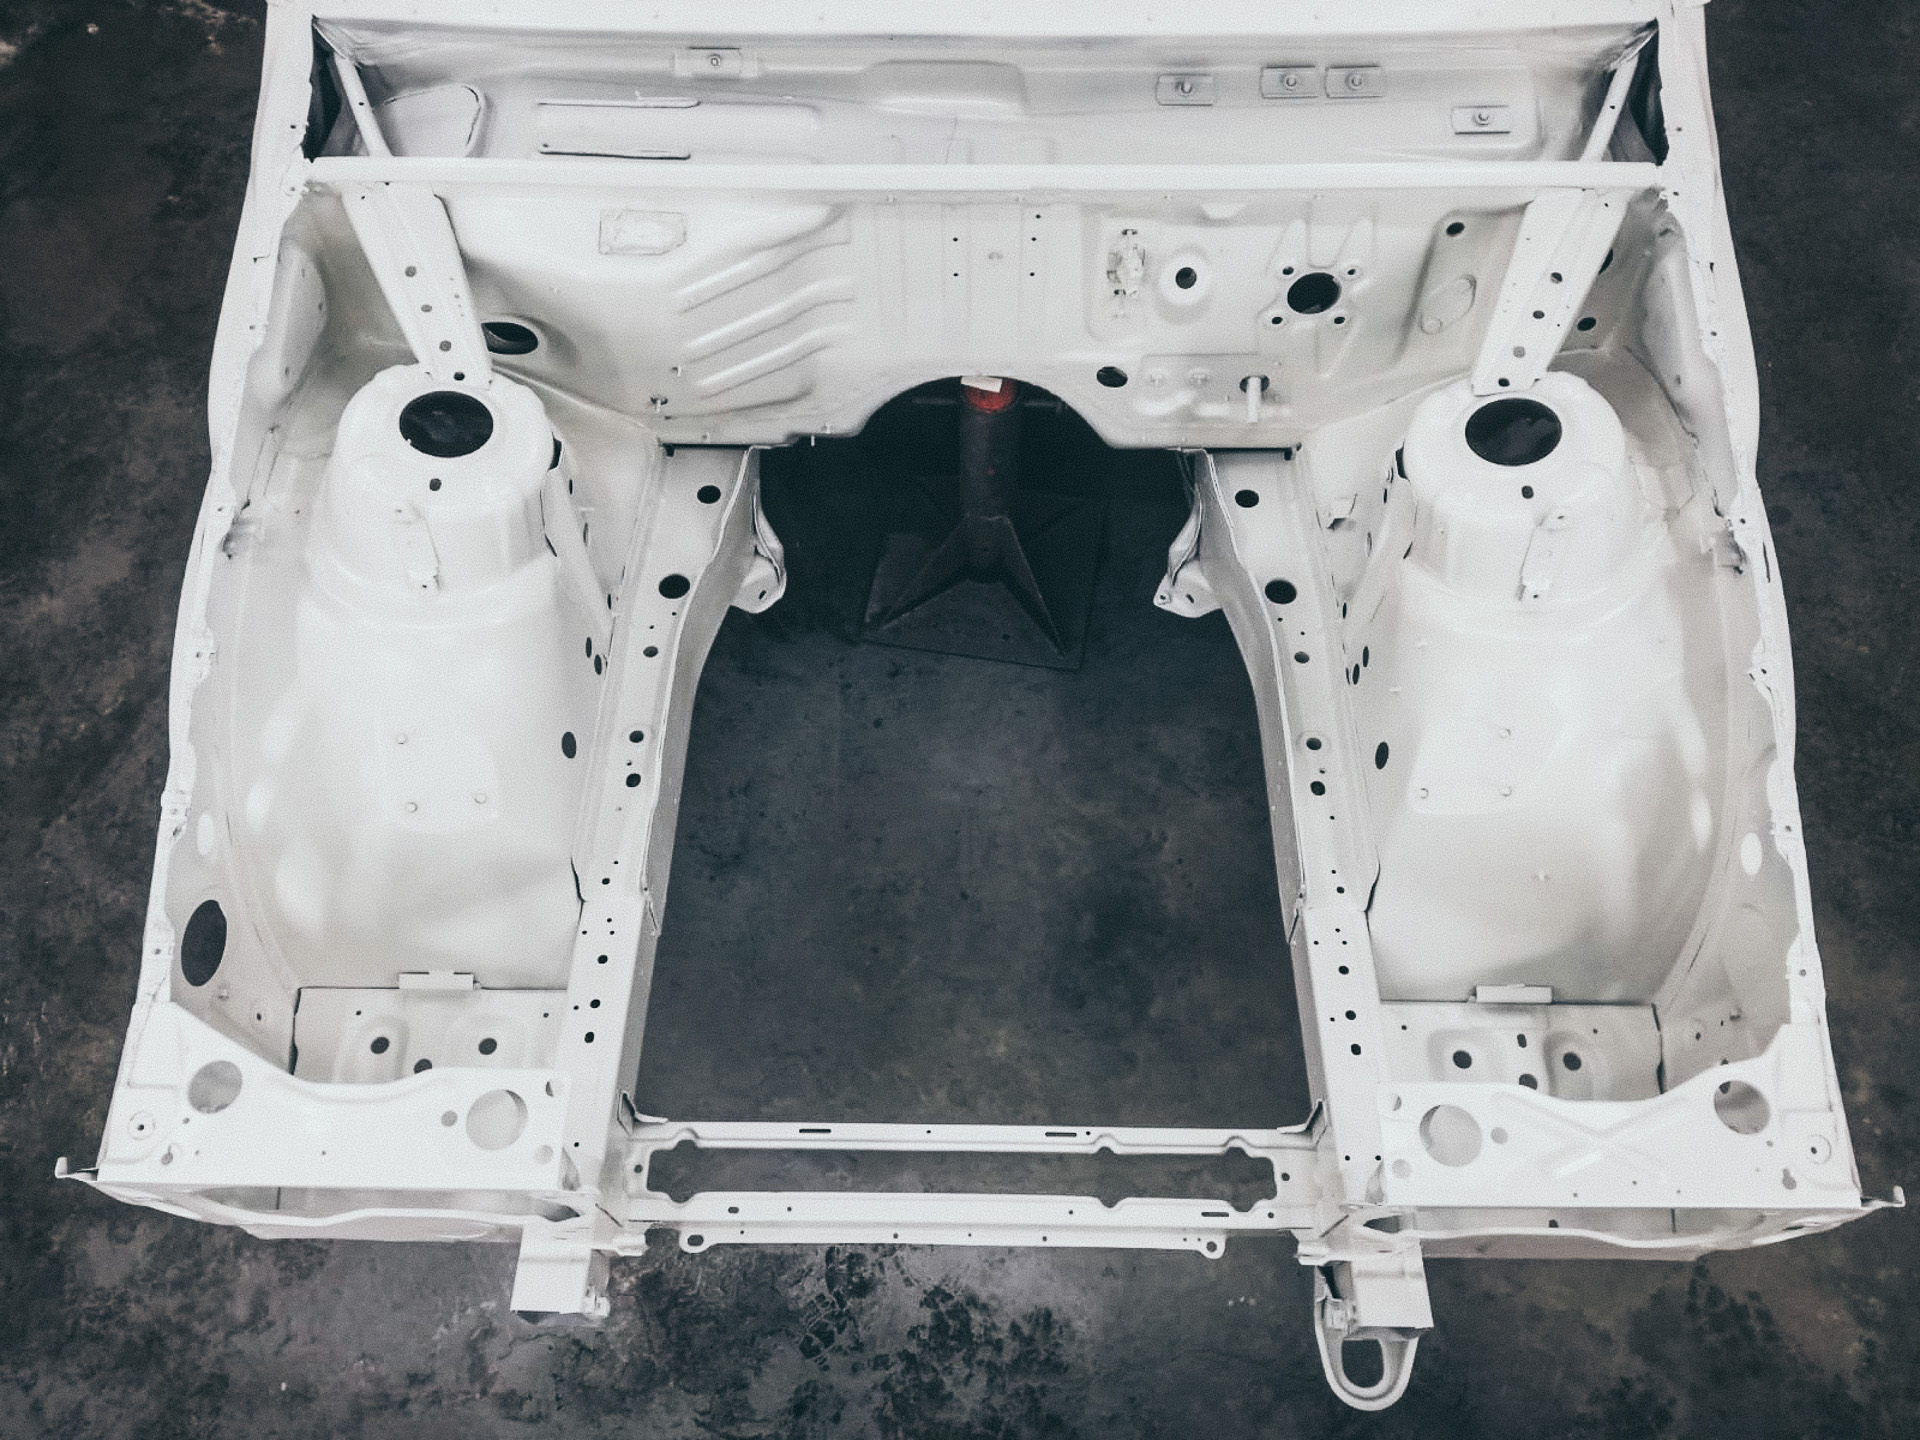
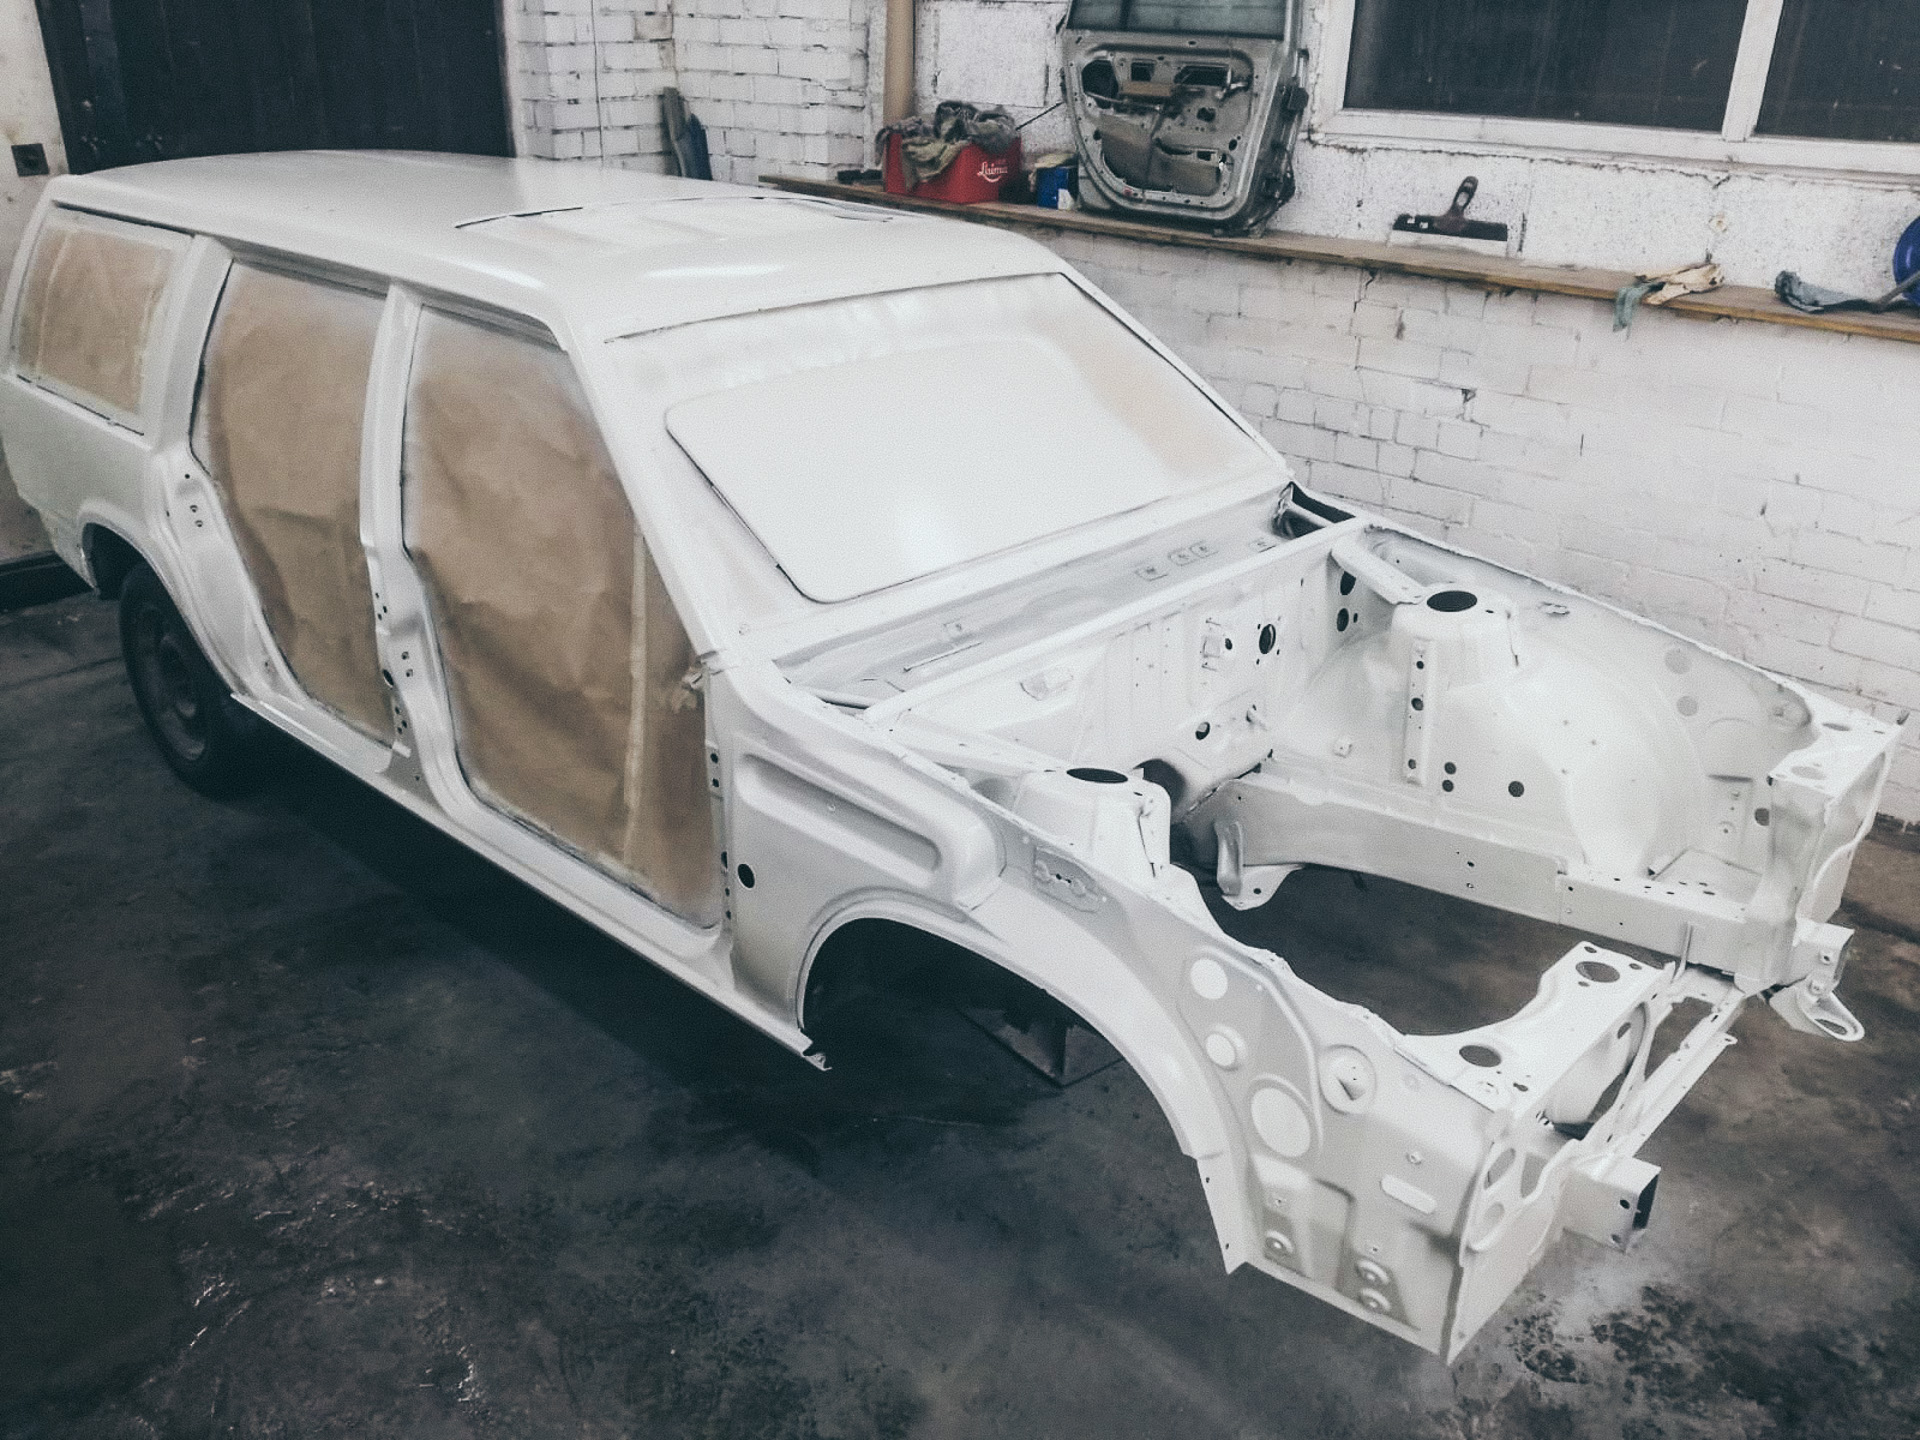
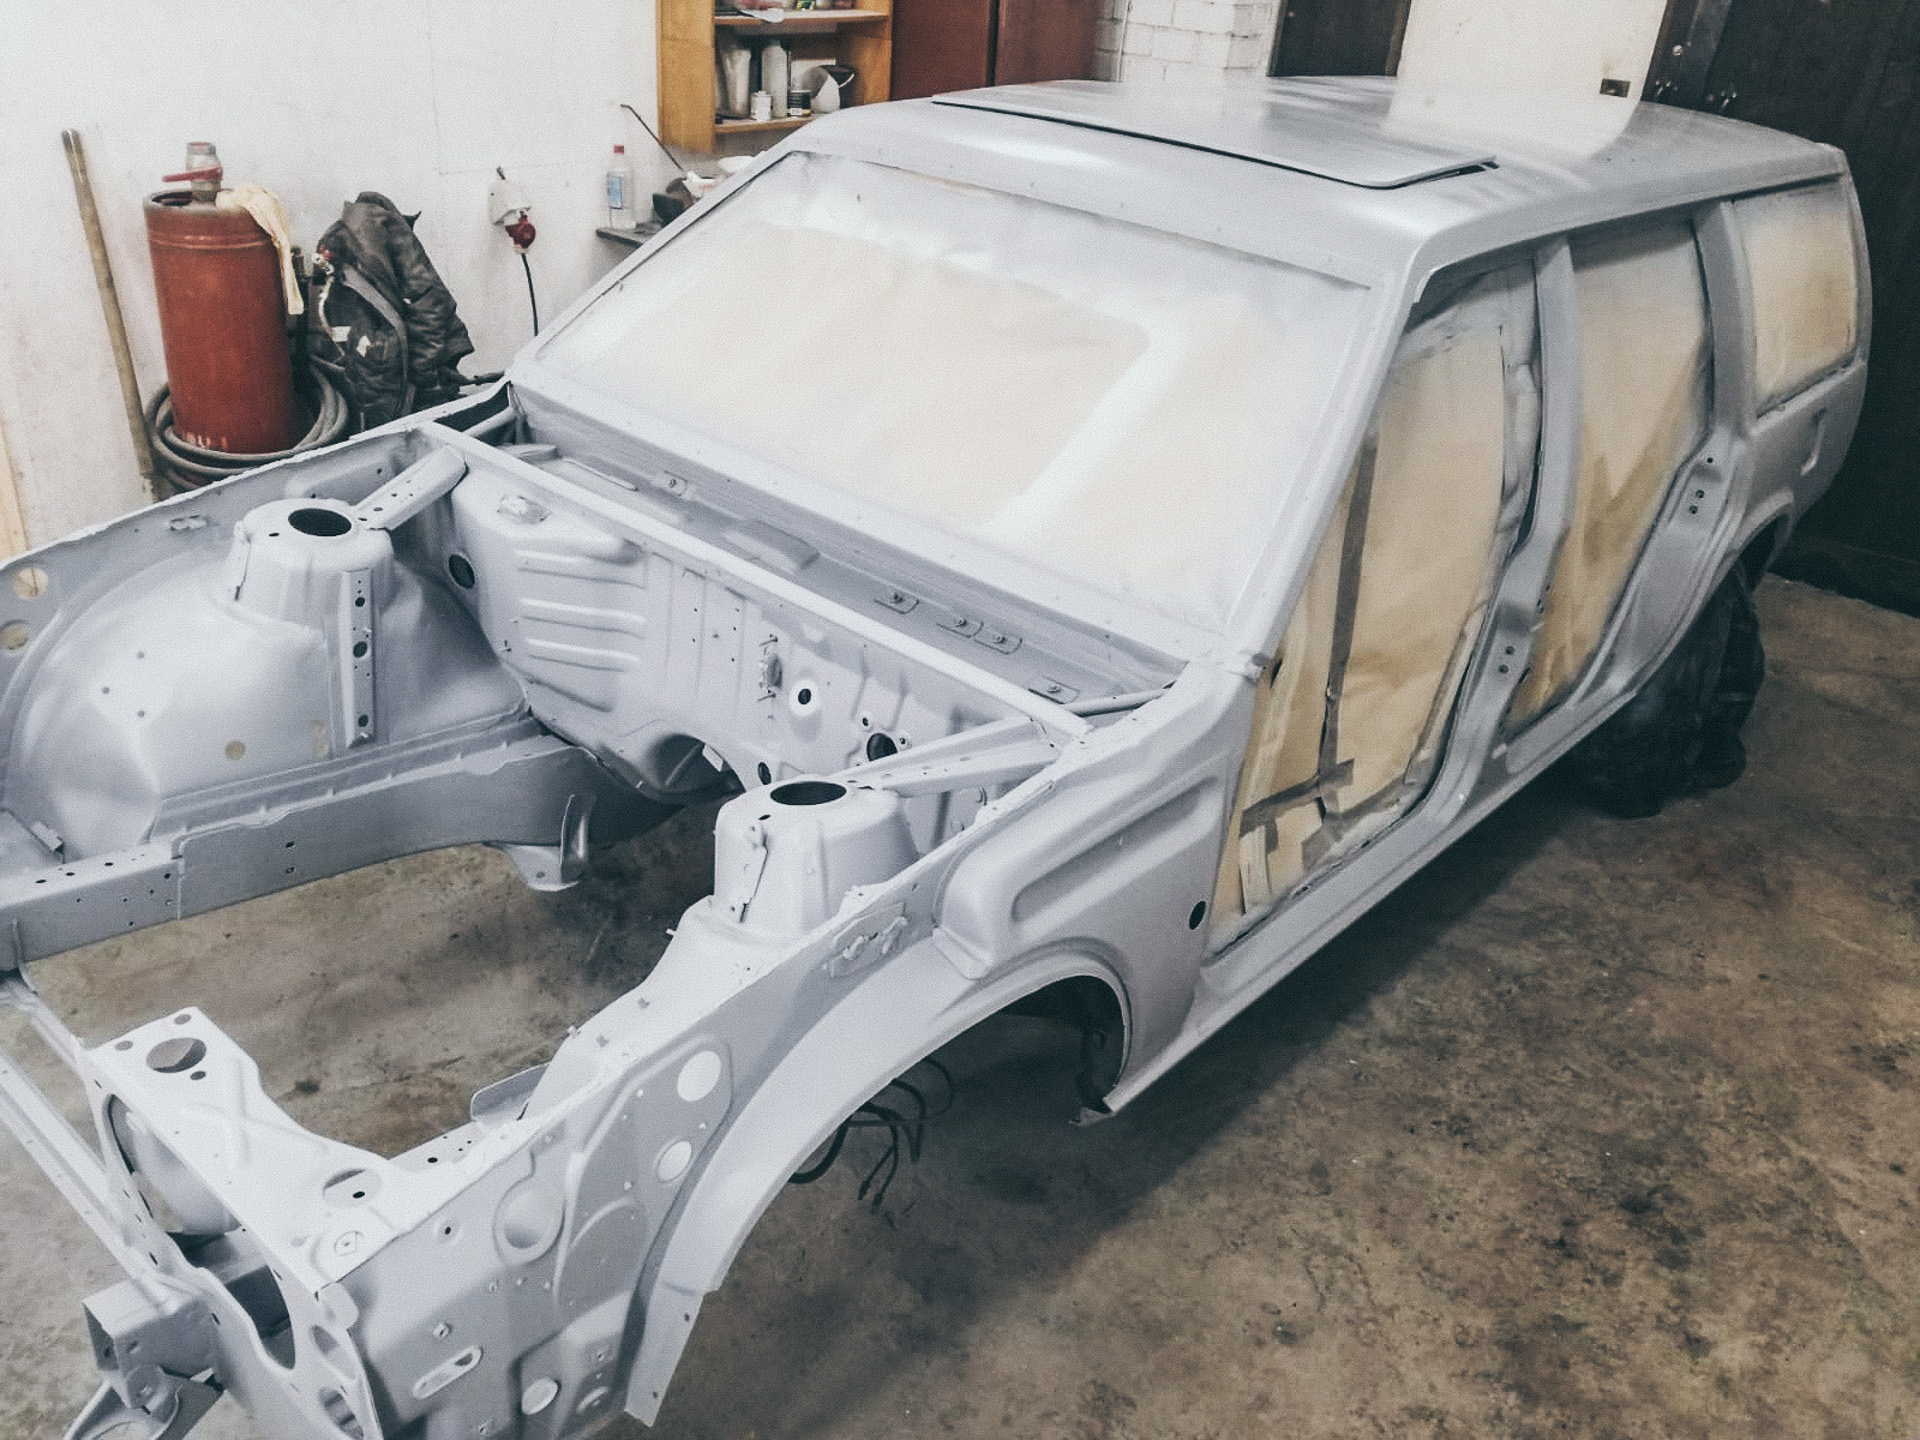
We got the expensive clear coat for the car, extra hard and did a test-spray on another car’s hood and it was perfect with no orange peel what so ever.
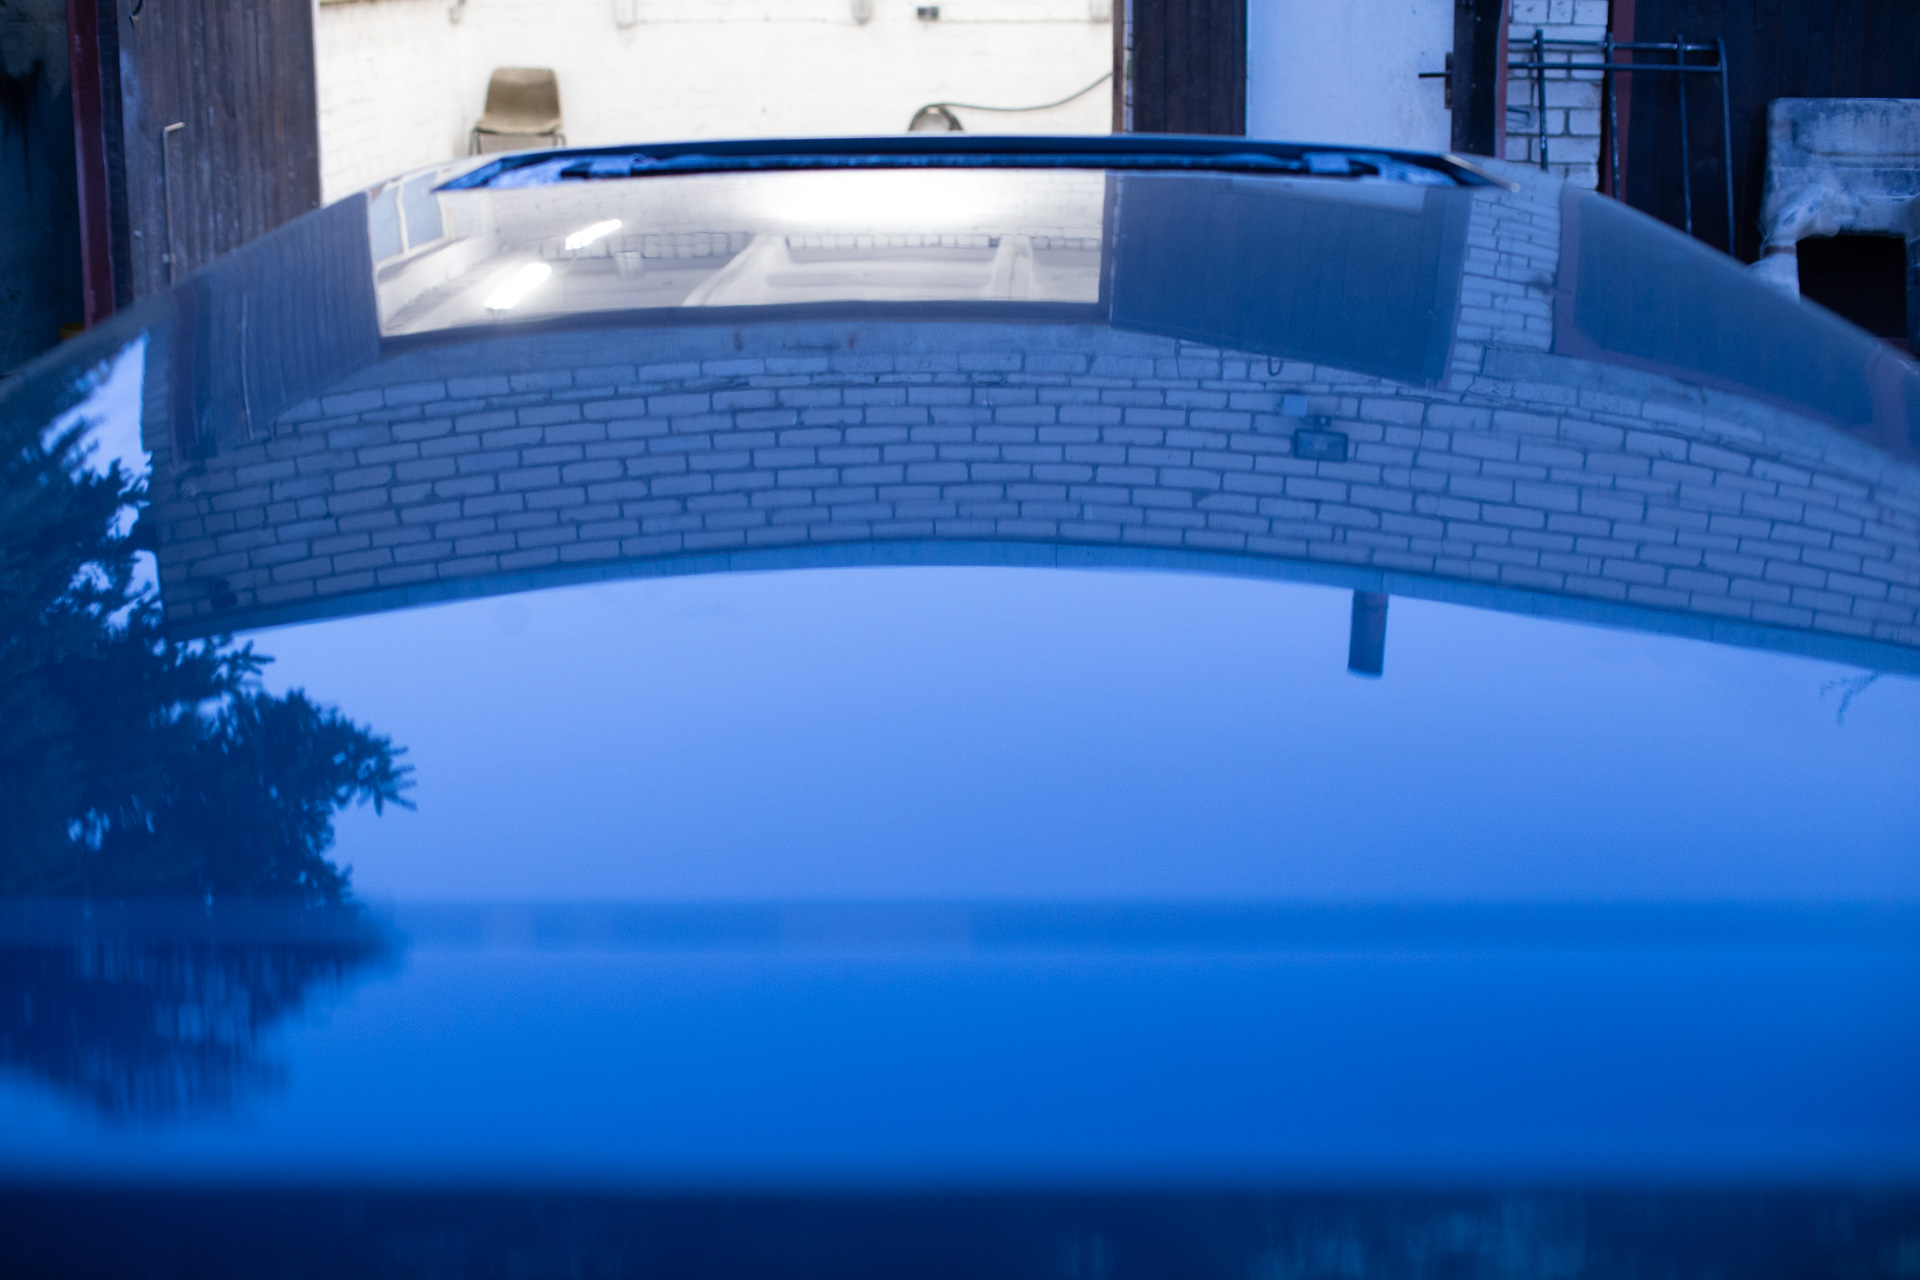
There are plenty of tasks and problems to solve that are running parallel to the car’s painting process. There are plenty of parts to source. For example, the sun roof rubber strip that goes around the sunroof plate, is cracked and dry from California sun, no longer in production… been searching all day for the part.
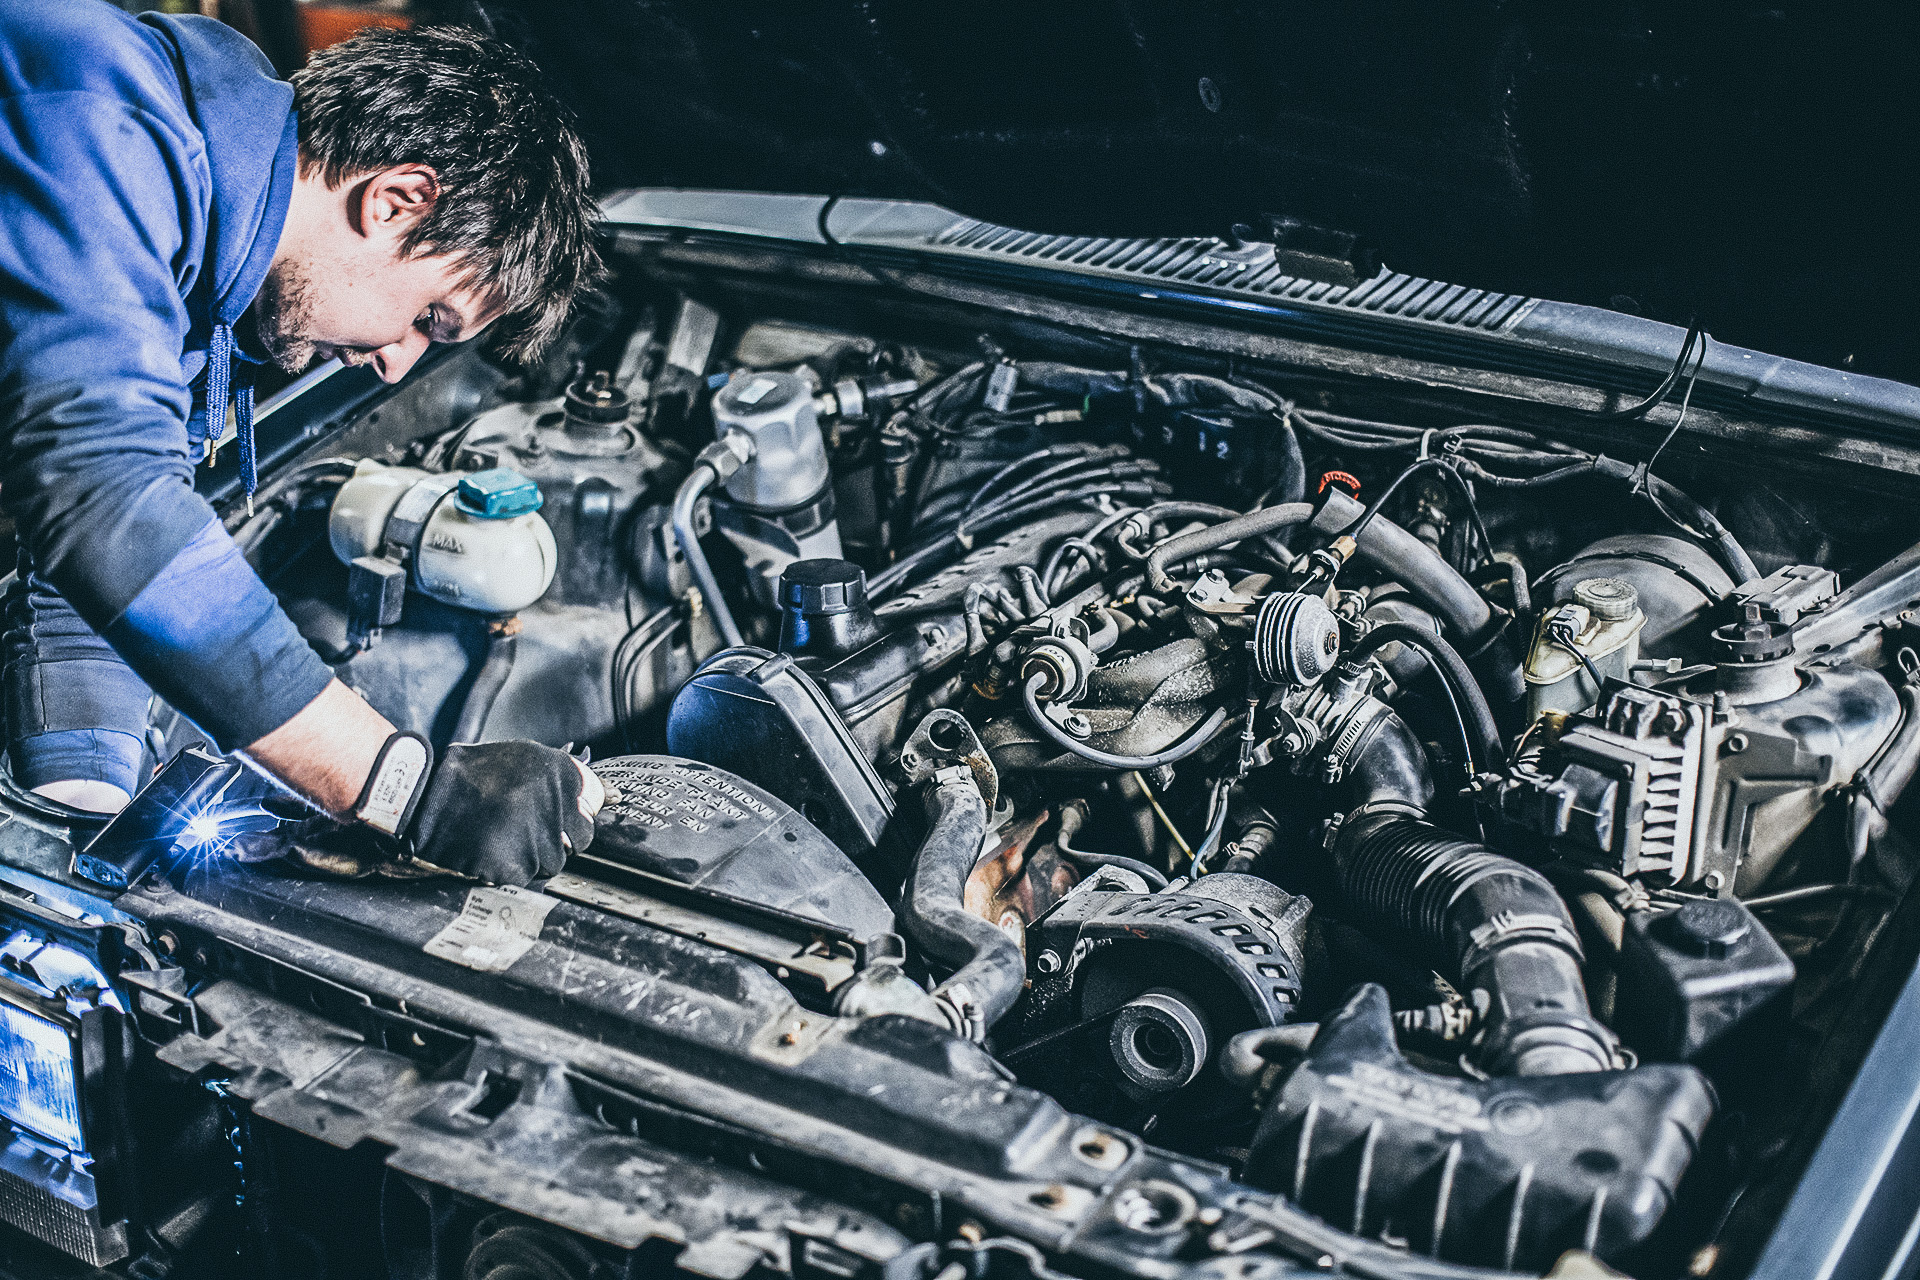
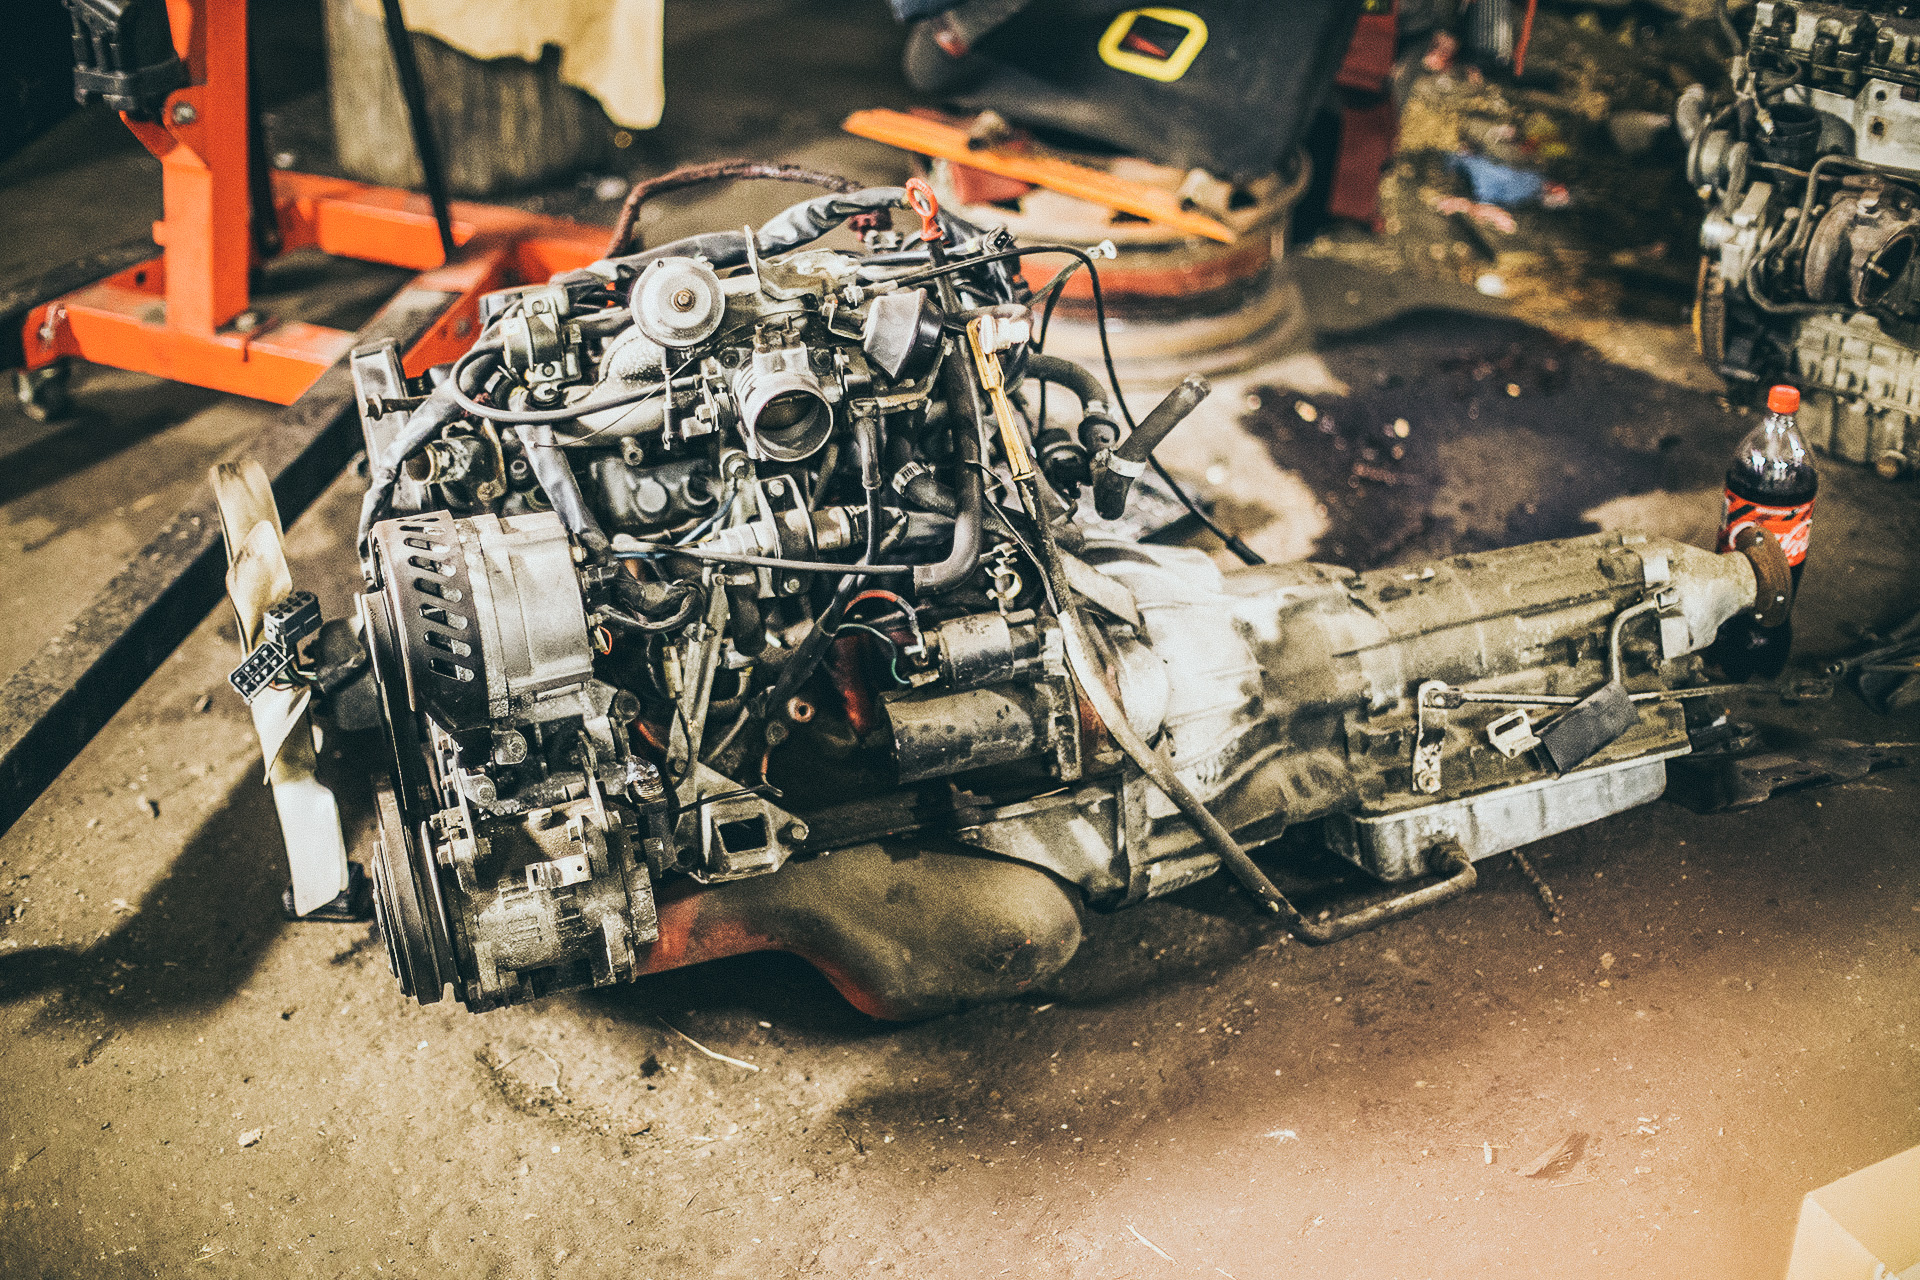
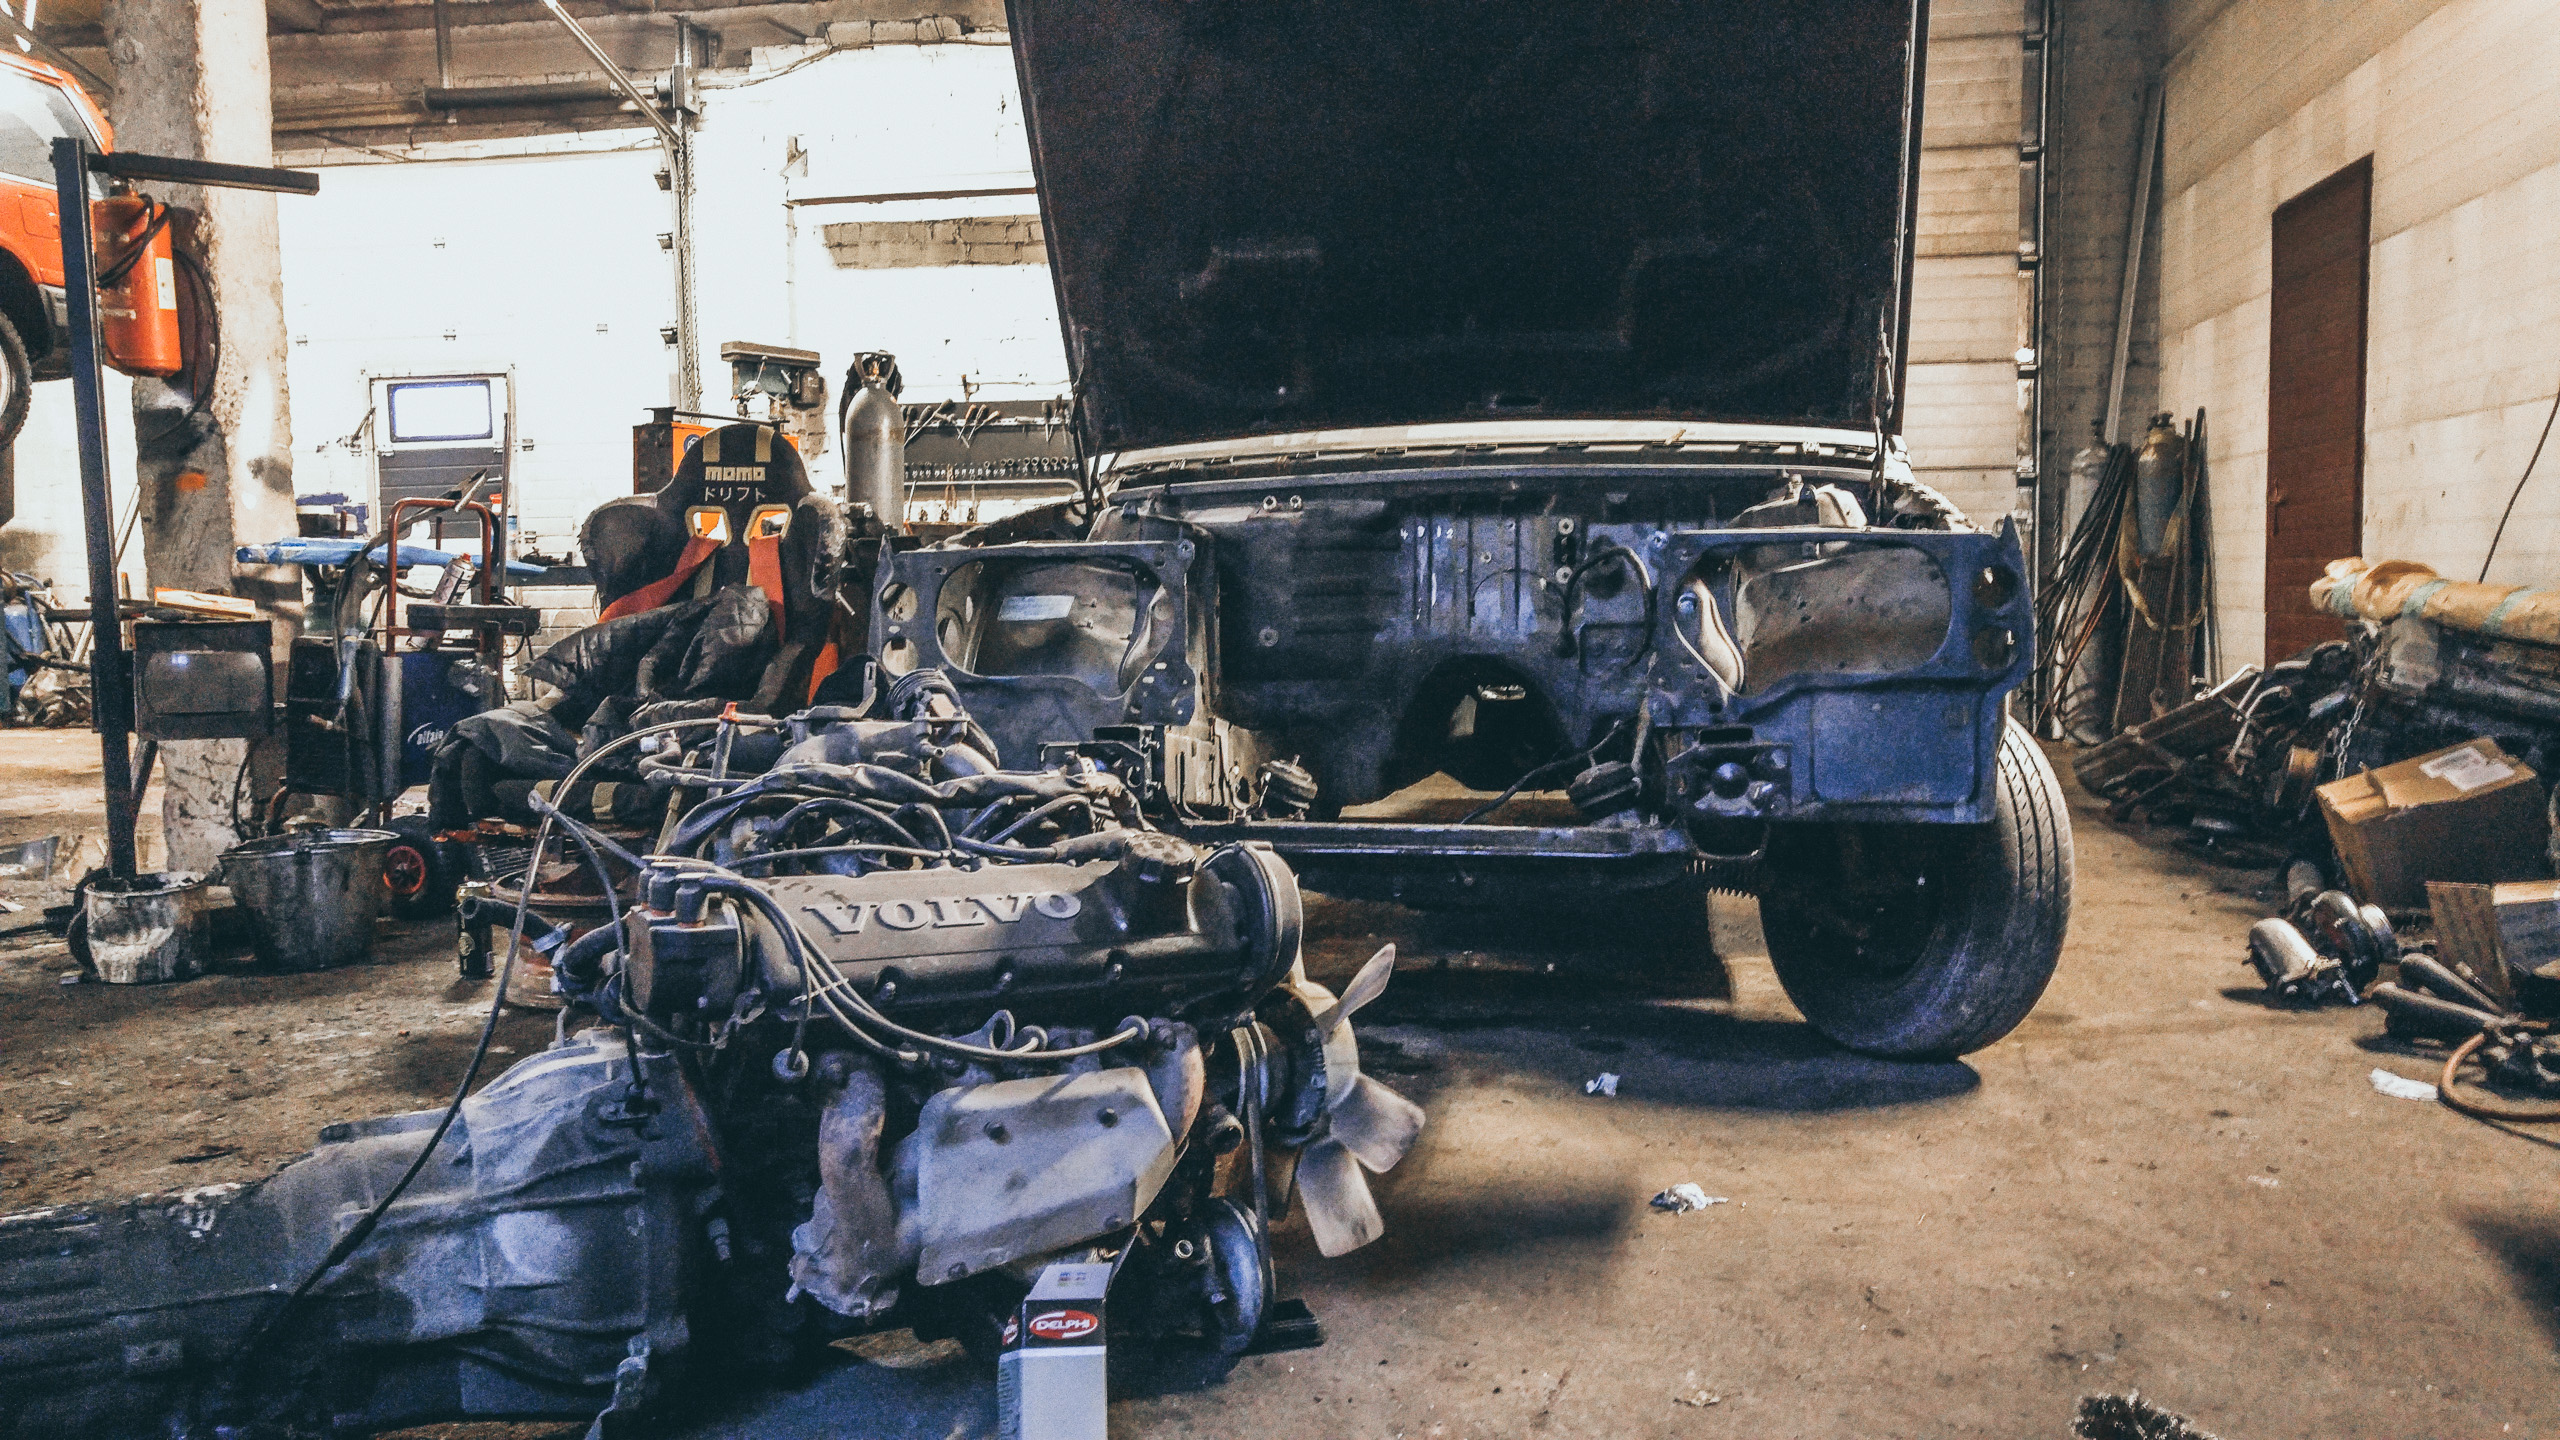
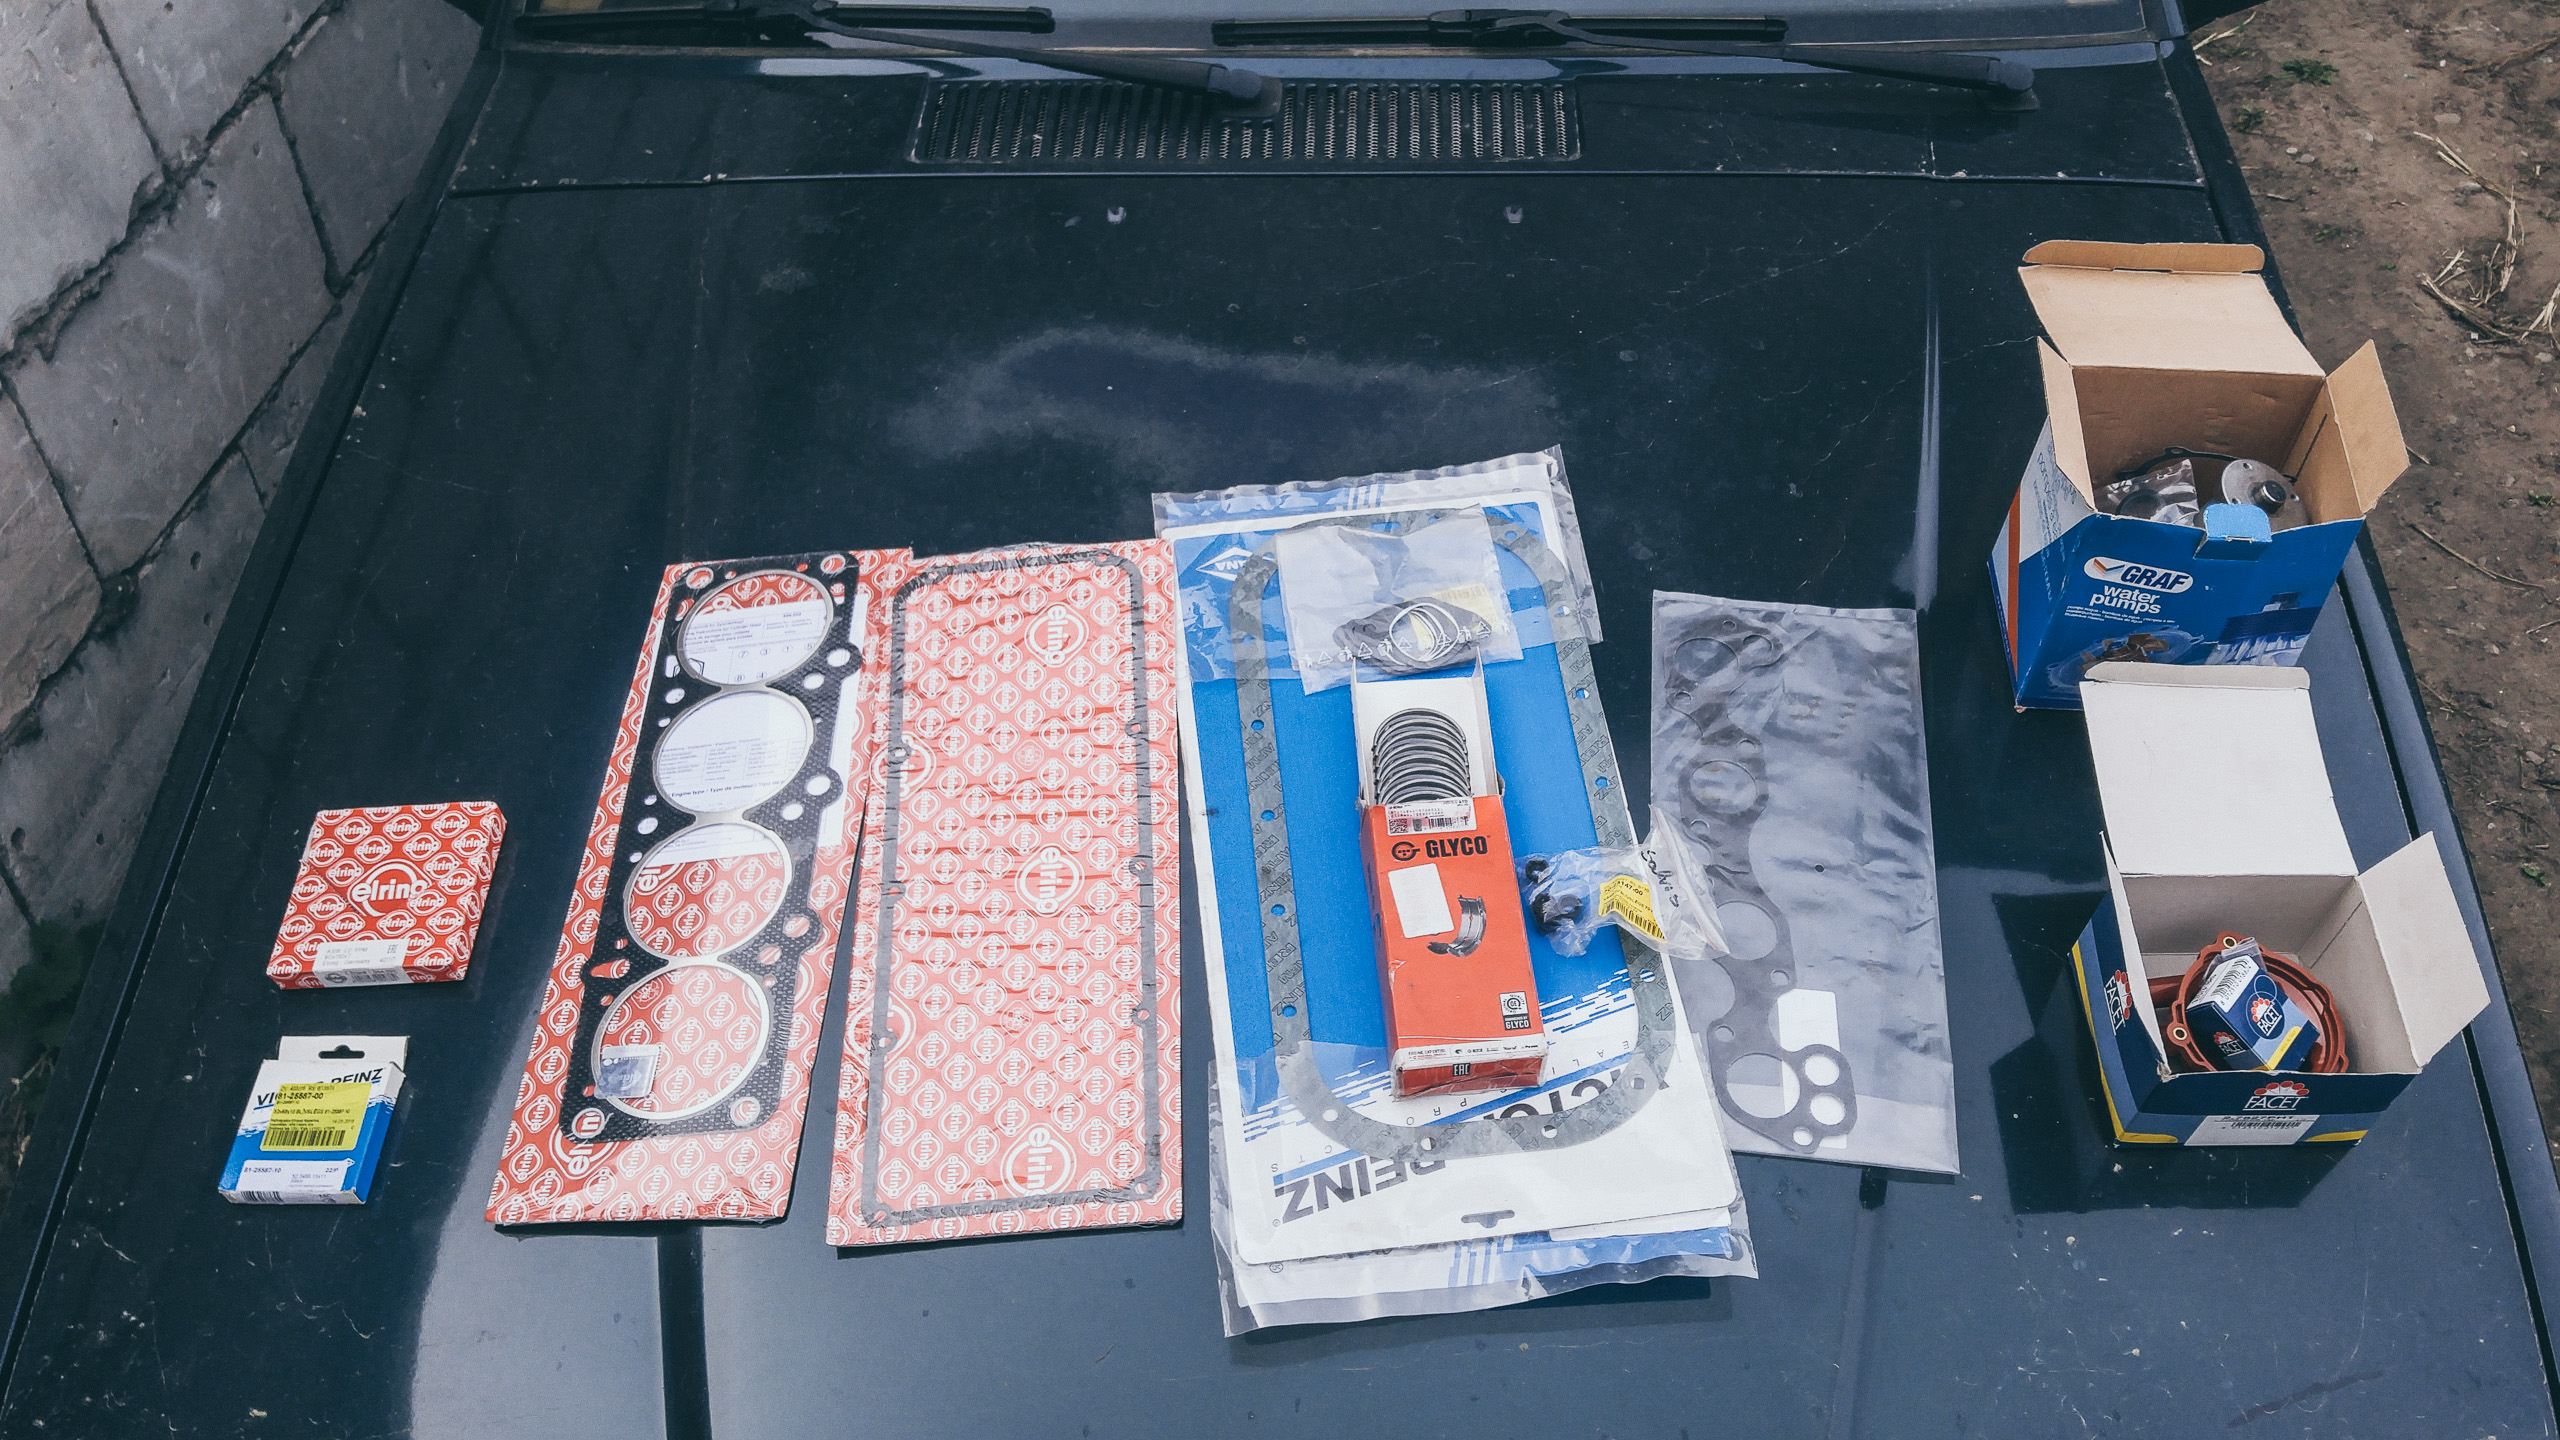
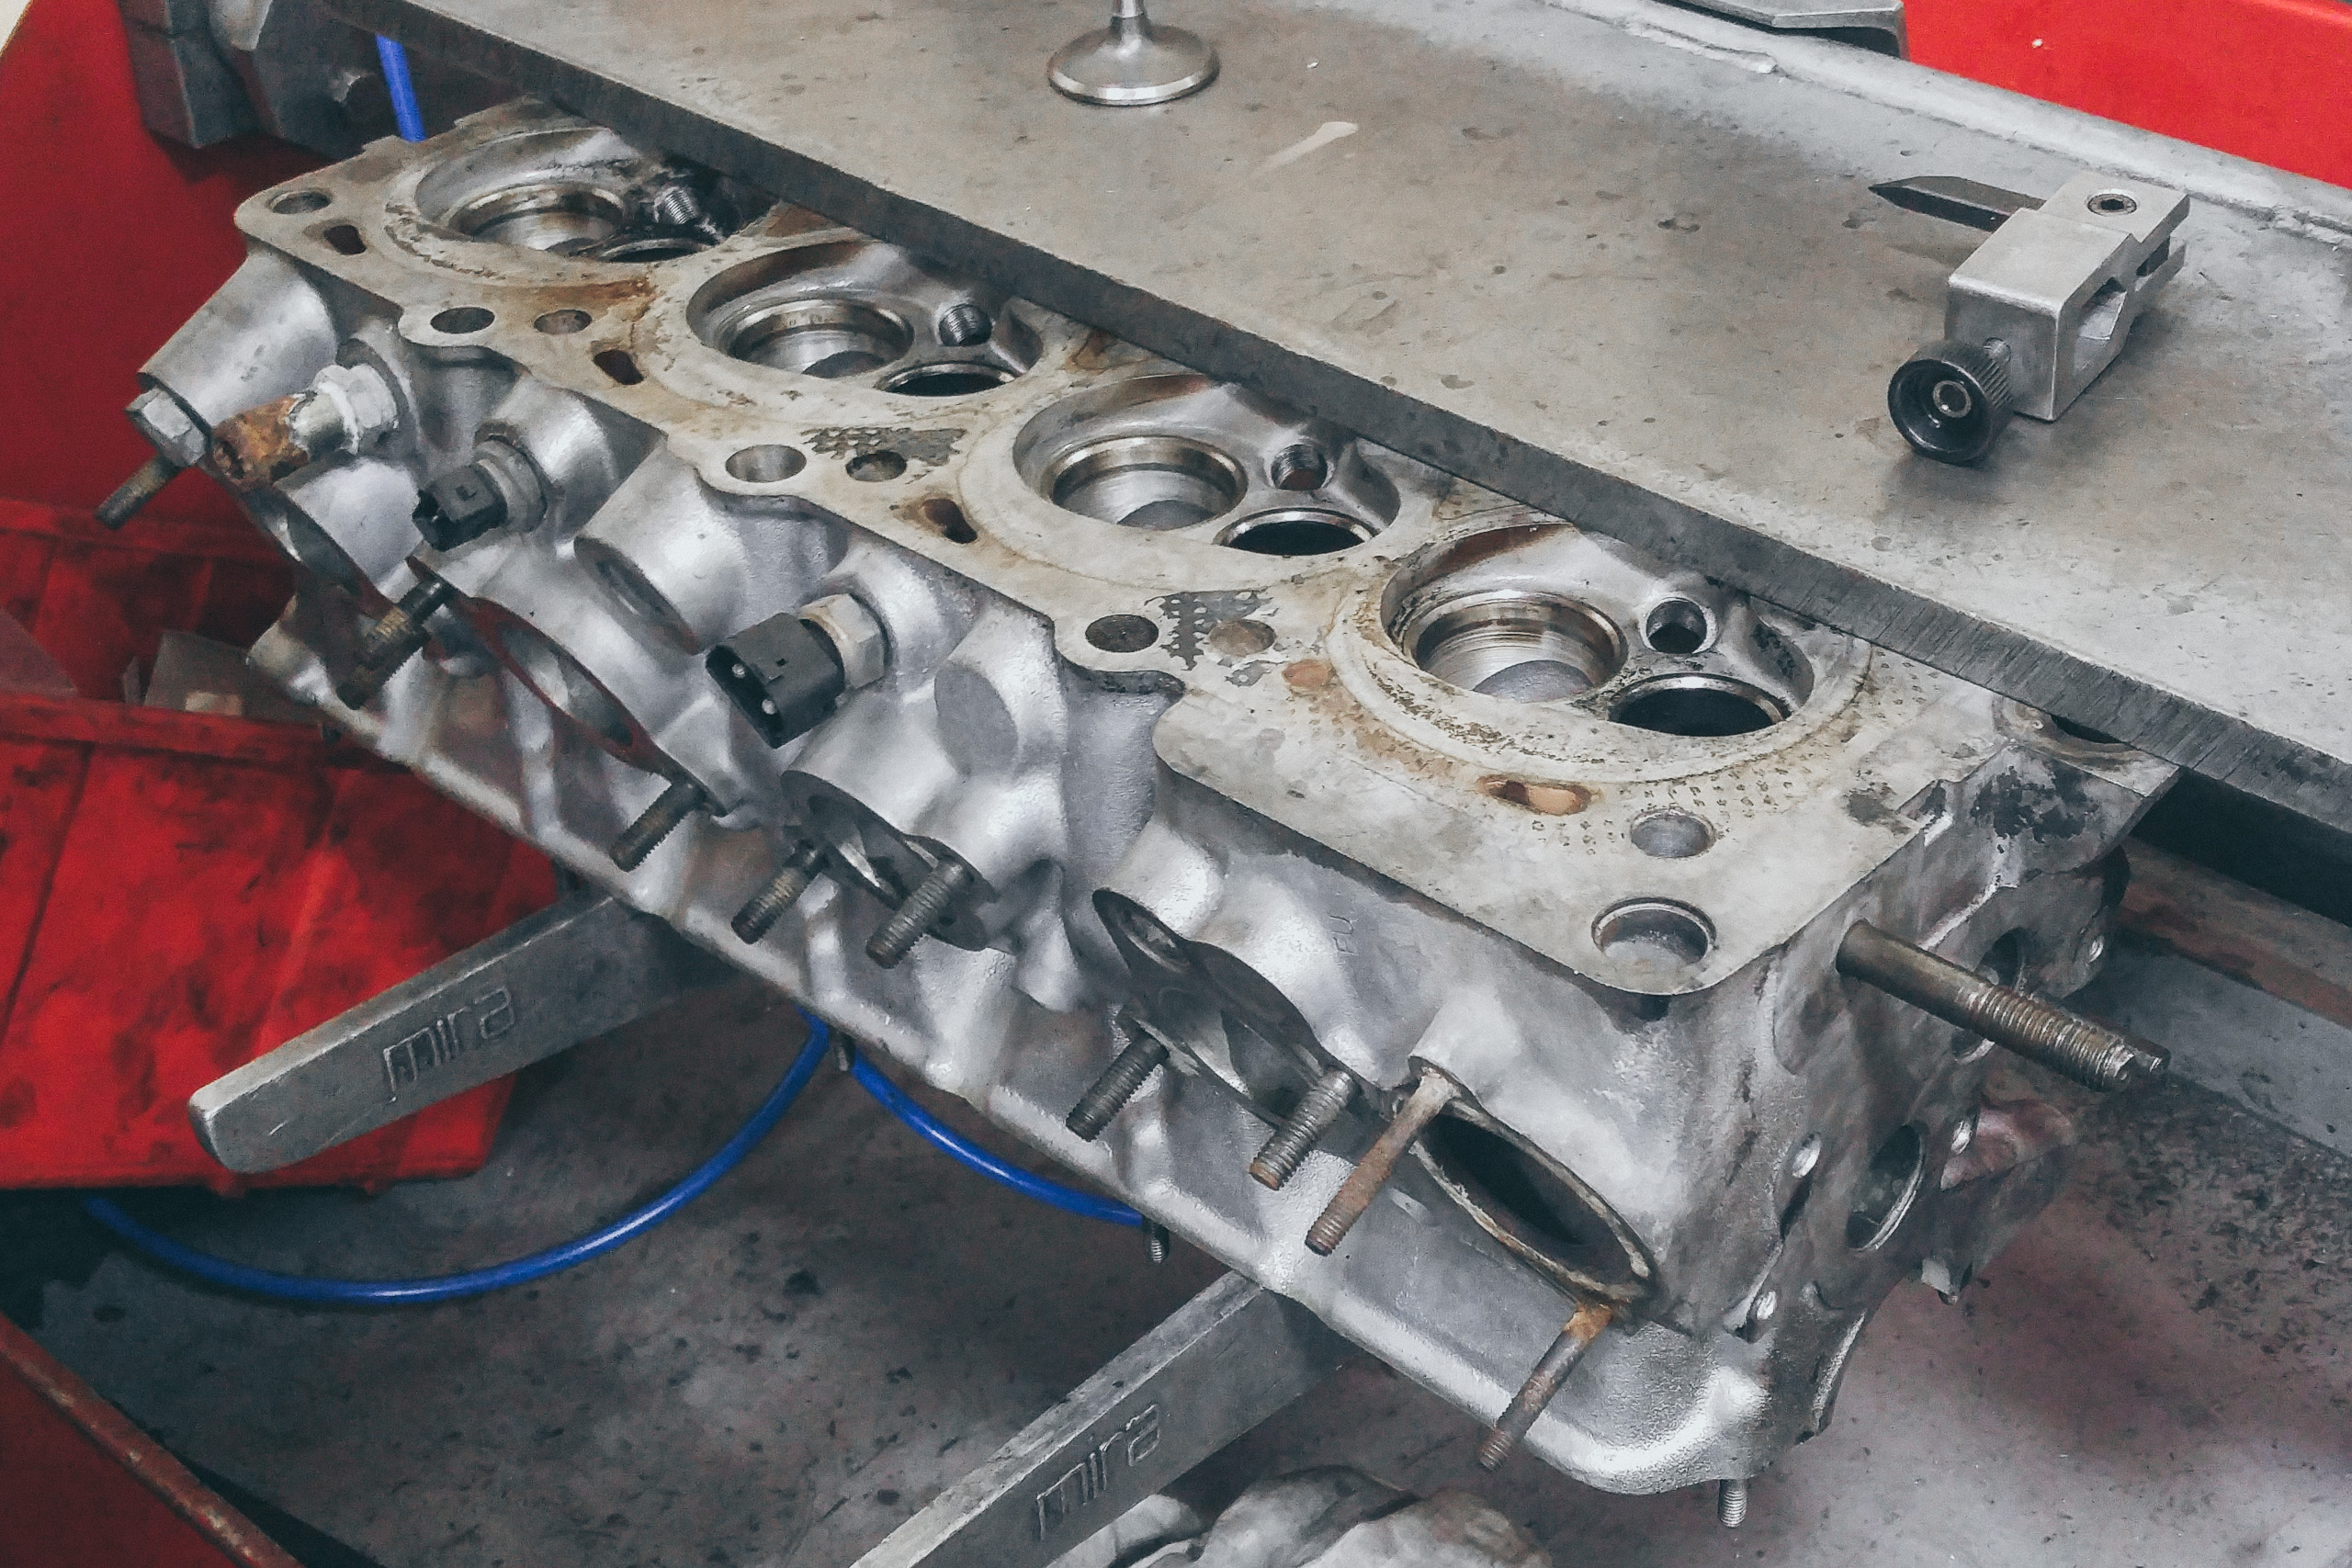
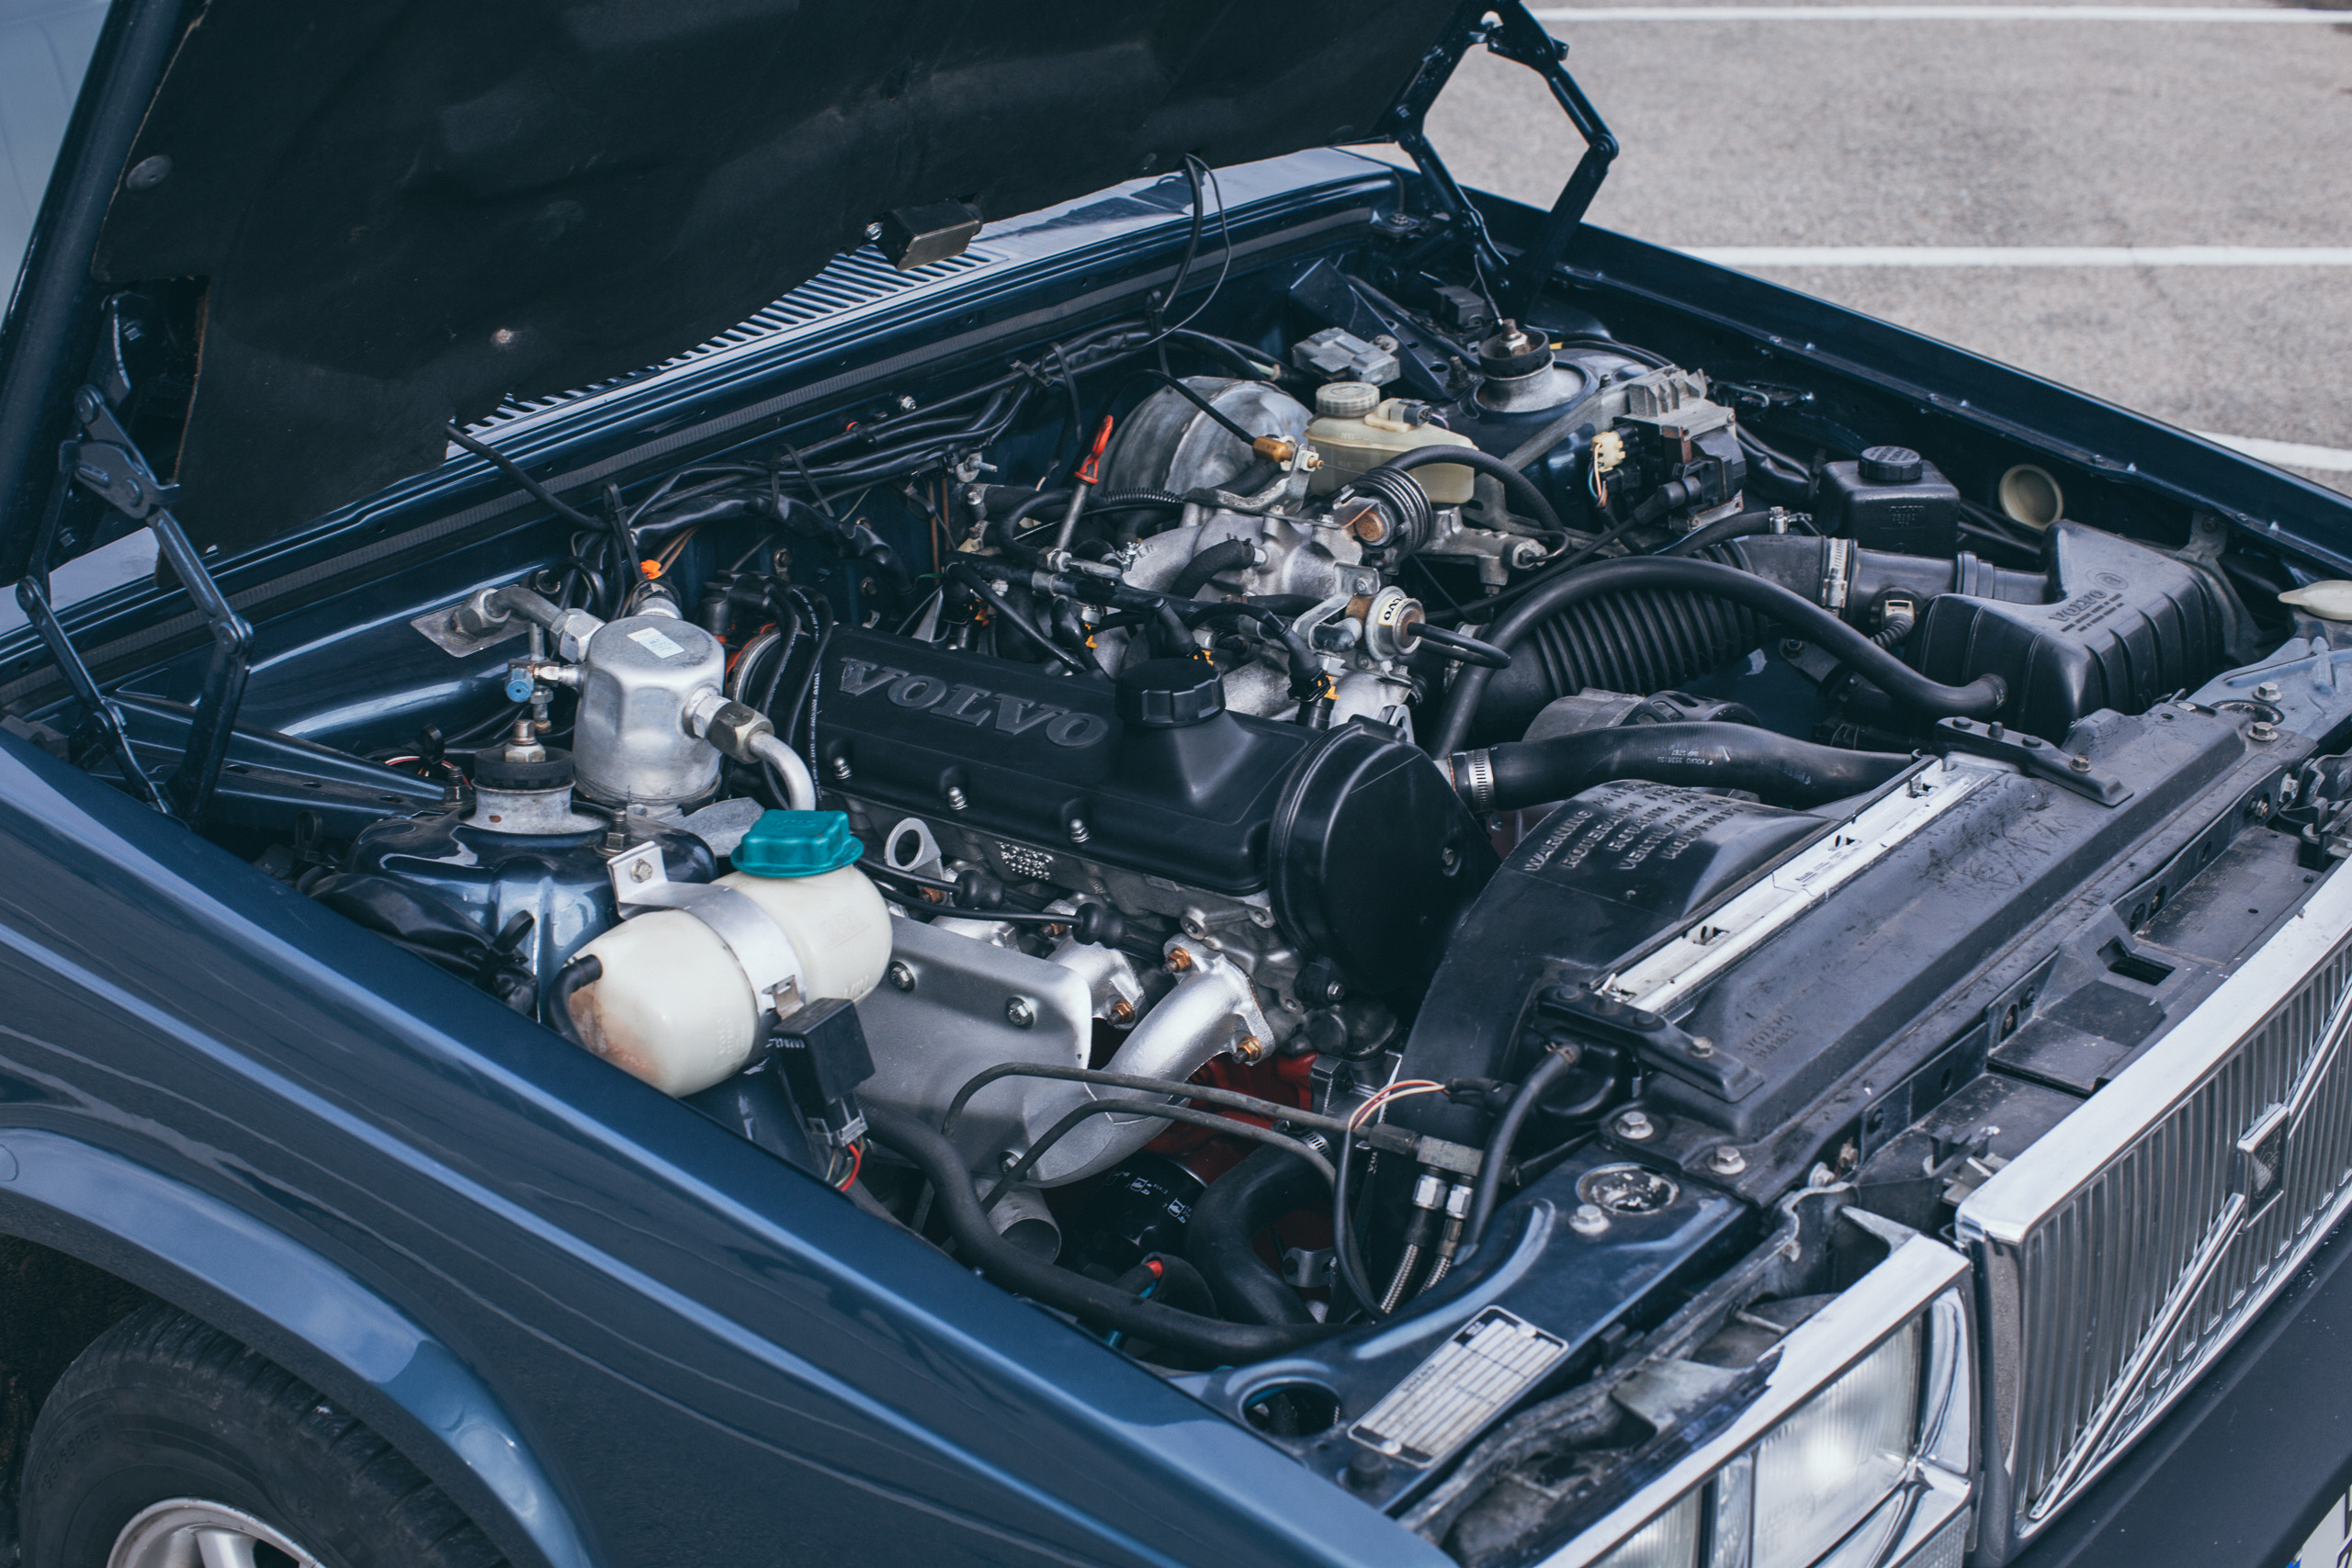
– The whole engine needs to be disassembled and cleaned and see what parts need to be replaced.
– New radiator with AC outlets needs to be sourced.
– New wheels that fit the car, that will also need to be re-finished for a brand new look.
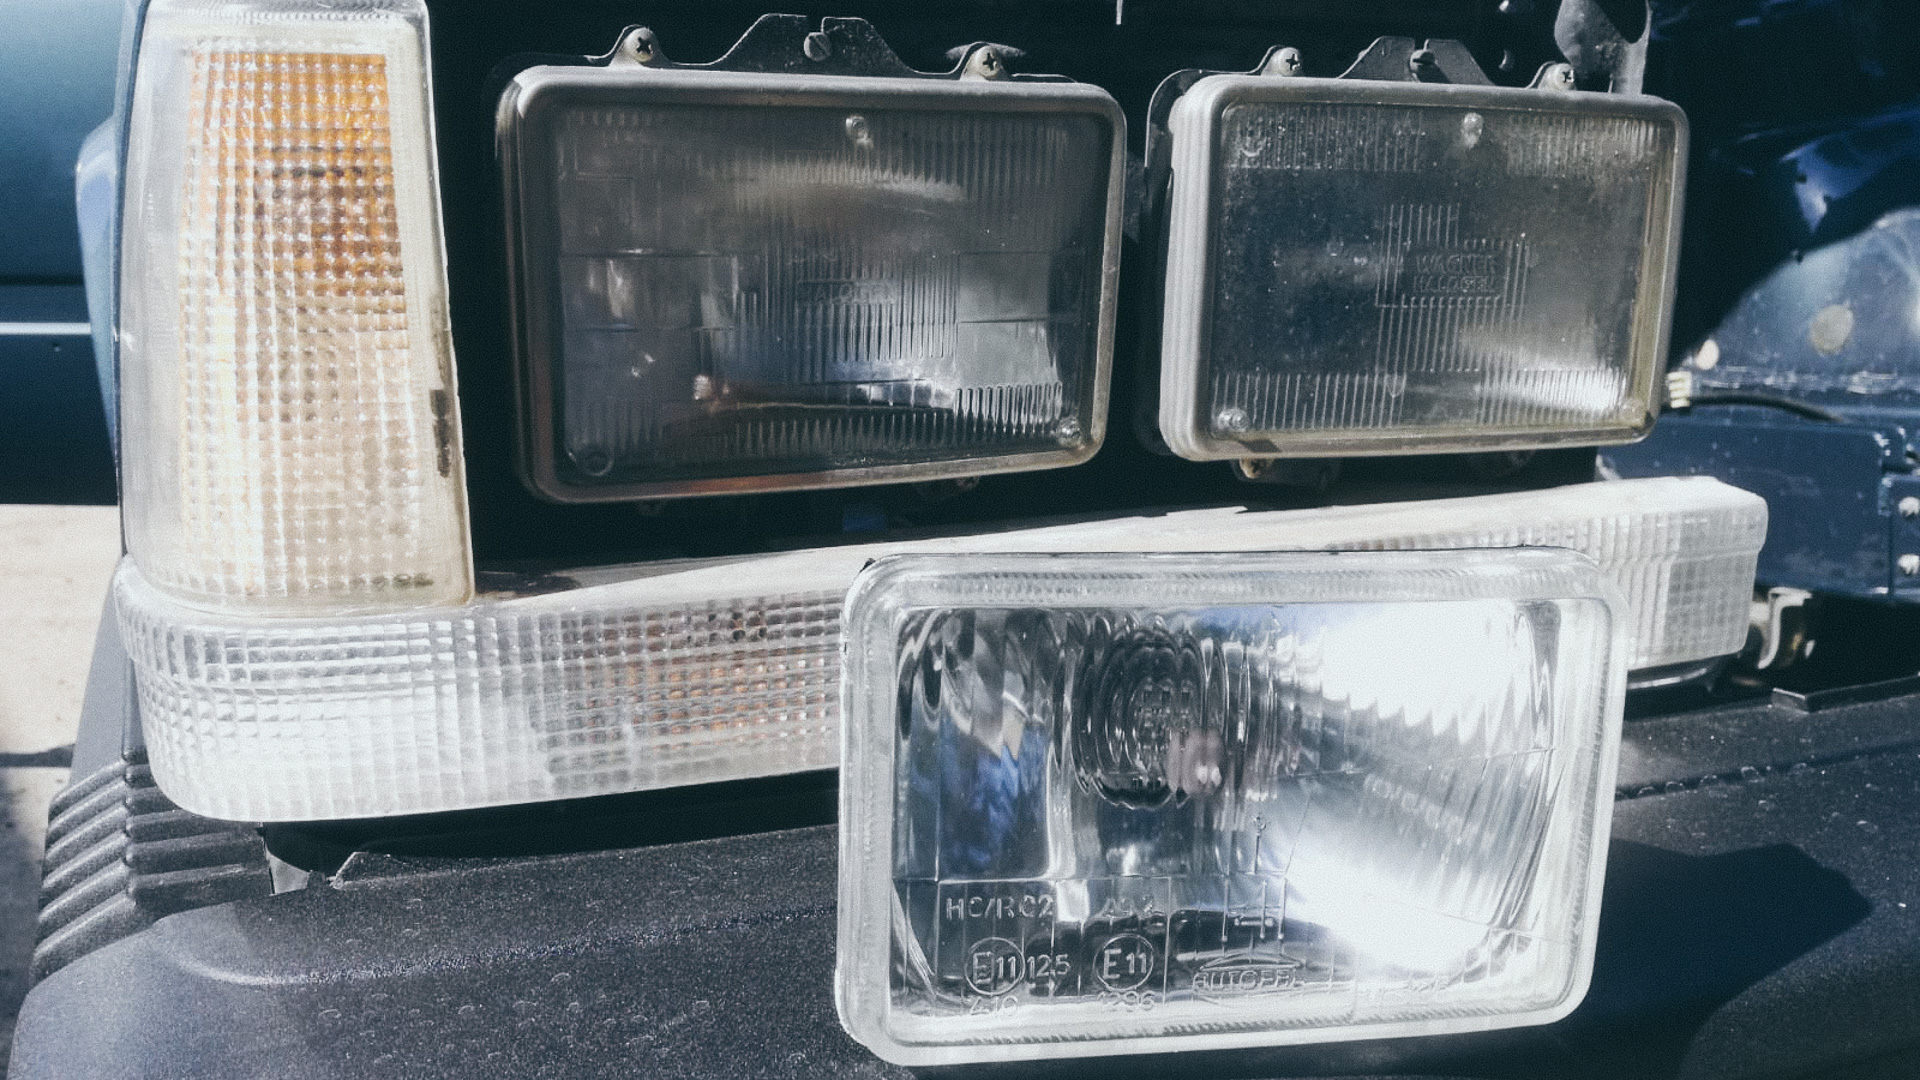
– Chrome parts such as headlight moldings need to be re-chromed.
– Random trim on the car all needs to be polished and the faded plastic painted semi-gloss (satin) black.
– Interior needs to be re-sown, still need to find the fabric.
– New interior carpet needs to be made or replacement sourced.
– Many plastic parts to paint and re-finish.
– New tires and windshield wipers.
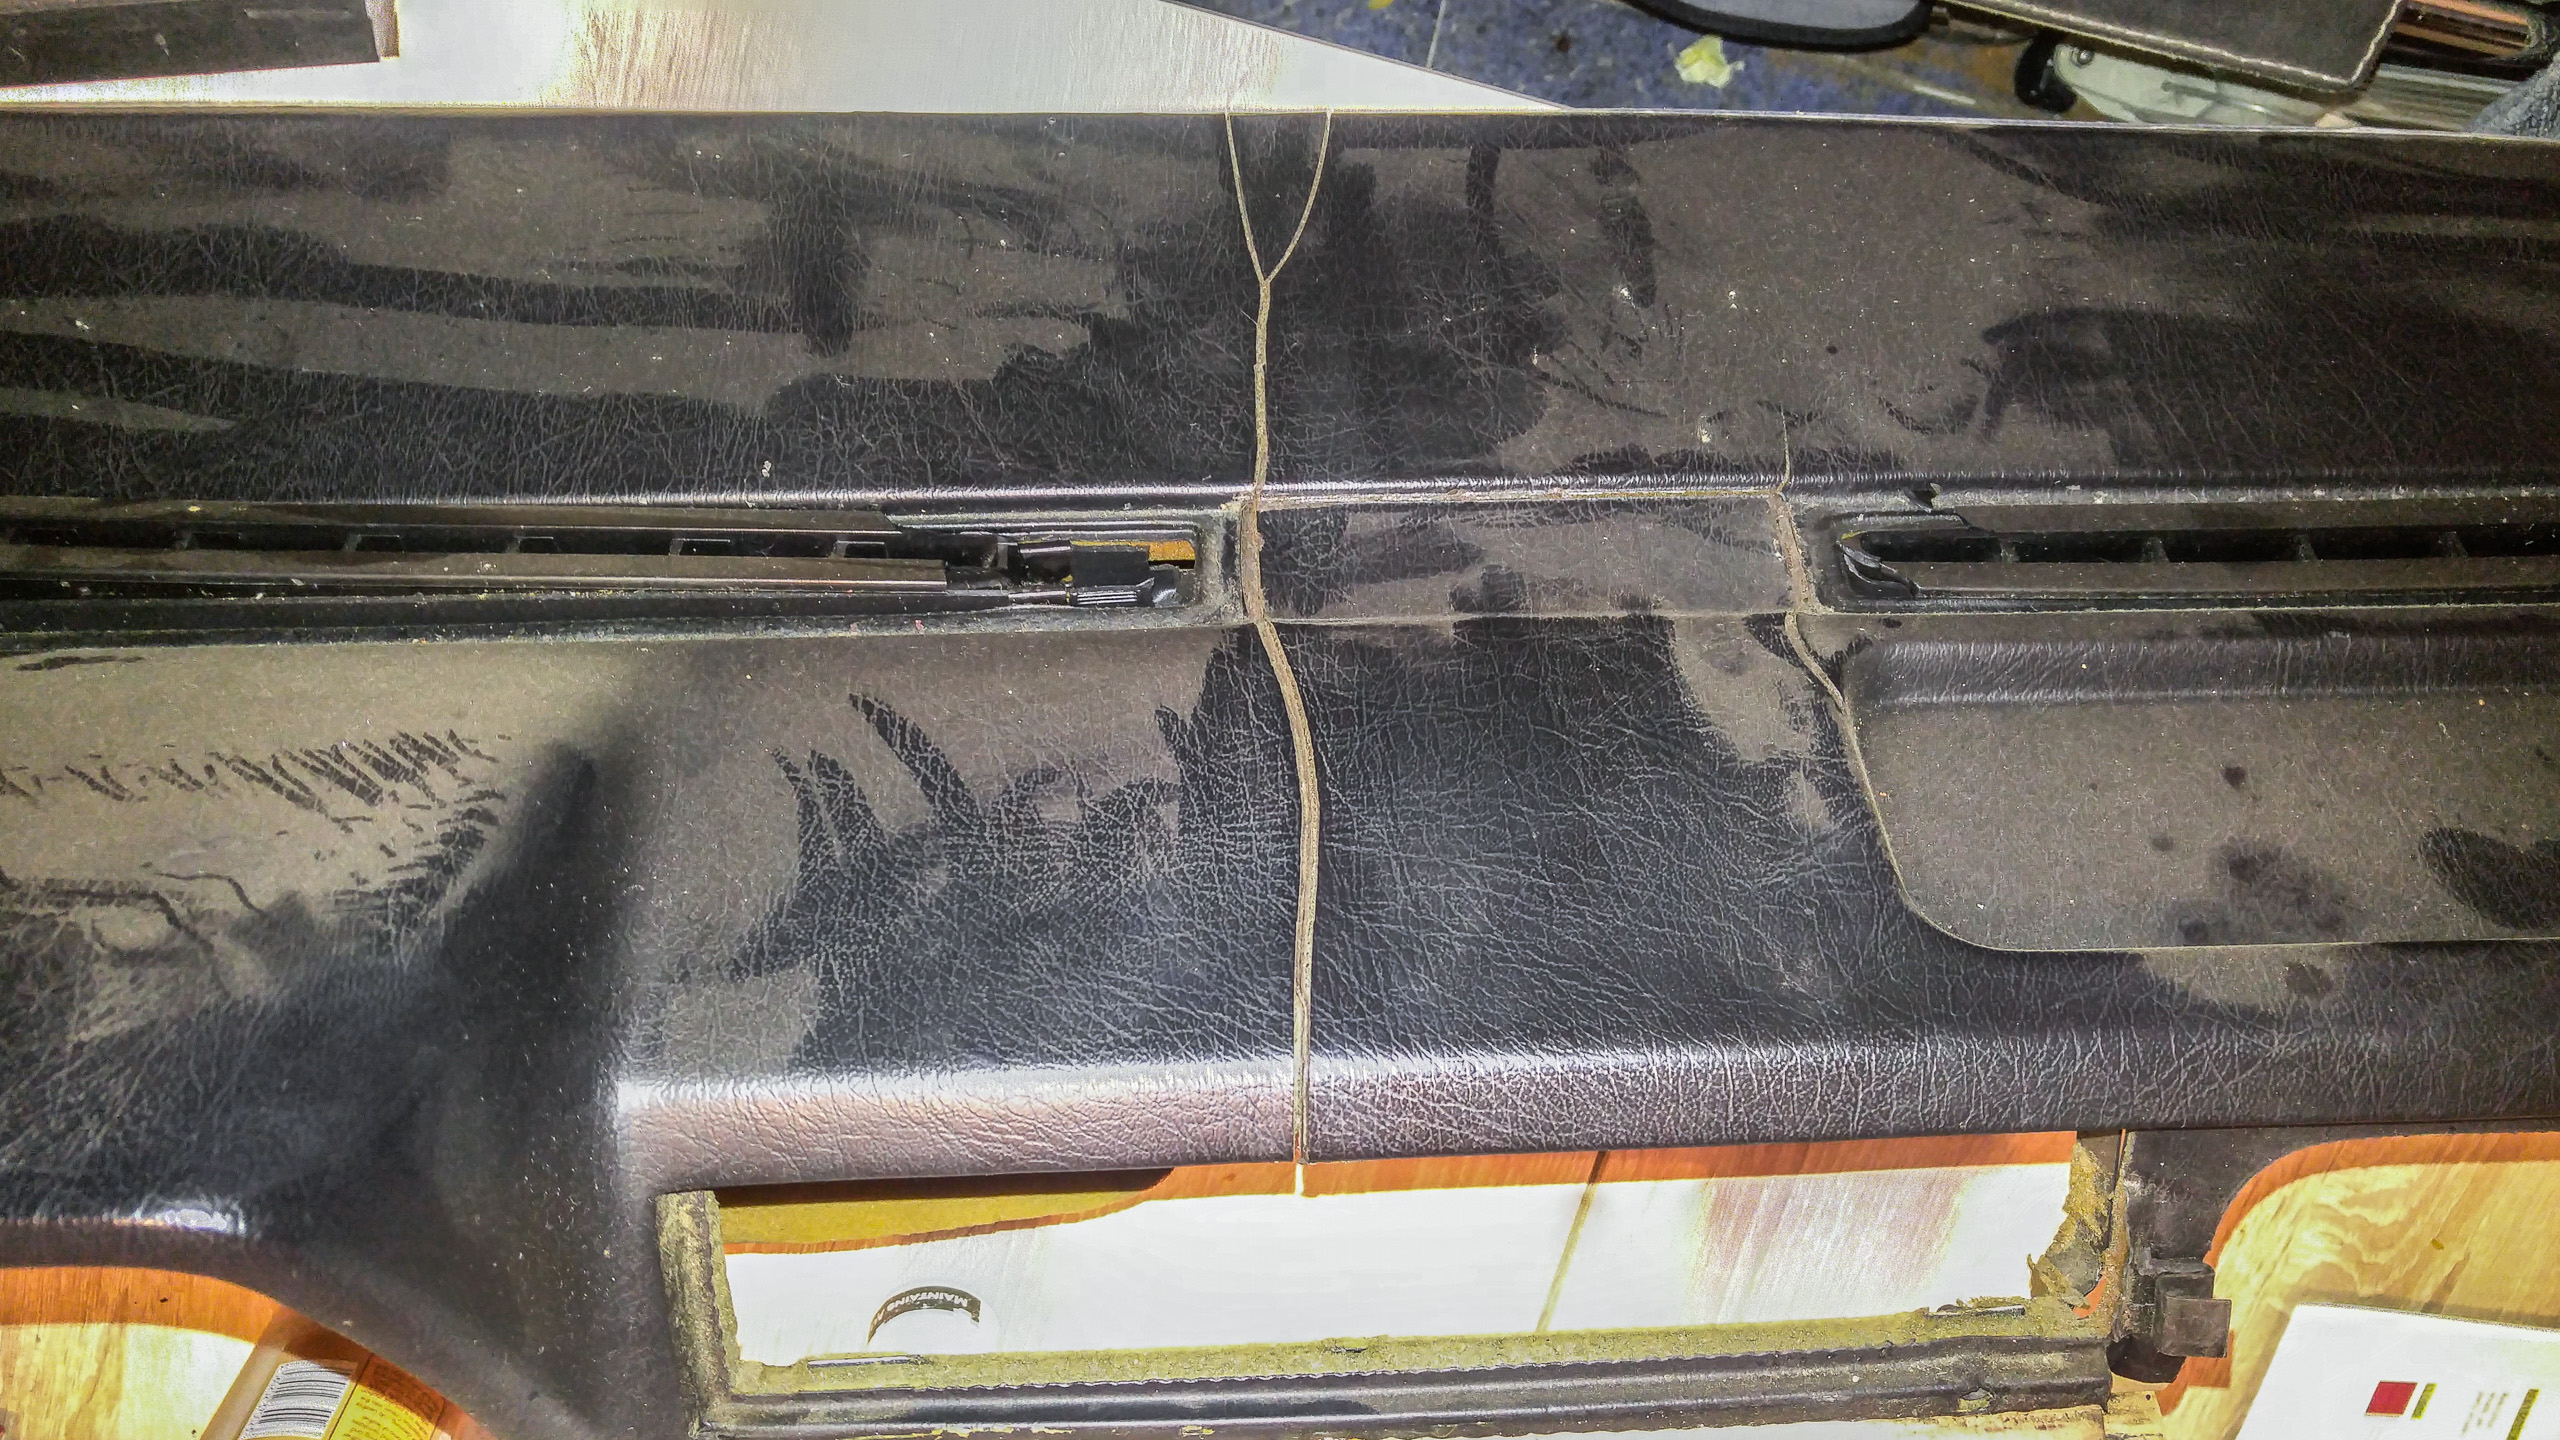
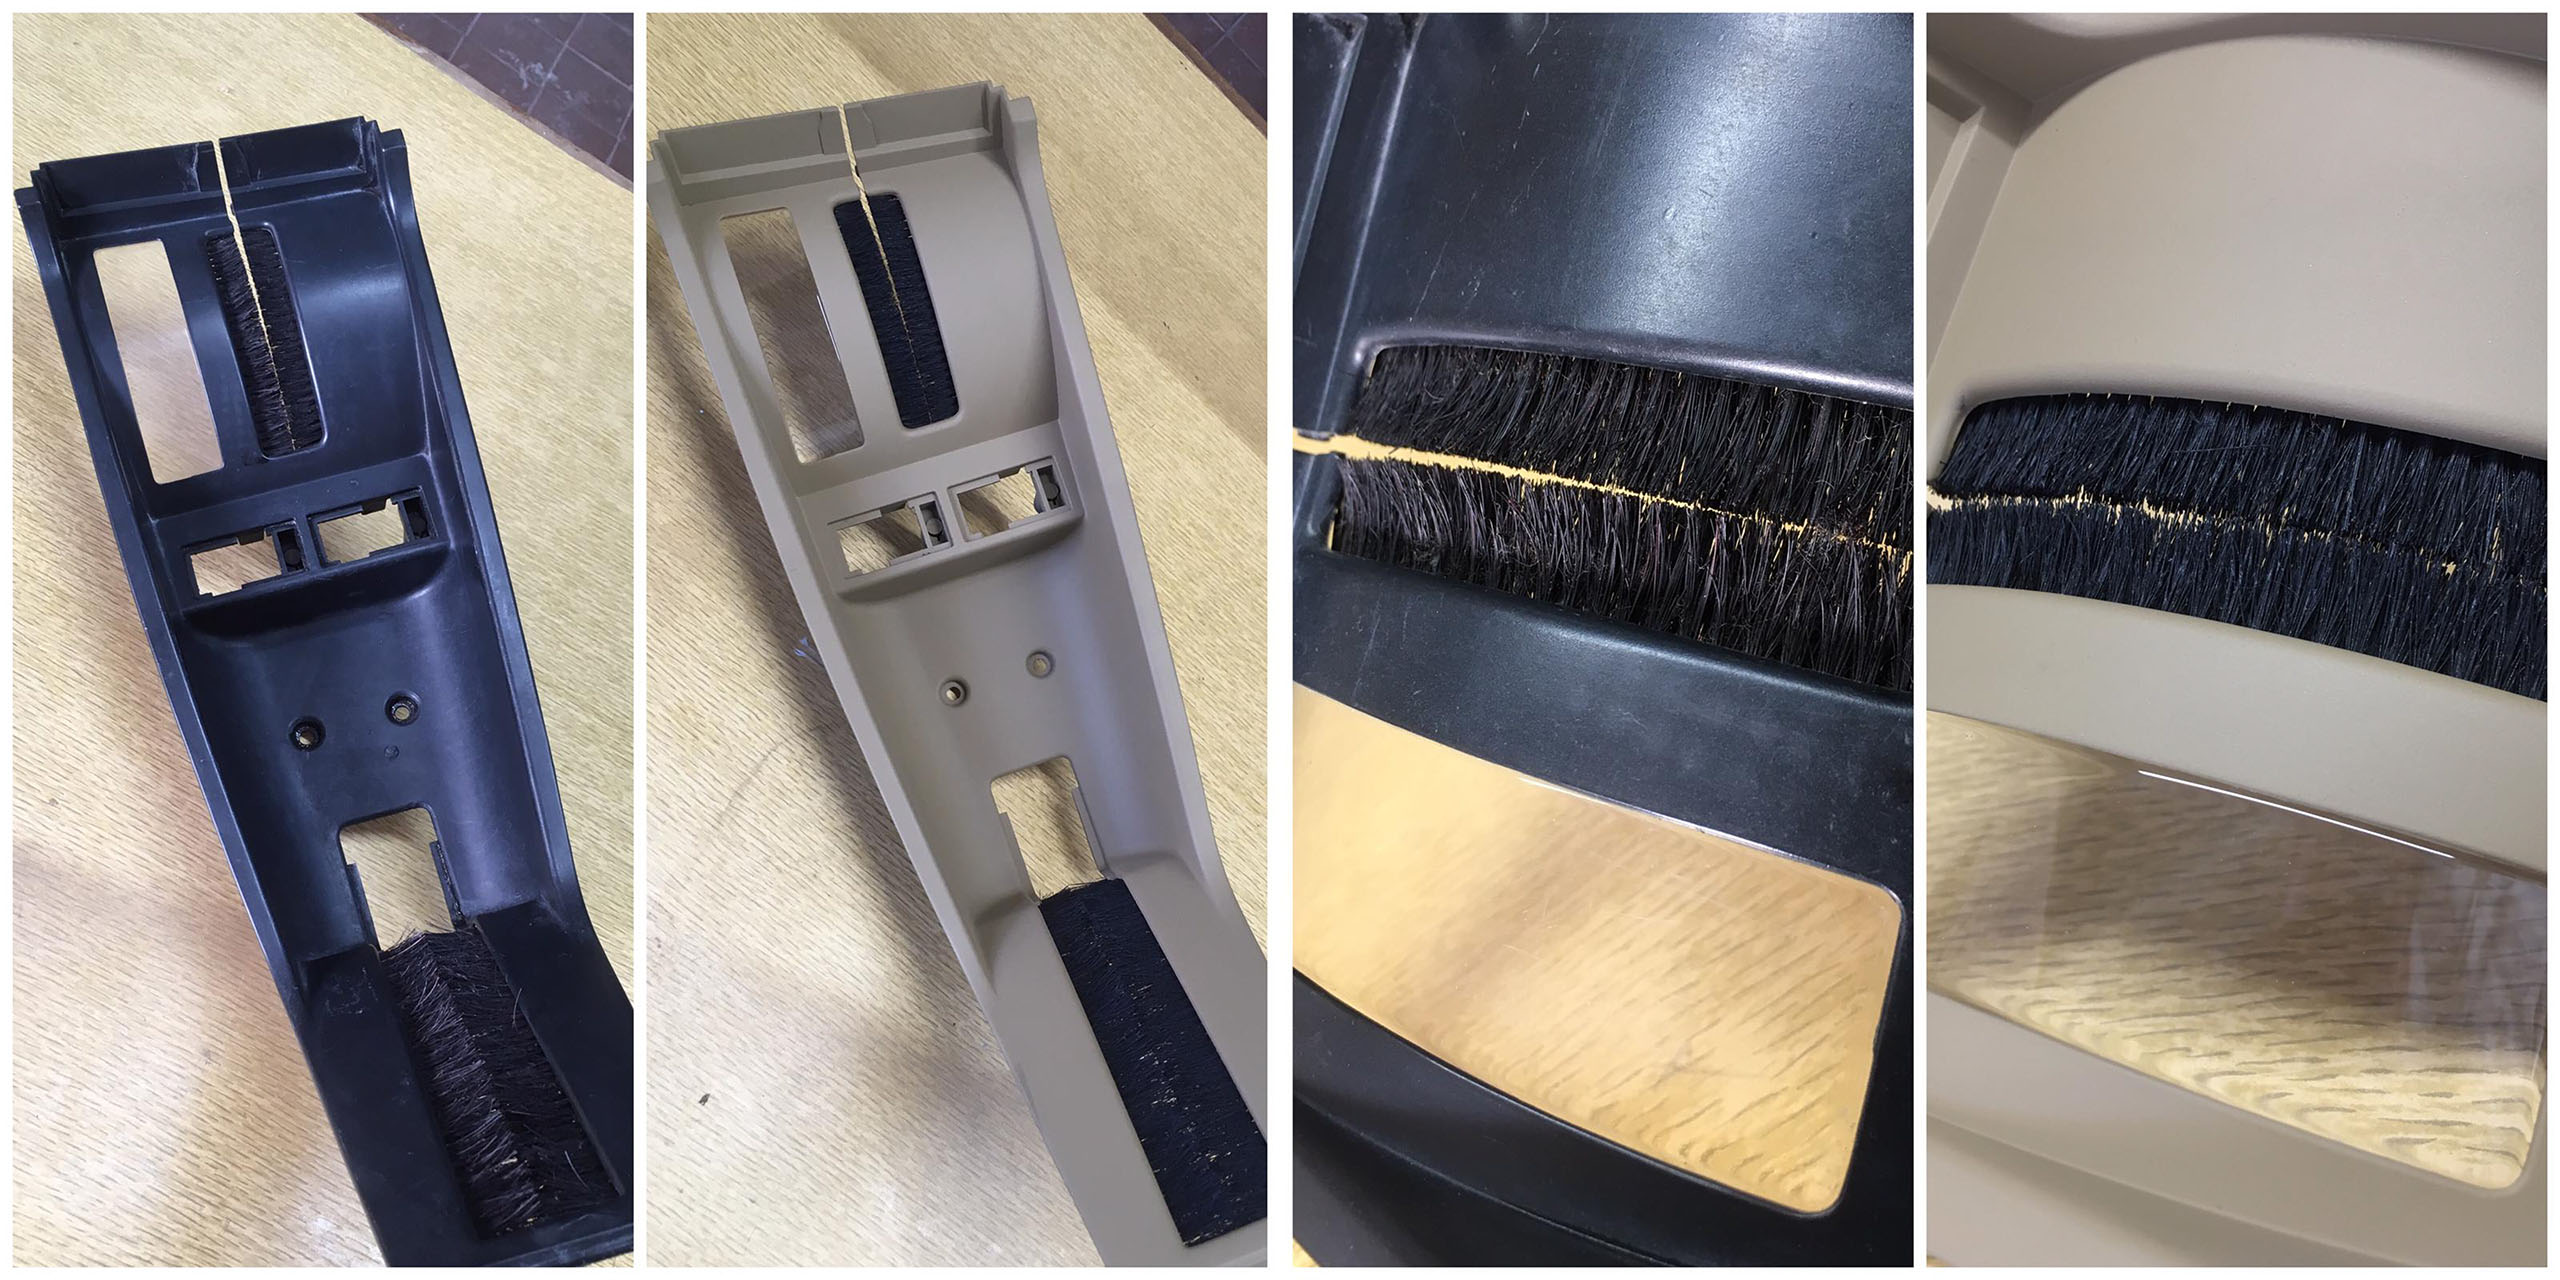
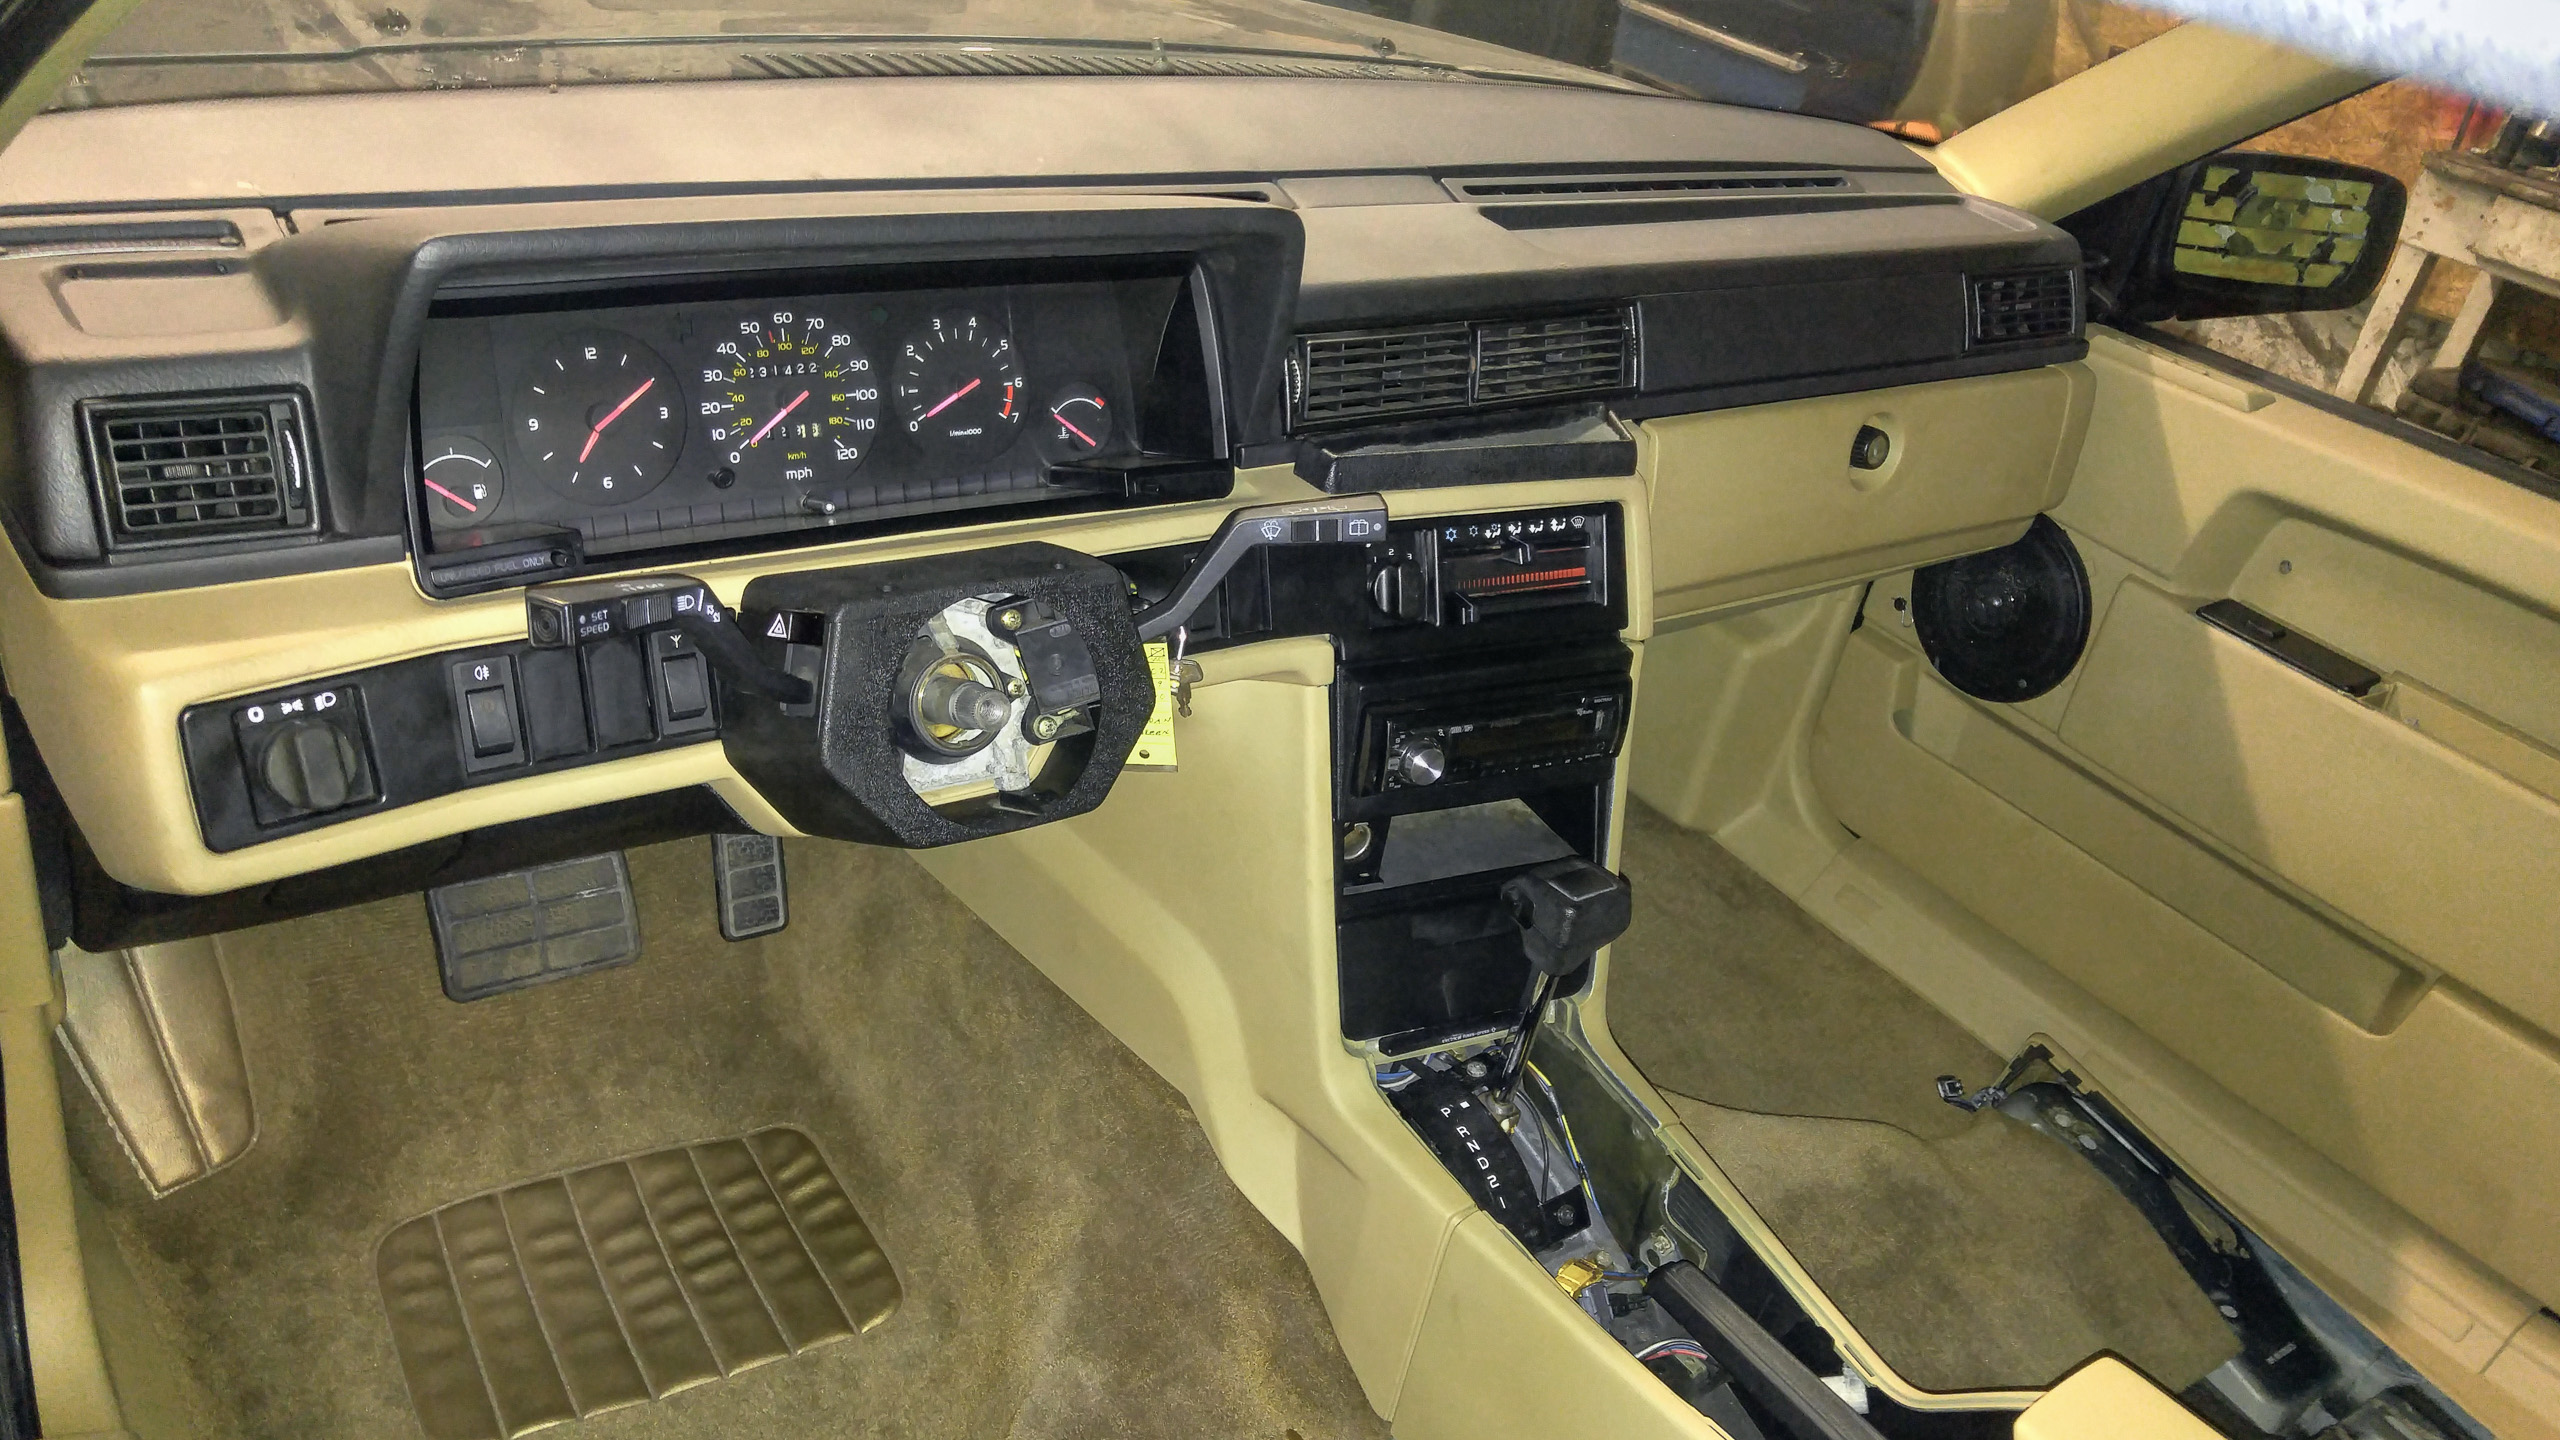
– Instrument/dash panel has a crack in middle, that needs to be solved.
– Dyna mat all the panels so they don’t rattle.
– Muffler needs to be re-done.
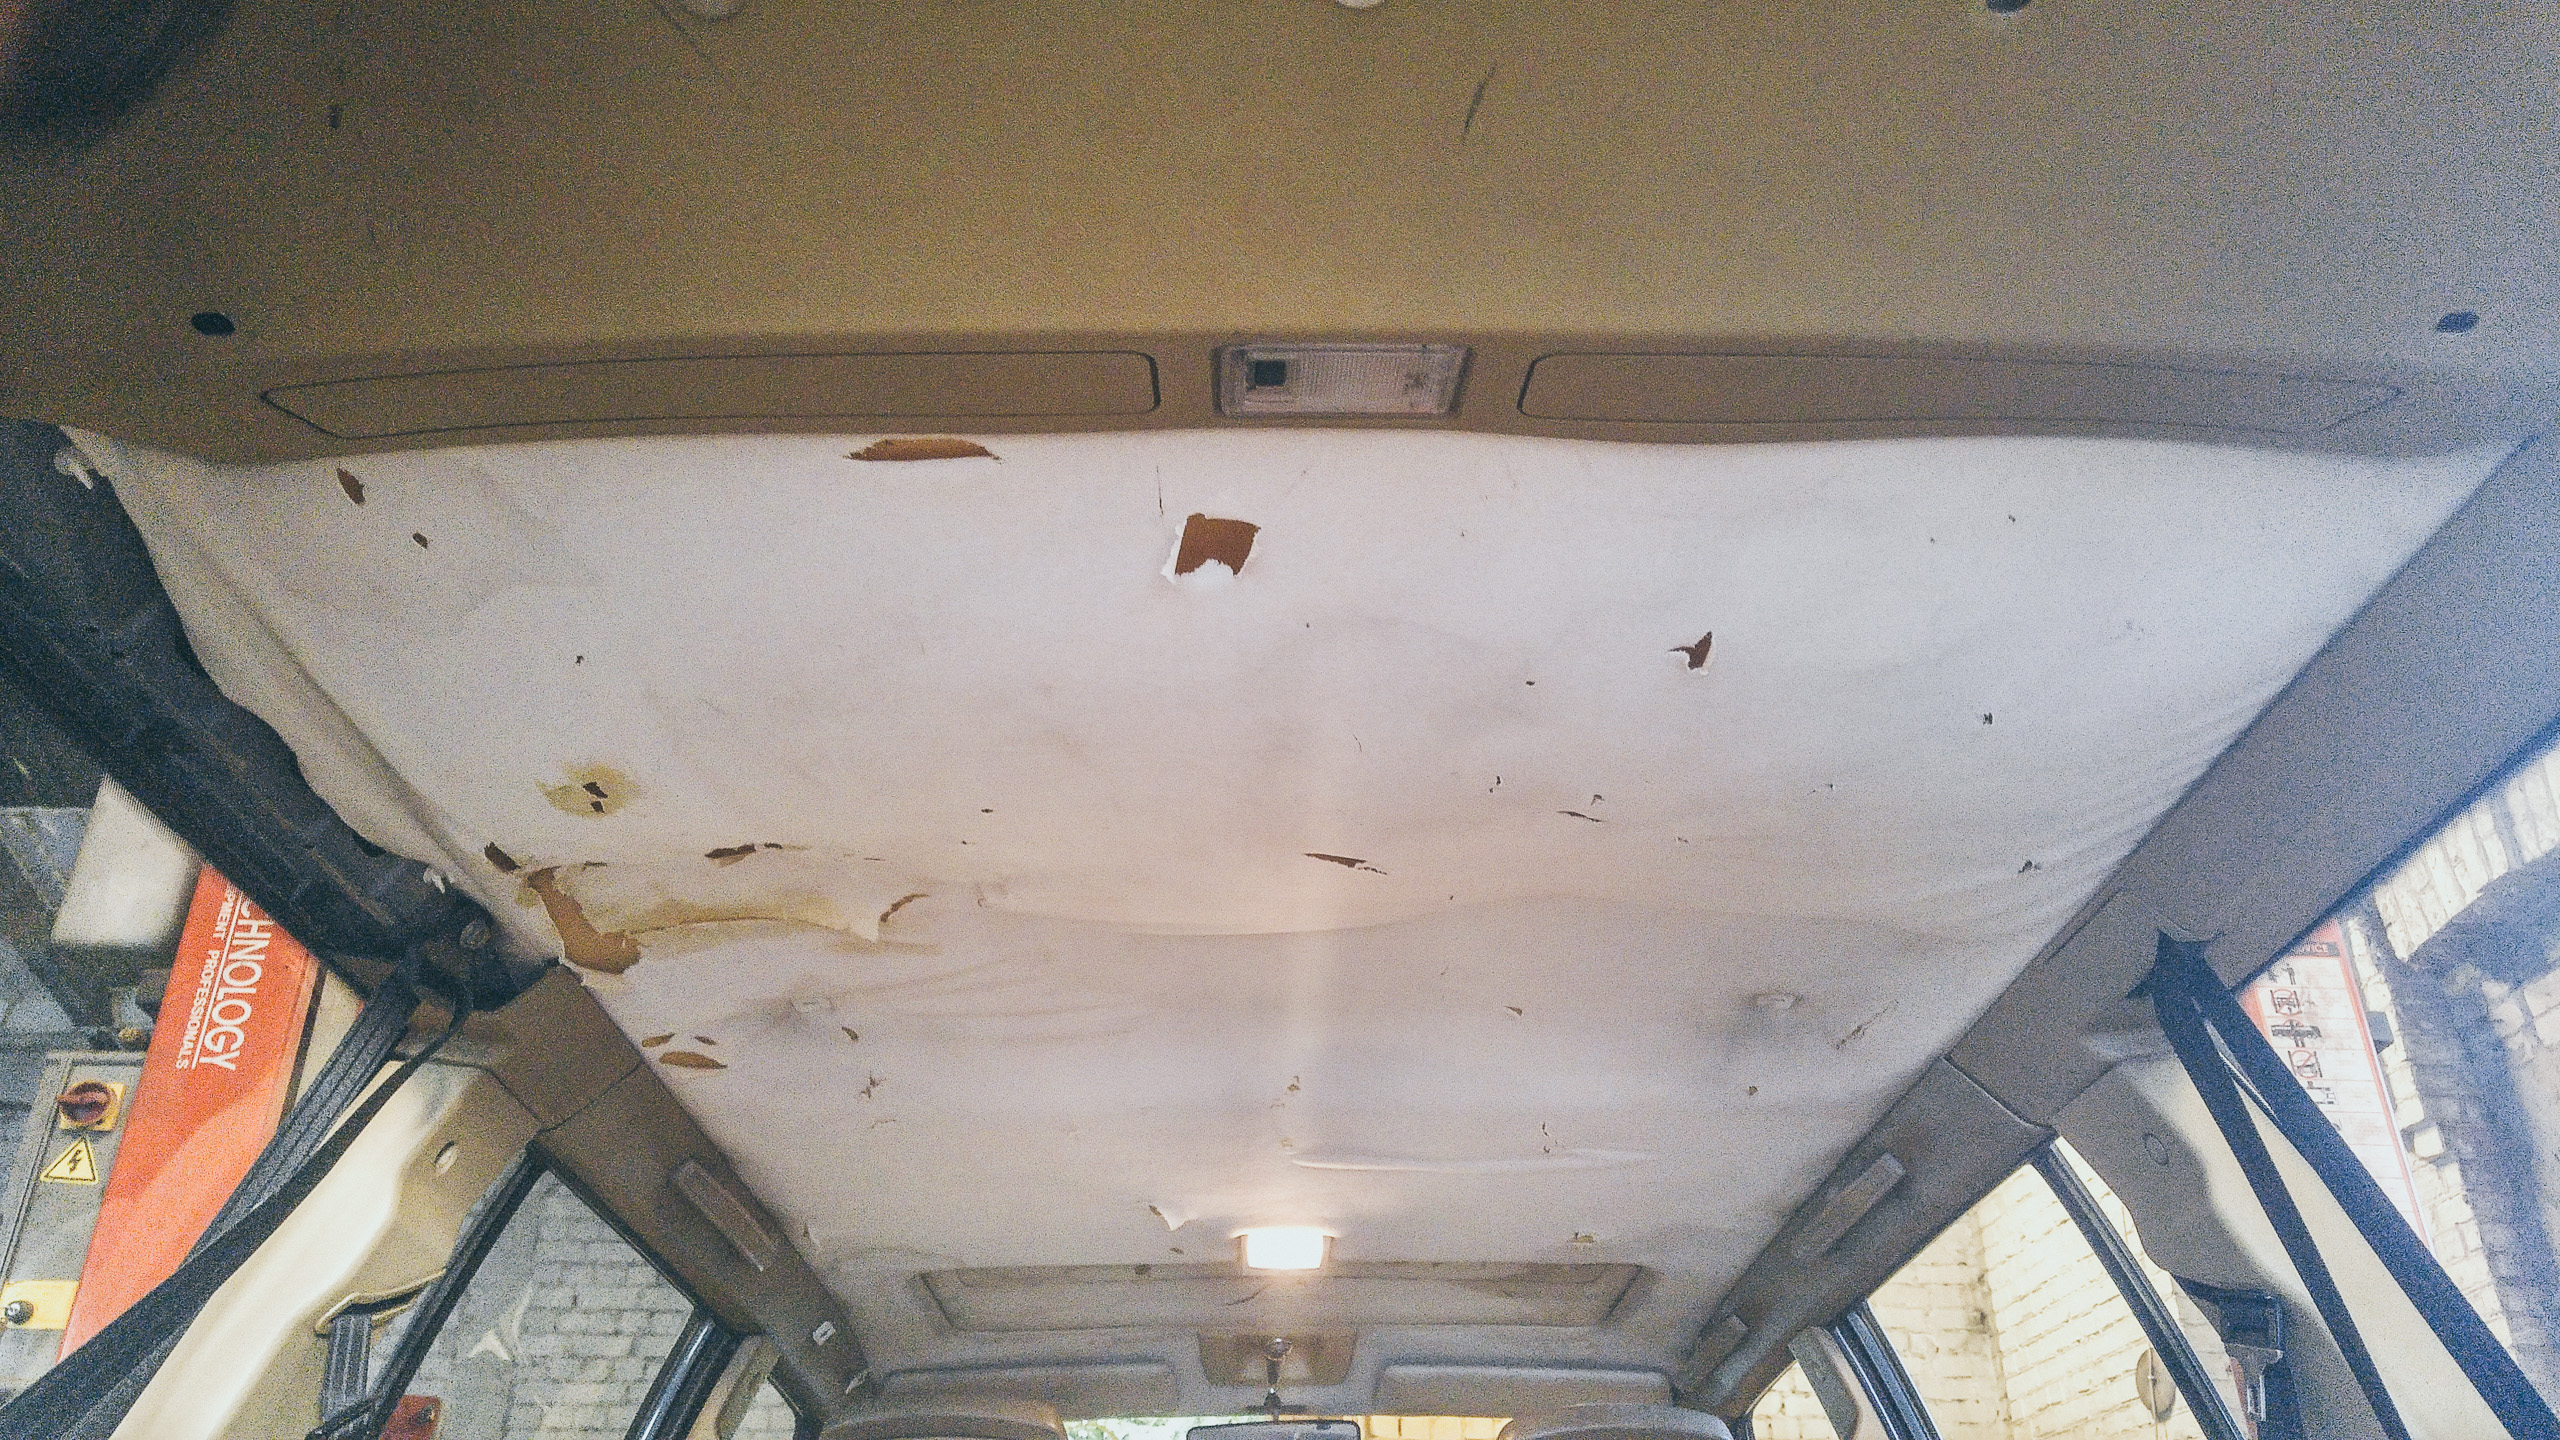
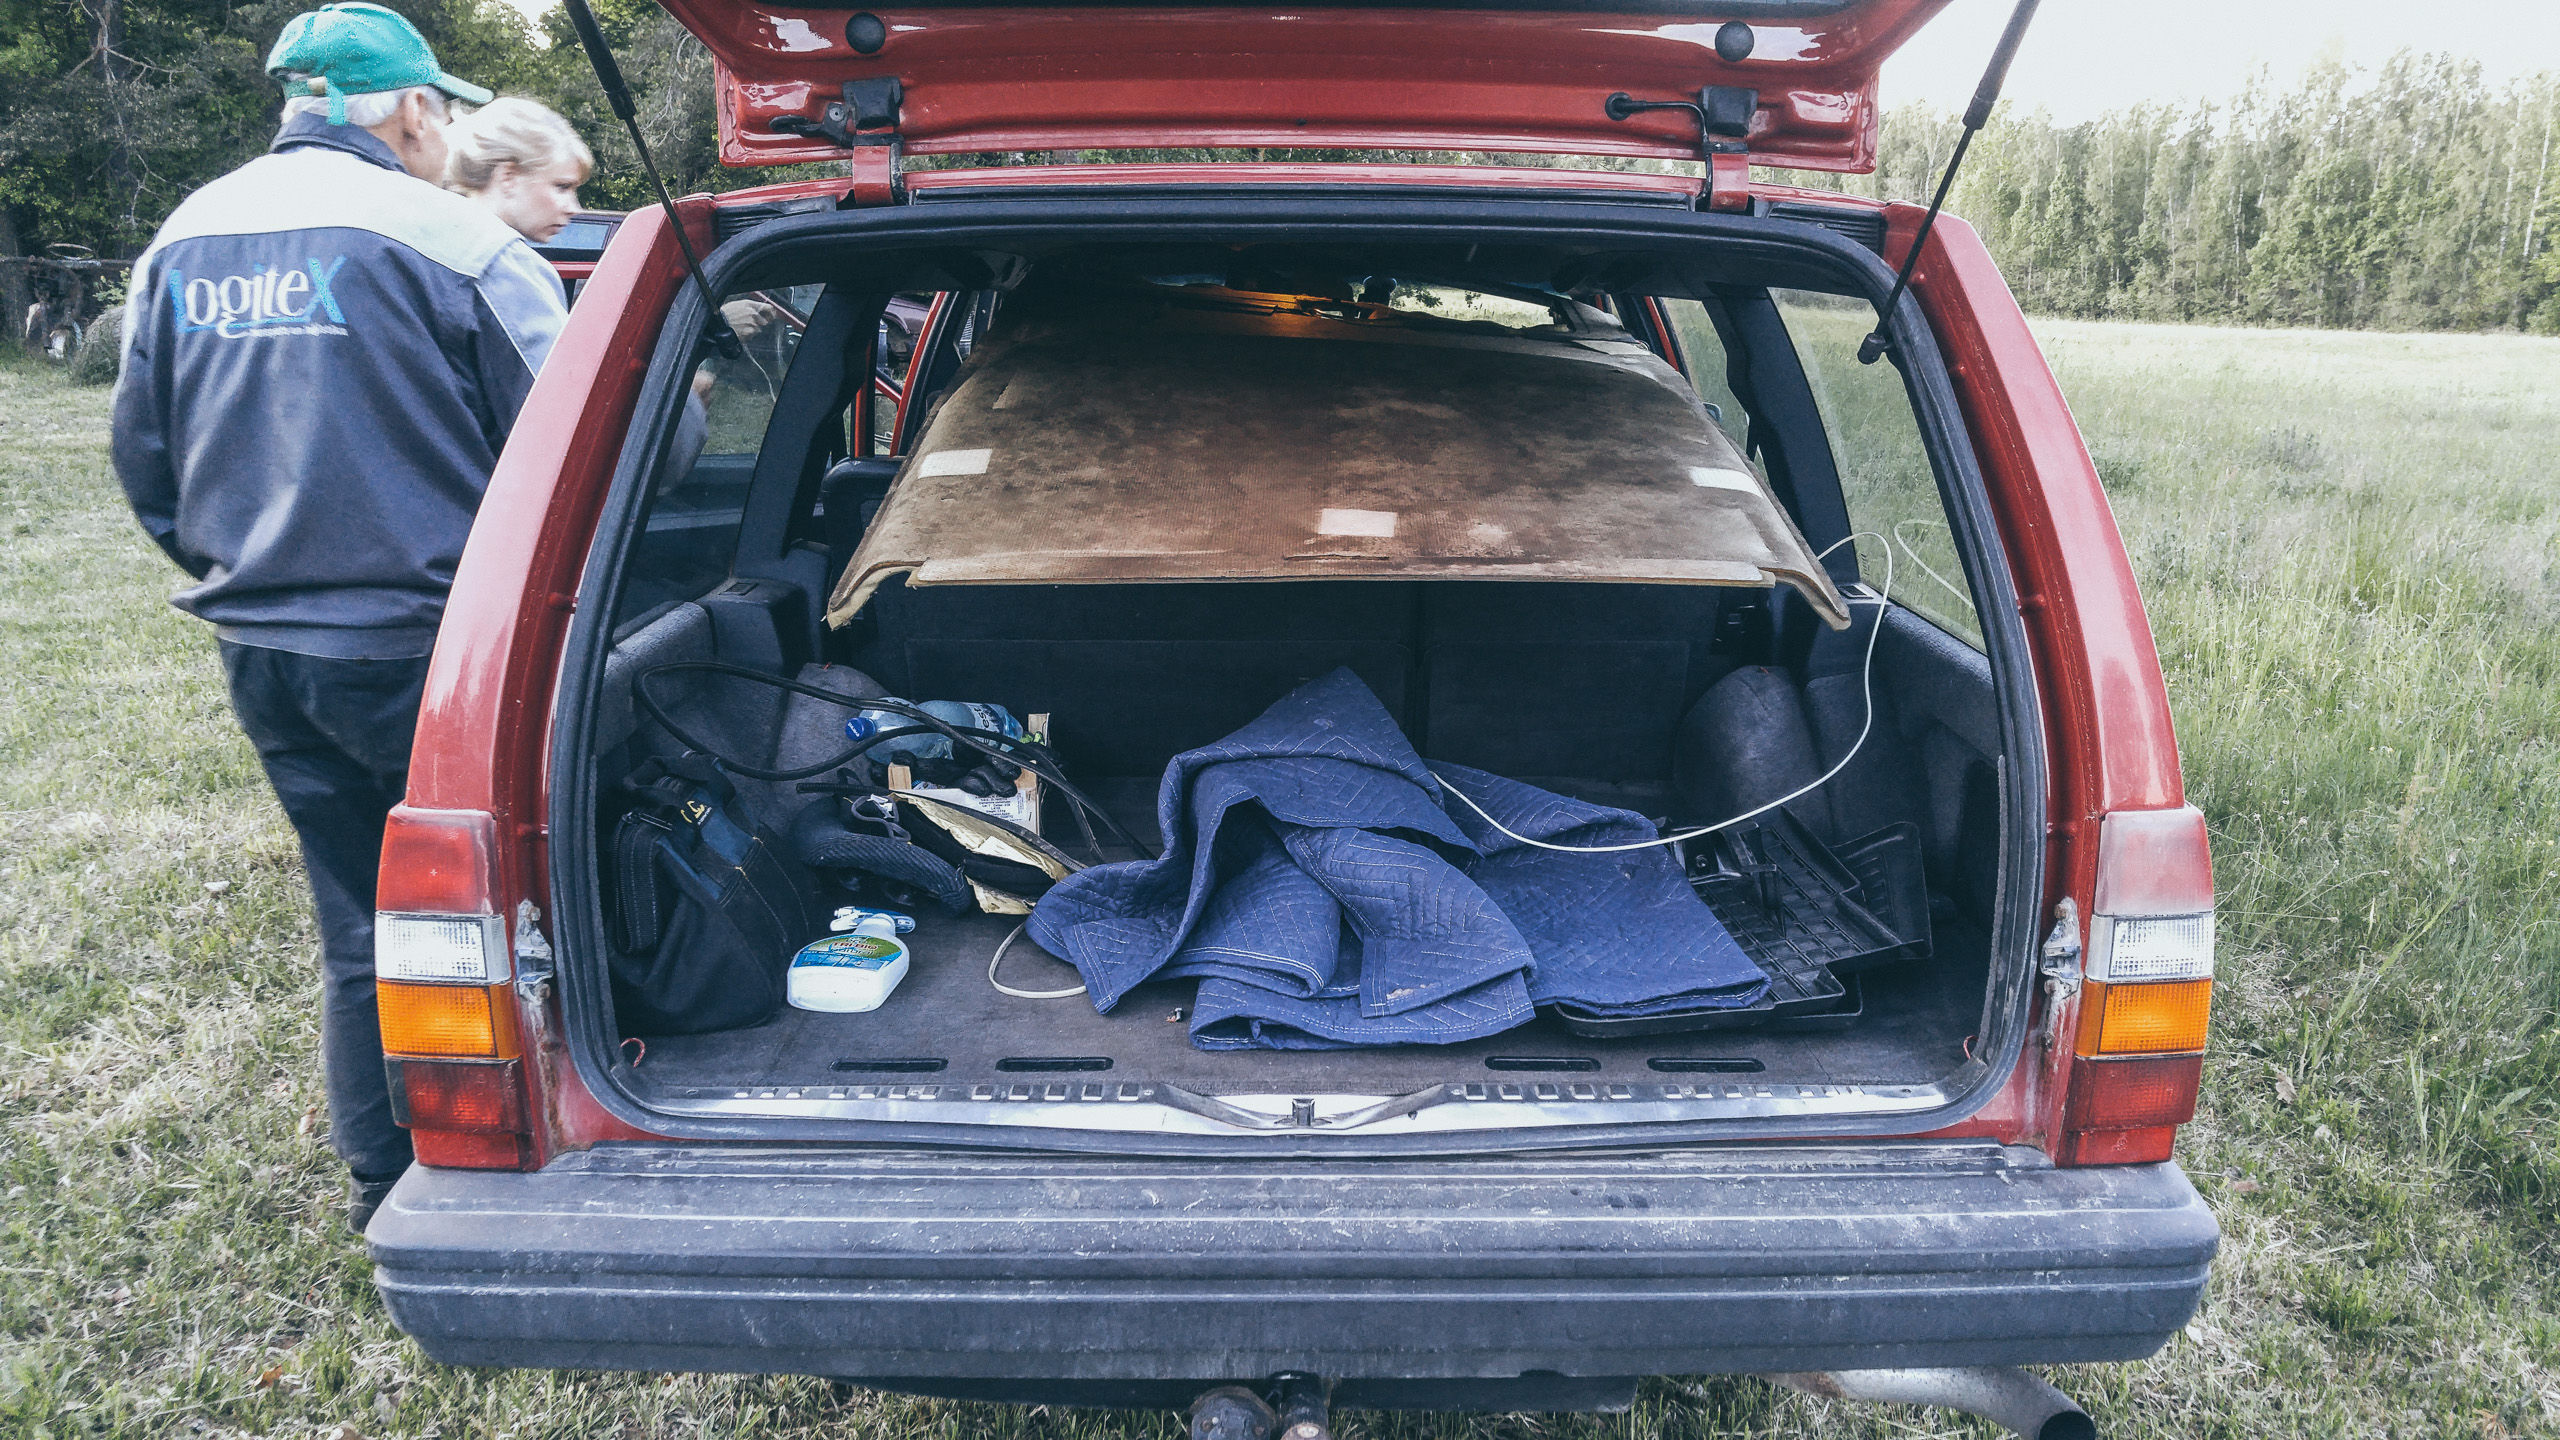
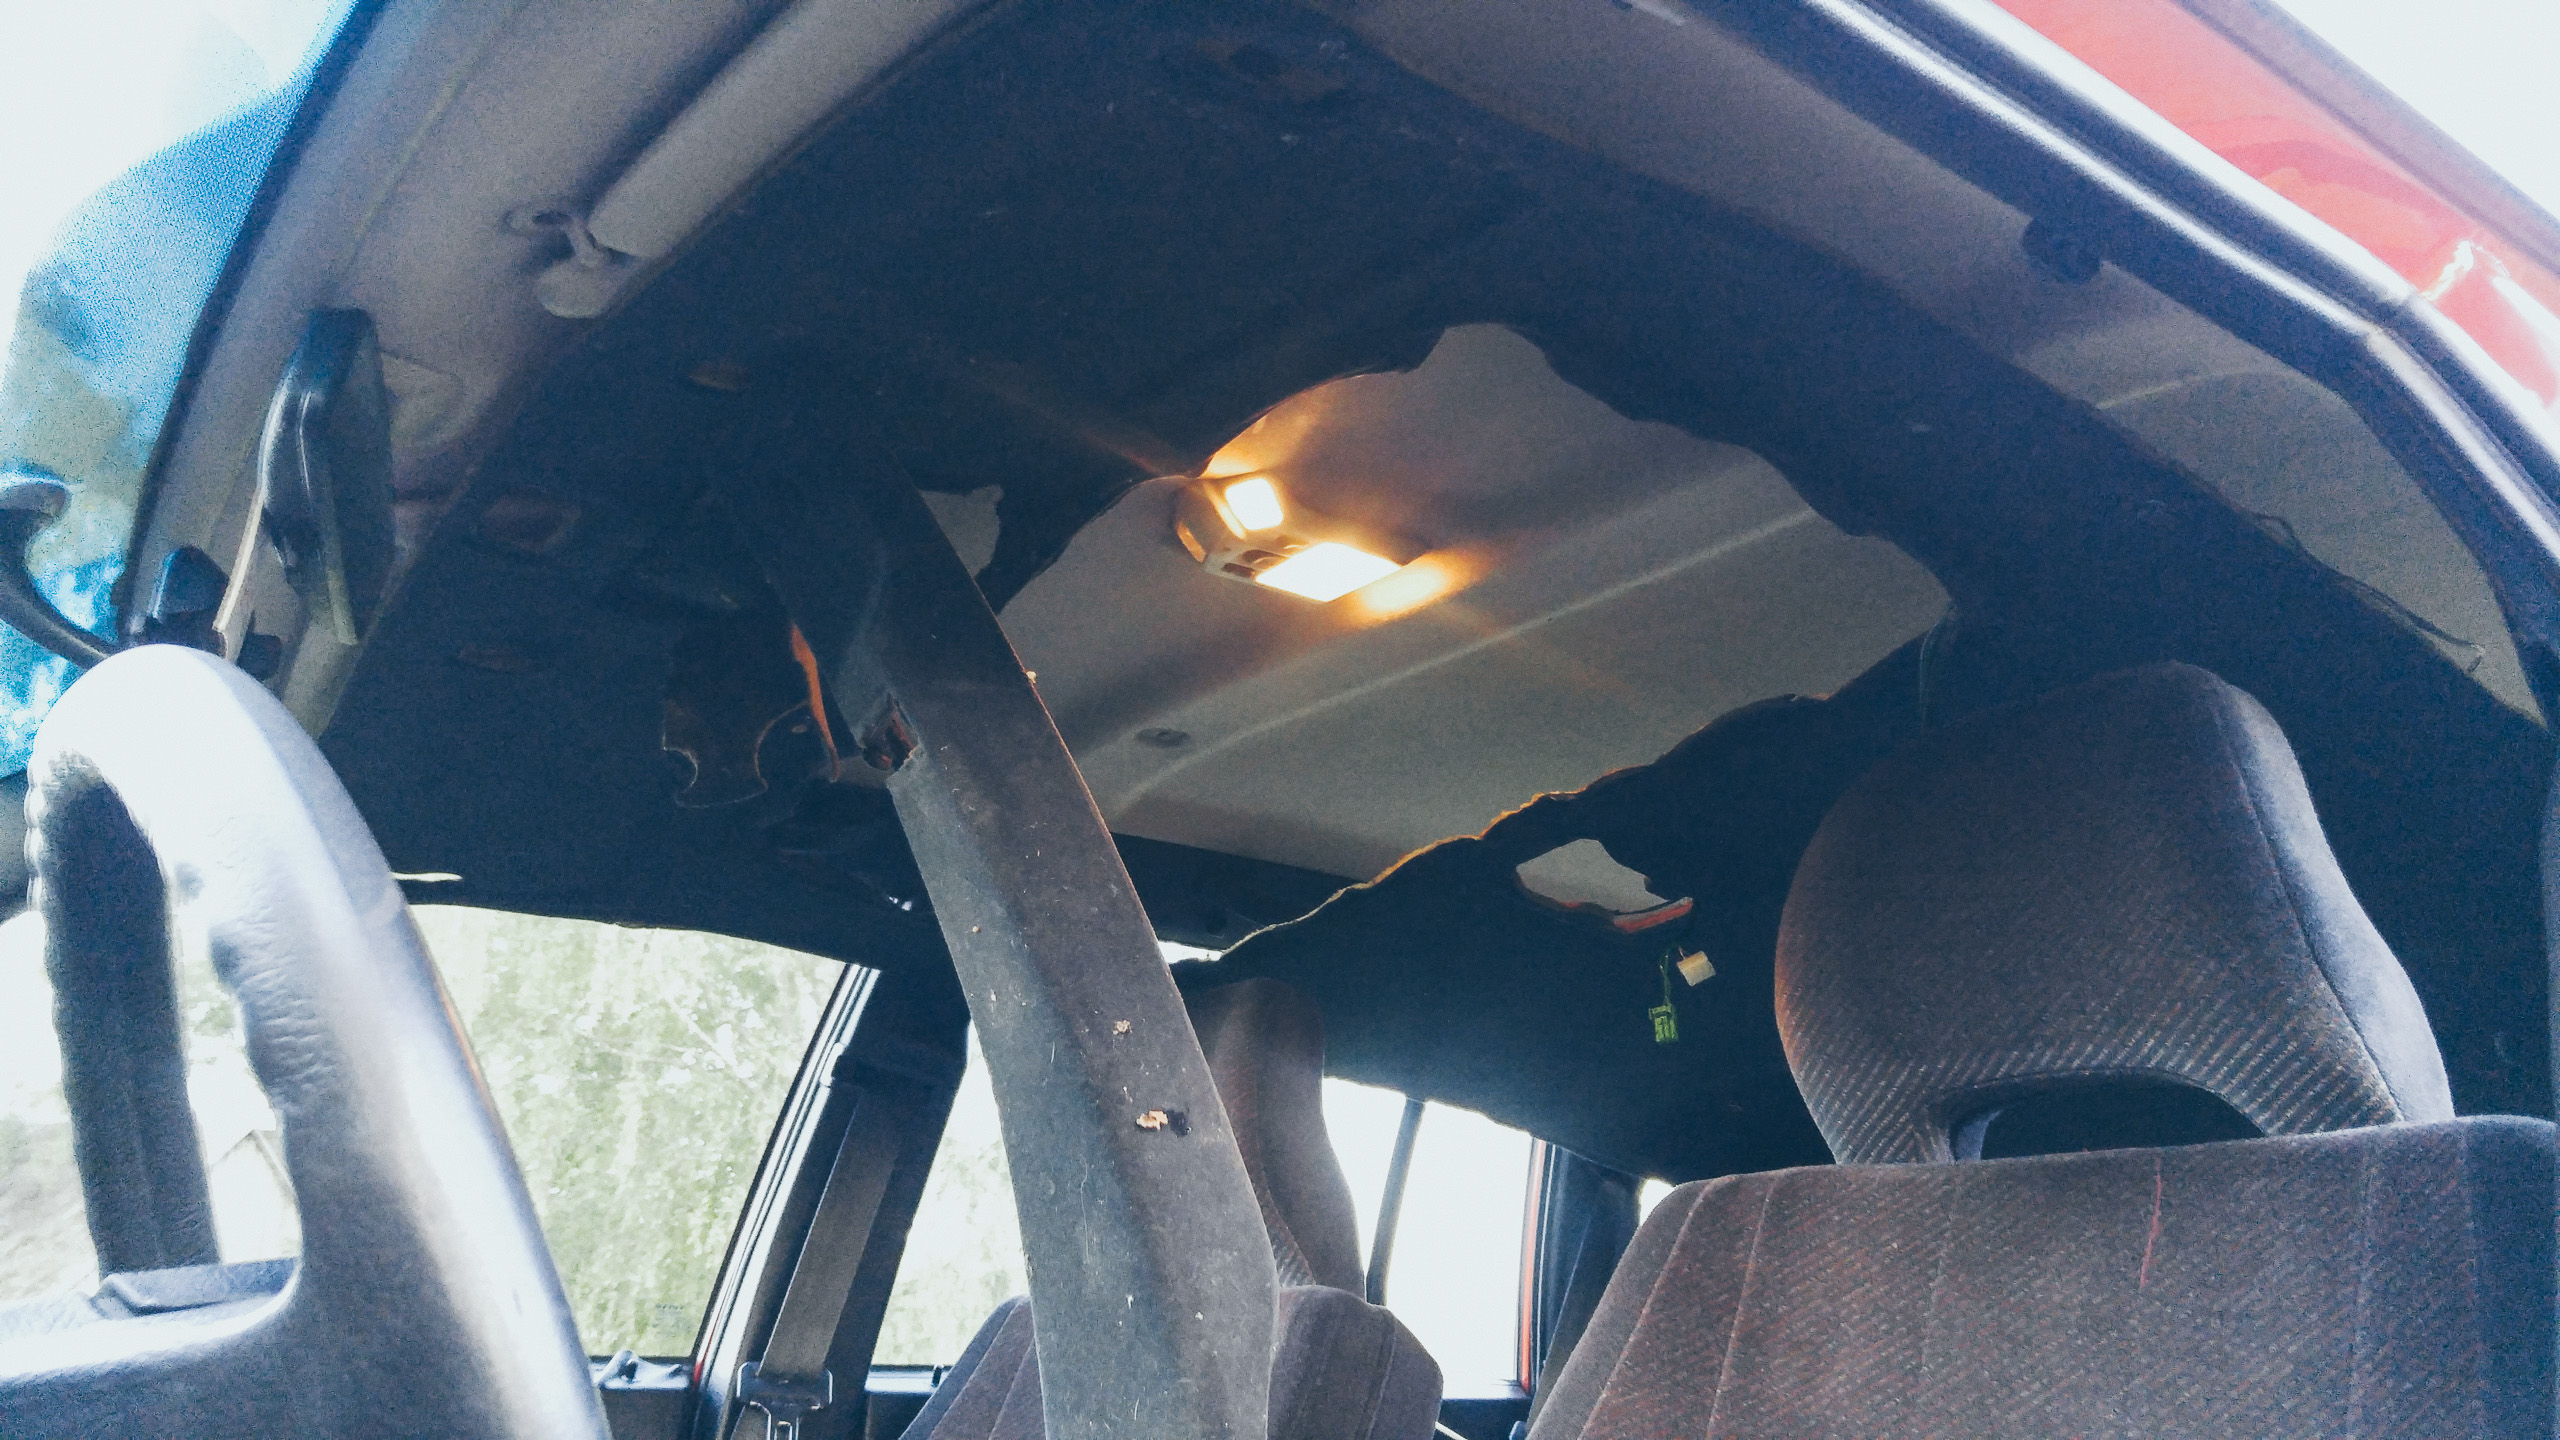
– Headliner was damaged from rain, need new one.
– Clean water drain pipes from sun roof.
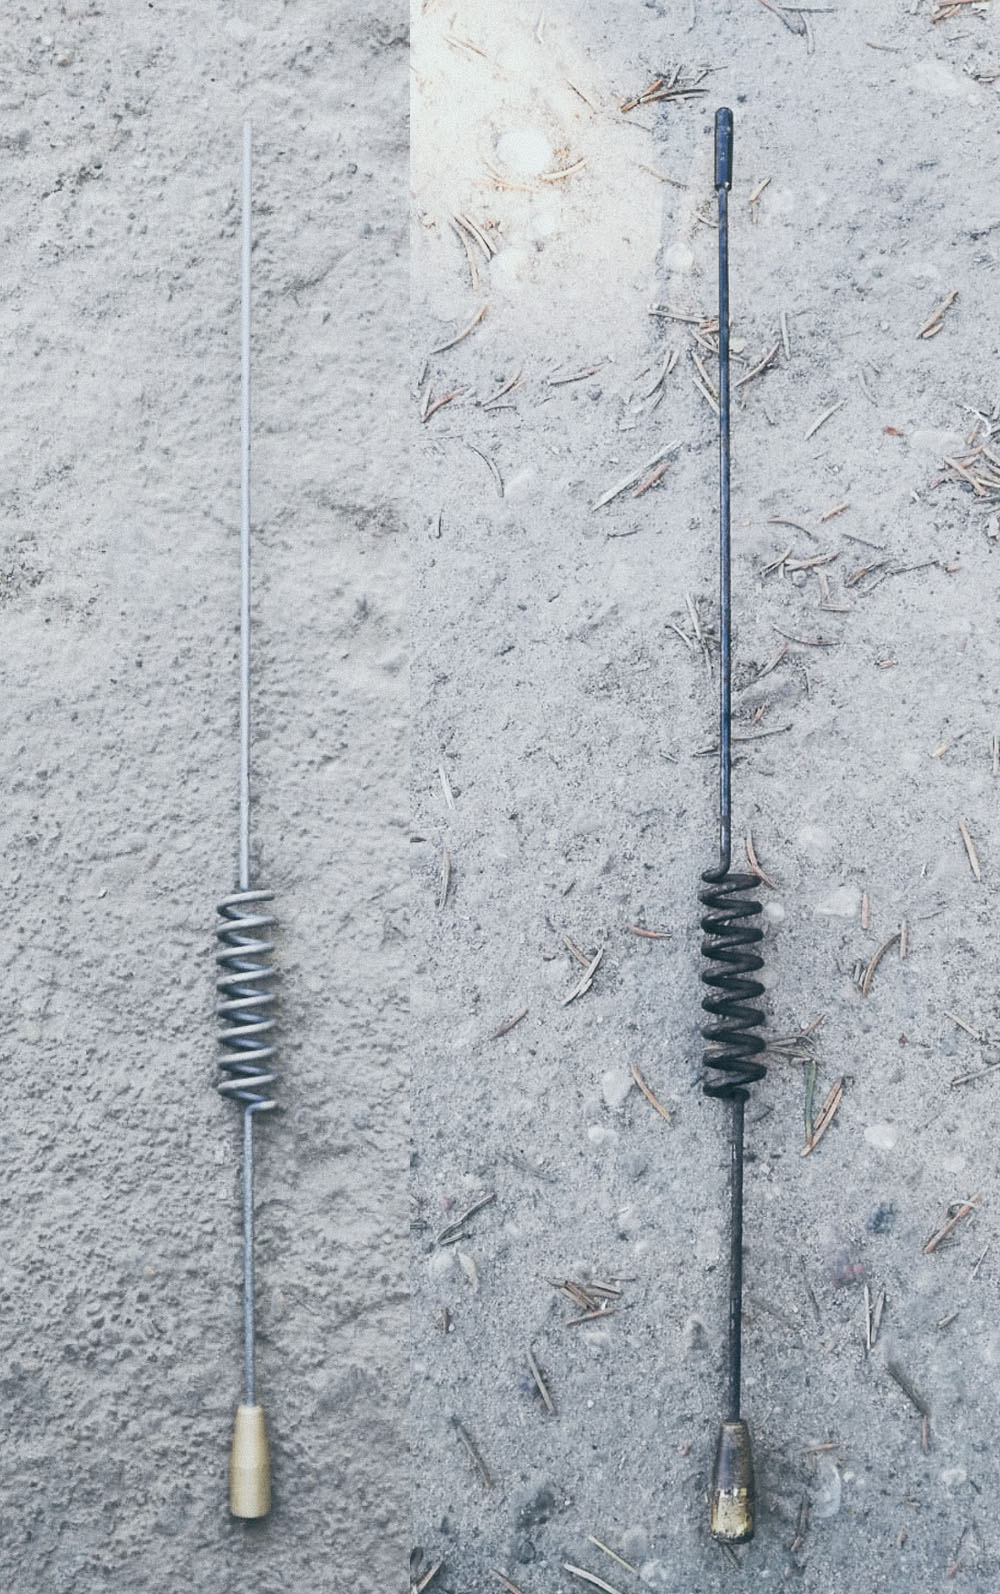
– Radio antenna brought back to stock and clean
– Clean all parts.
– All new rubber hoses.
– New brake lines and brakes…
– Much much more ….


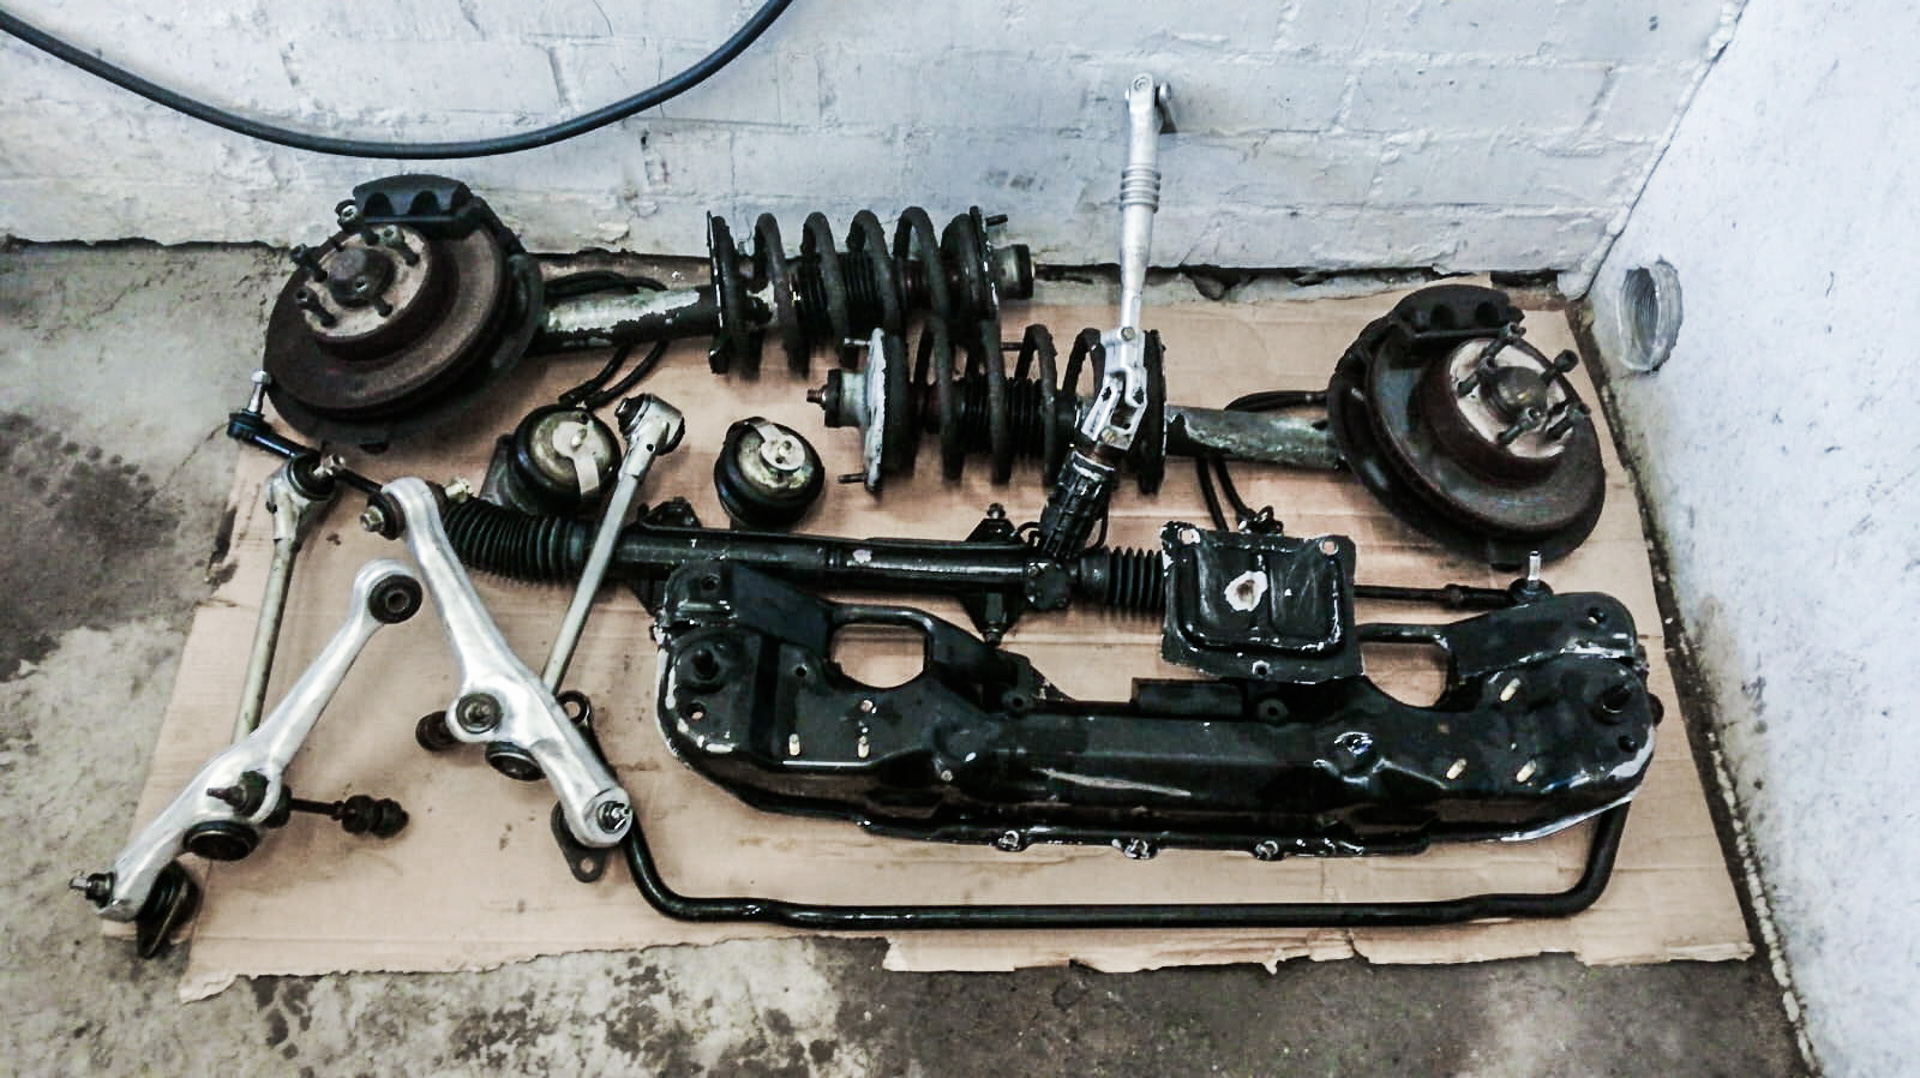

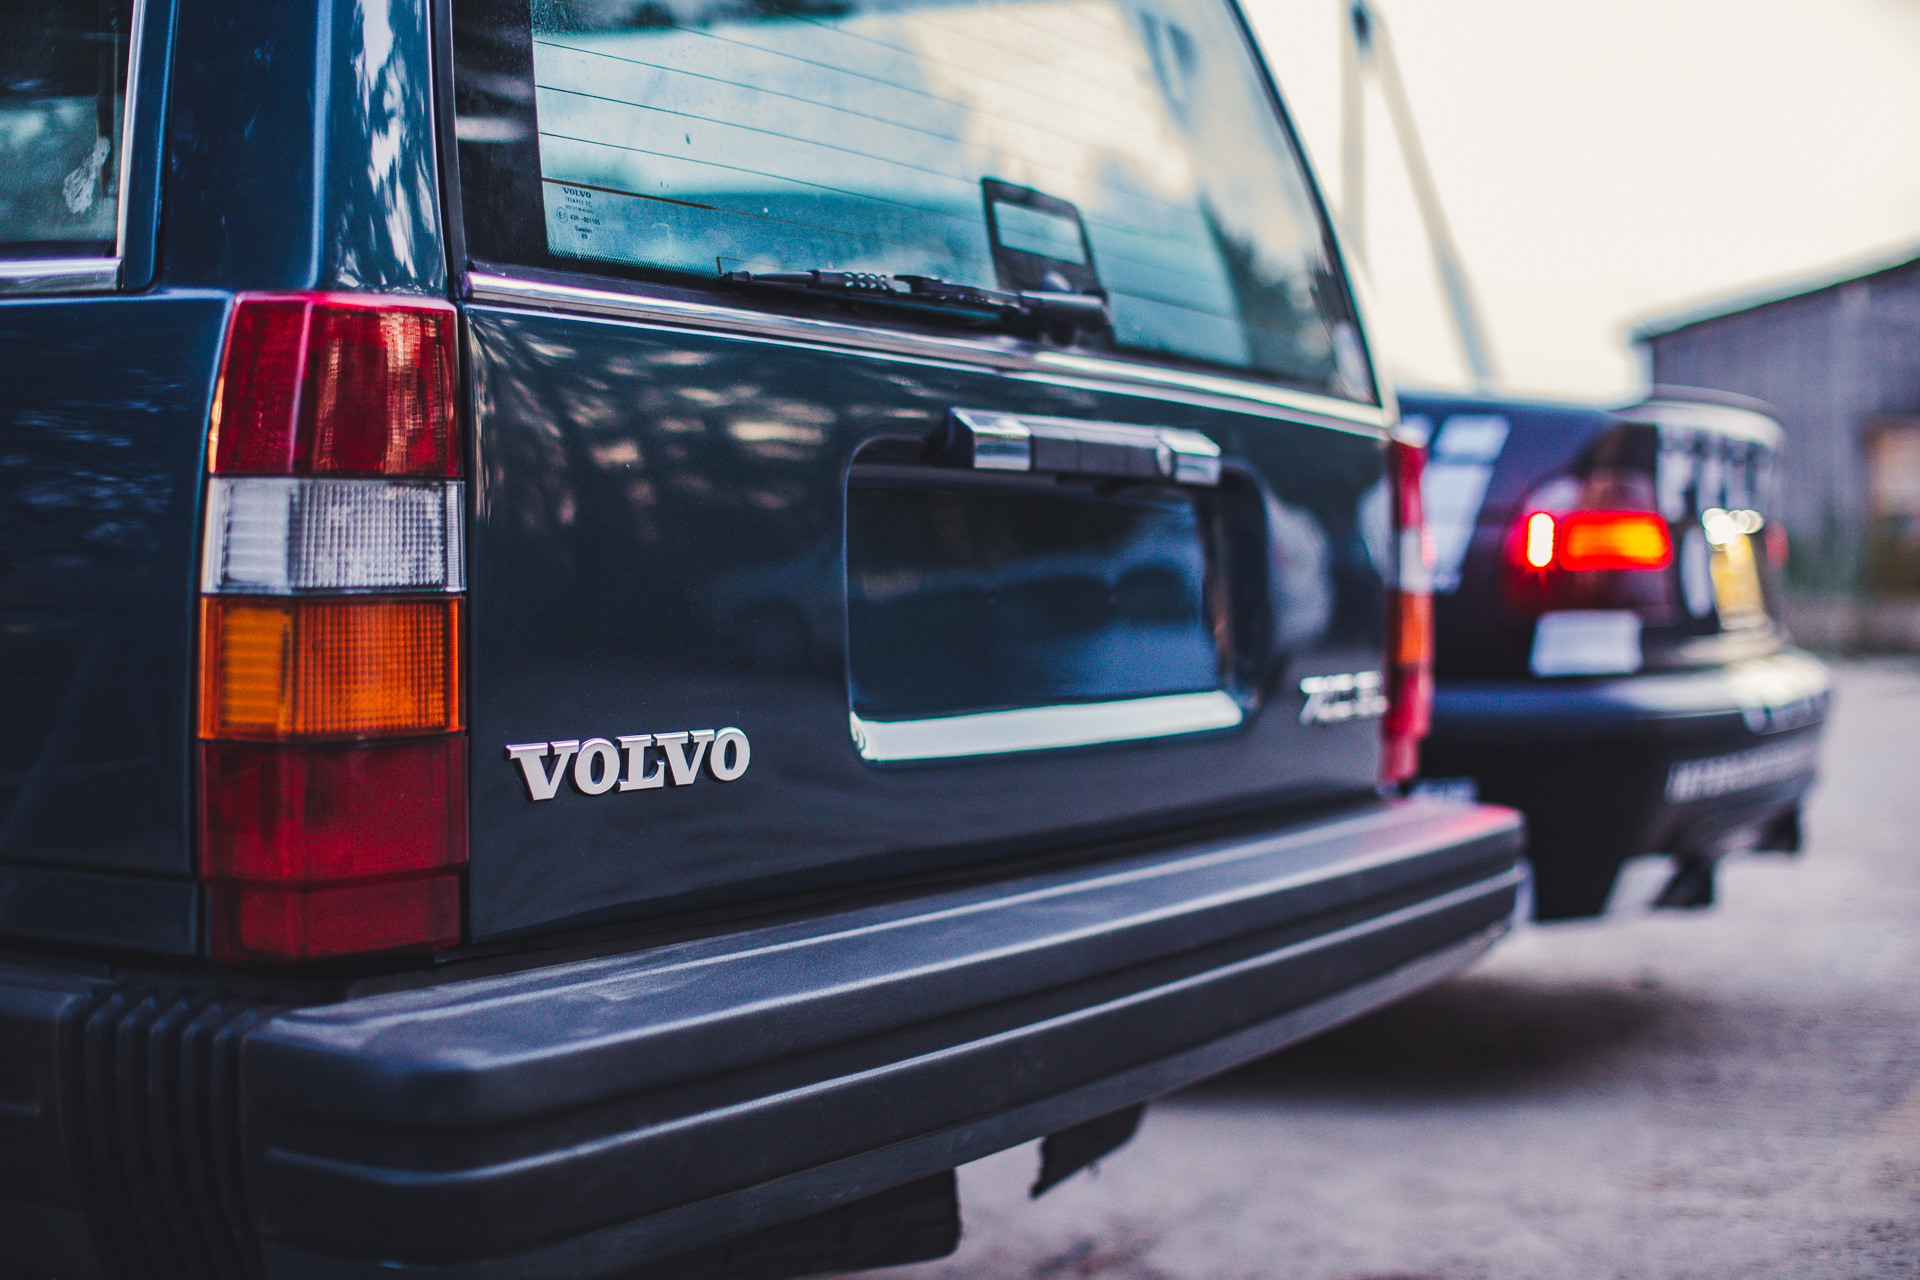
last shot are all together.

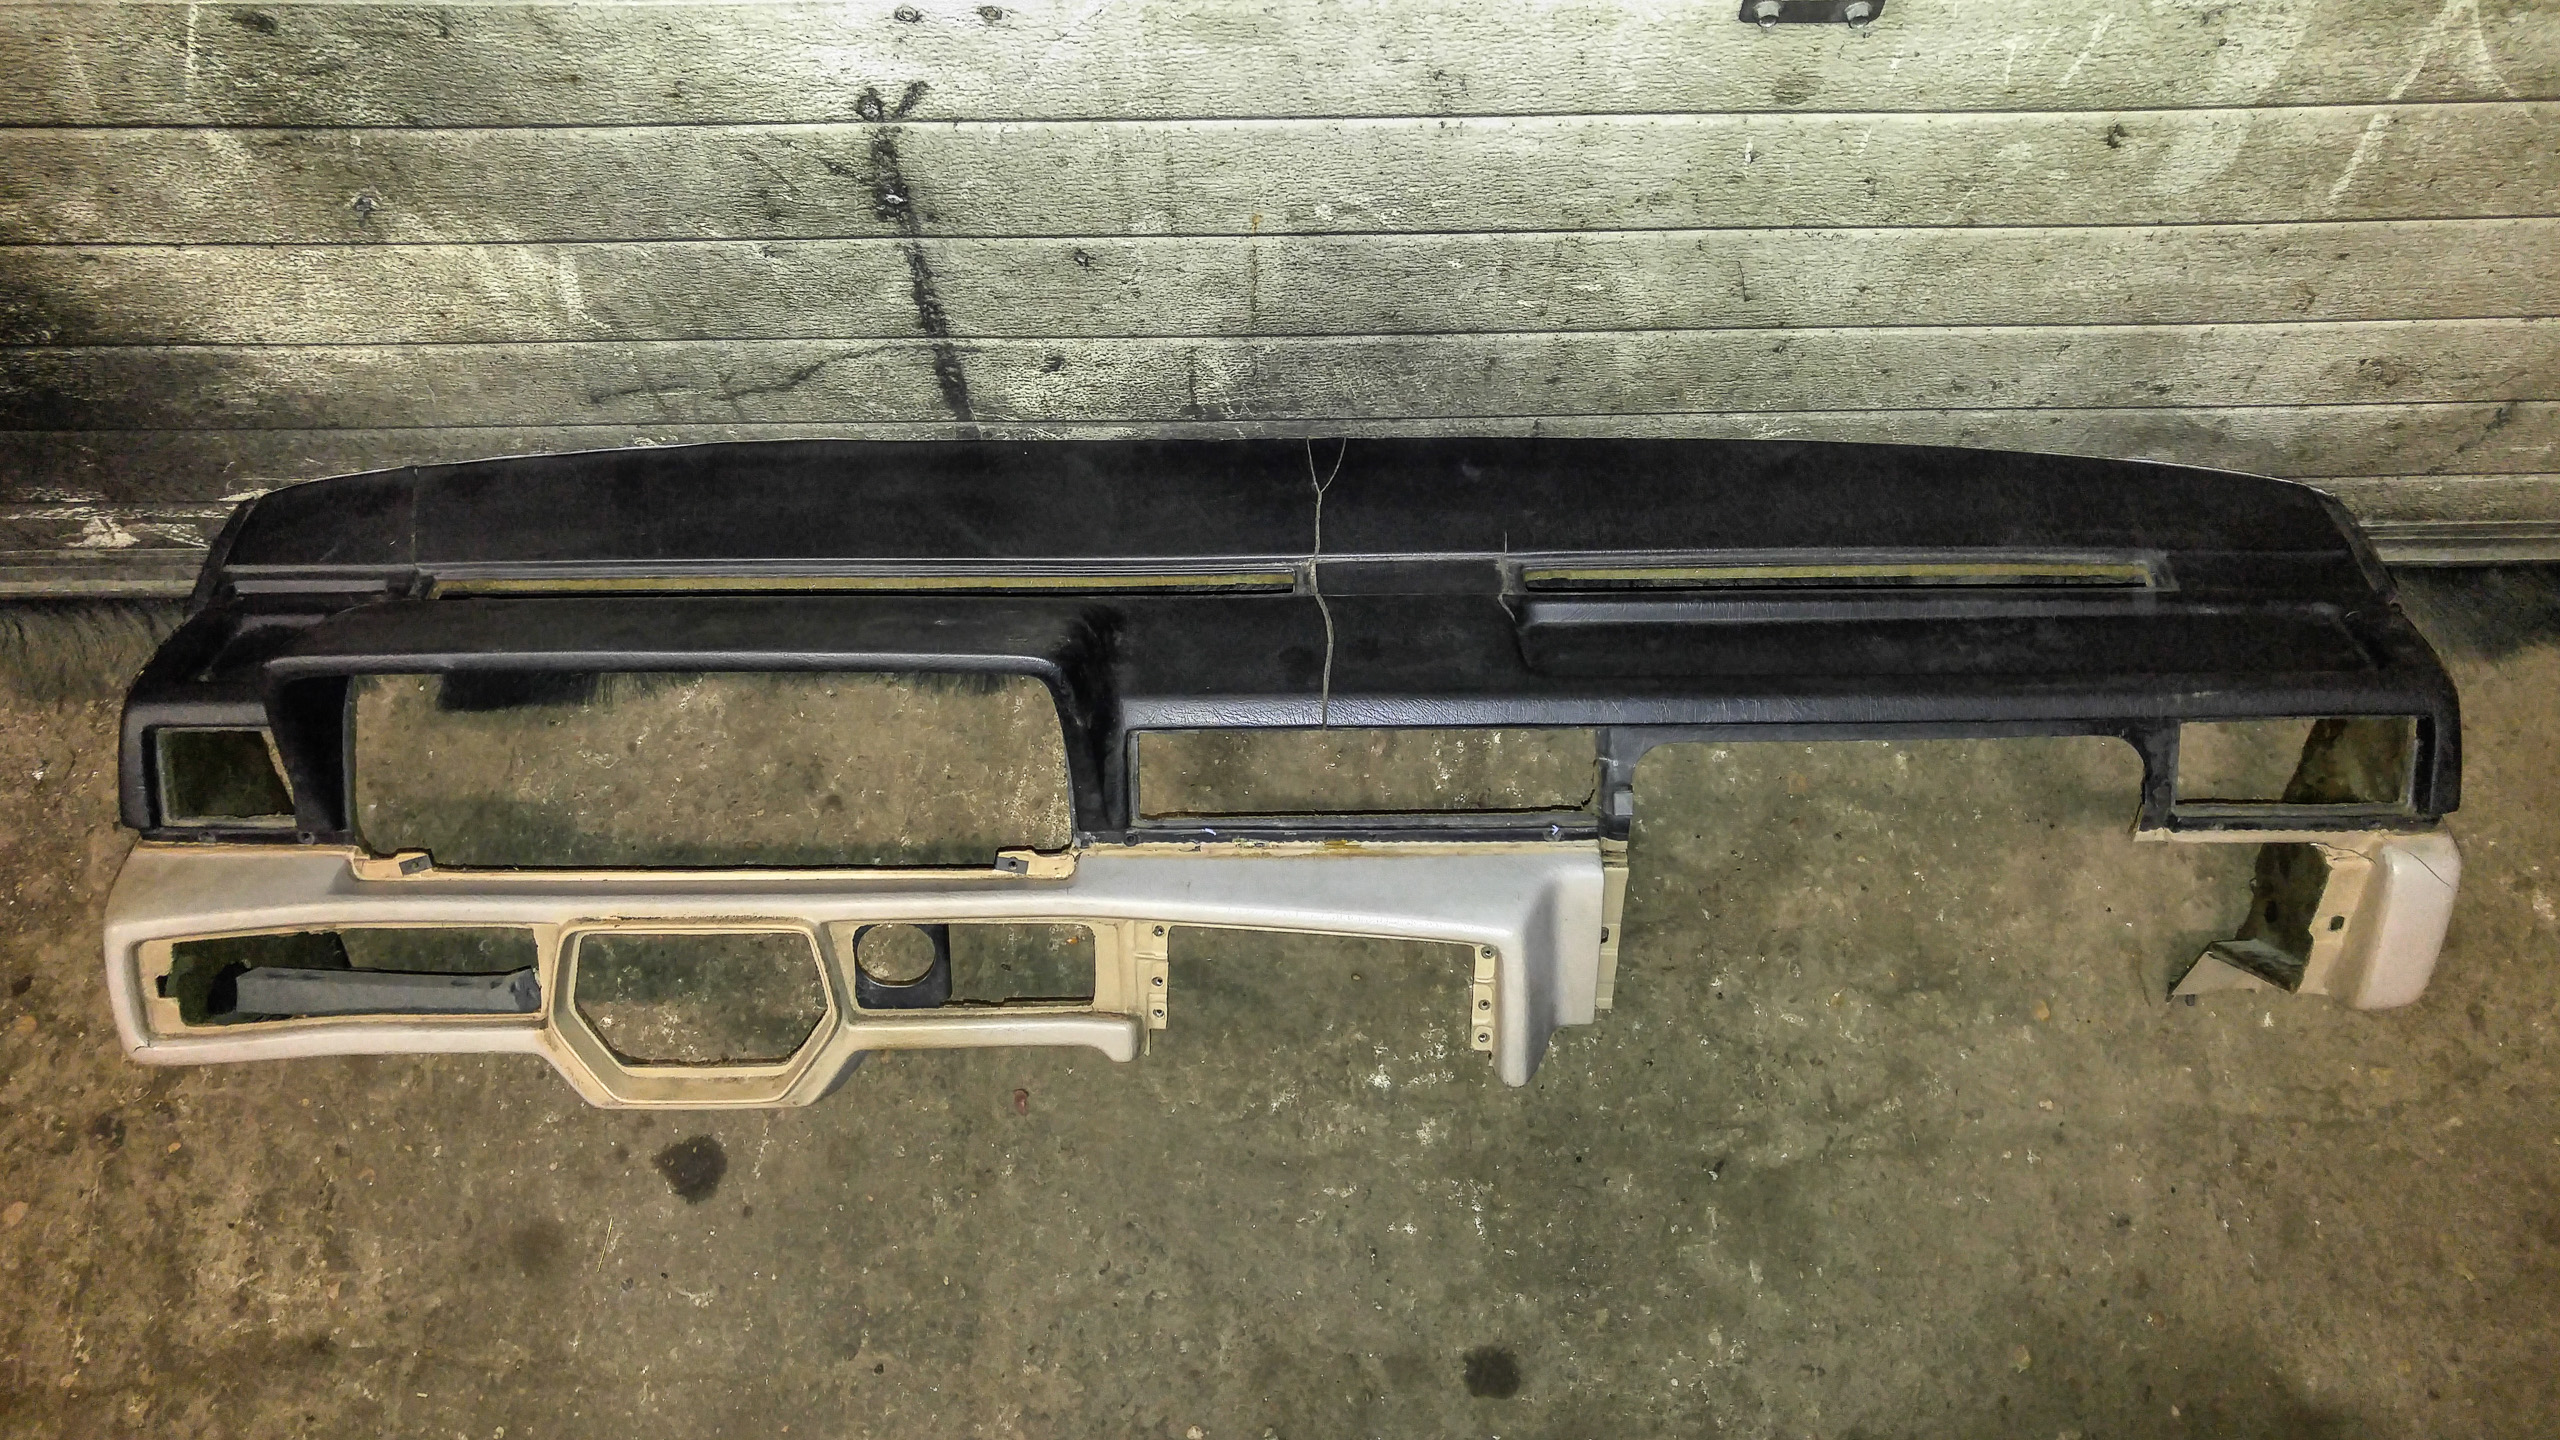
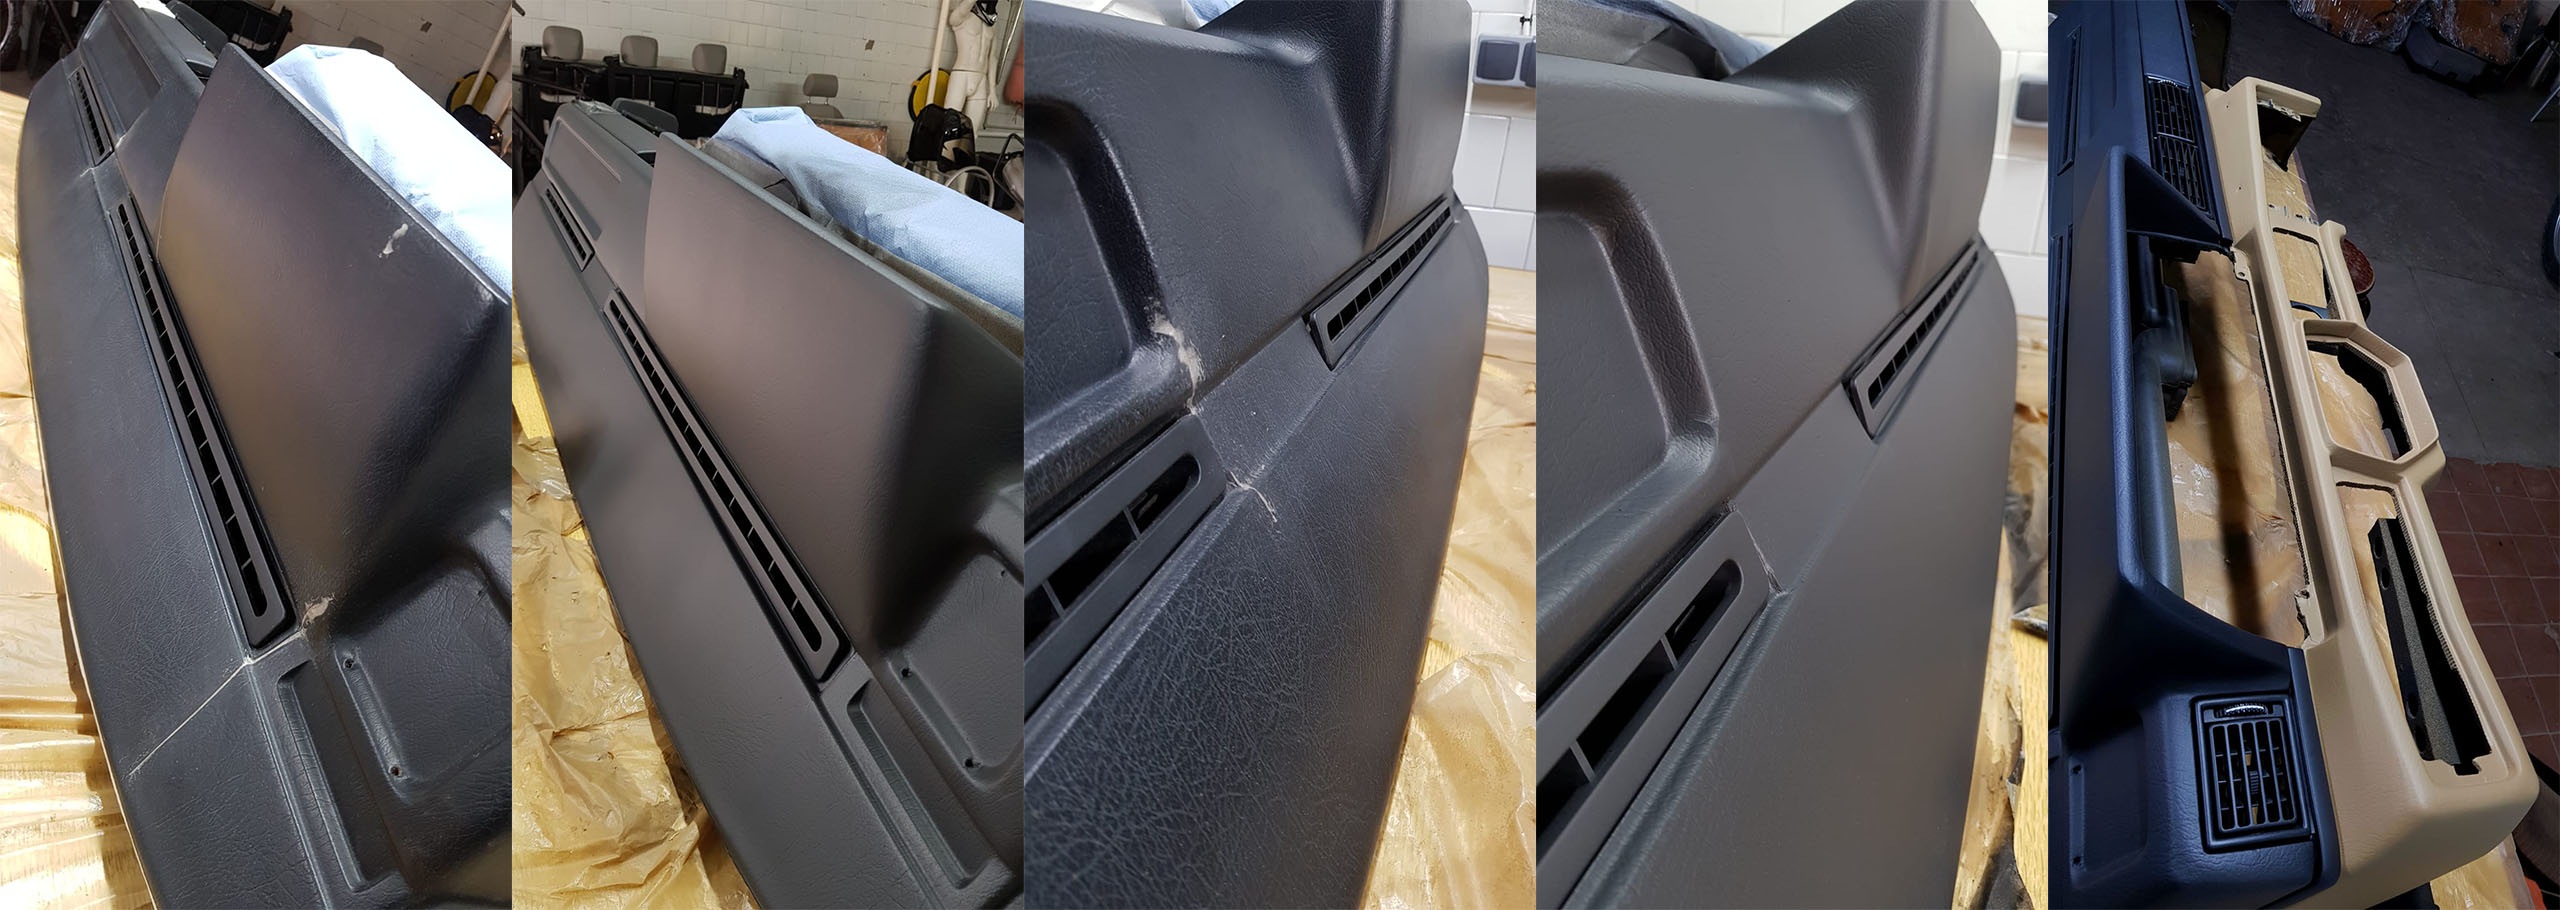
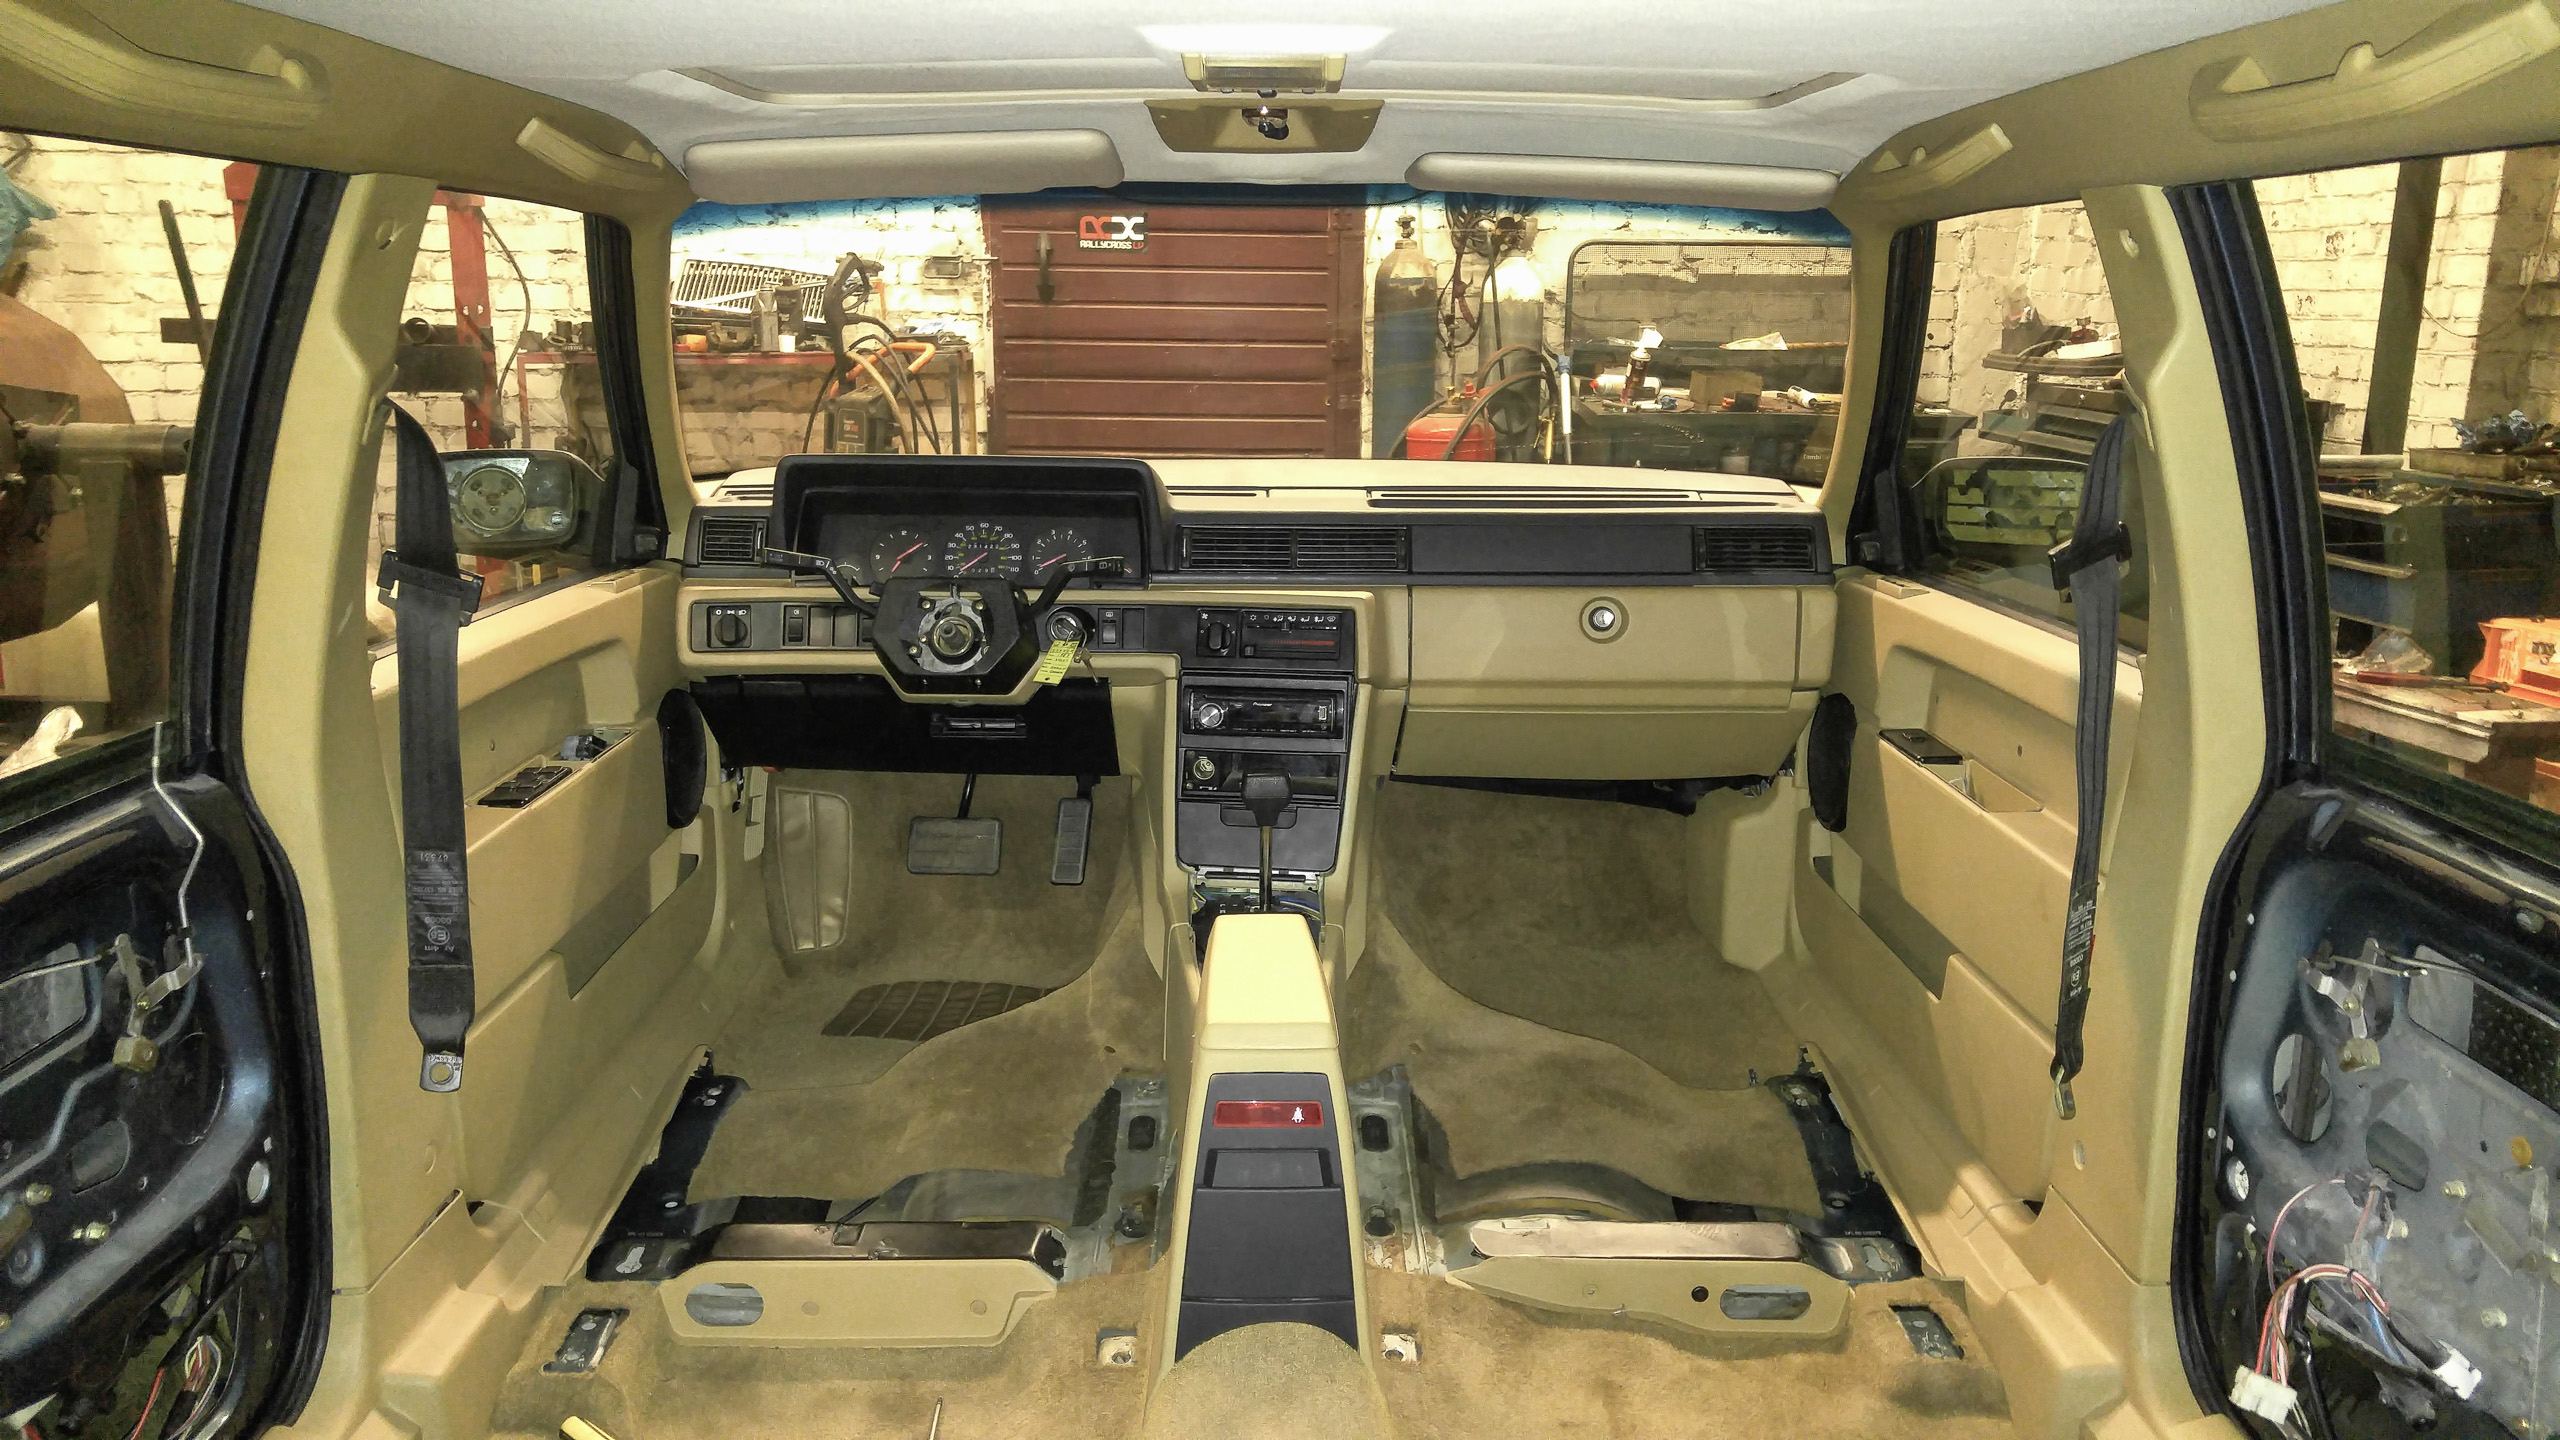
There is a ton of work in the details. The devil is in the details. I have major resistance with the interior, so many parts broken and need to be replaced and the beige interior plastics being are weaker than the dark interior plastics, the dark interior plastics from another car, which are in much better shape will be repainted in beige.
I also found an instrument panel repair guy, who will fix the cracks in the instrument panel.
The beige interiors are real rare compared to blue or black here in Europe. The seat fabric on this Volvo is real hard to find. I have been searching for interior fabric since 2018 summer, it is now February. It is extremely hard to find the fabric. I called SMS Fabrics in United States and they sent numerous samples but nothing matches correctly to the original fabric. I think I got stuck with a special interior that no one really has since I have not been able to find another Volvo with same exact interior fabrics. VP-Autoparts.se in Sweden managed to locate the closest match, but it is the fabric used below the seat cushions, not on top, it’s from the ‘cheap’ part of the seat, not usually visible, and not a perfect match. I am starting to give up and looking at doing marine grade pleather for the seats.
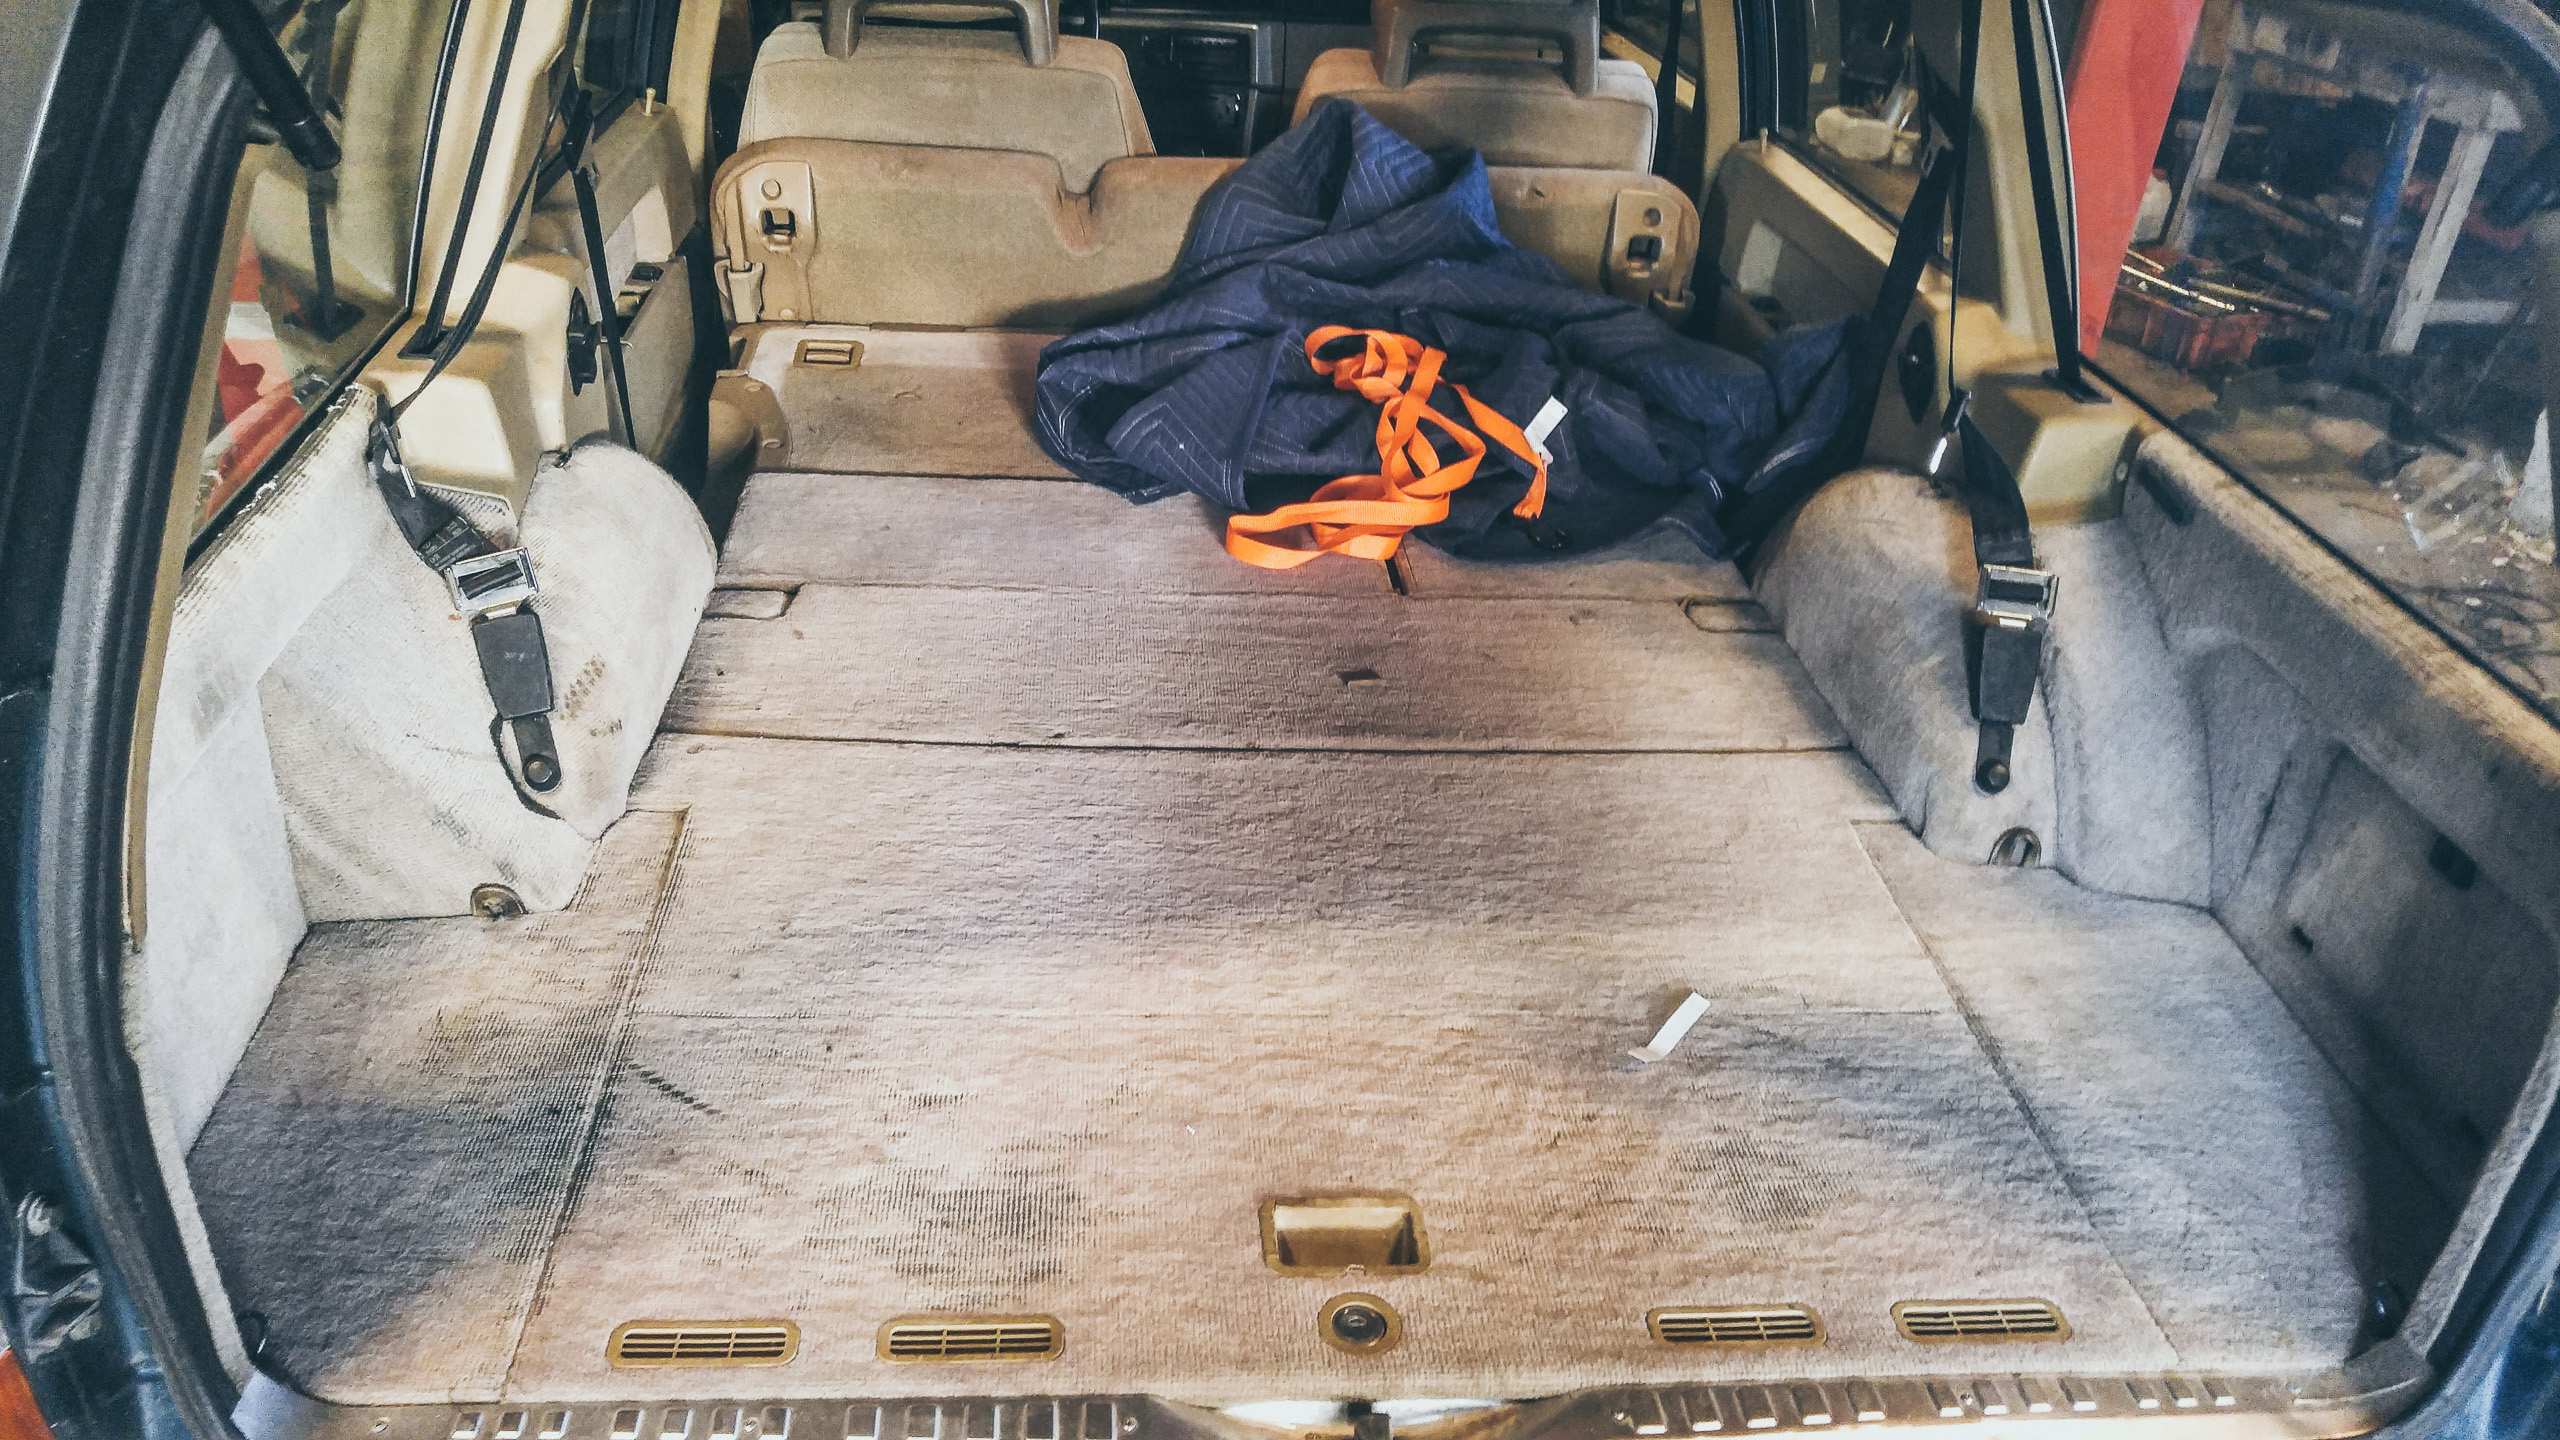
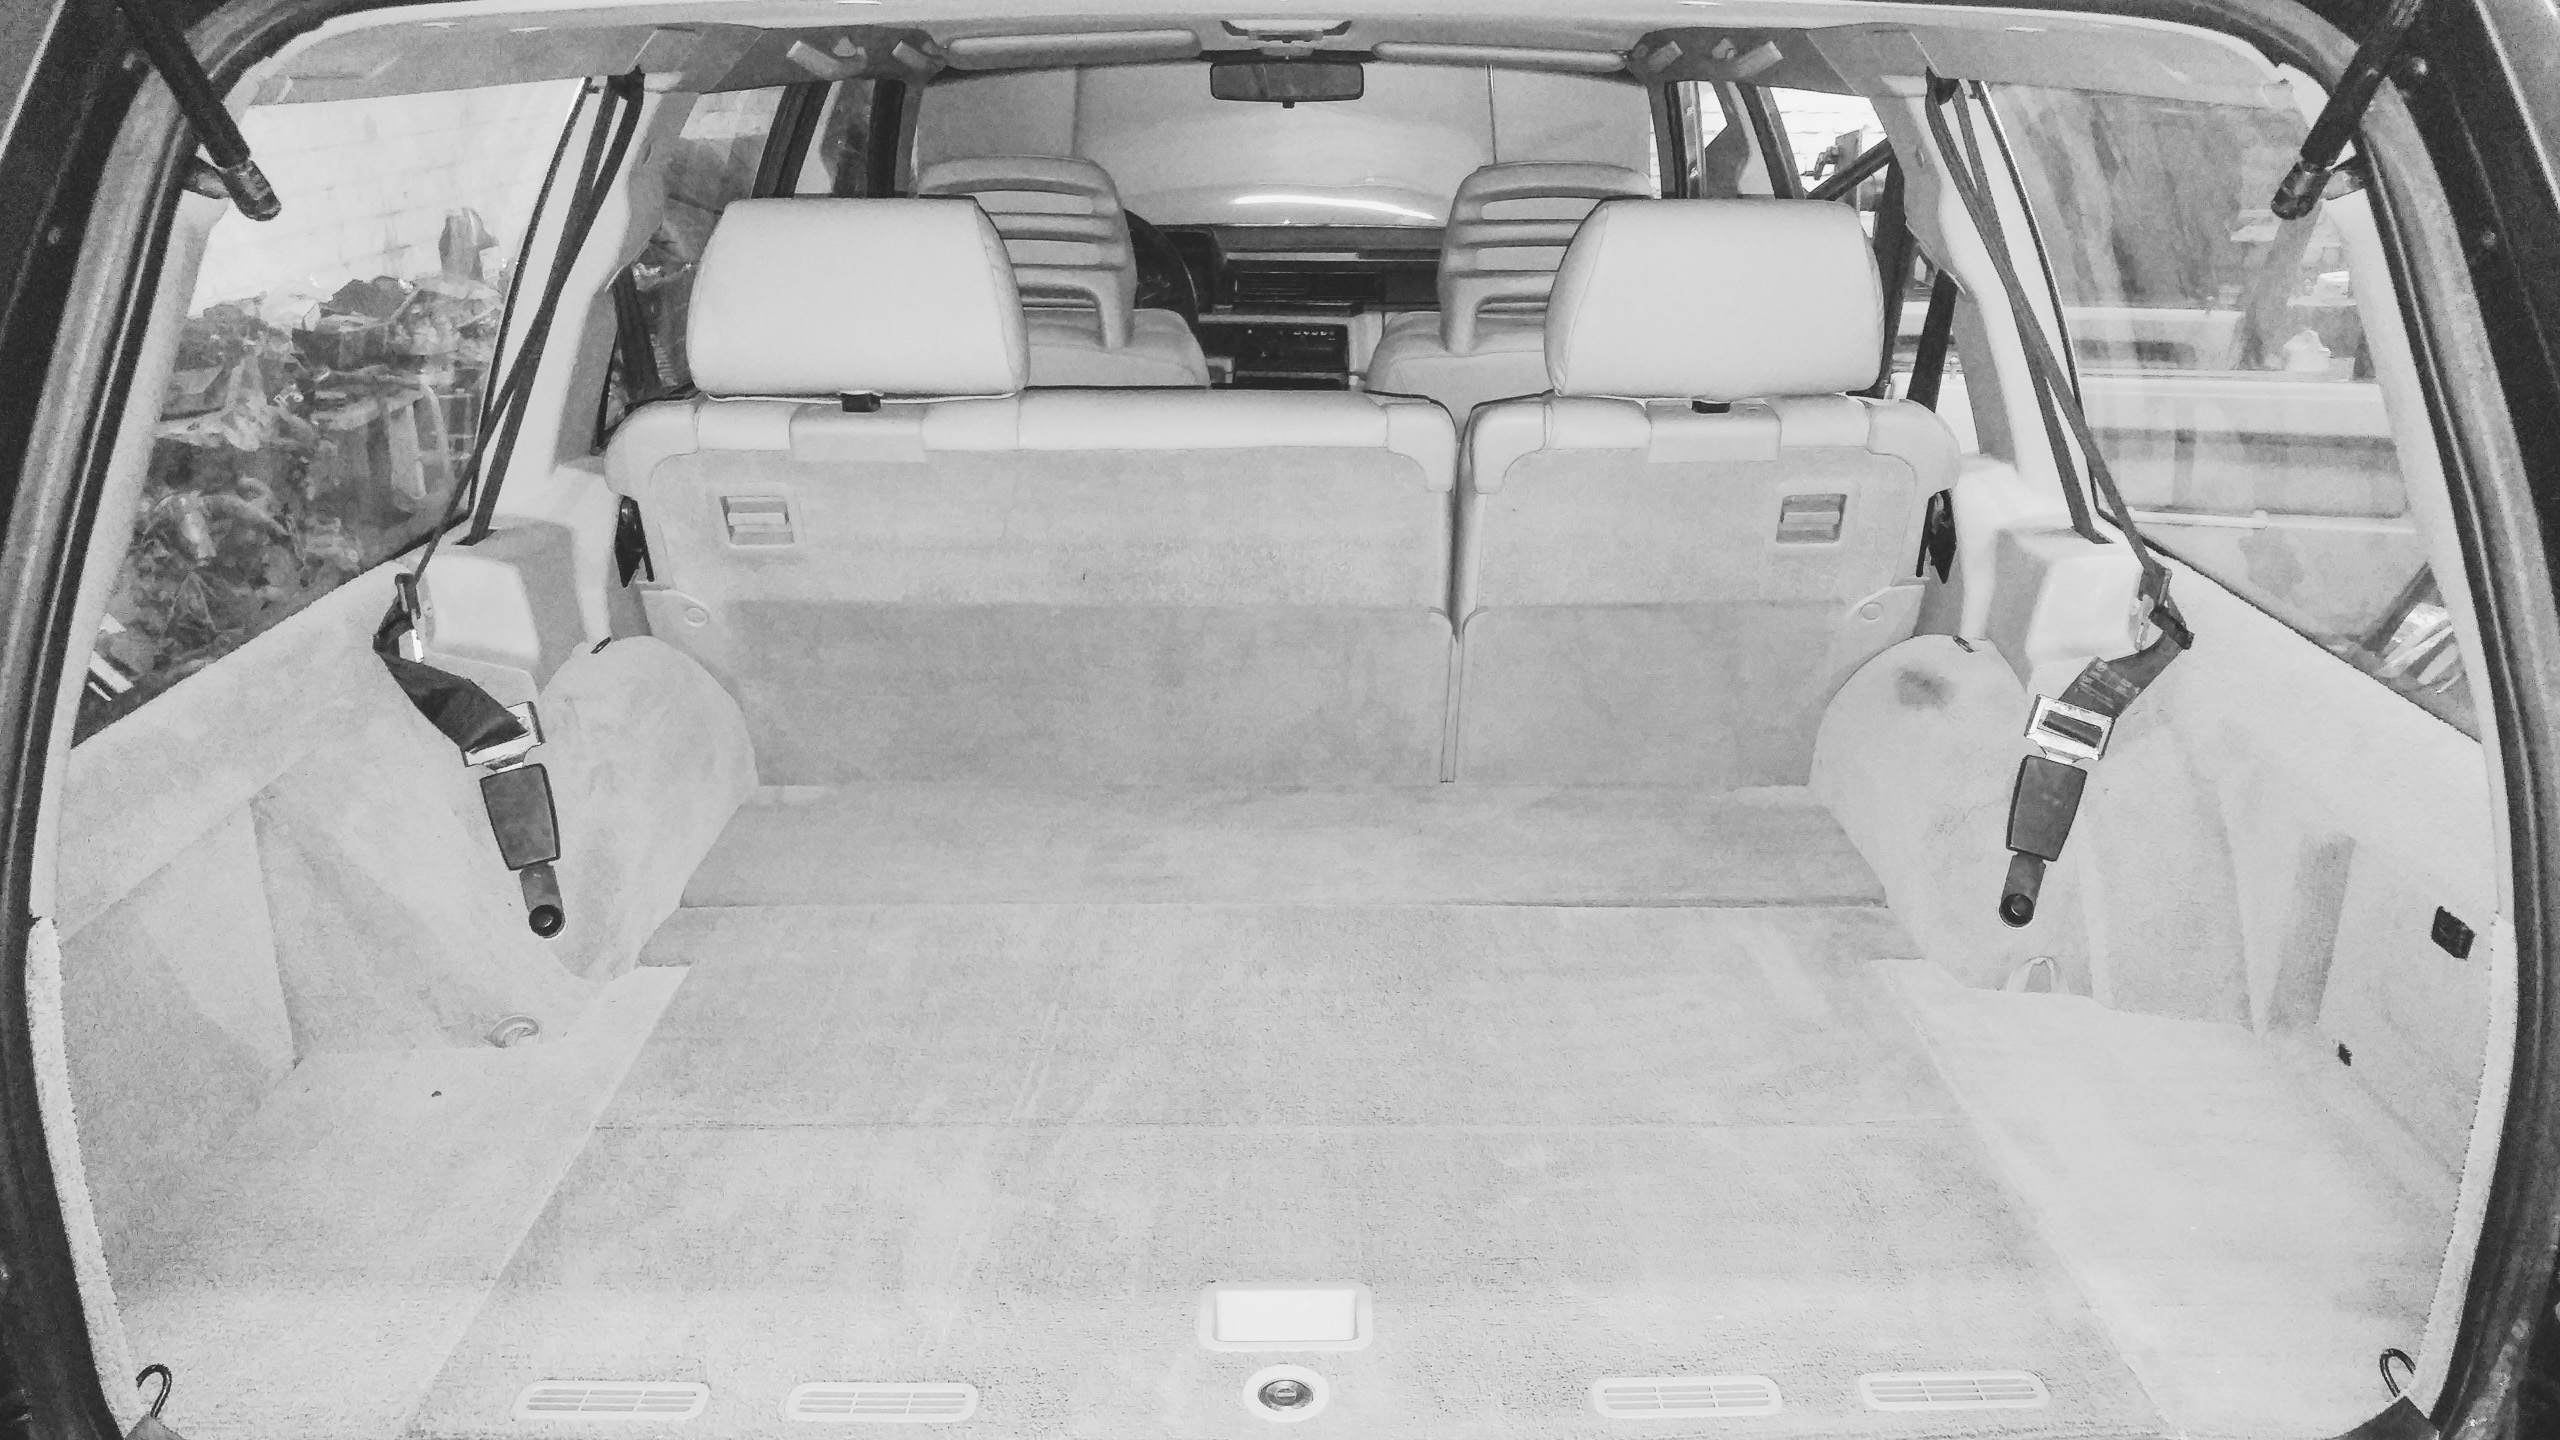
I am having trouble with the carpets as well, the rear trunk area carpets are worn and I am unable to find a good match for the carpet. Also the rear wheel arc covers are molded carpet type that fits around it nicely, where I can’t just go buy carpet and put it flat there, since it is in form of a shape.
Overall the interior is wearing me out by being worn out… the interior is huge and there are so many plastic pieces and carpet pieces… still searching for all the parts. I still need to find the roof liner since we threw the one I had away since it was rotten, issue is that I have a 745 universal/kombi with sun roof, which is also very rare.
Then the engine.. that’s the next challenge, hopefully re-building and re-finishing the engine will be easier than the interior. I am right now afraid the interior restoration might cost as much as painting the whole car.


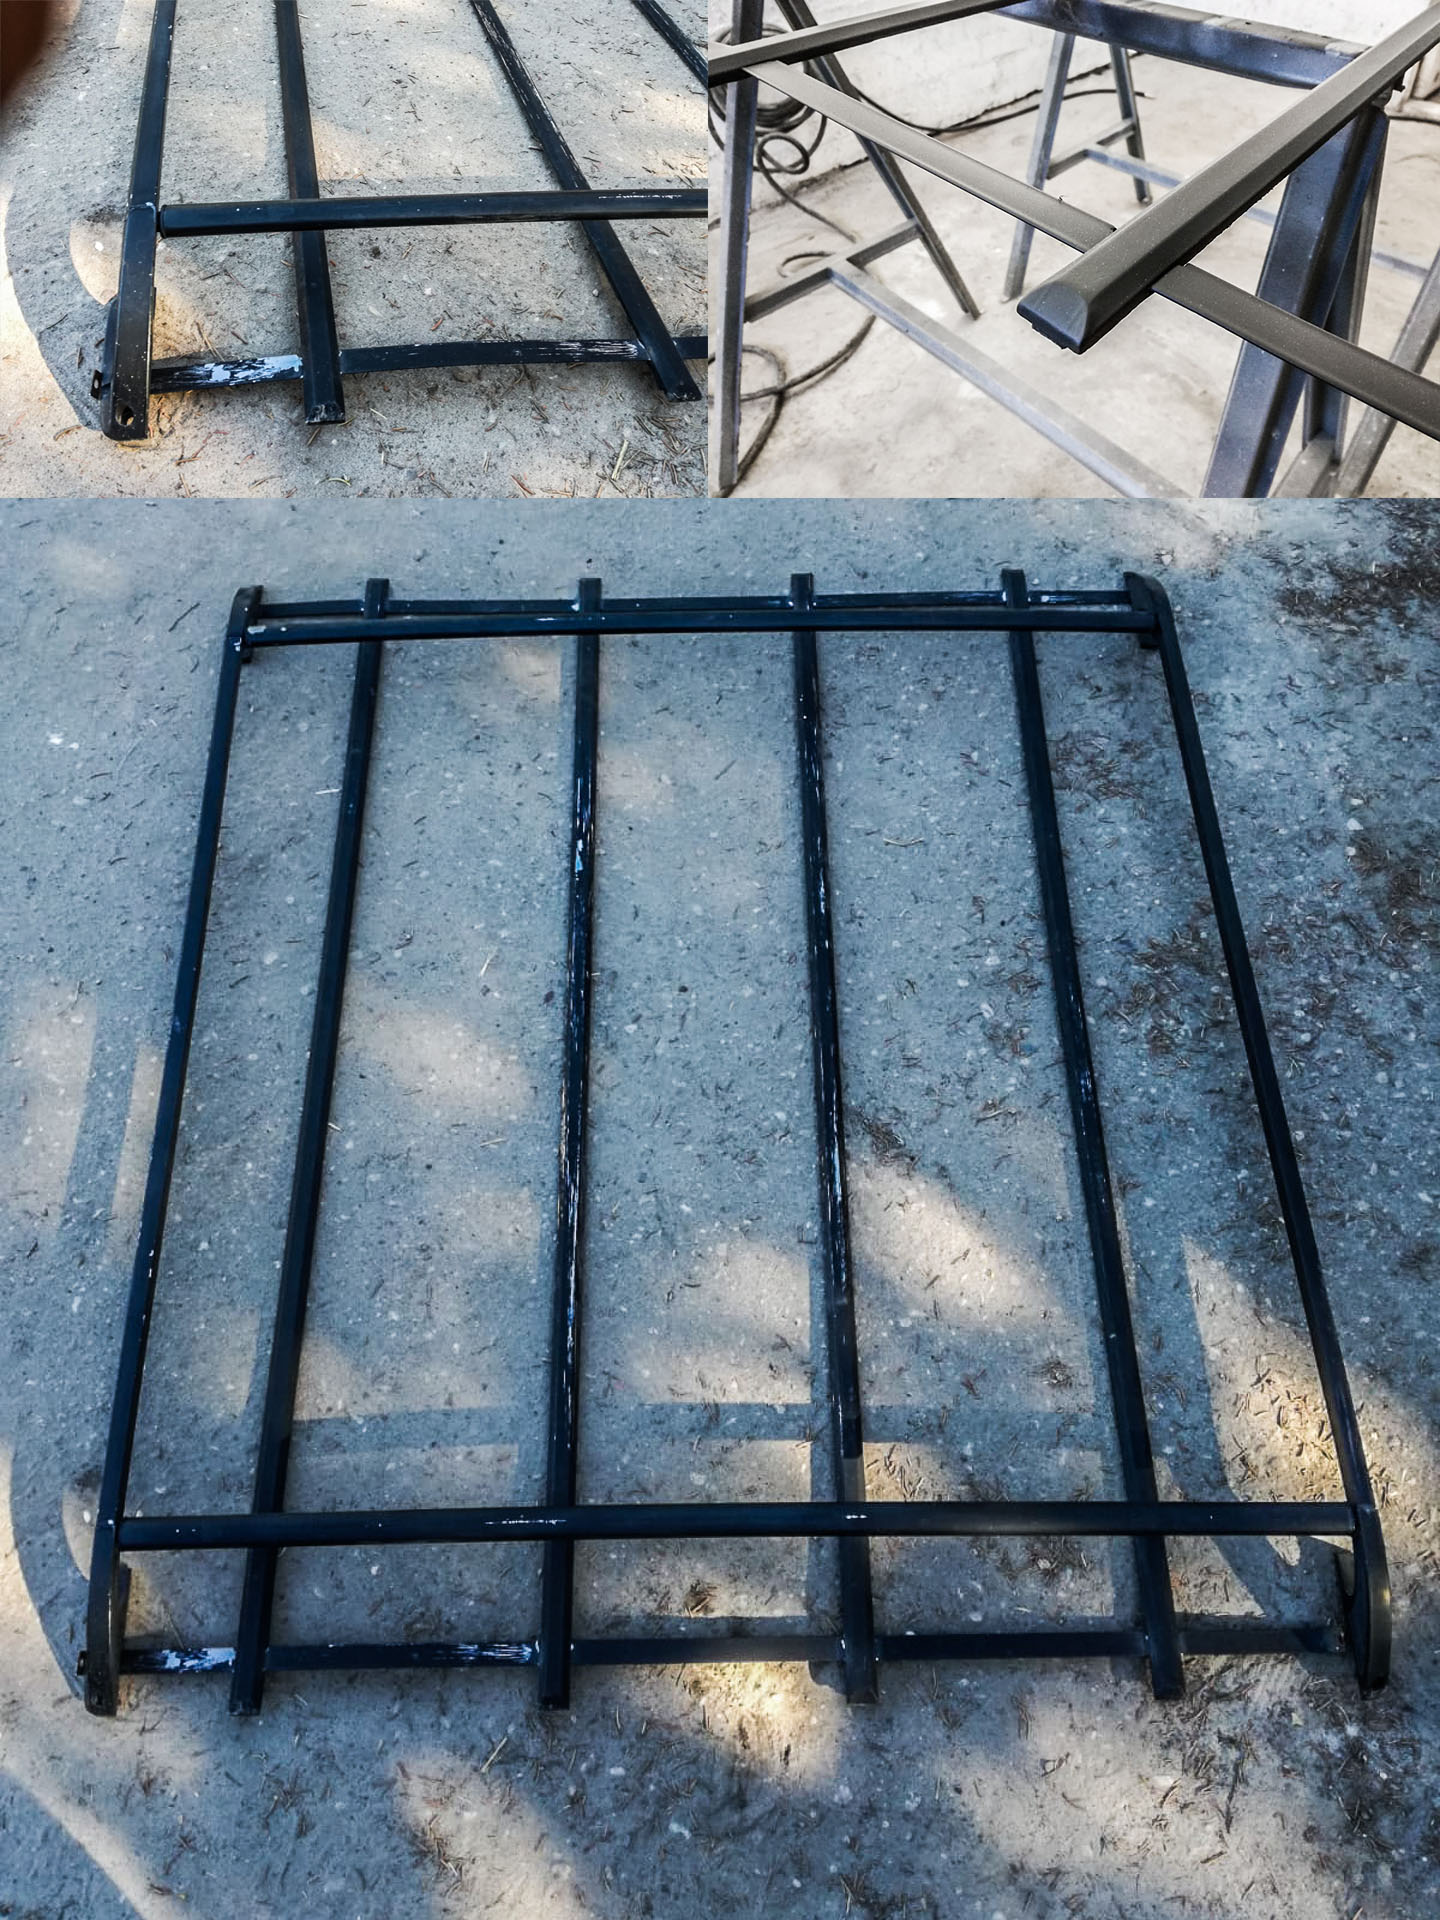
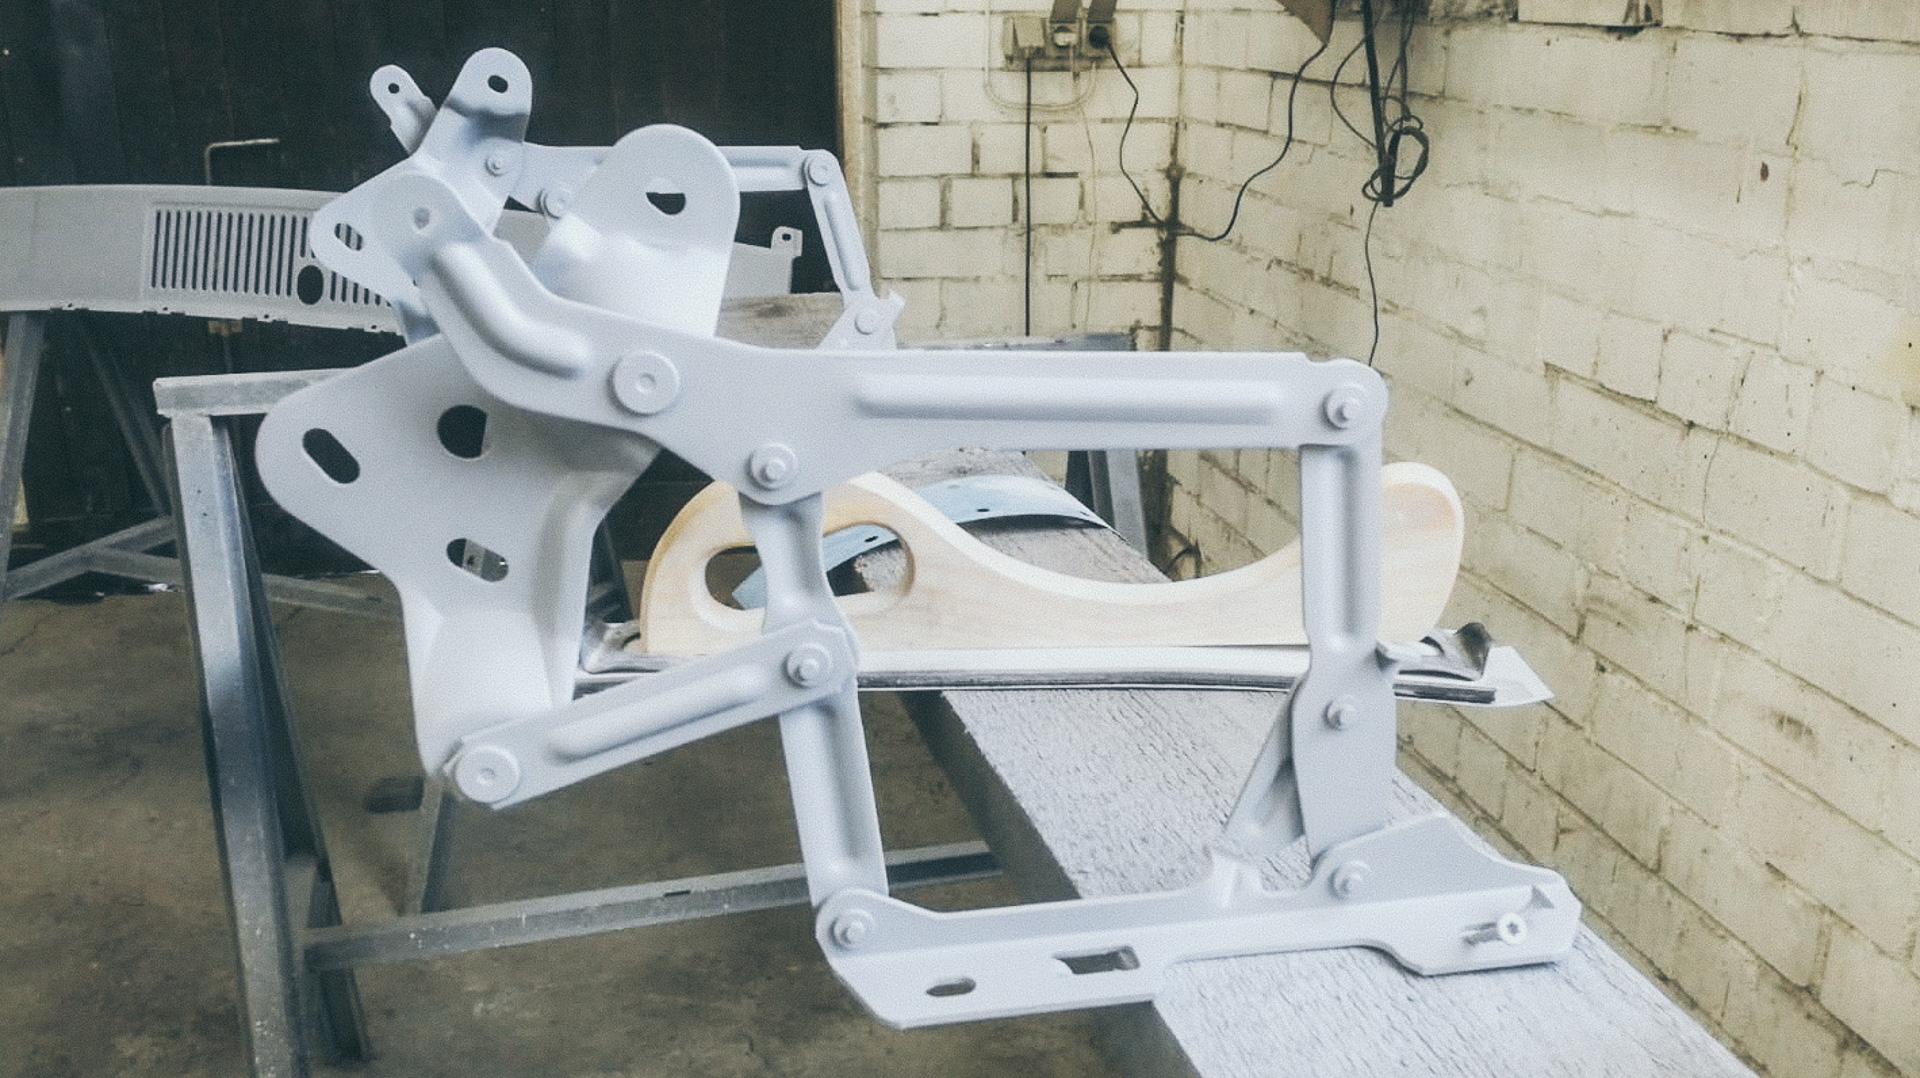
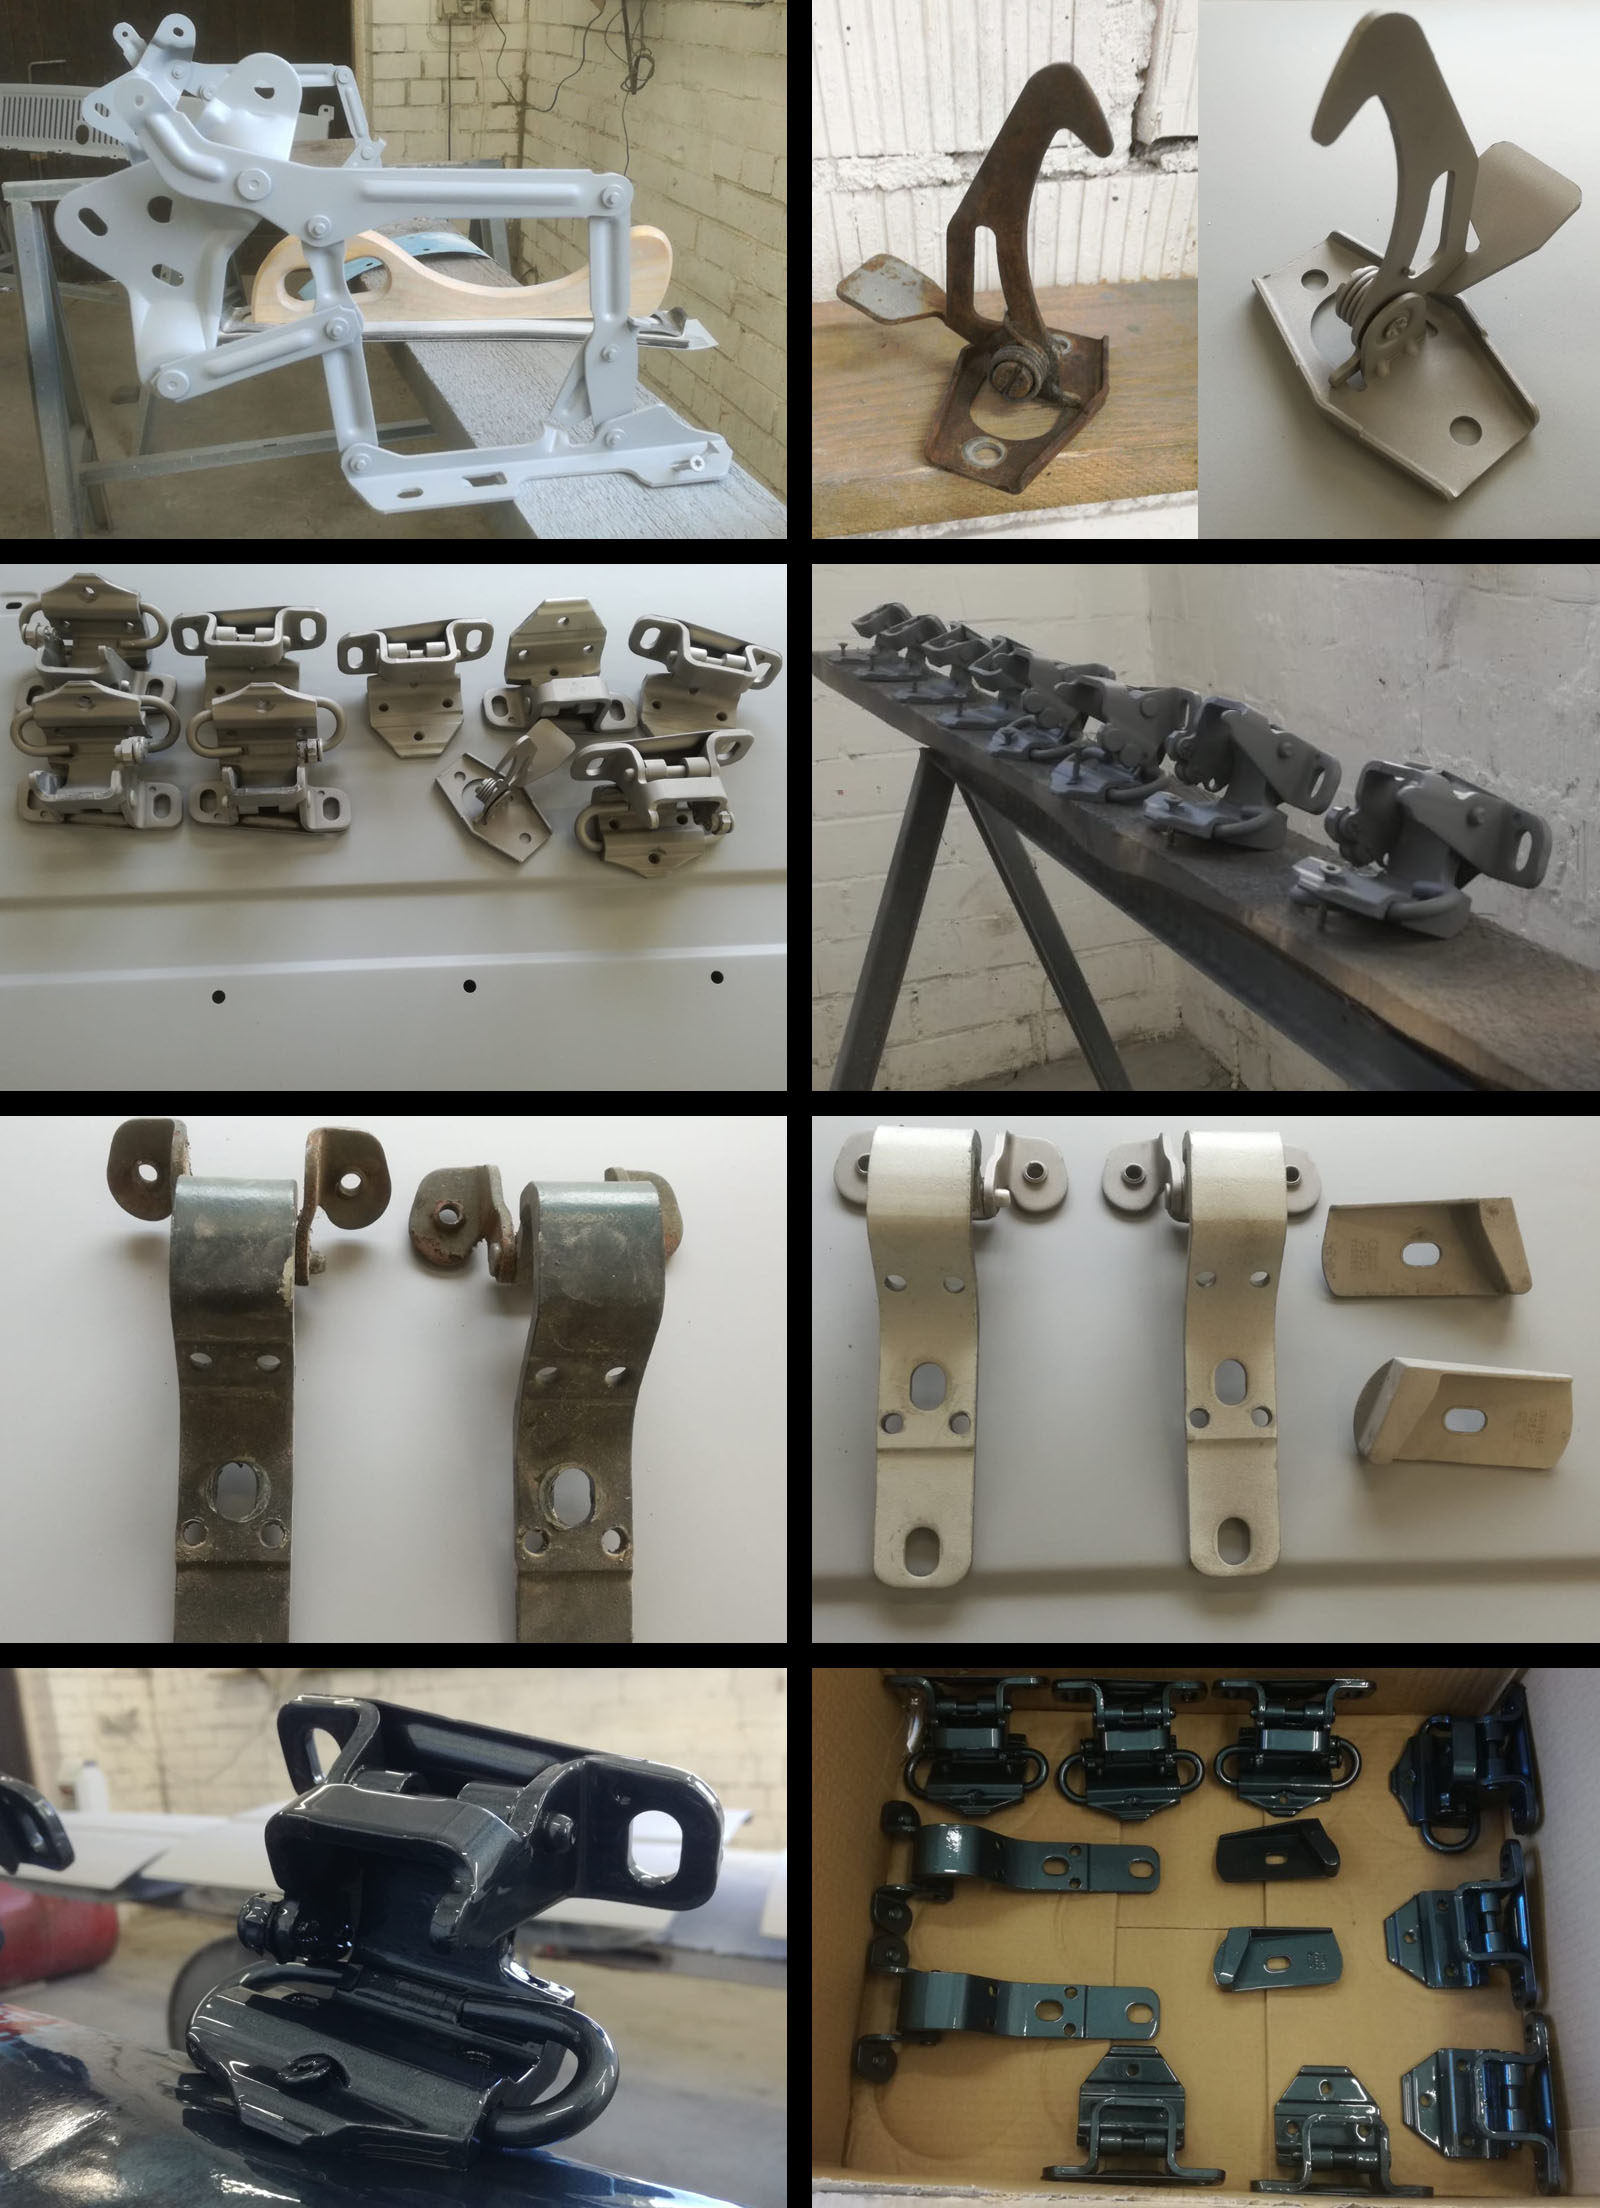
Like everything else, the roof rack will be re-painted as well.

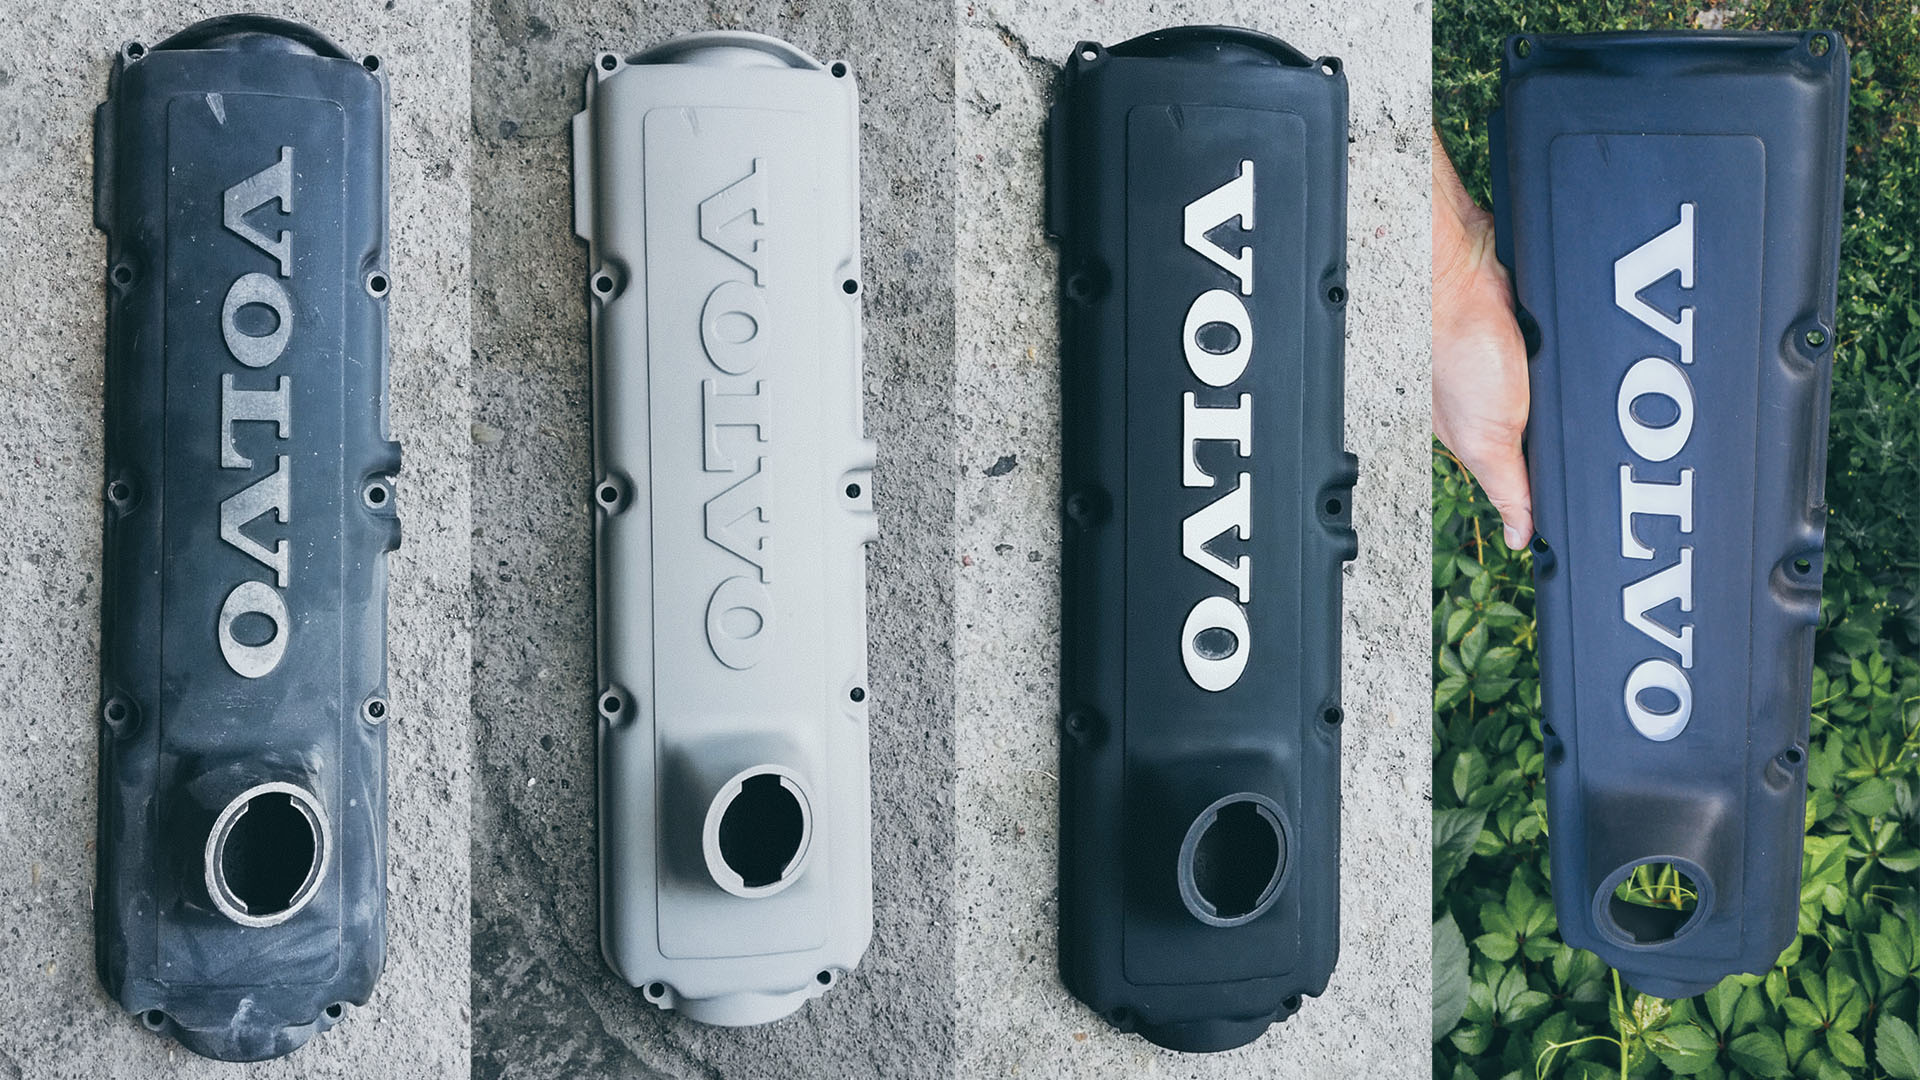
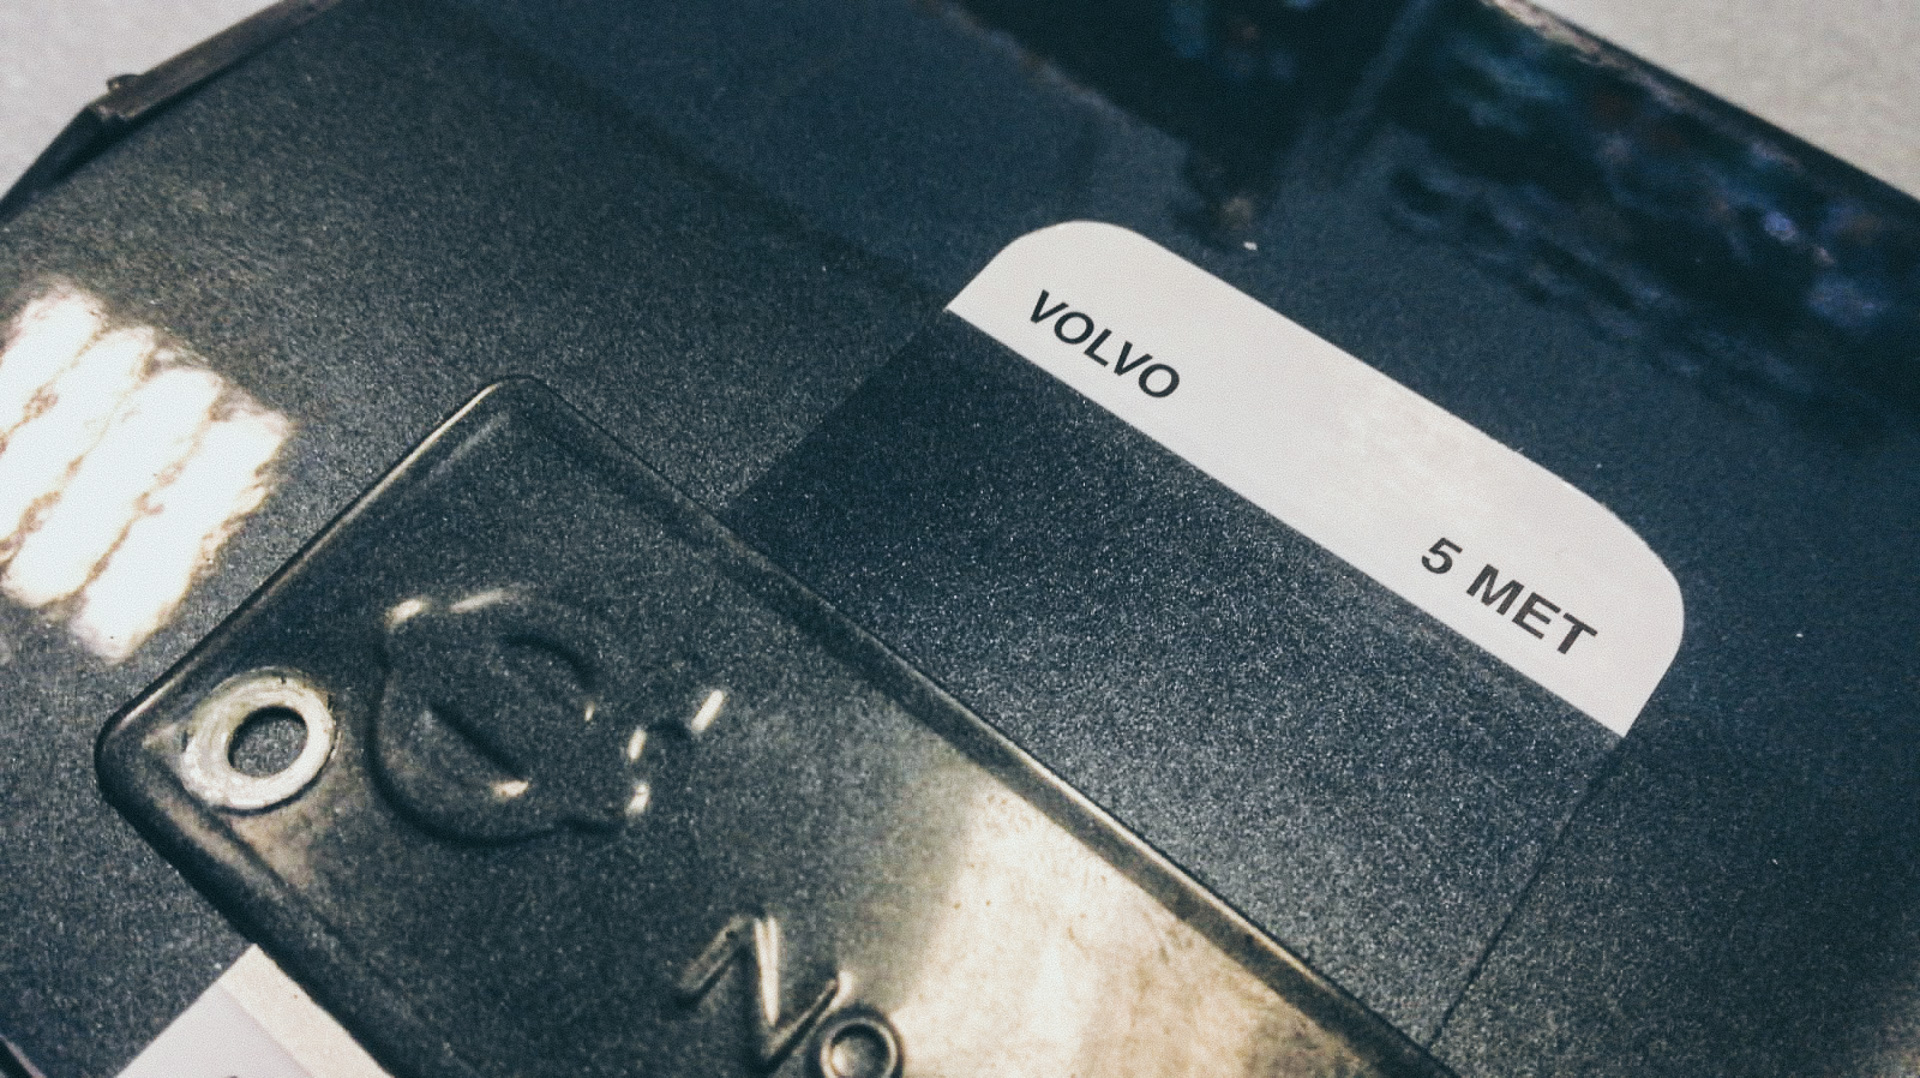
The VOLVO sign was sanded and polished.


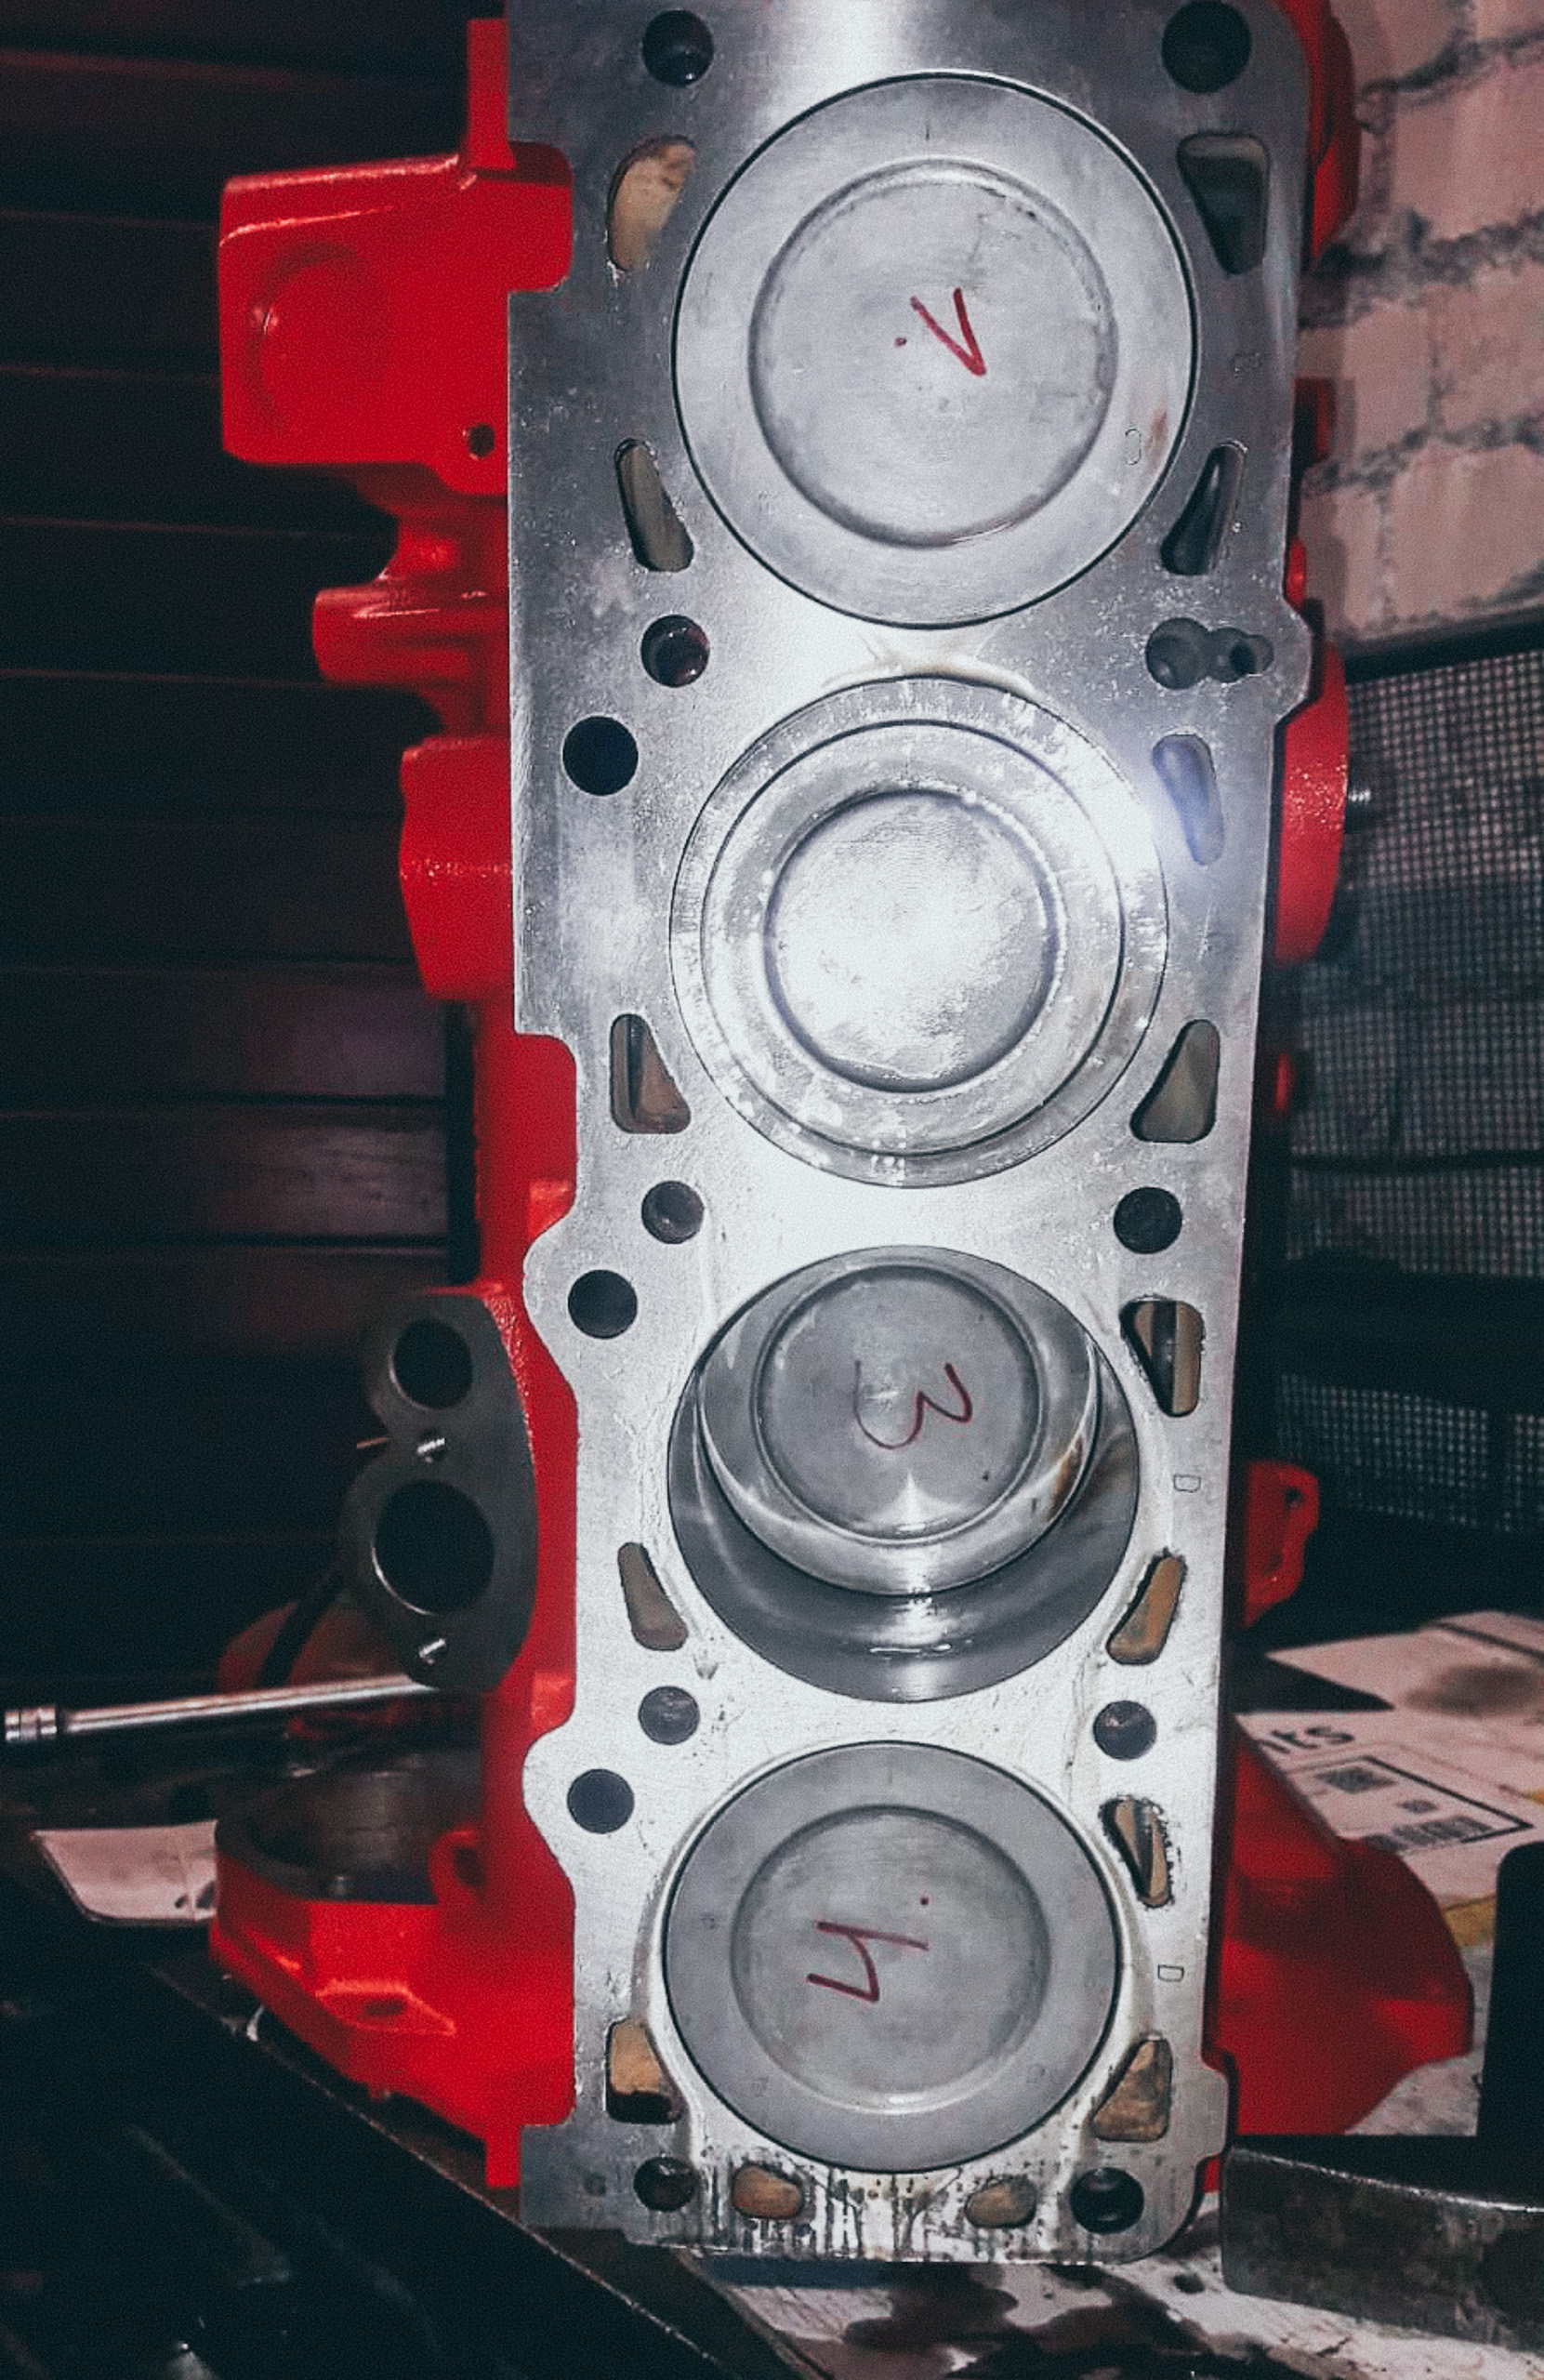
The Engine Re-build

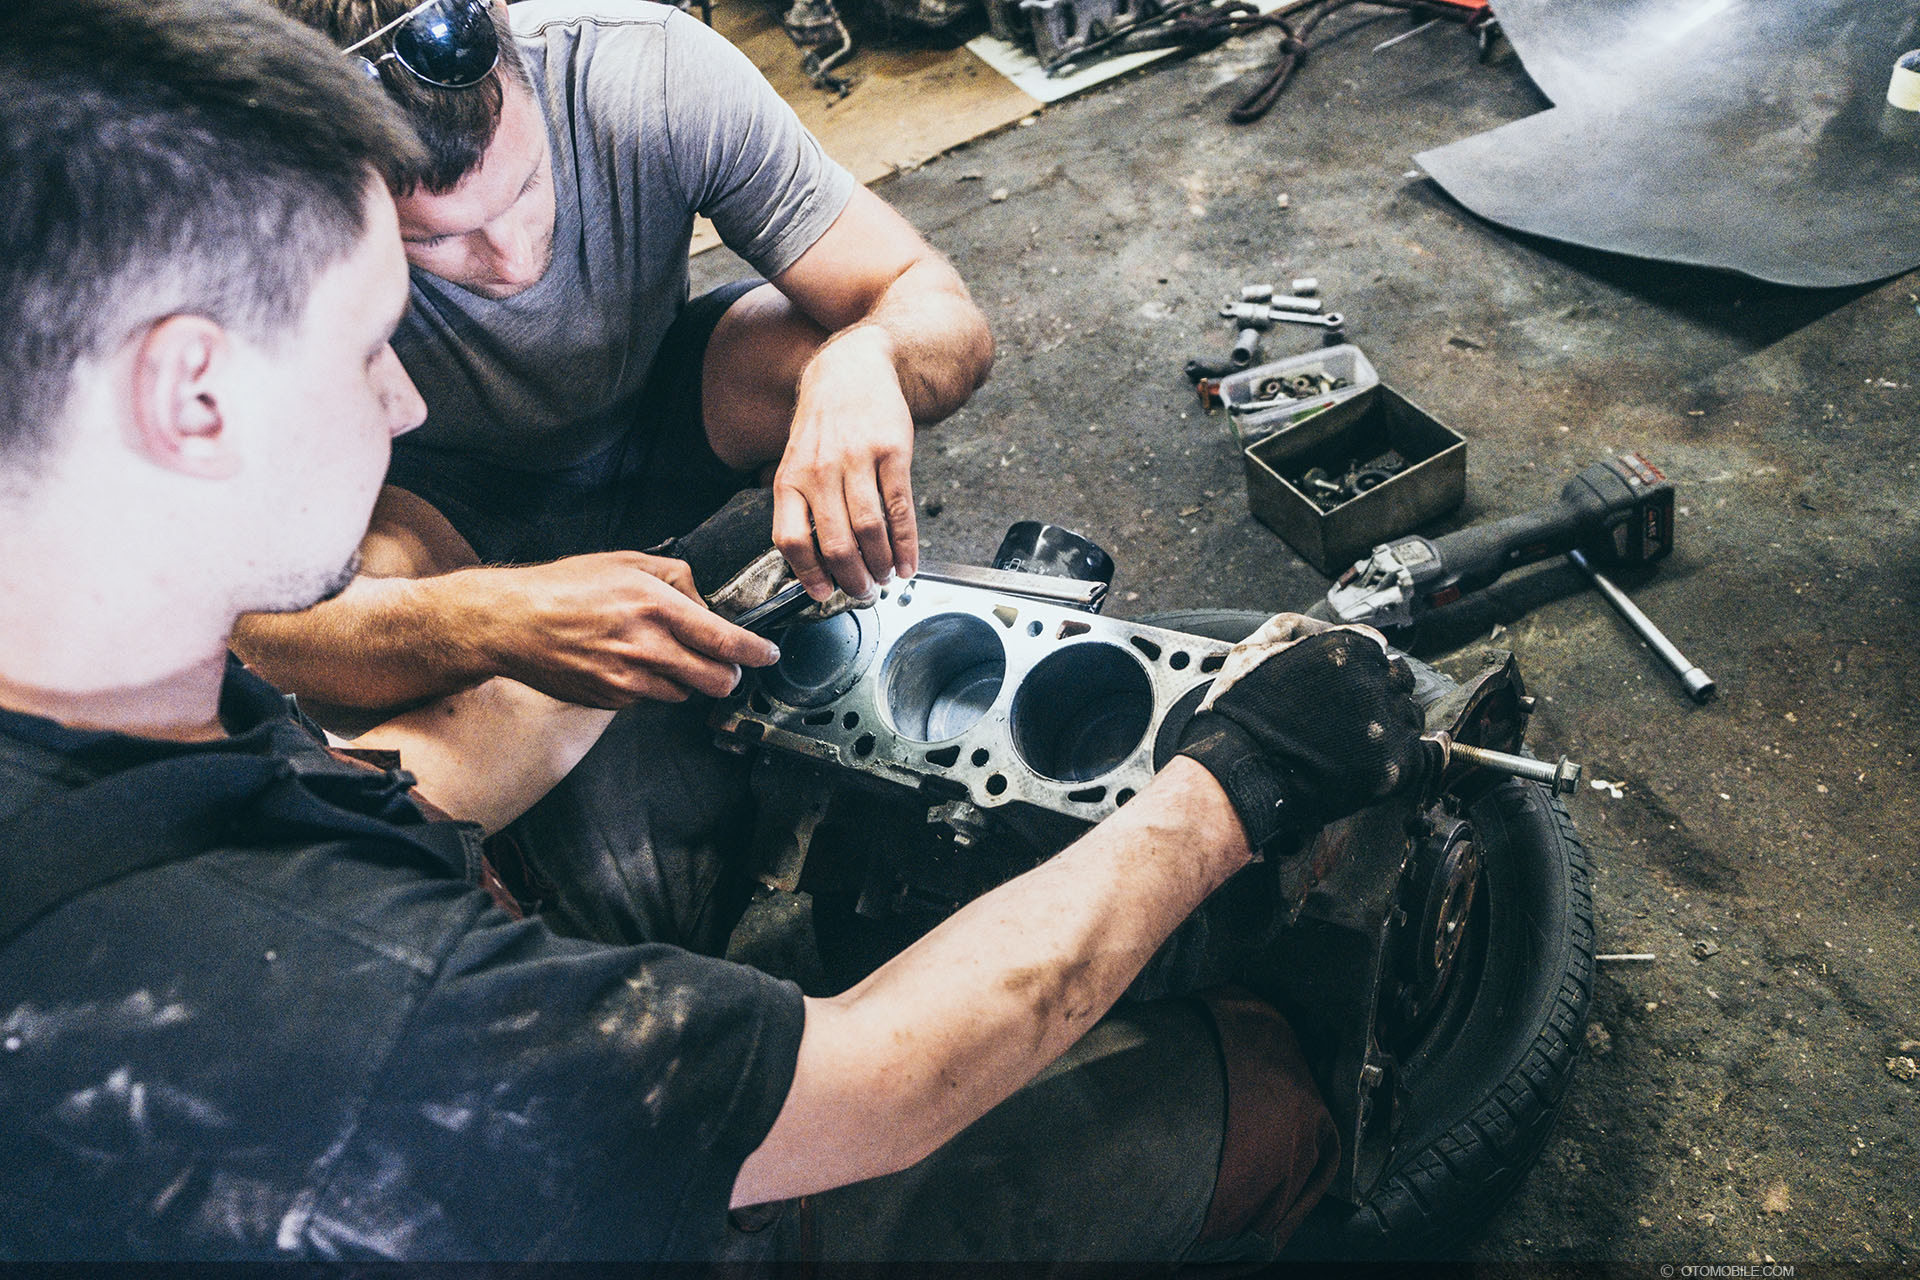


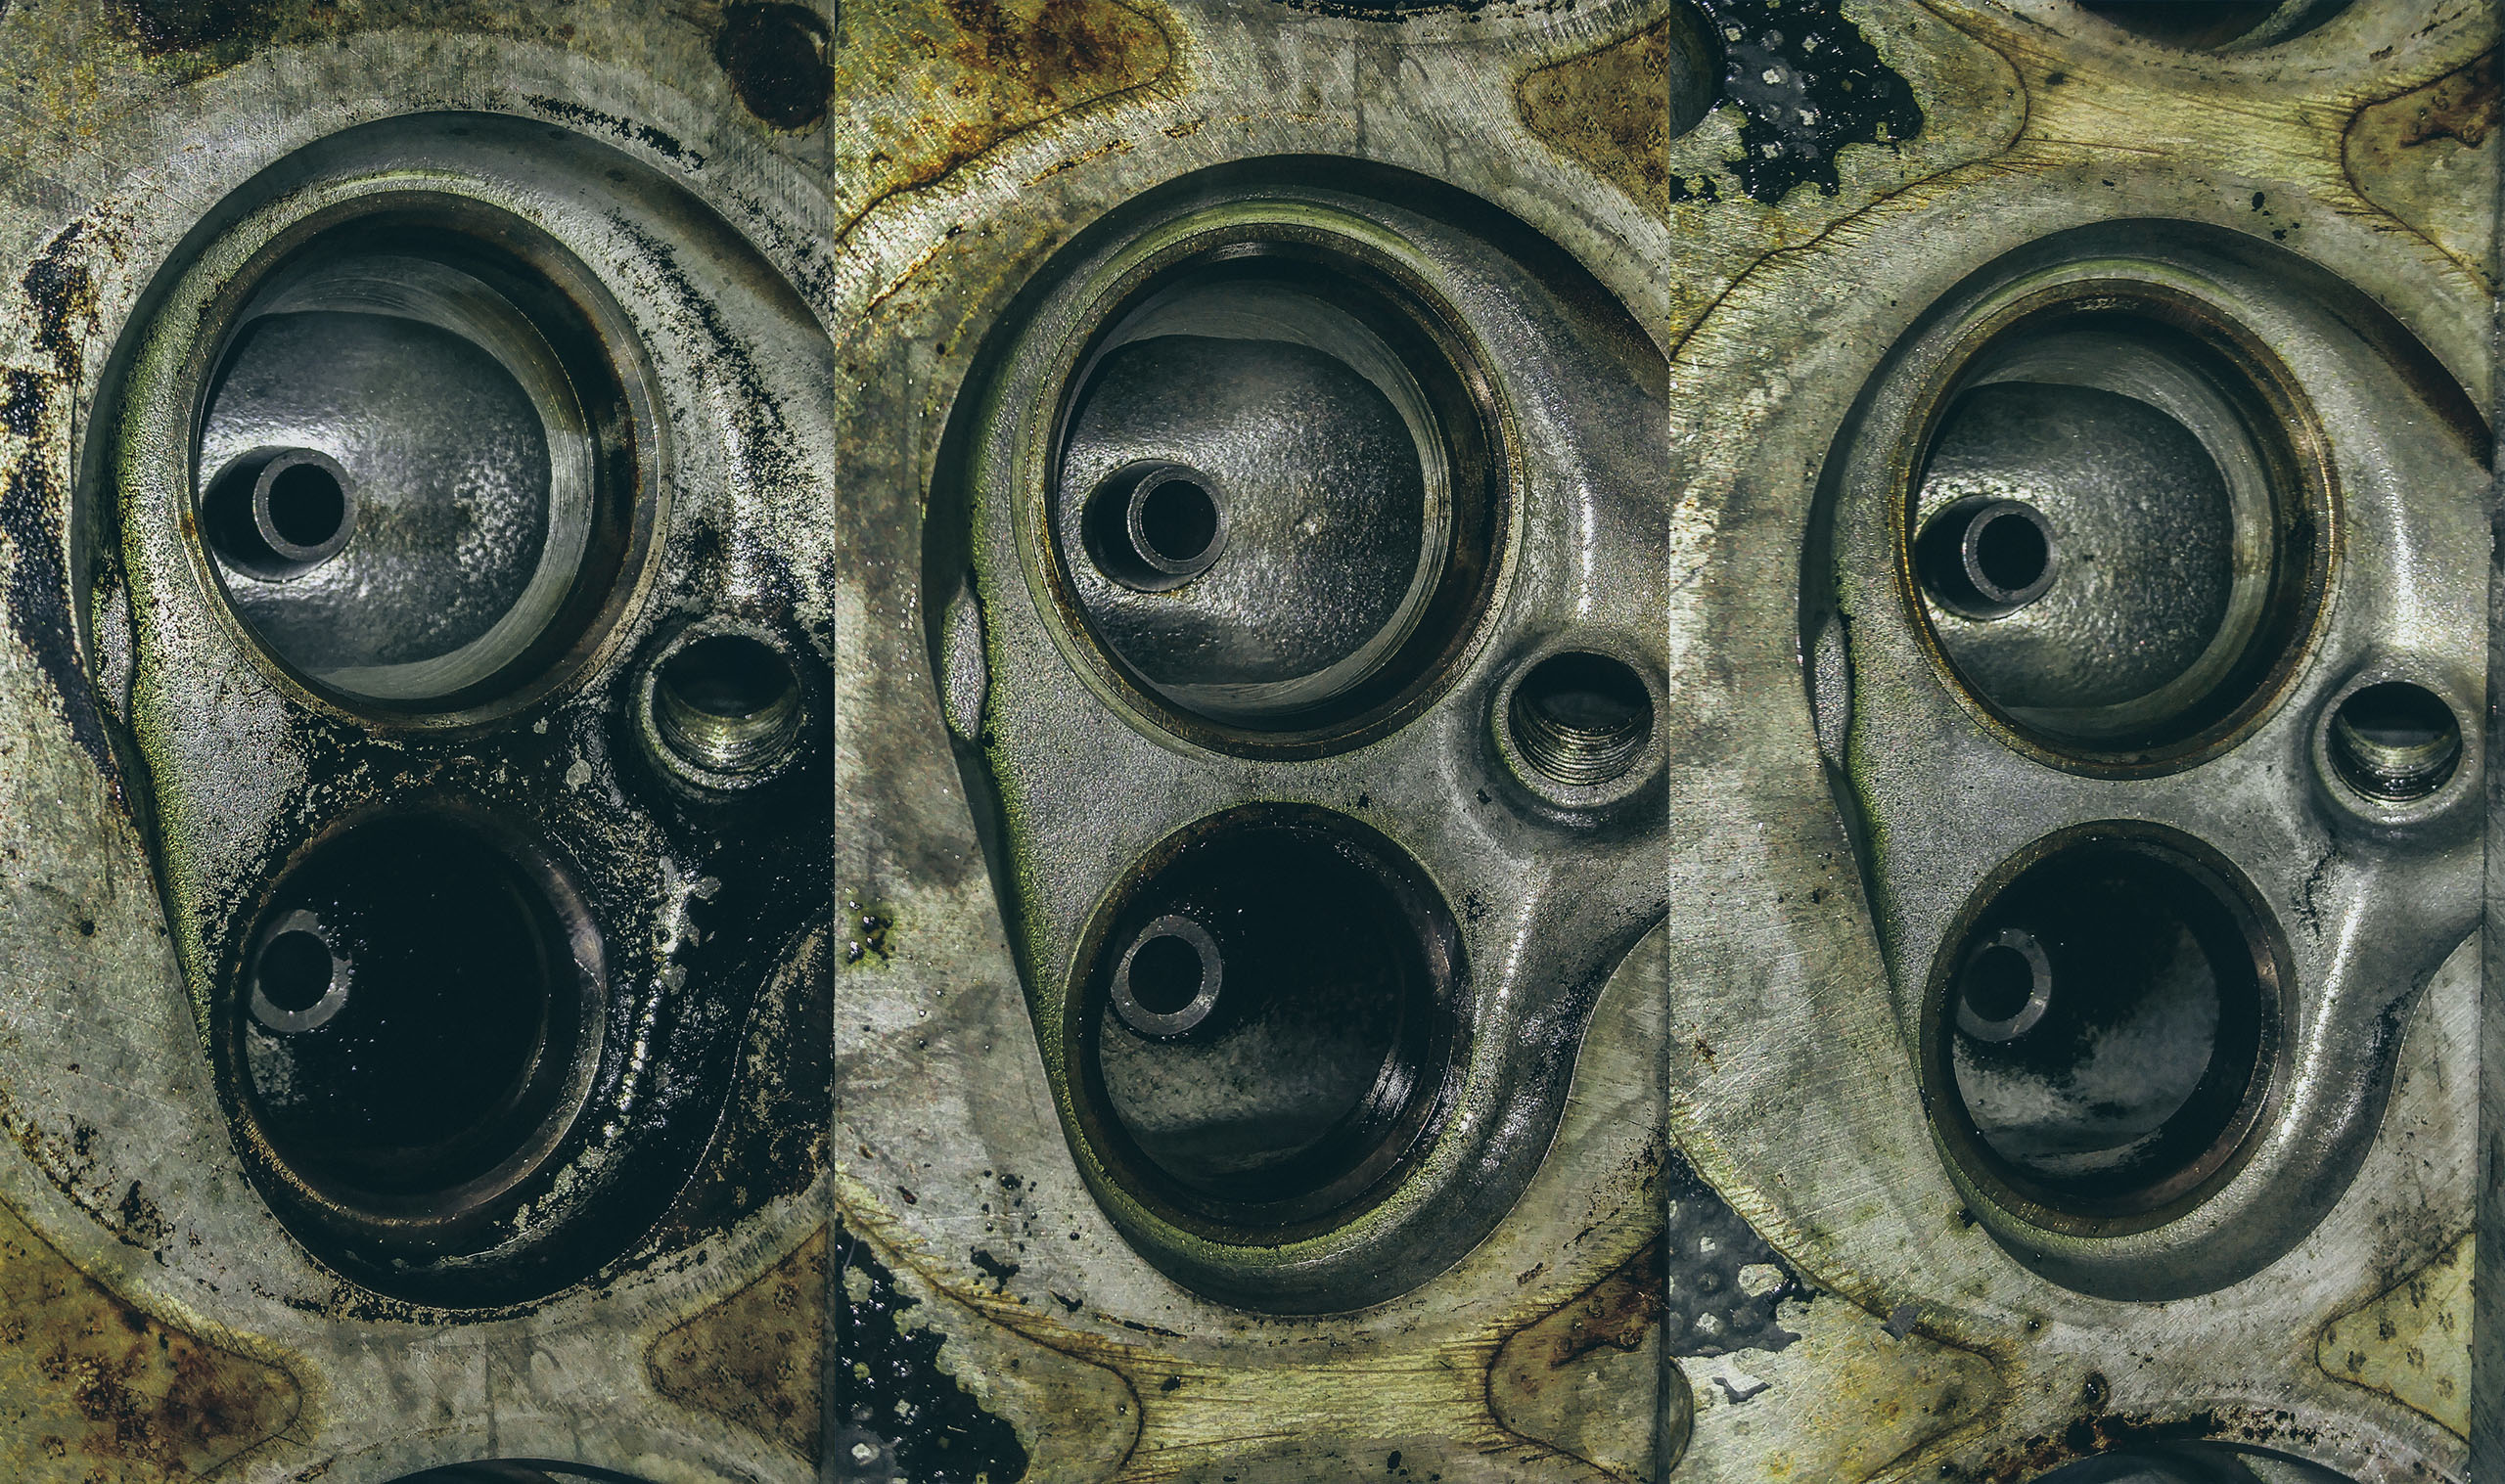
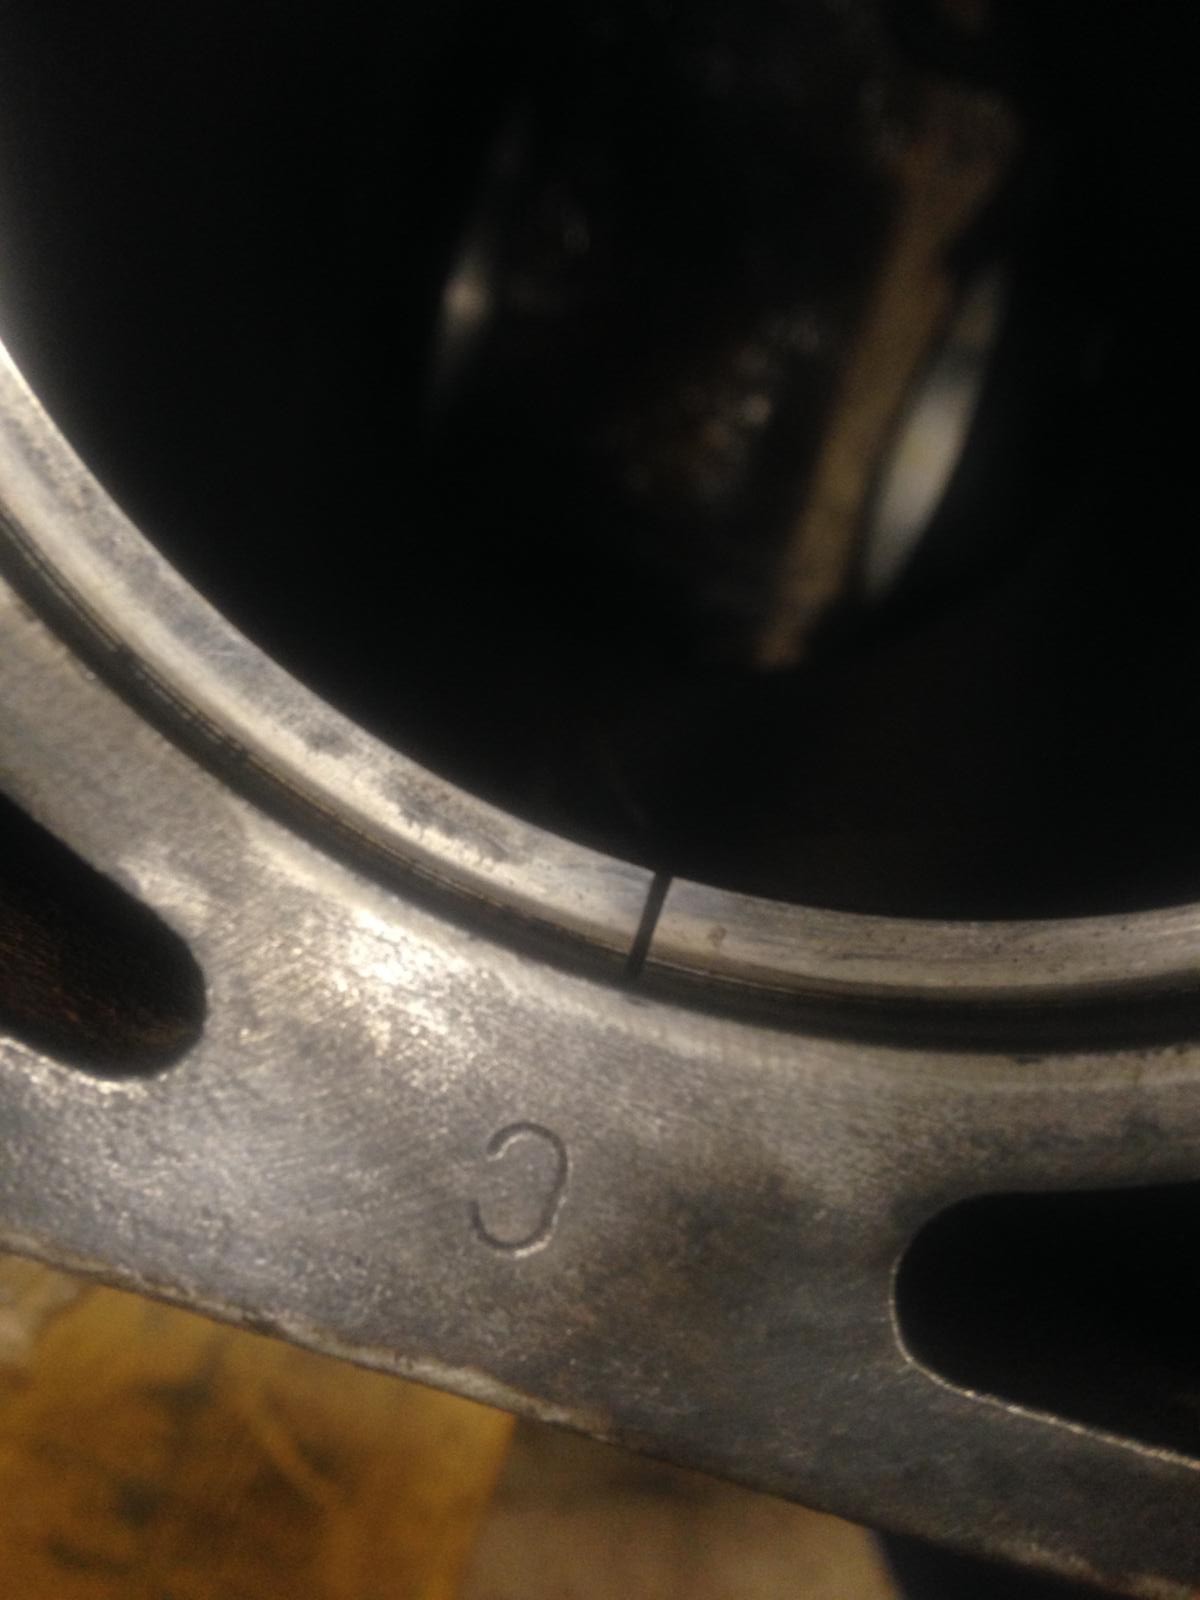
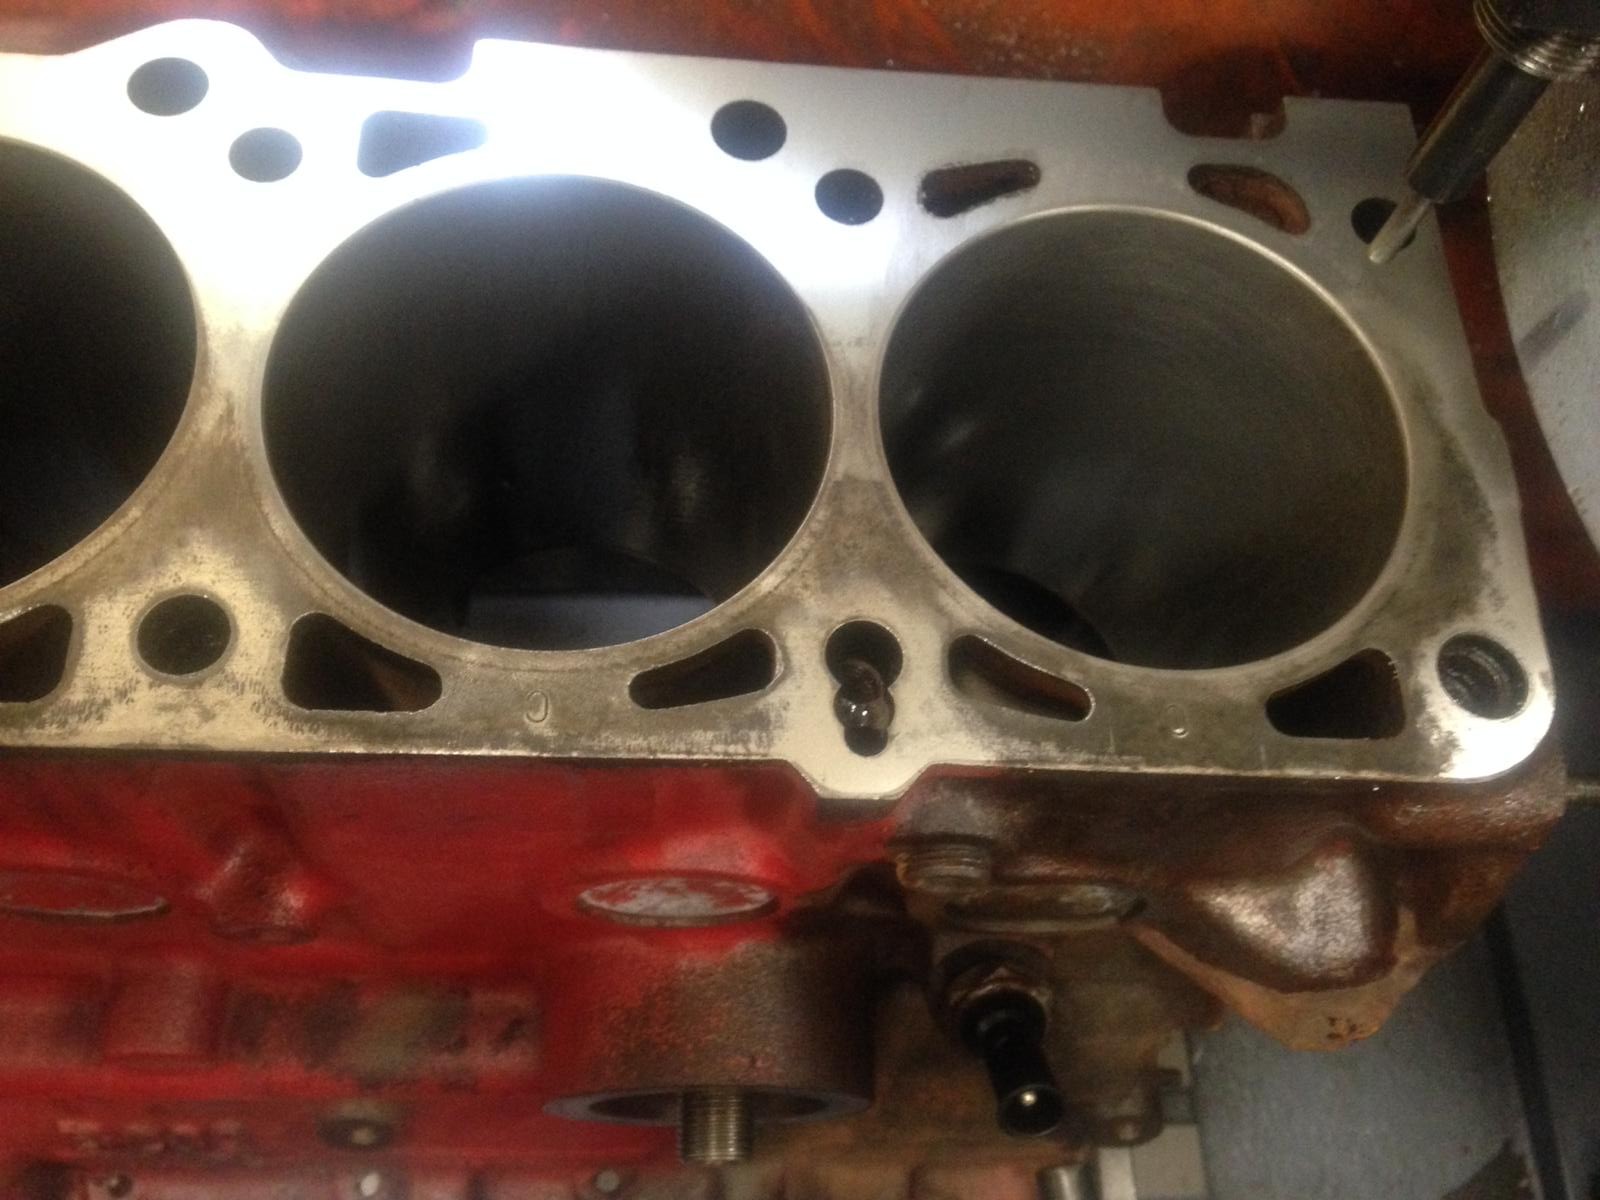
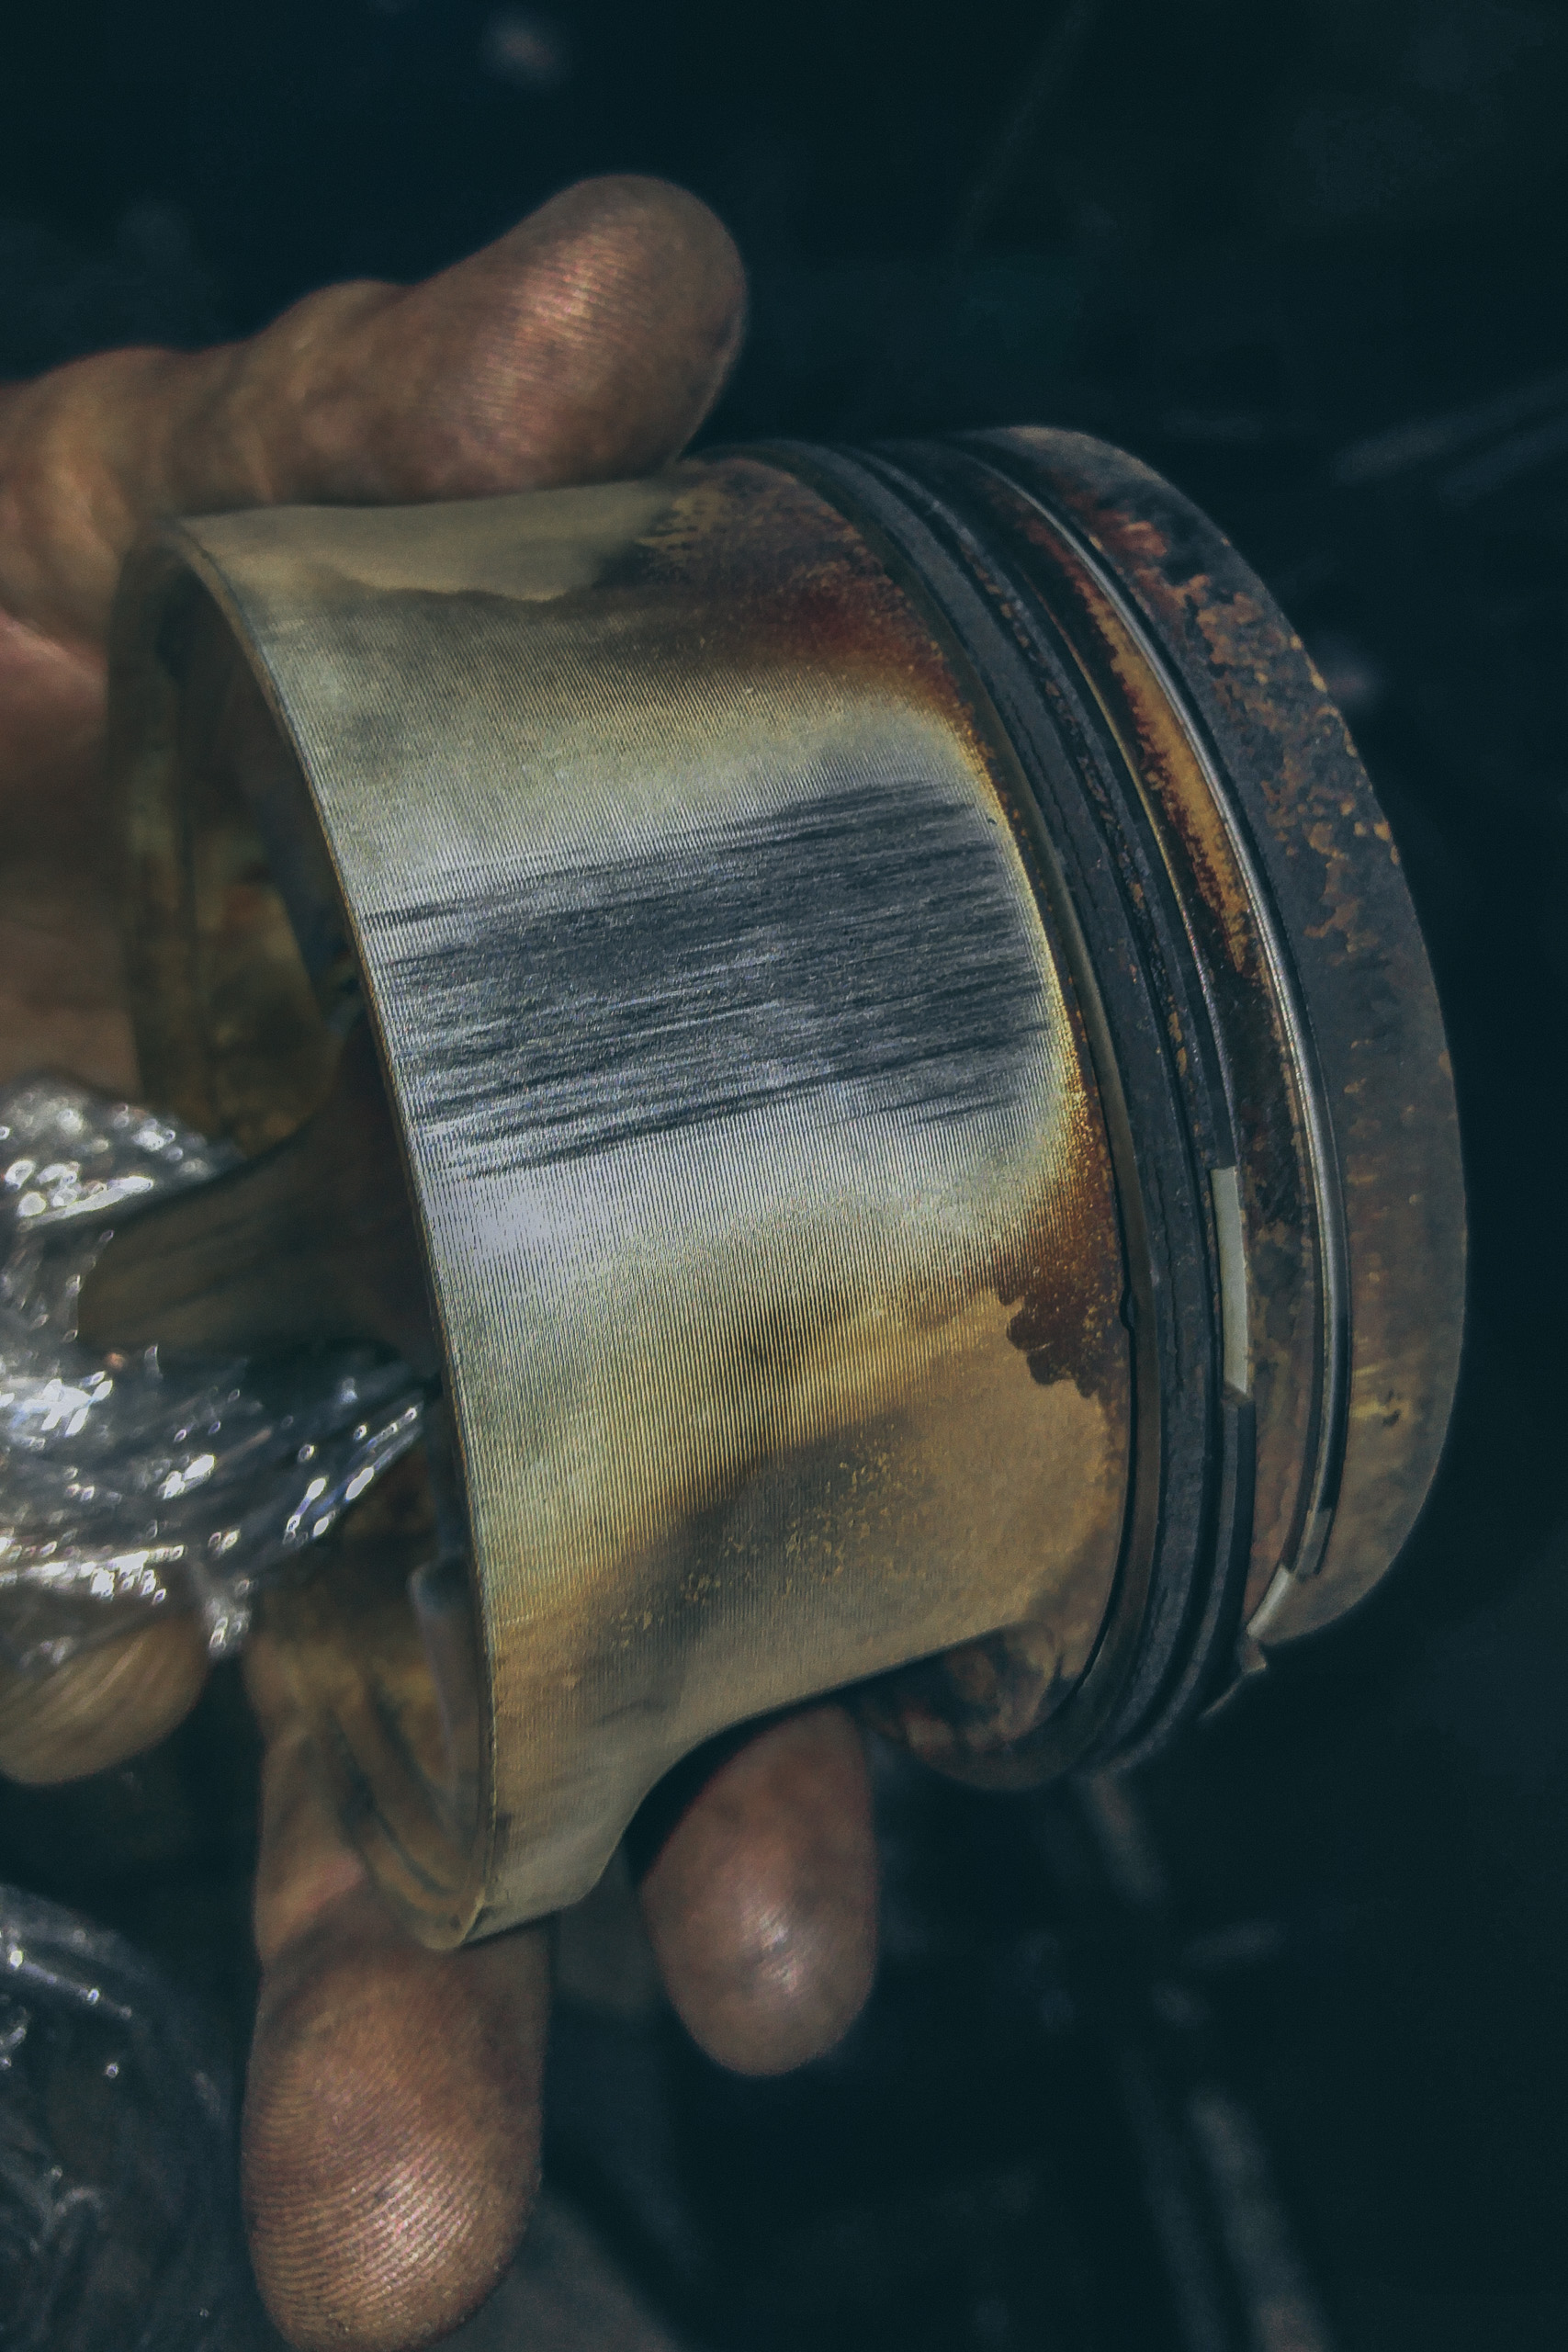
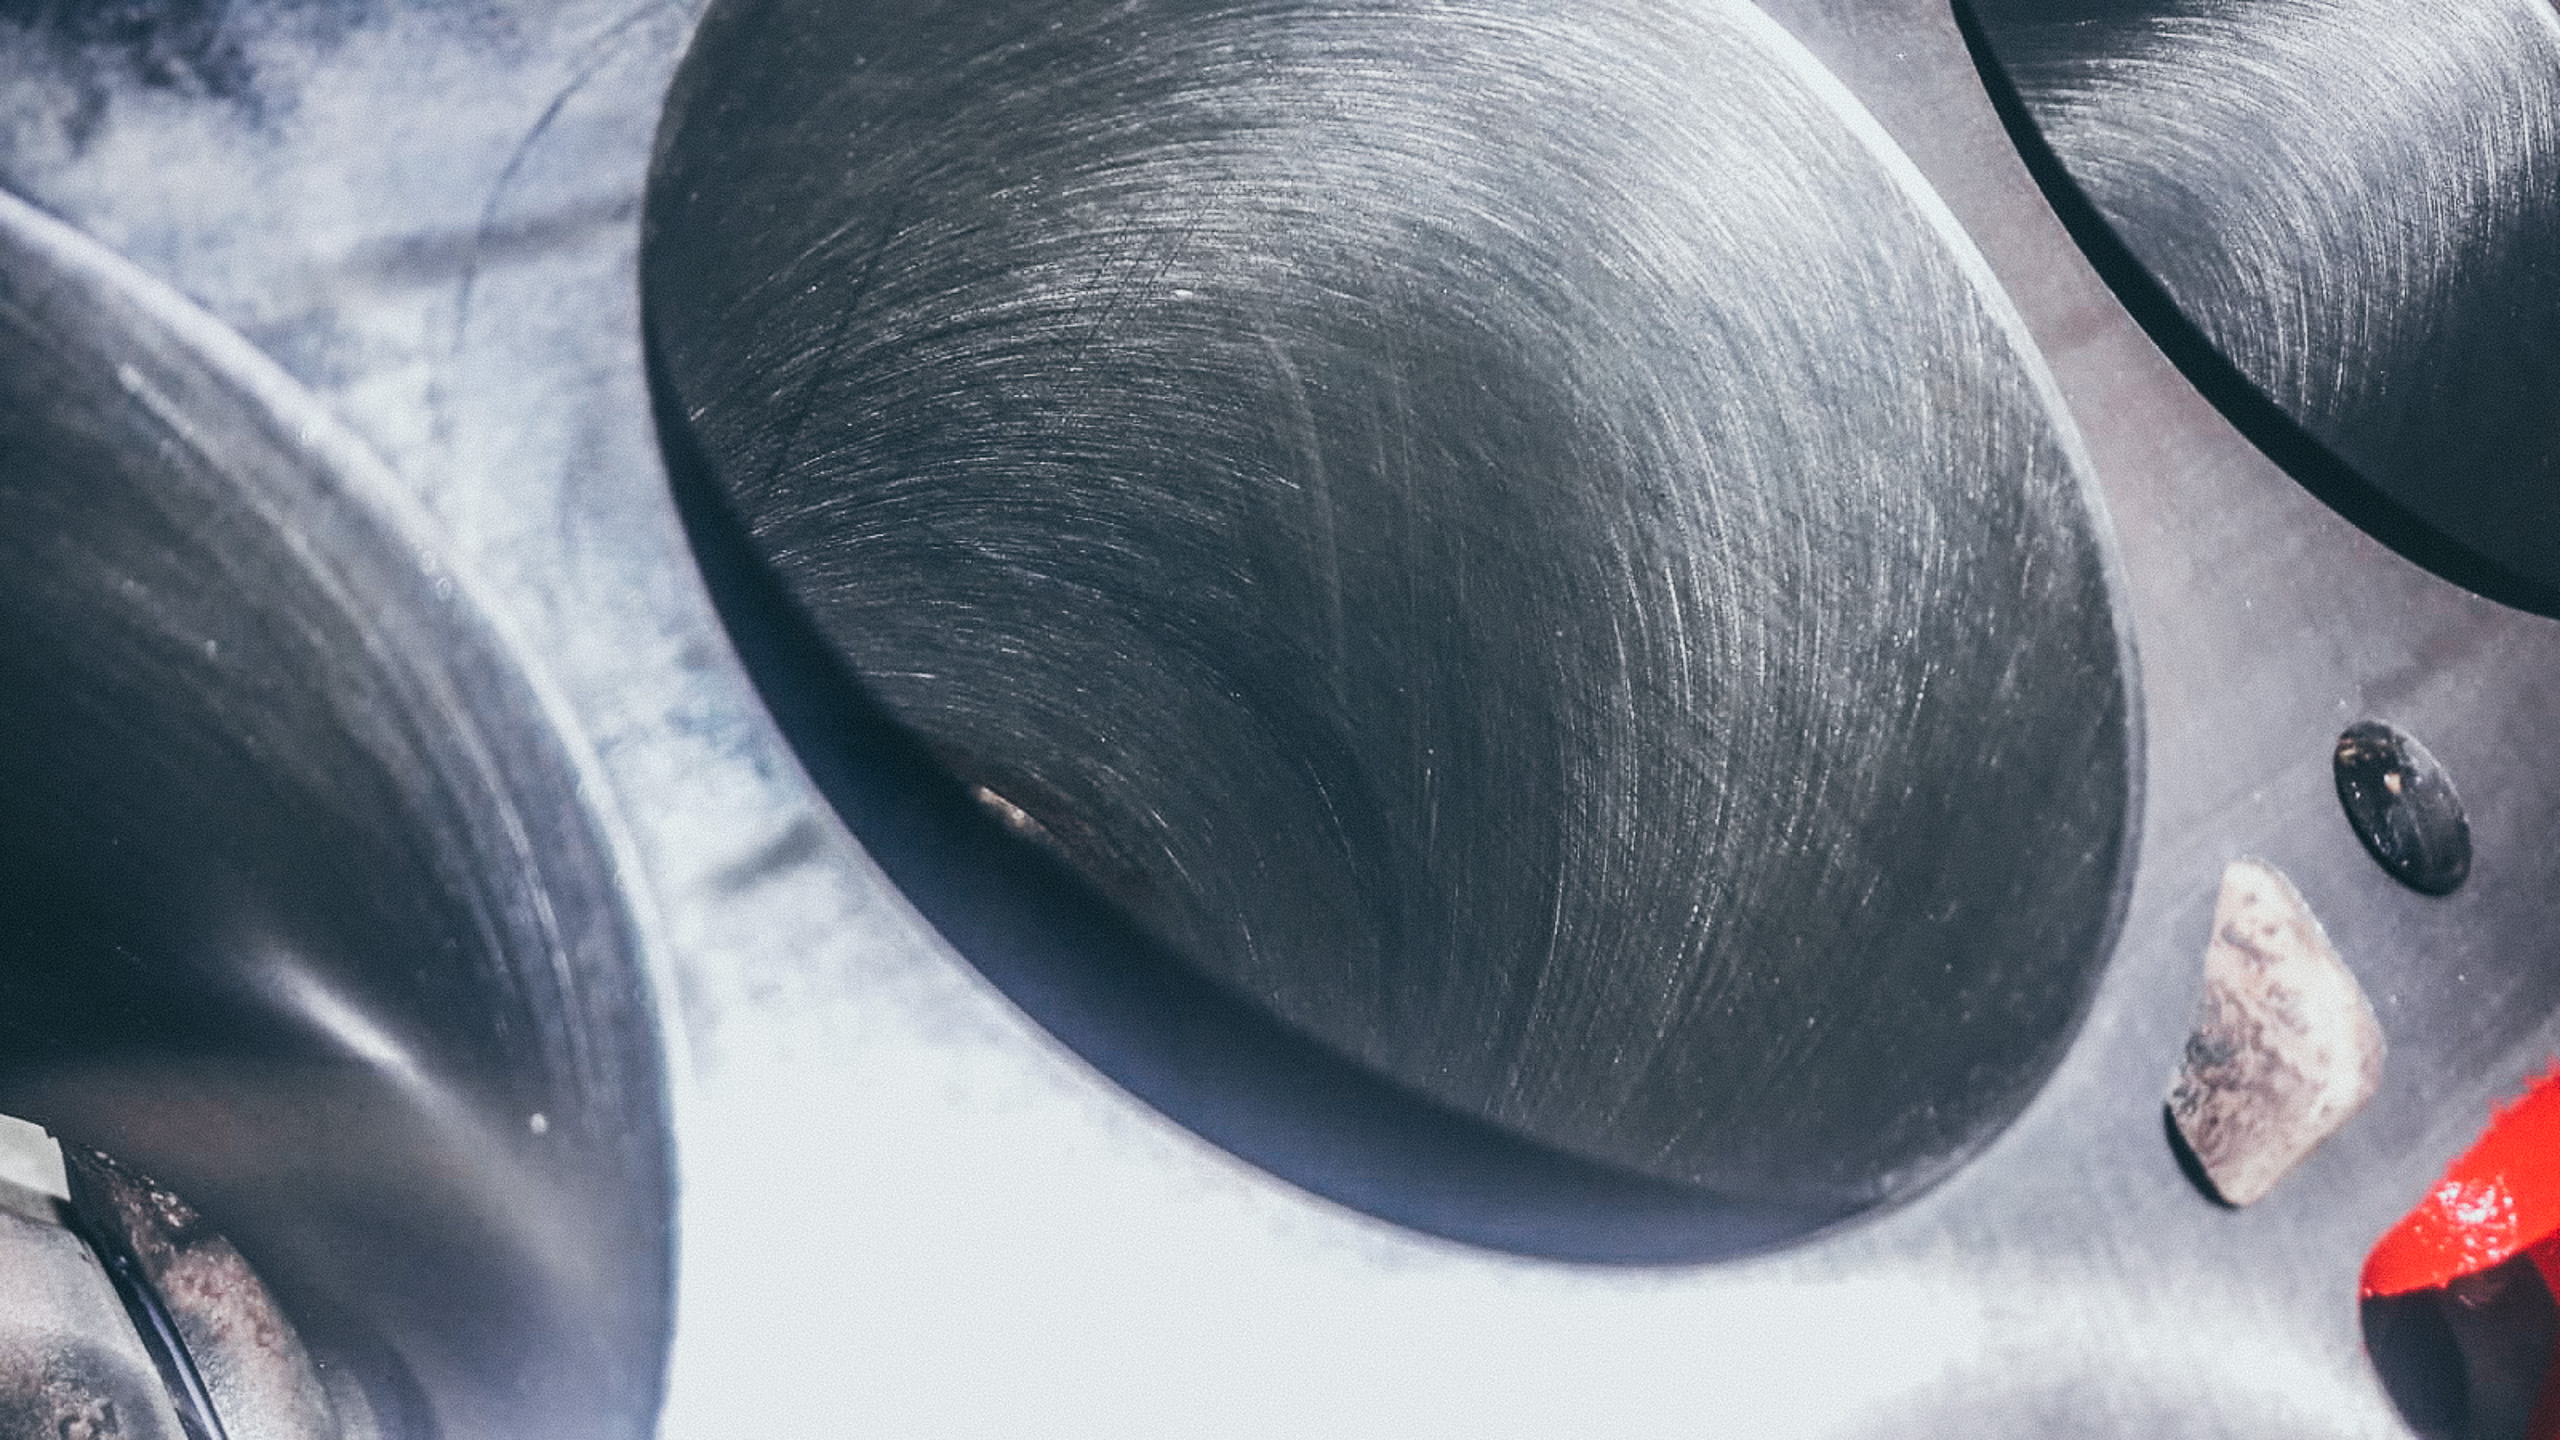
Piston ring wear exceeded 1mm at the piston ring gap. Average wear on the cylinders are 0.03mm, varying between 0.02mm and 0.05mm. At least new piston rings are needed, or new pistons the same size, with new rings.
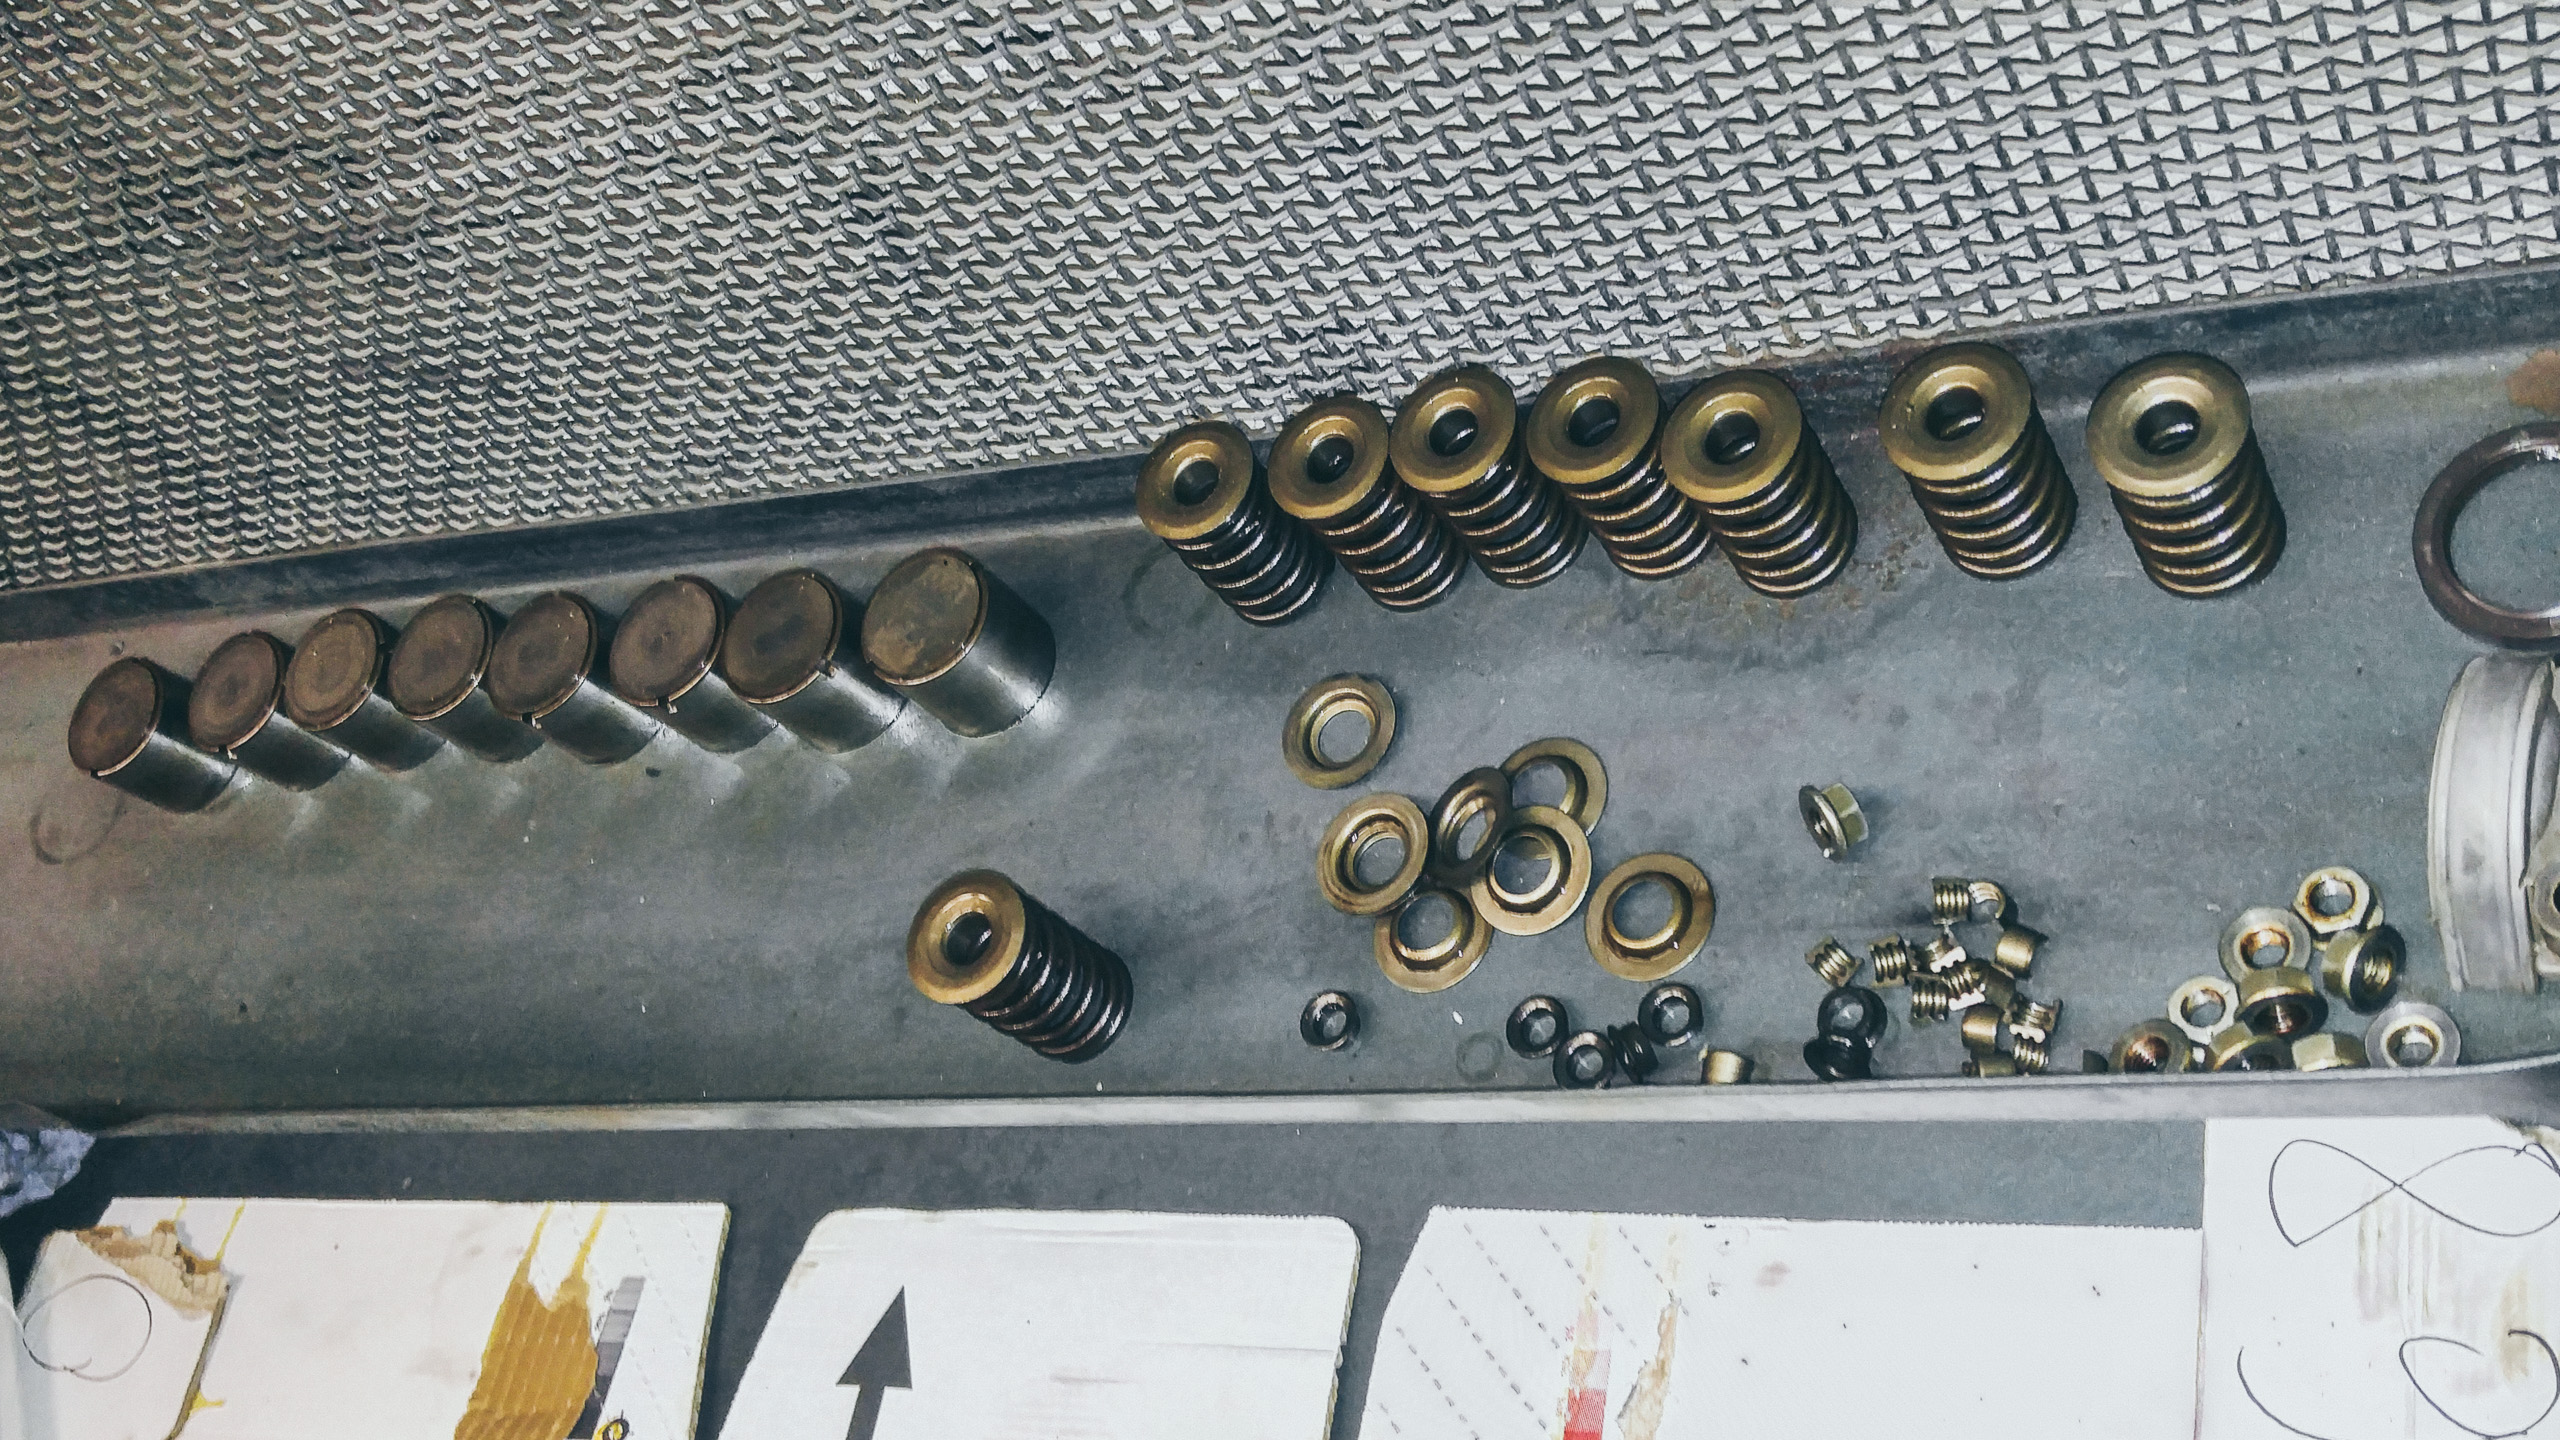
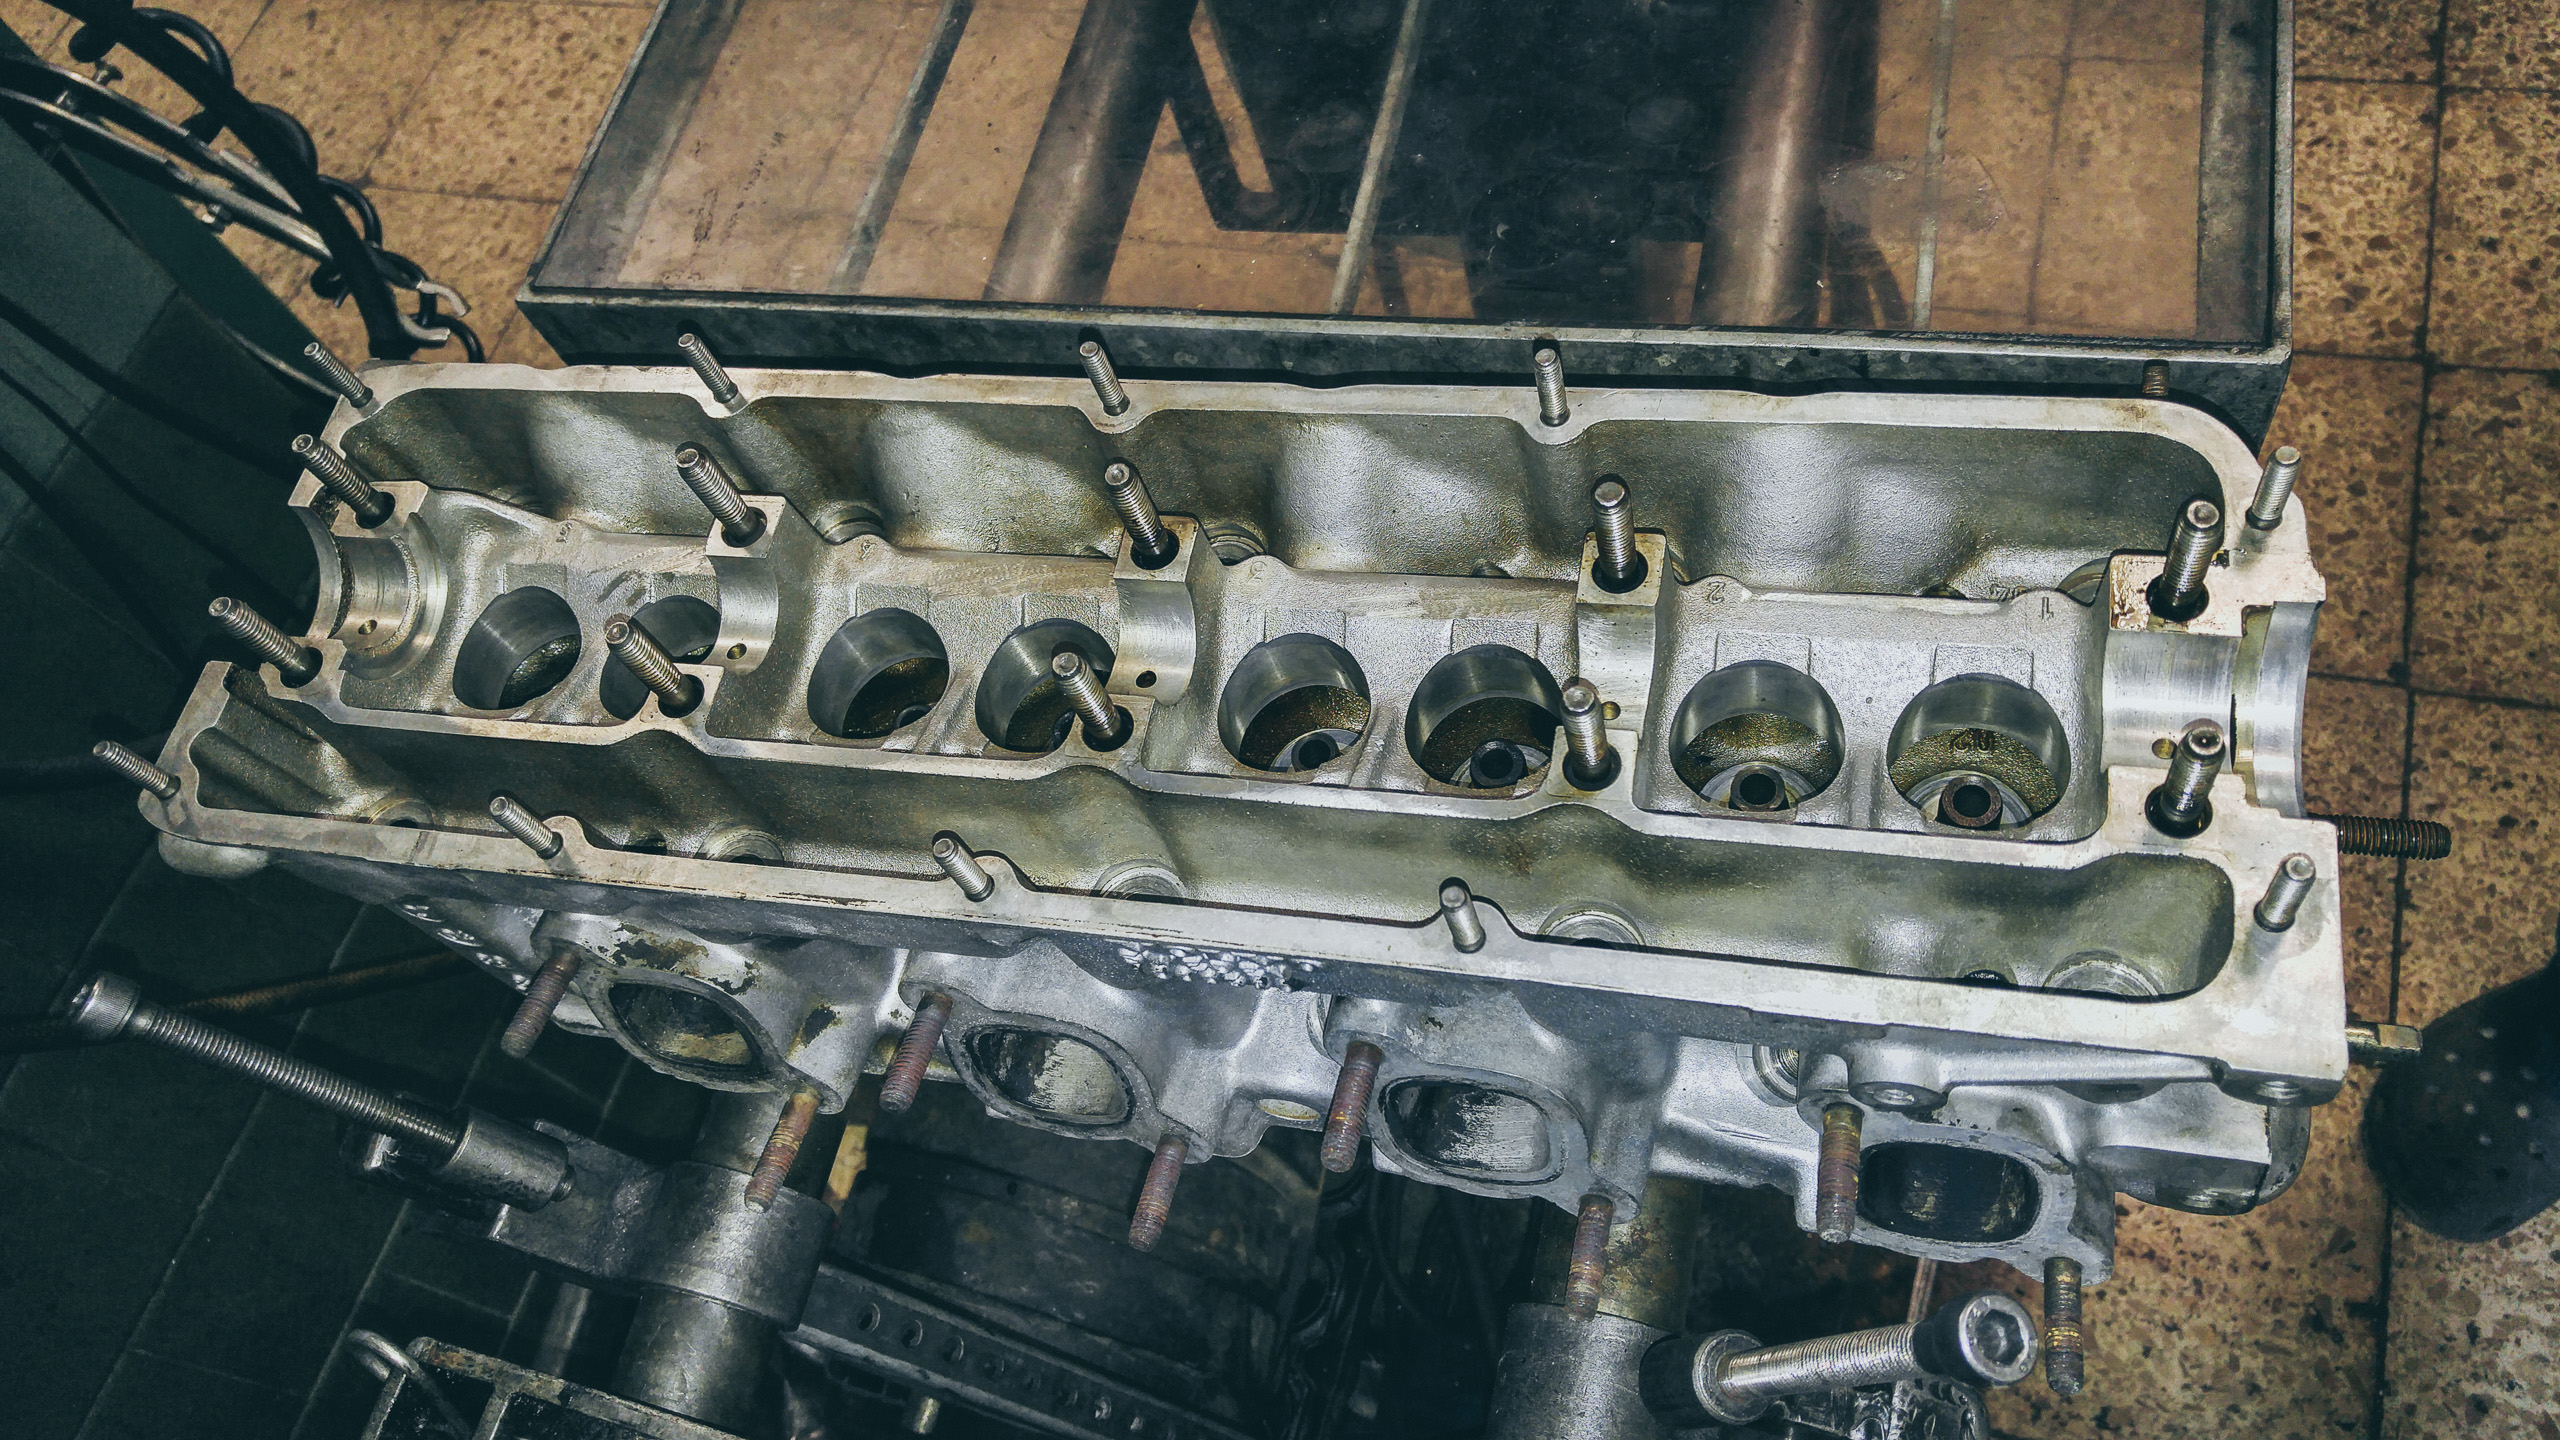
The valve tappet clearances-cold spec found online are .30-.40mm for both inlet and outlet.
The numbers I got from discussions, are that people adjust to 40mm cold, between 0.35 and 0.45 cold, and some go for golden middle of road of 0.38.
RA Moto advised against golden middle road and said in order to maximize the motor’s resource the tappet clearances should be maximized, so the valve tappets will not need to be shimmed in near future.
Some original valve tappet clearances were below zero- negative!
4x additional 33mm diameter tappets were purchased with following thickness: 2x 4.35mm, 1x 4.25mm, 1x 4.20mm
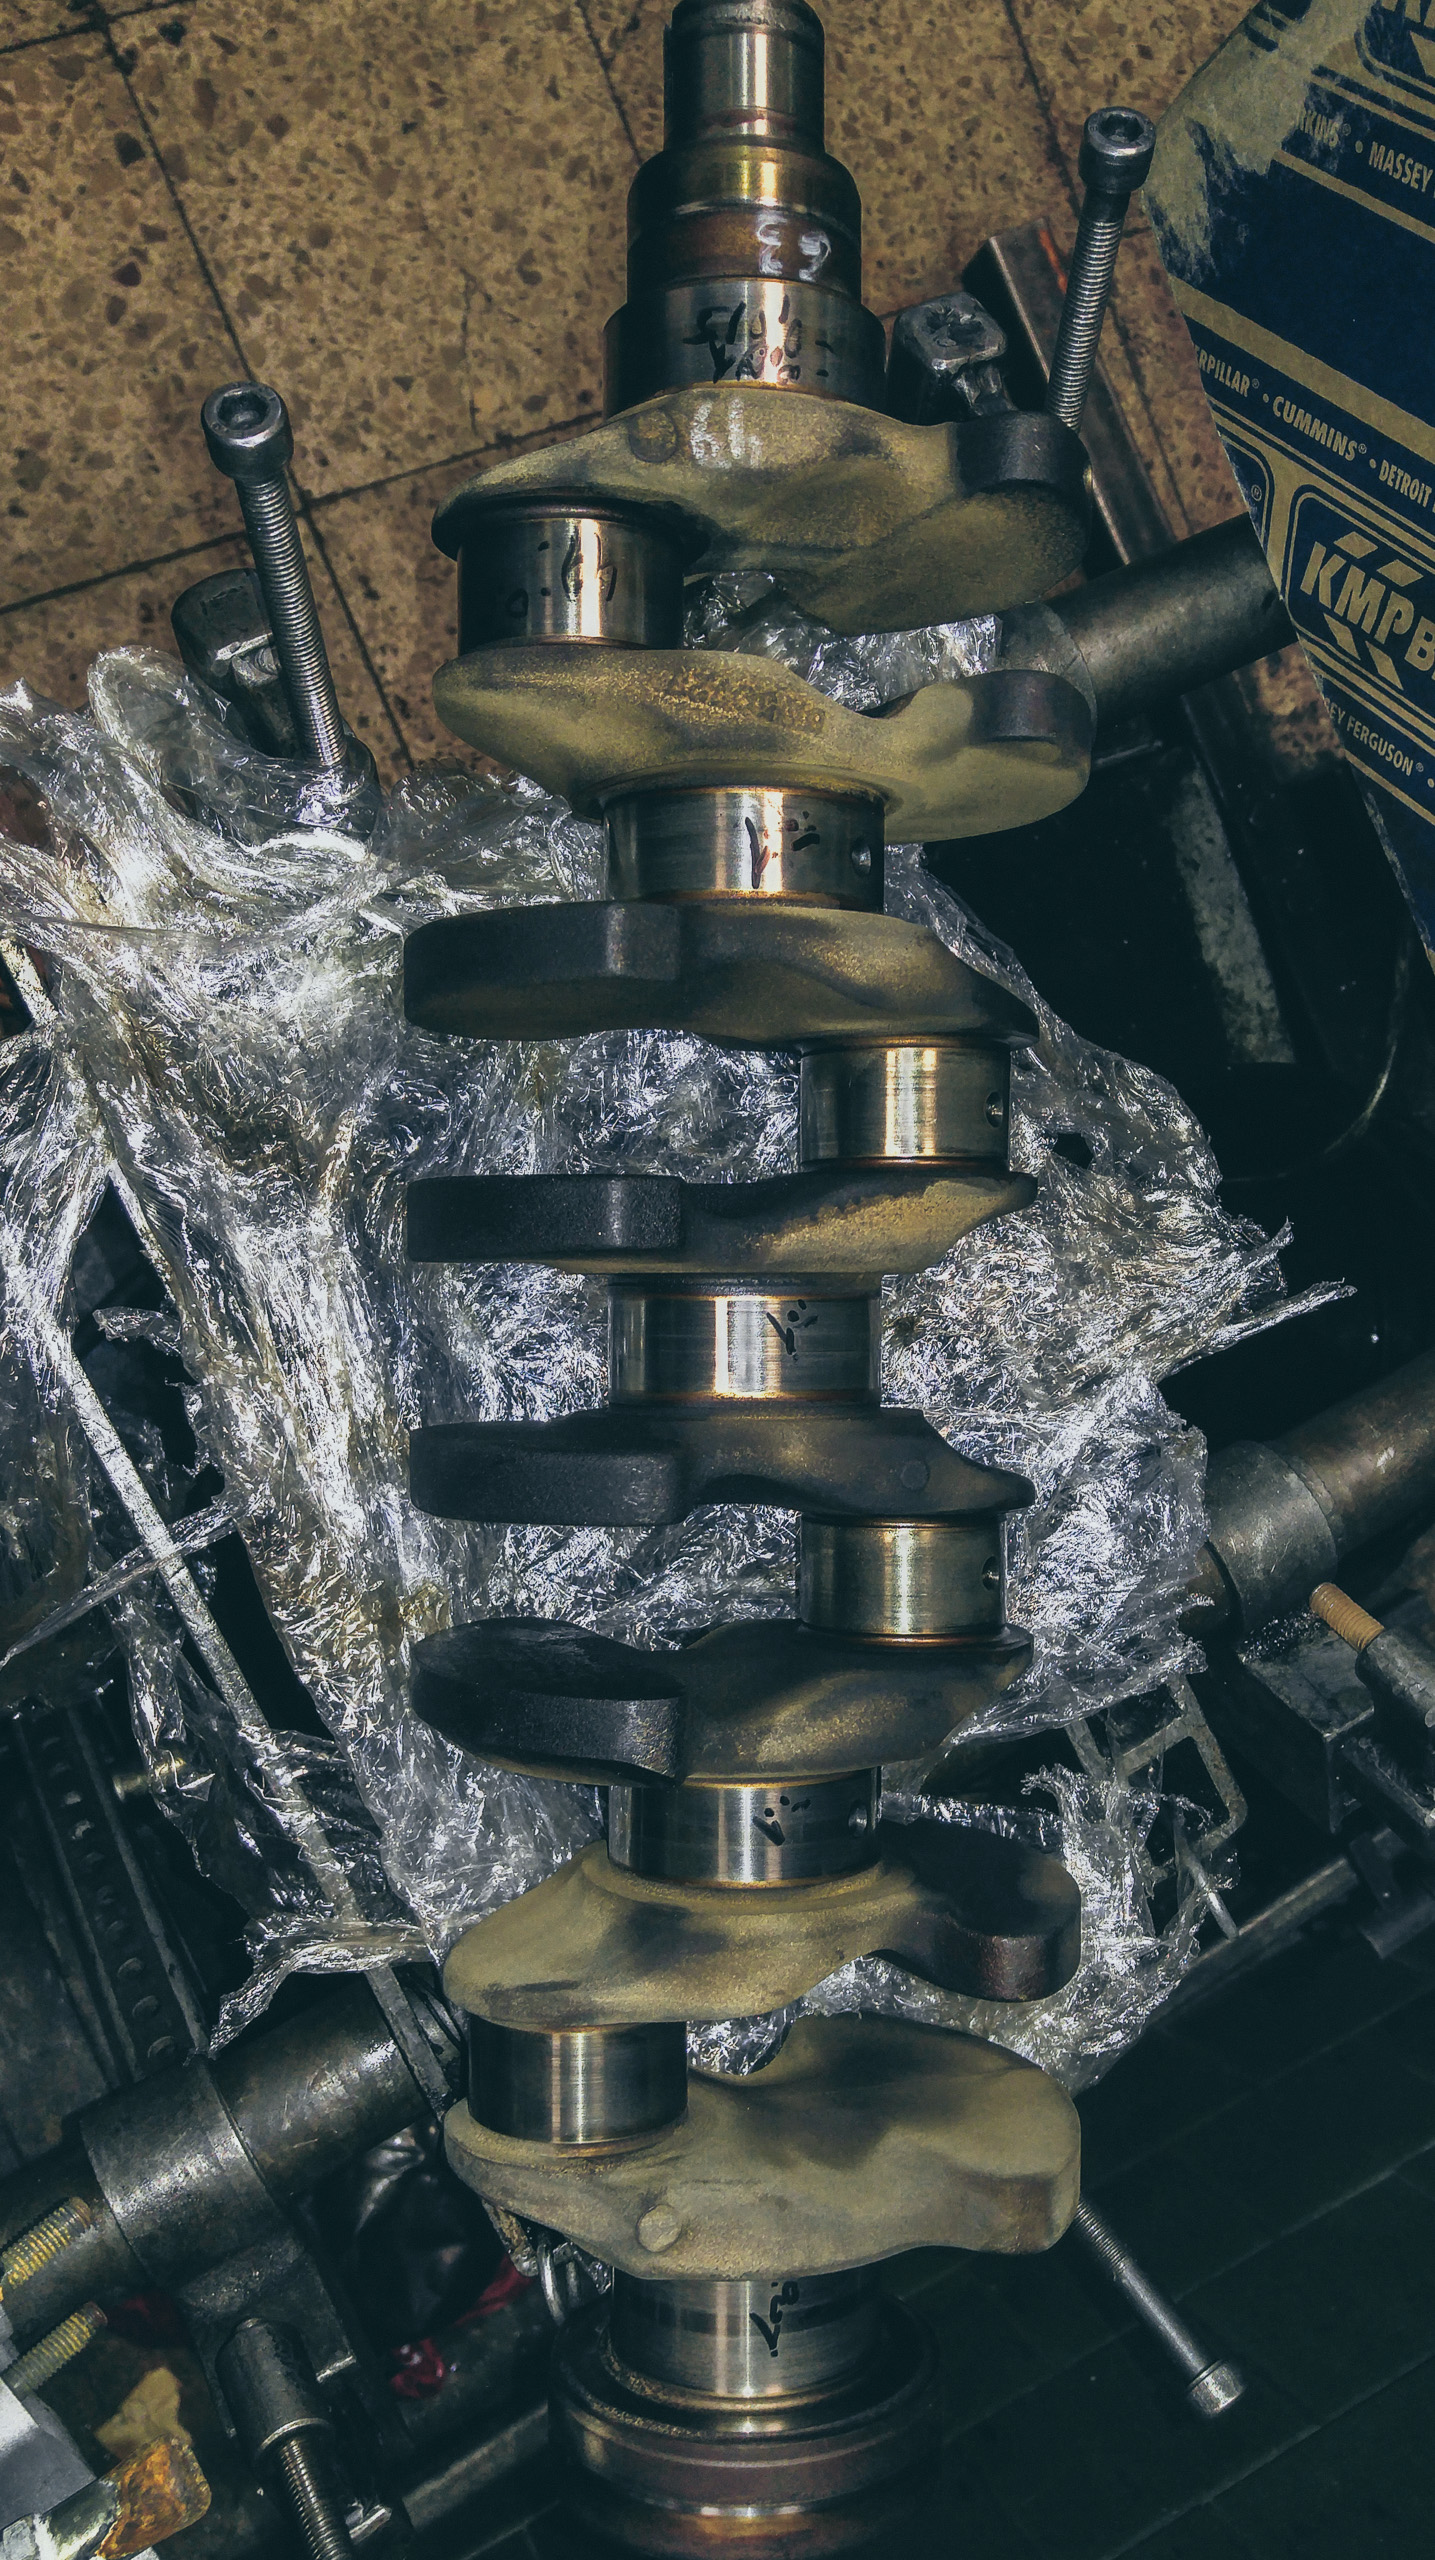
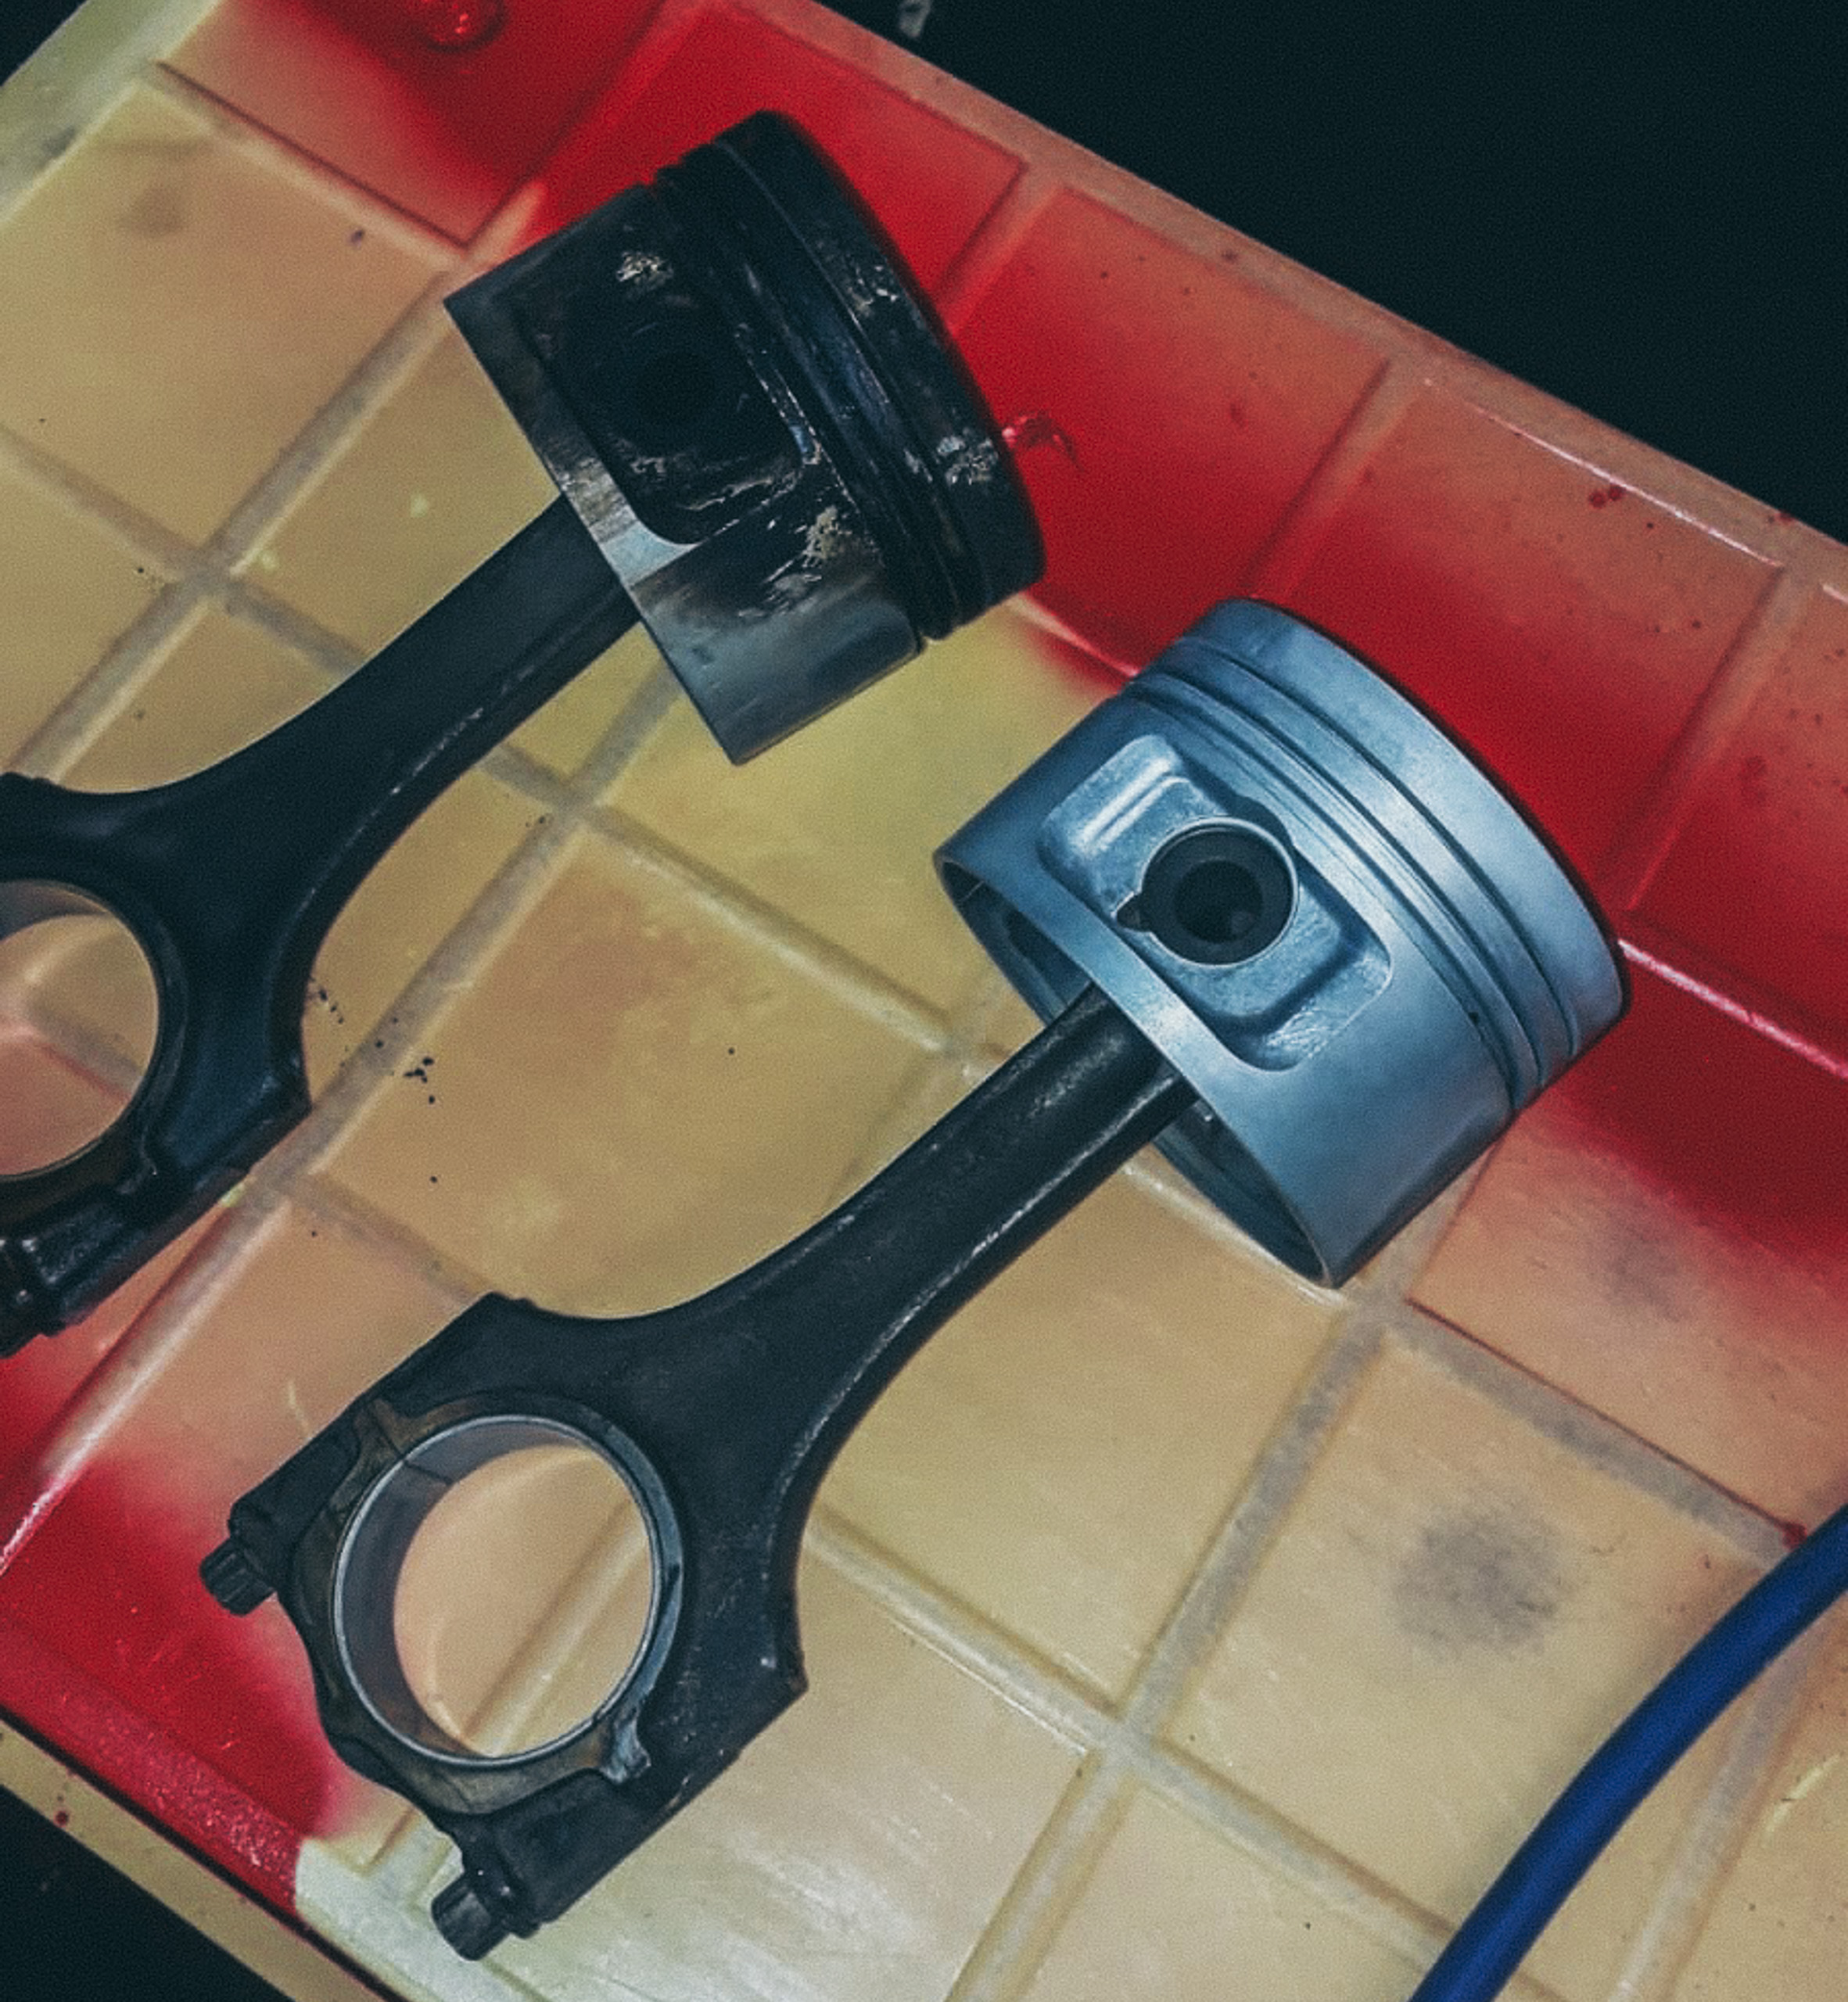
Overall good shape, balanced and no machining needed.
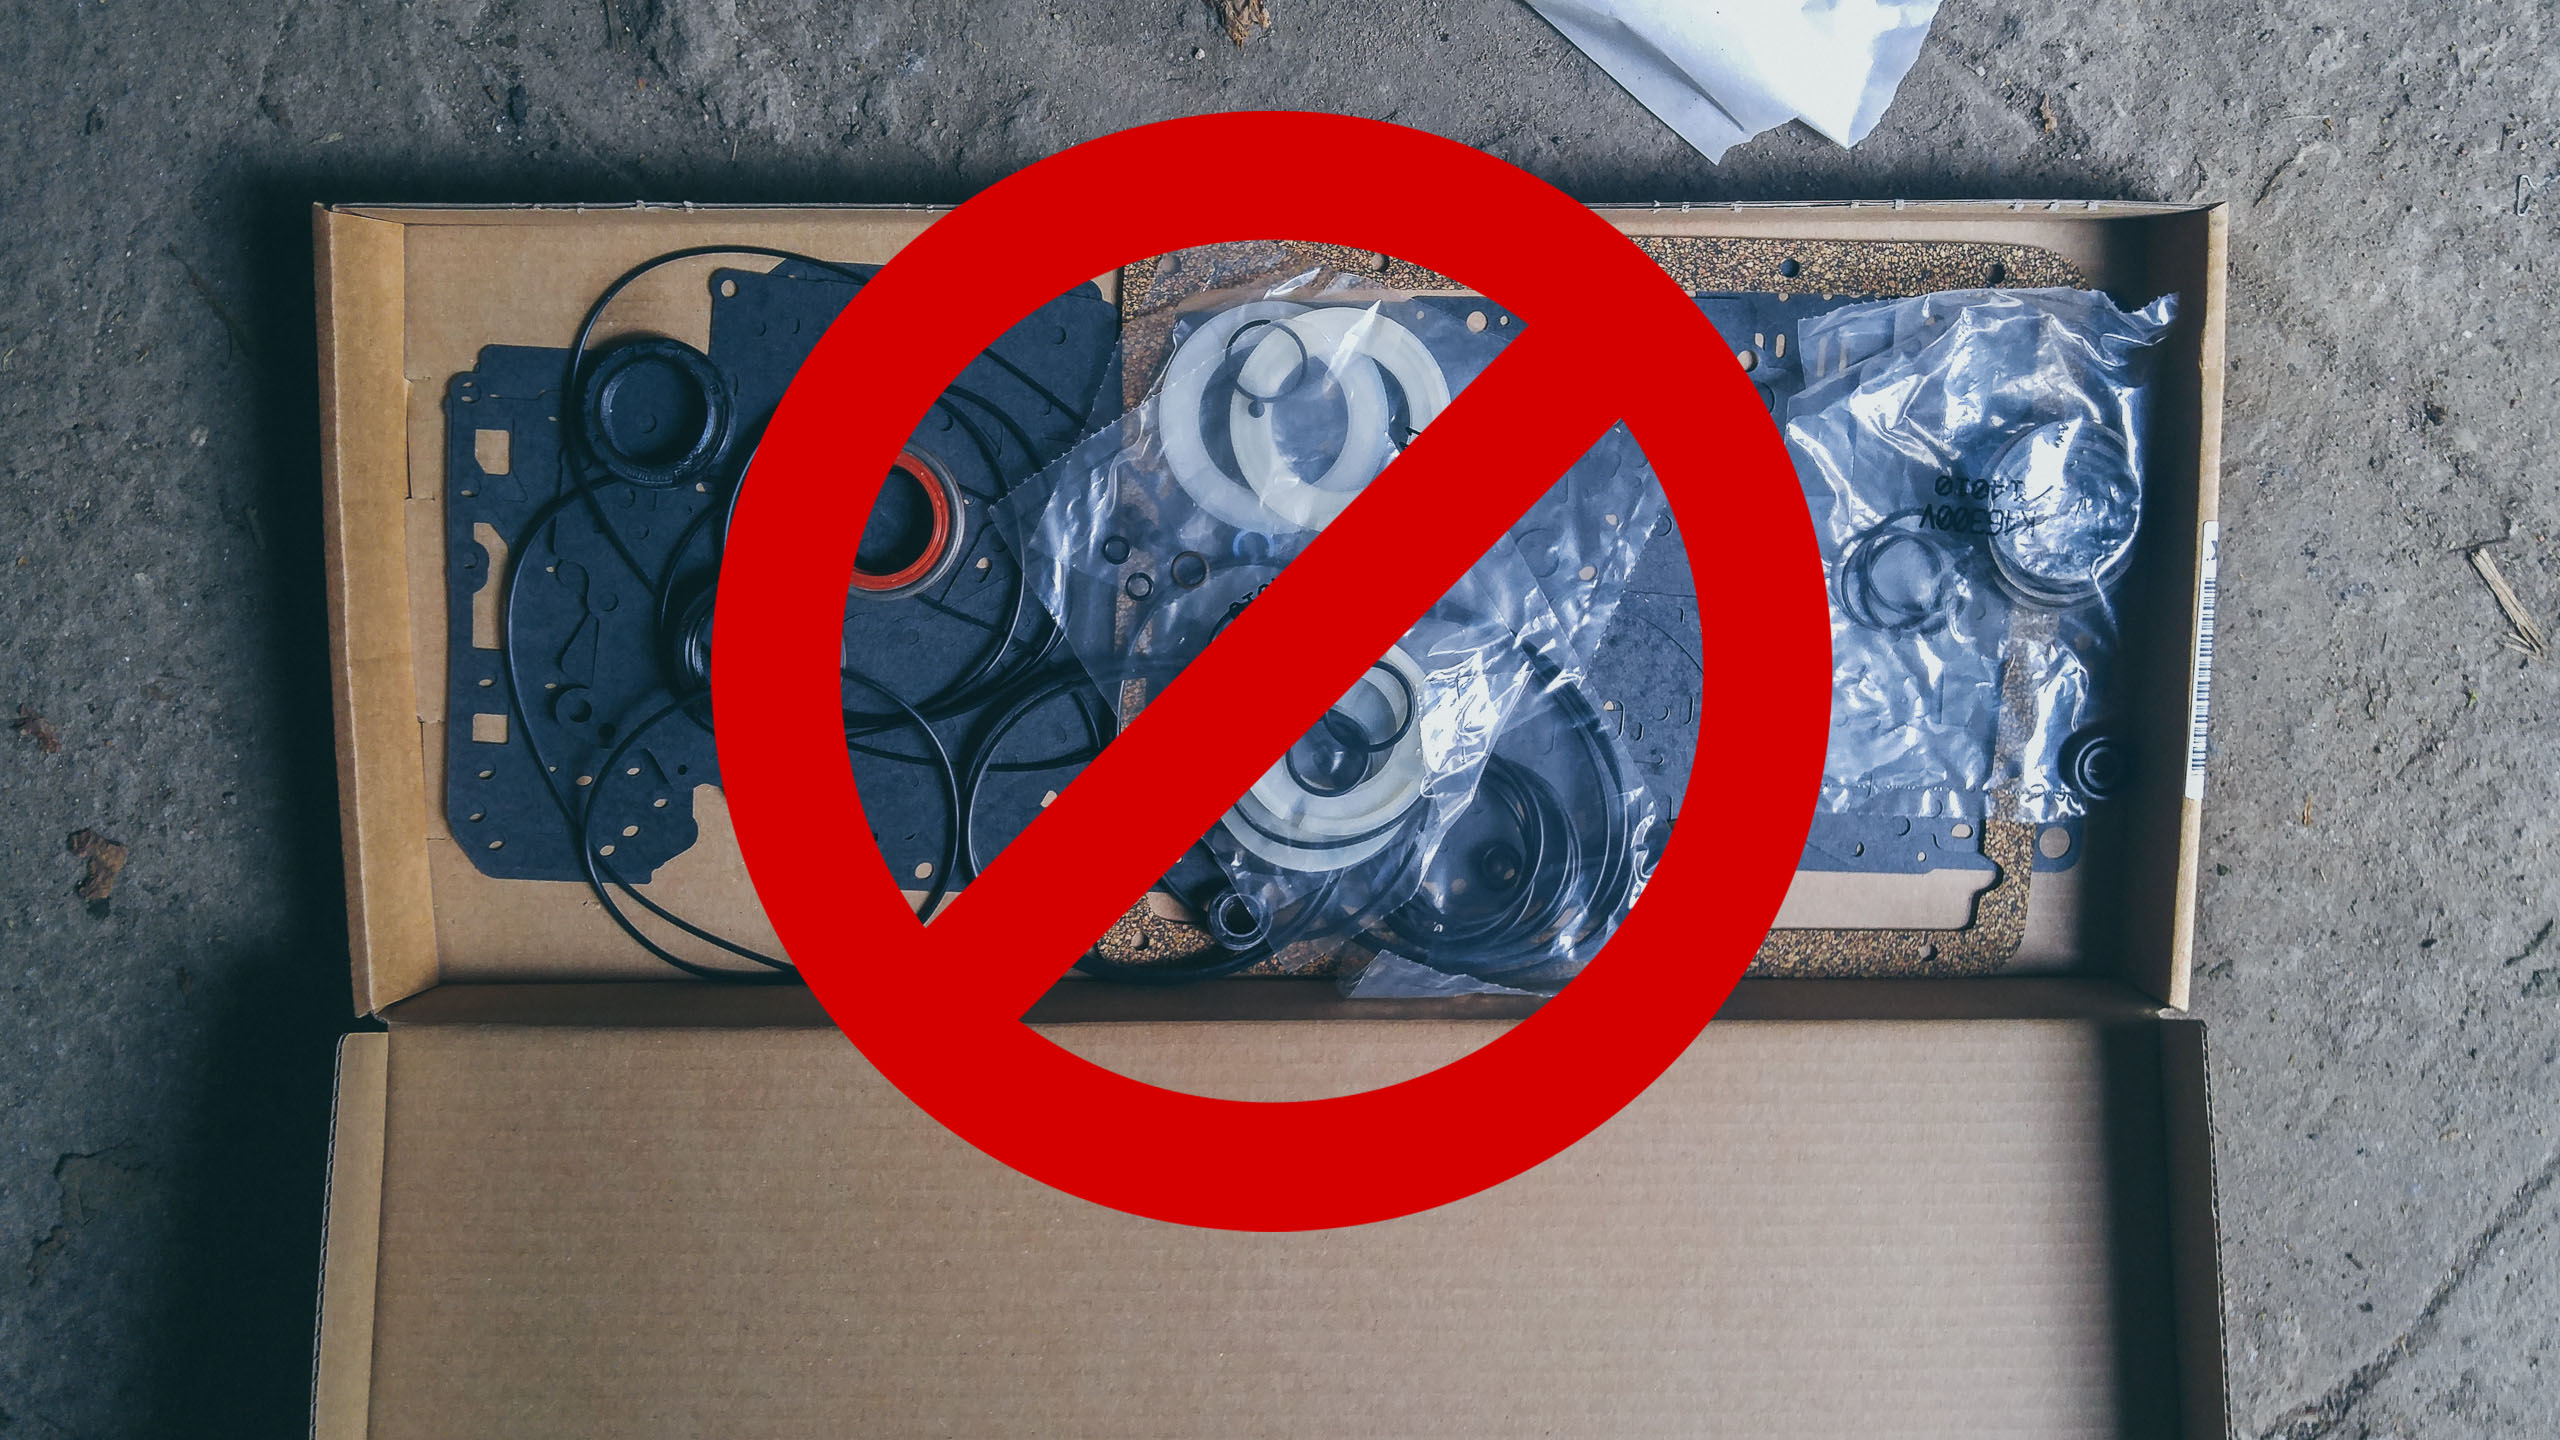
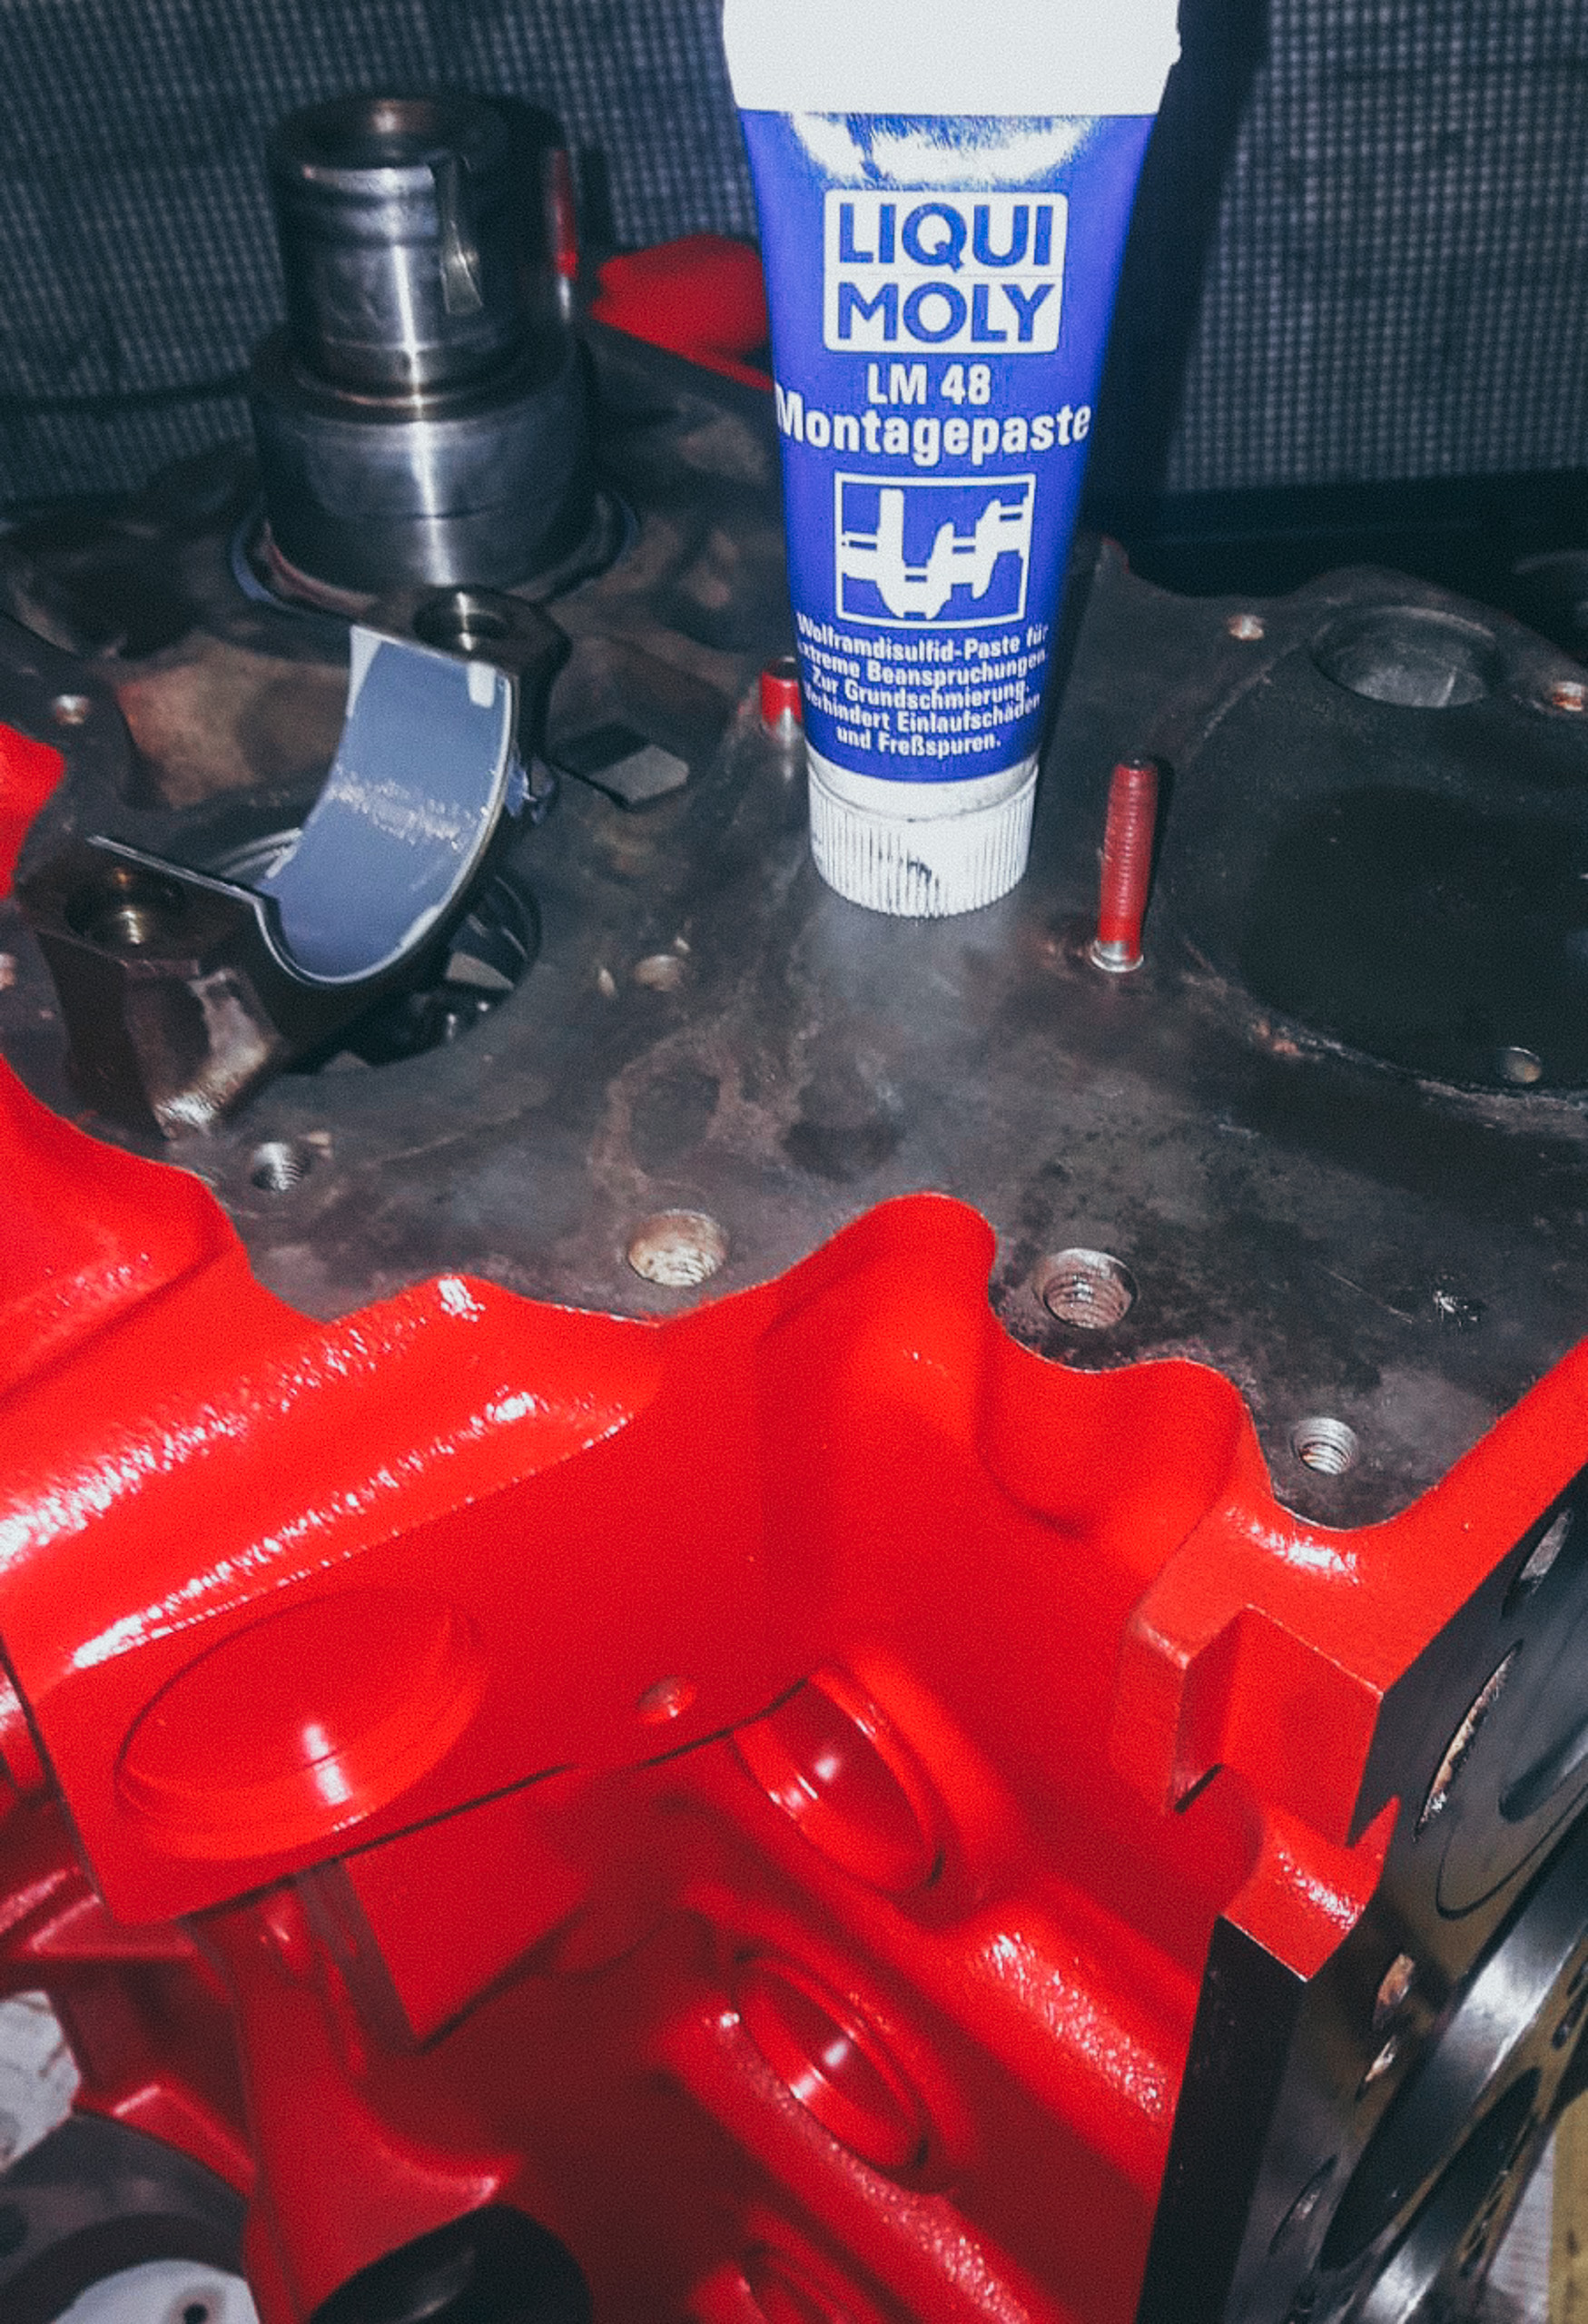
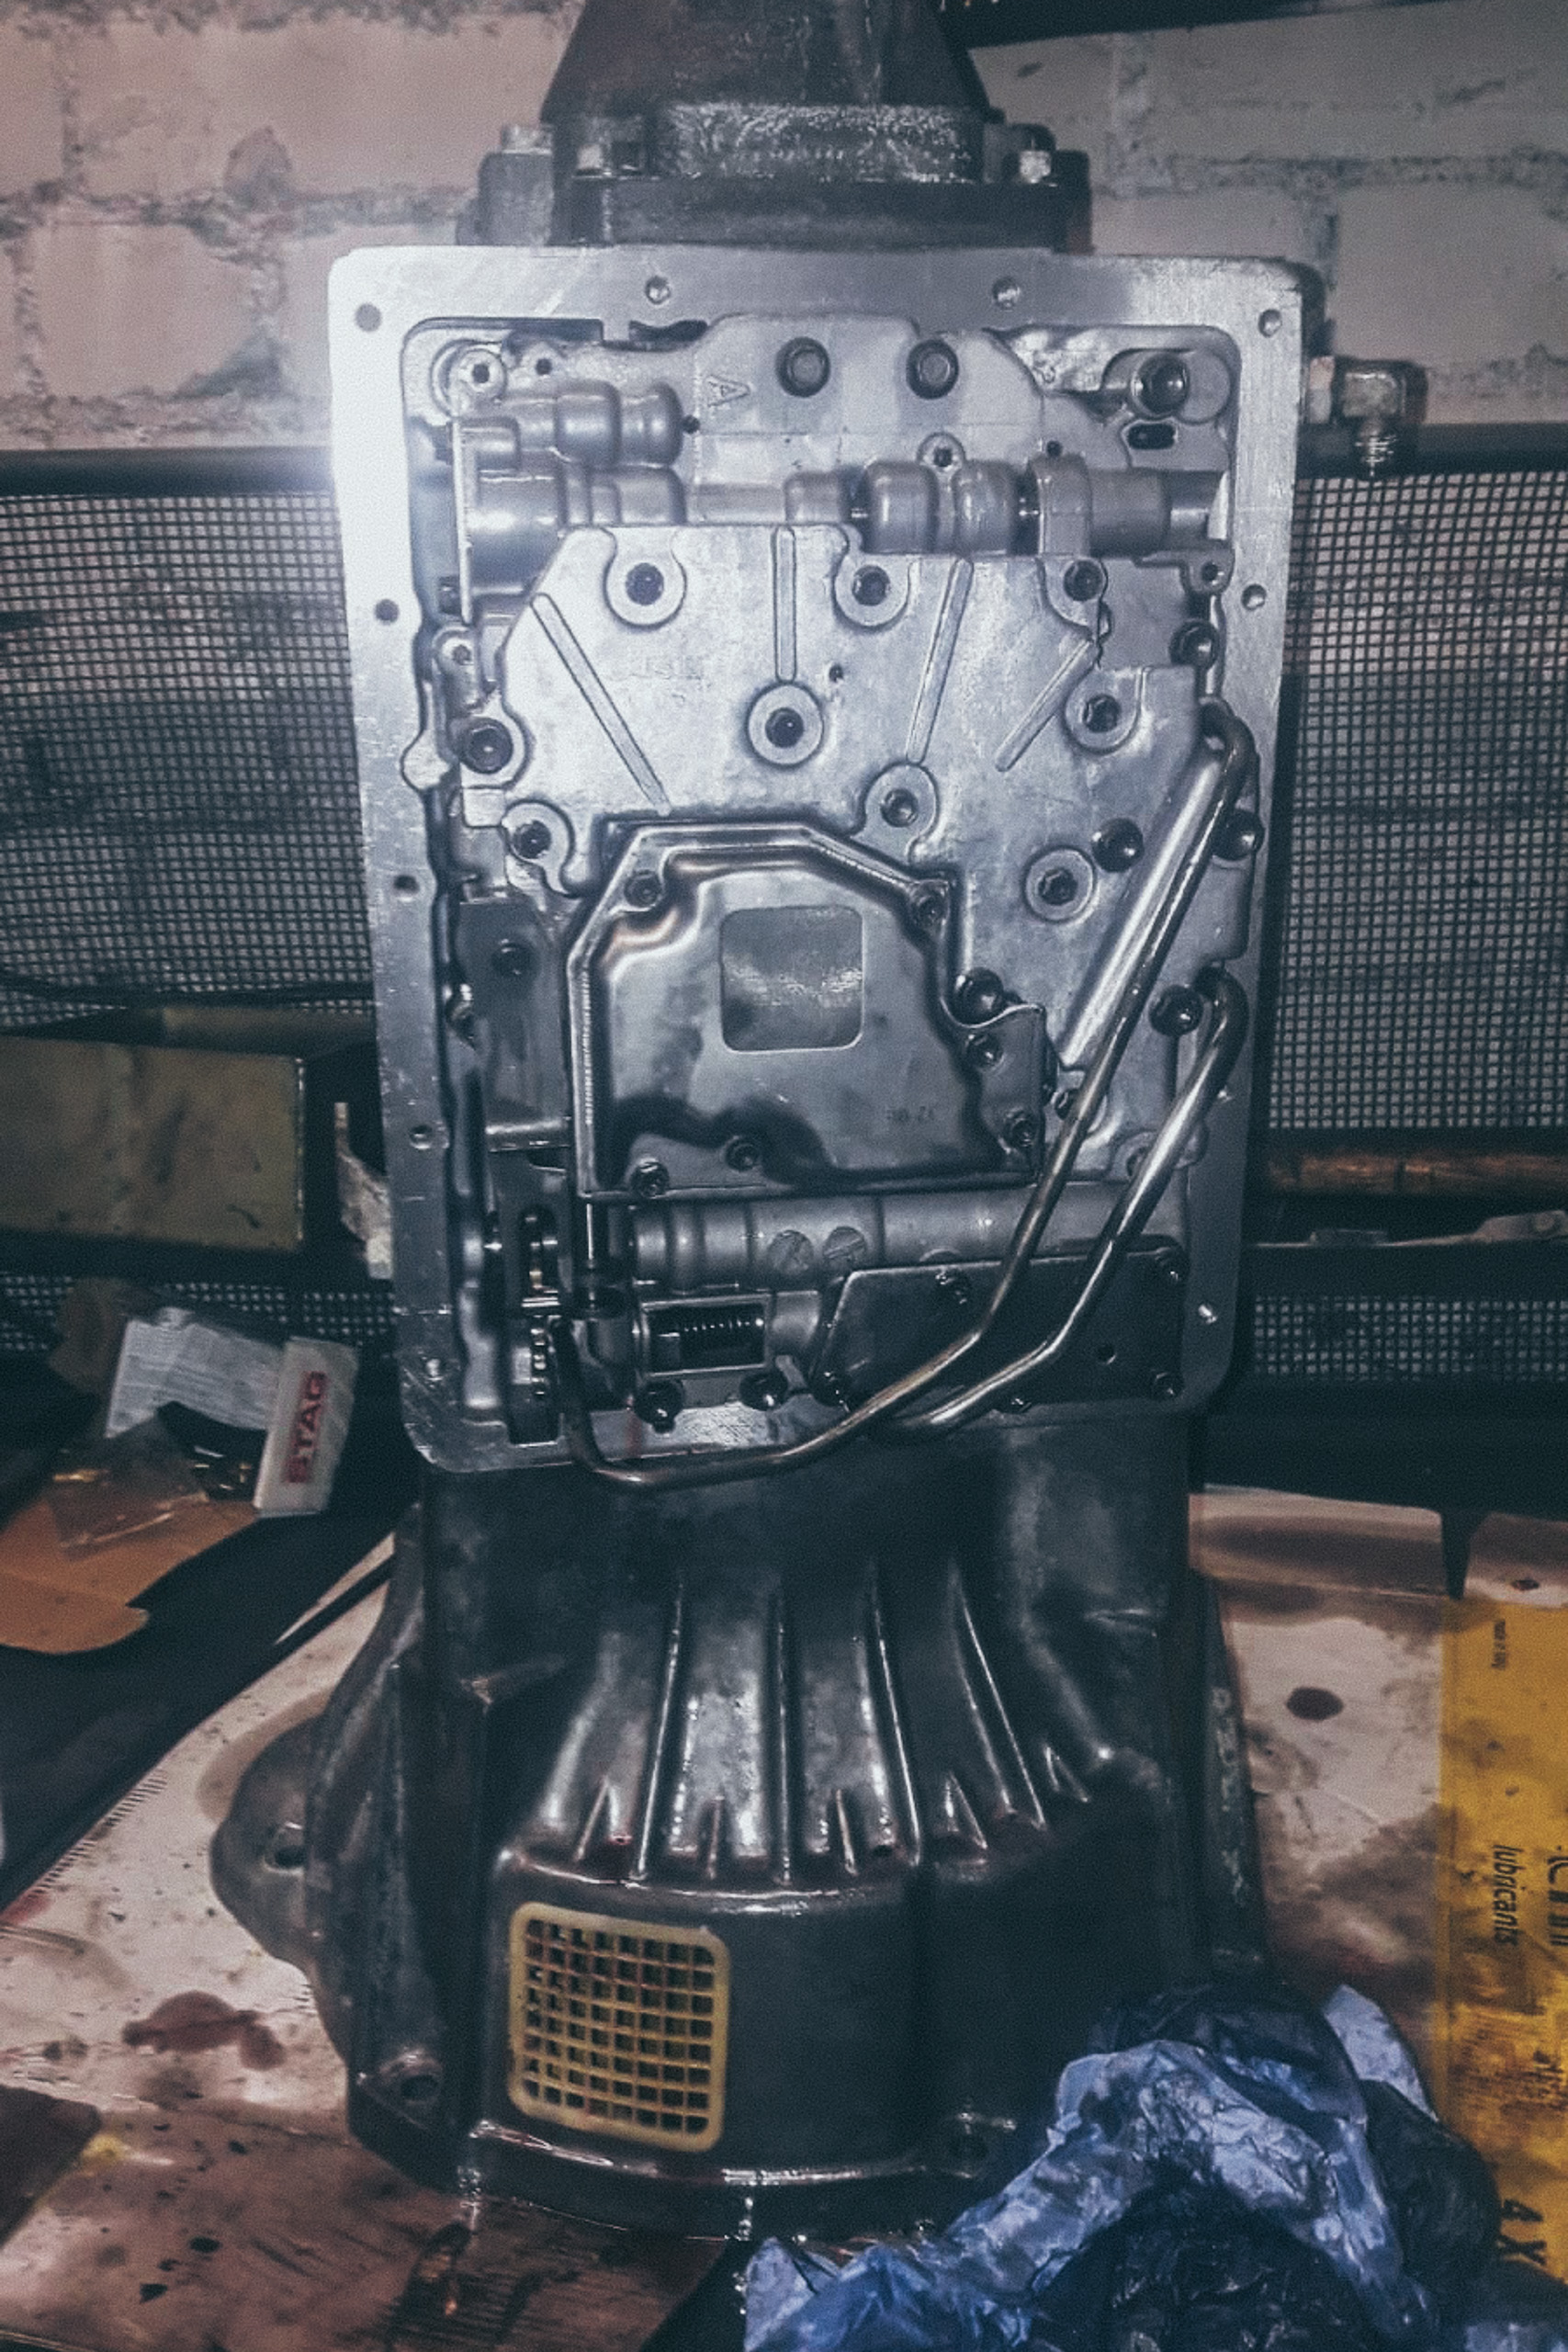
A lot of the internal seals and gaskets did not fit the transmission. In picture the red seal (kind of hiding behind big NO sign) is the transmission shaft seal, that seal fit, but the rubber was so soft you could easily bend it with hands, the transmission leaked, was replaced with aftermarket seal w/ harder rubber and the leaking stopped. So much for Skandix OEM quality.

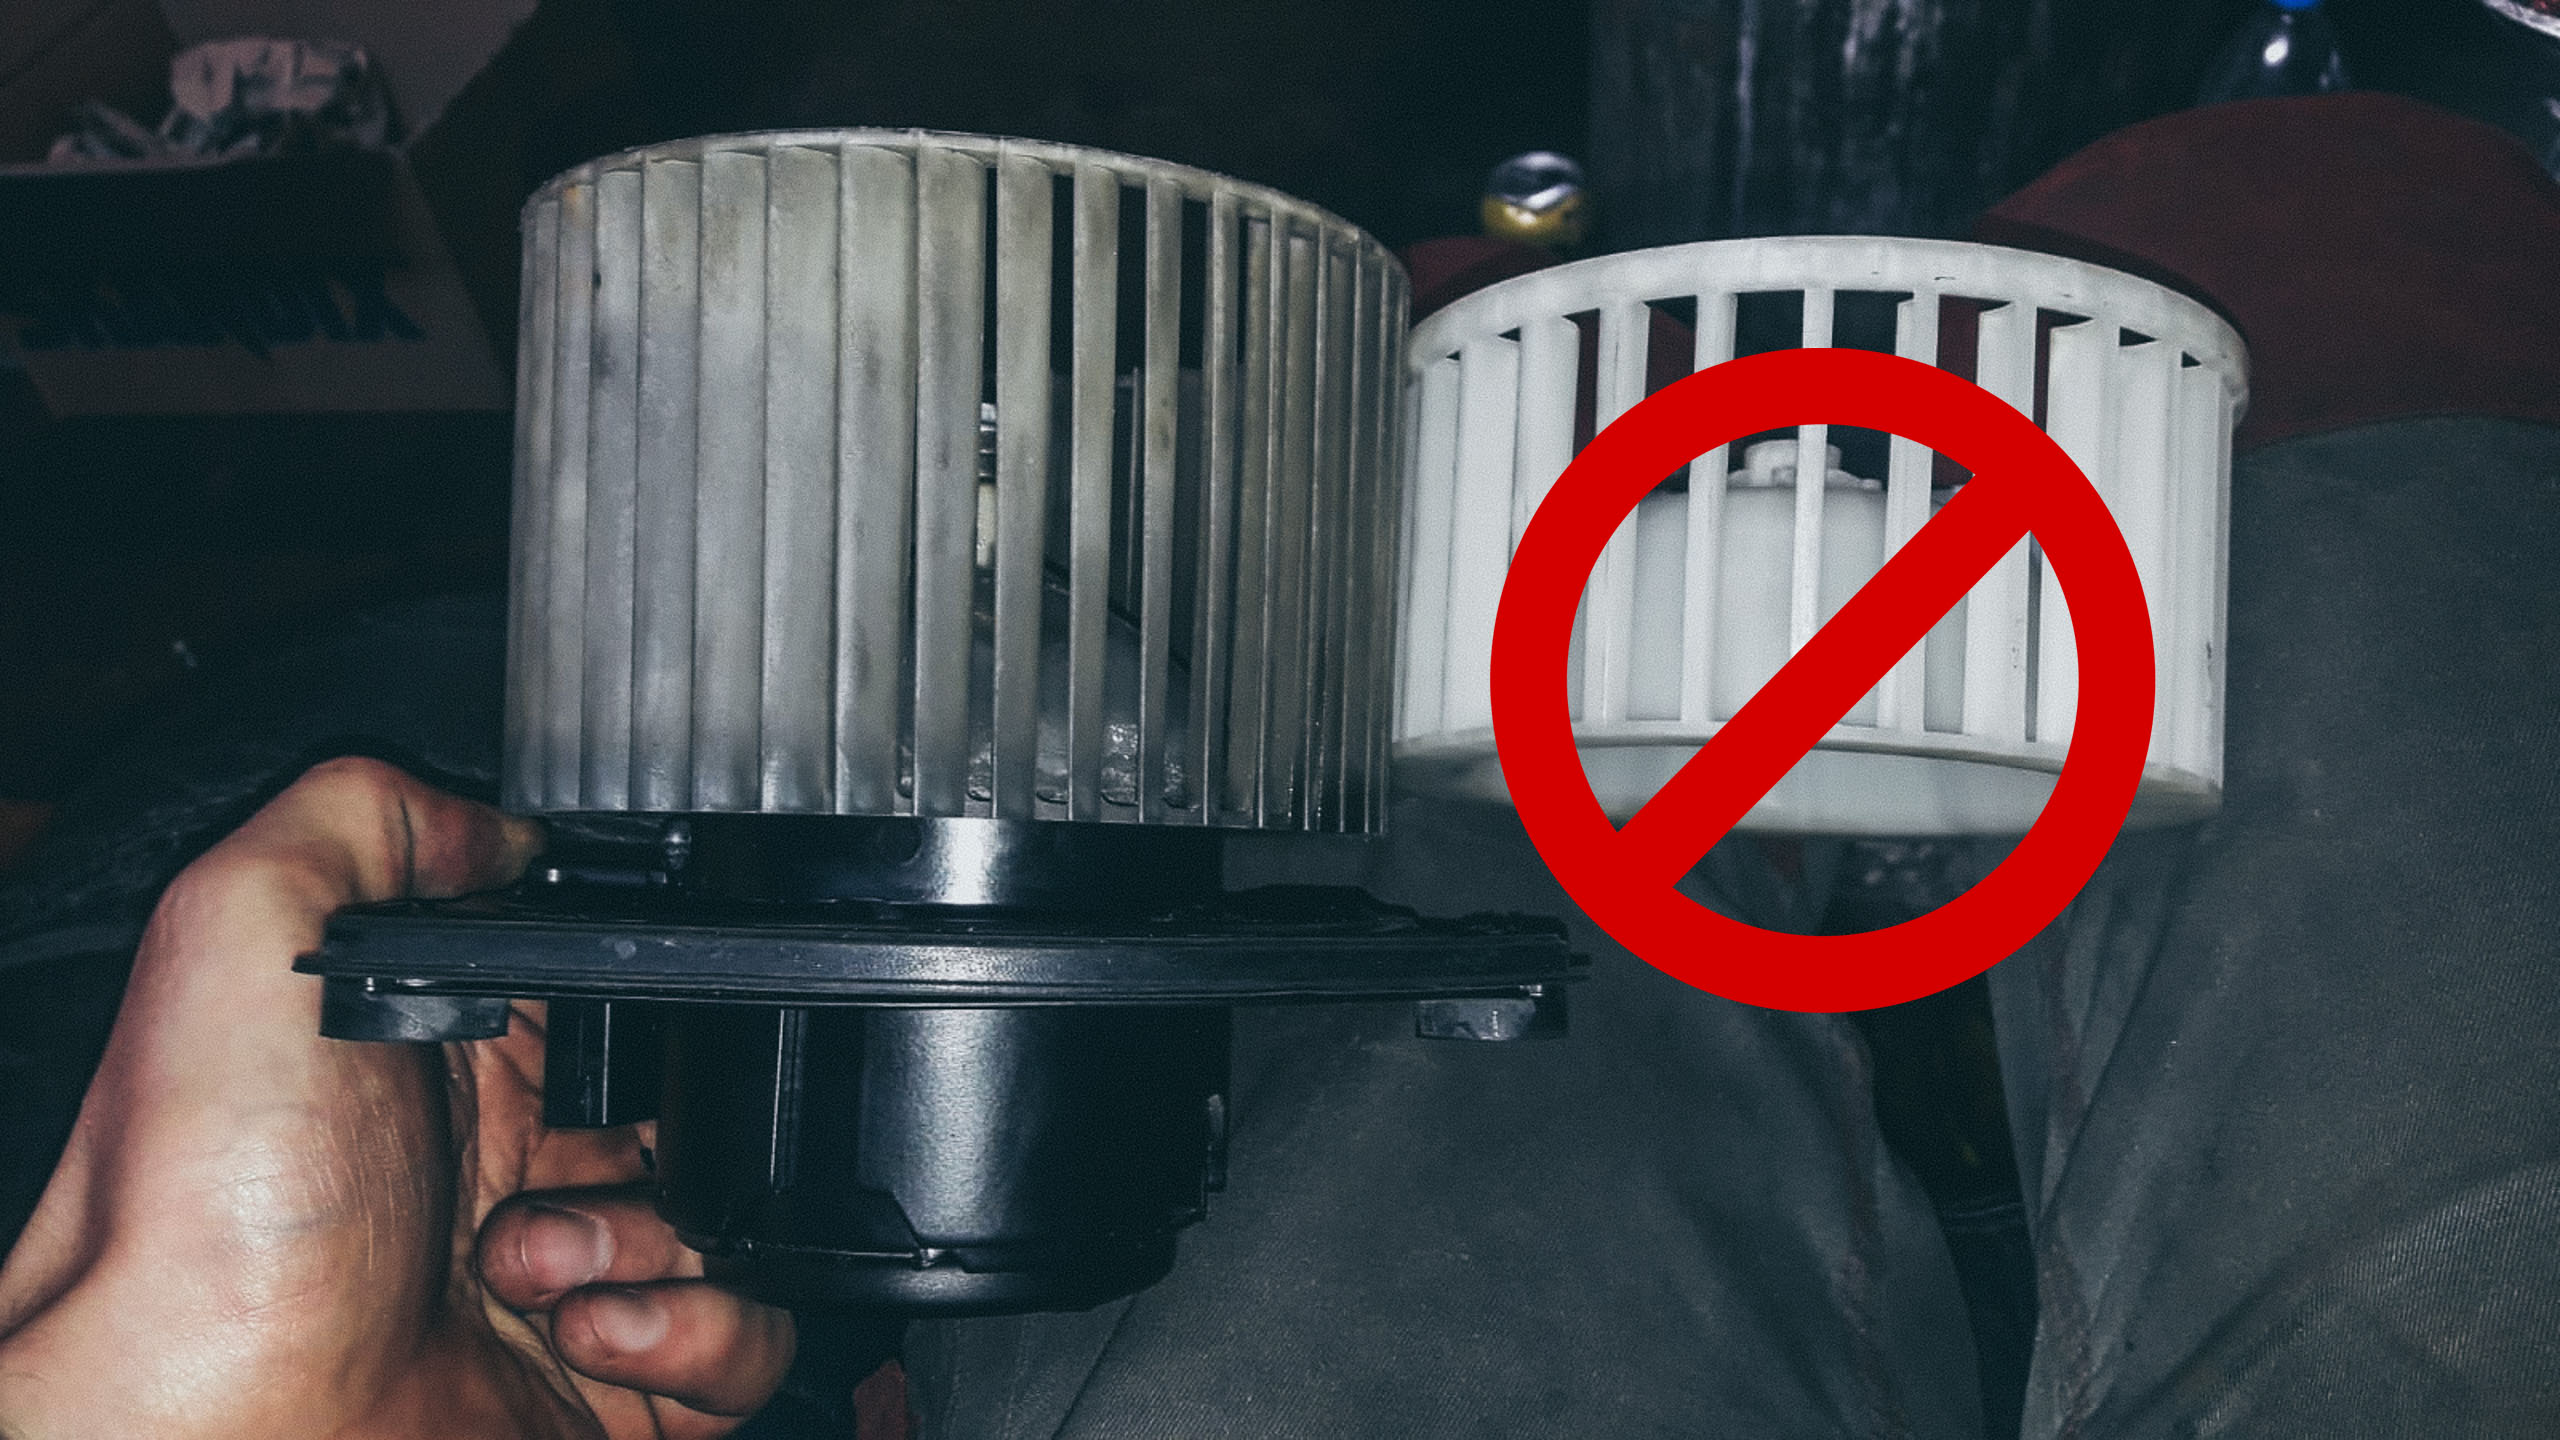
Among things that came from Skandix that did not work. The interior fan blower and motor. The part as arrived did not fit the car, we had to modify the new motor with original fan blade, when paying OEM prices this should not happen.
Also, window washer nozzles were total junk from Skandix, put the originals back on and everything worked great. Skandix must be buying some cheap China copies and selling for OEM prices. Skandix is definitely not OEM quality, considering the 25EUR shipping fee at Skandix, i suggest to check with your local Volvo dealer, since often the prices are the same as at Skandix, but you will save on shipping fee and get OEM quality.

Good thing I got lucky with getting to know Janis Haritonovs, an avid Volvo enthusiast and mechanic, with over 10 years experience with redblock engines. He knows all the ins and outs on these engines.
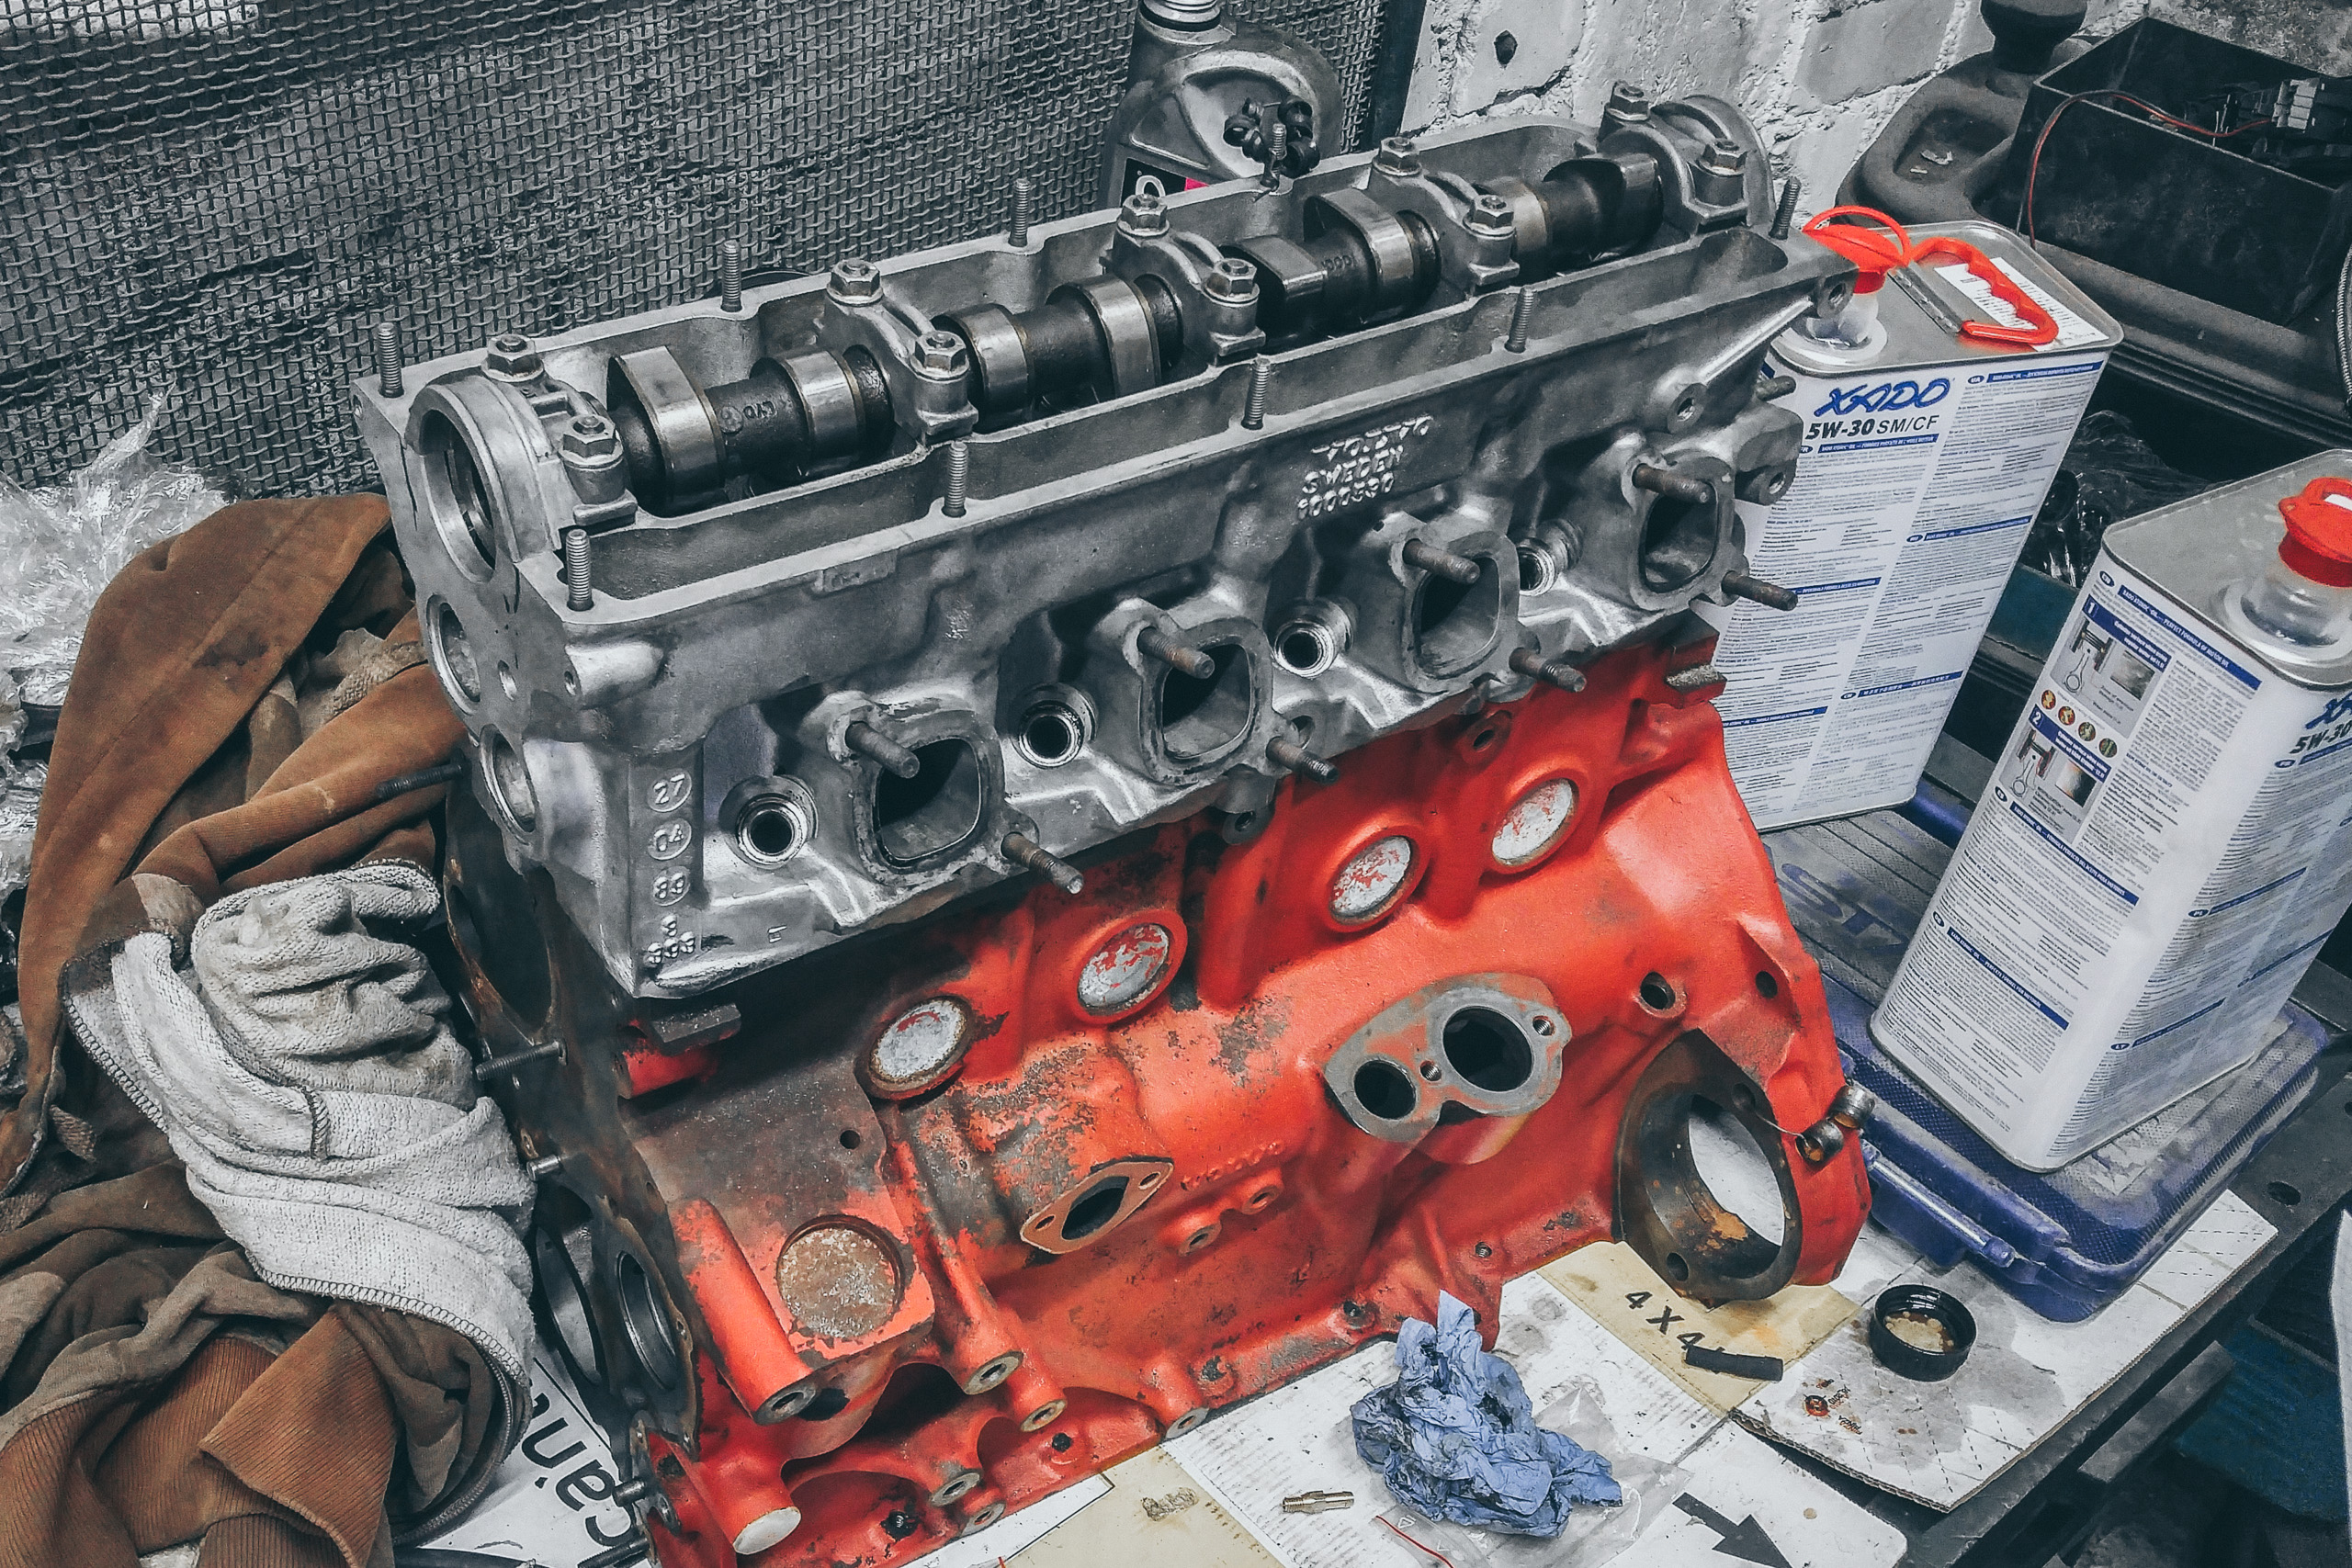
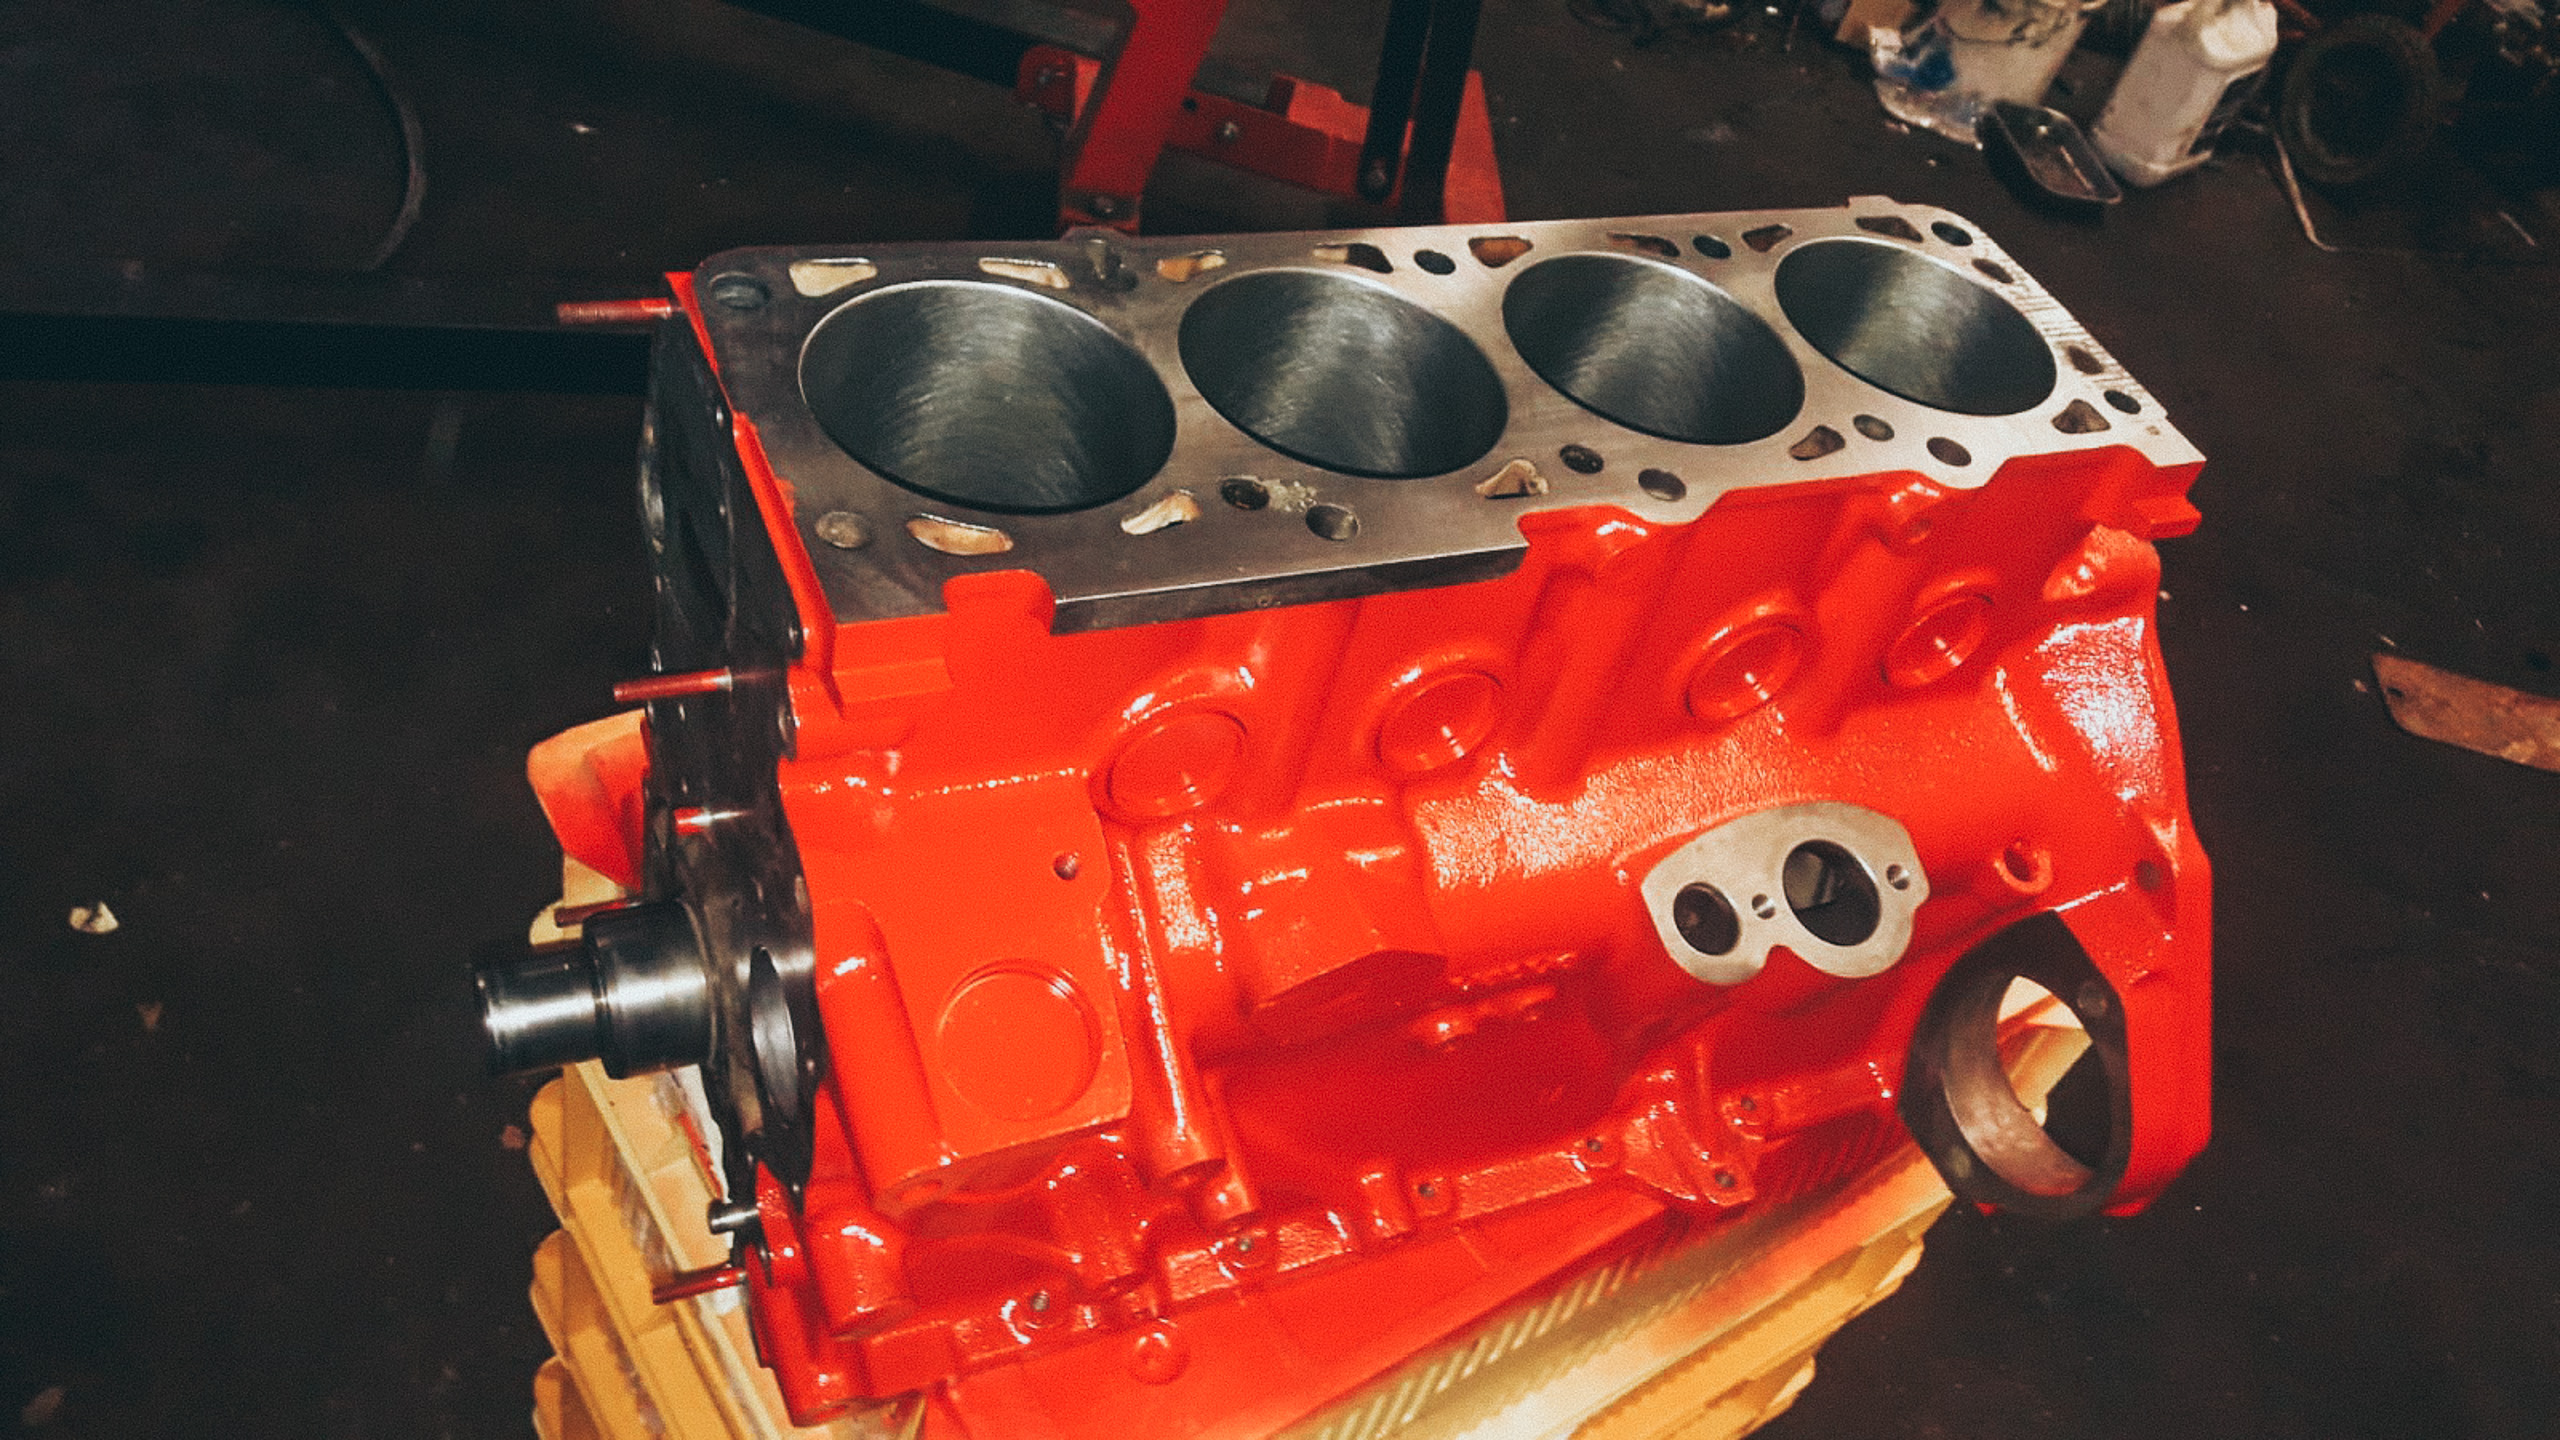
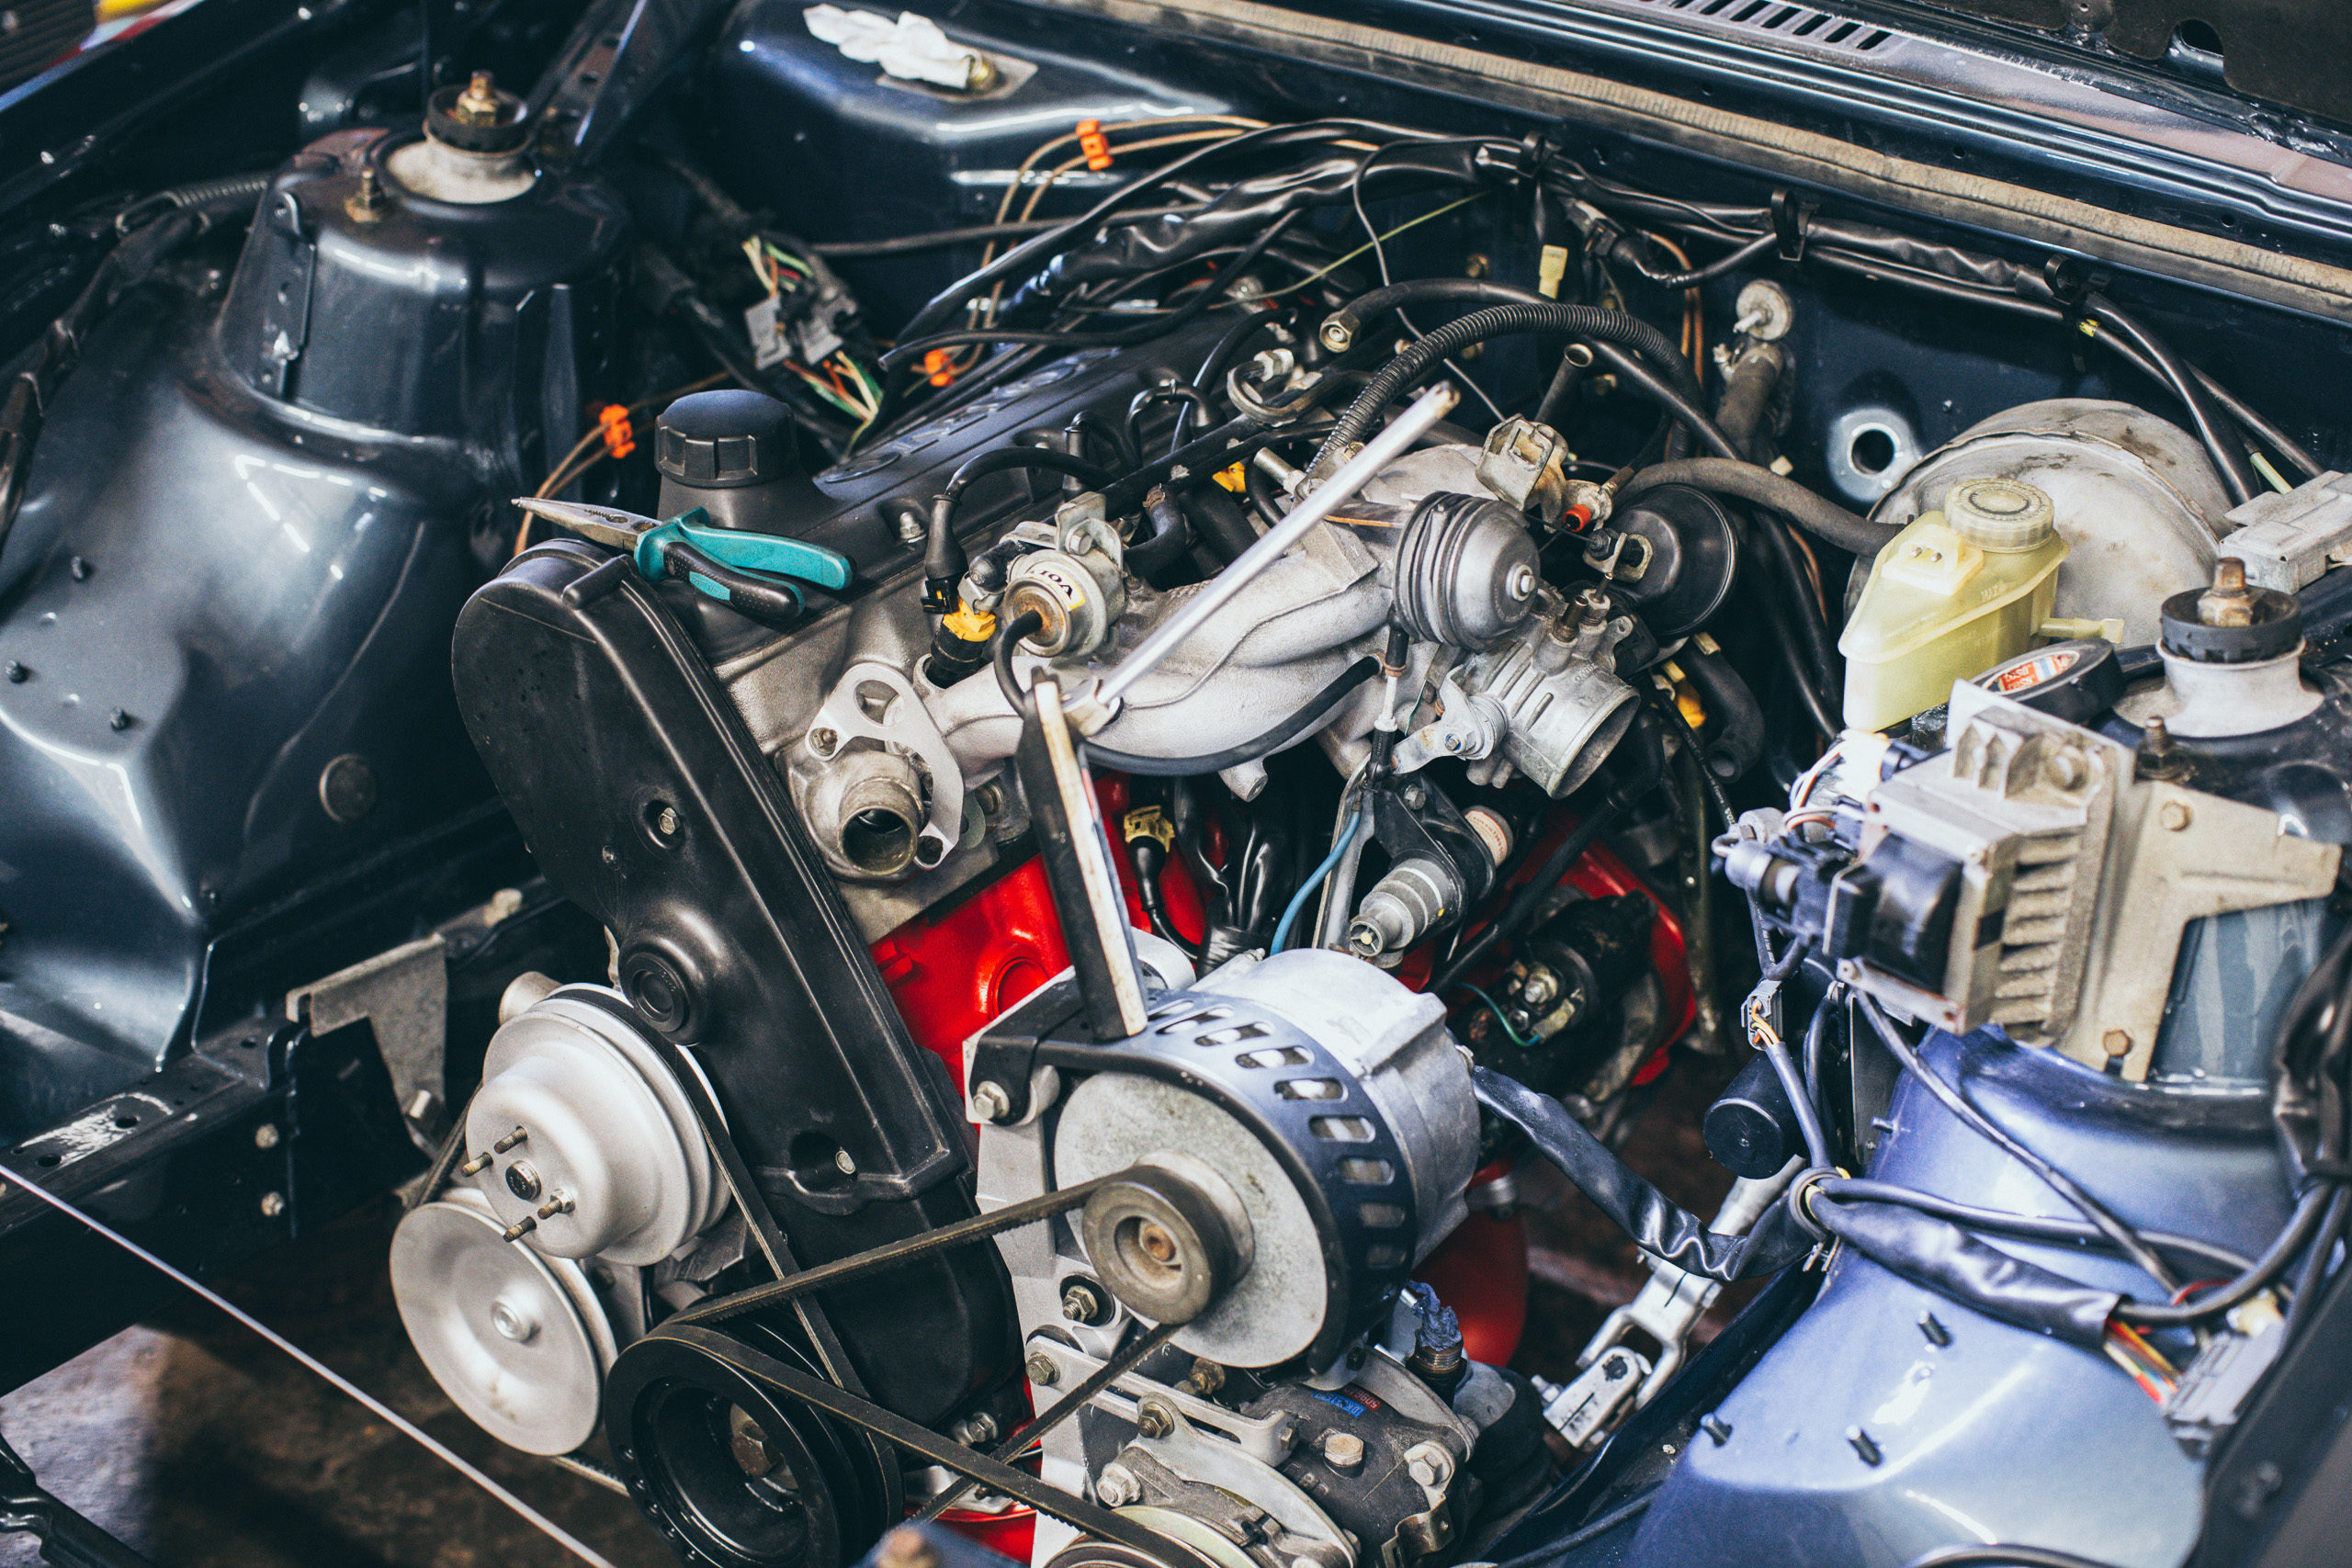
Janis Haritonovs did nice work re-painting the engine and preparing it all for assembly.


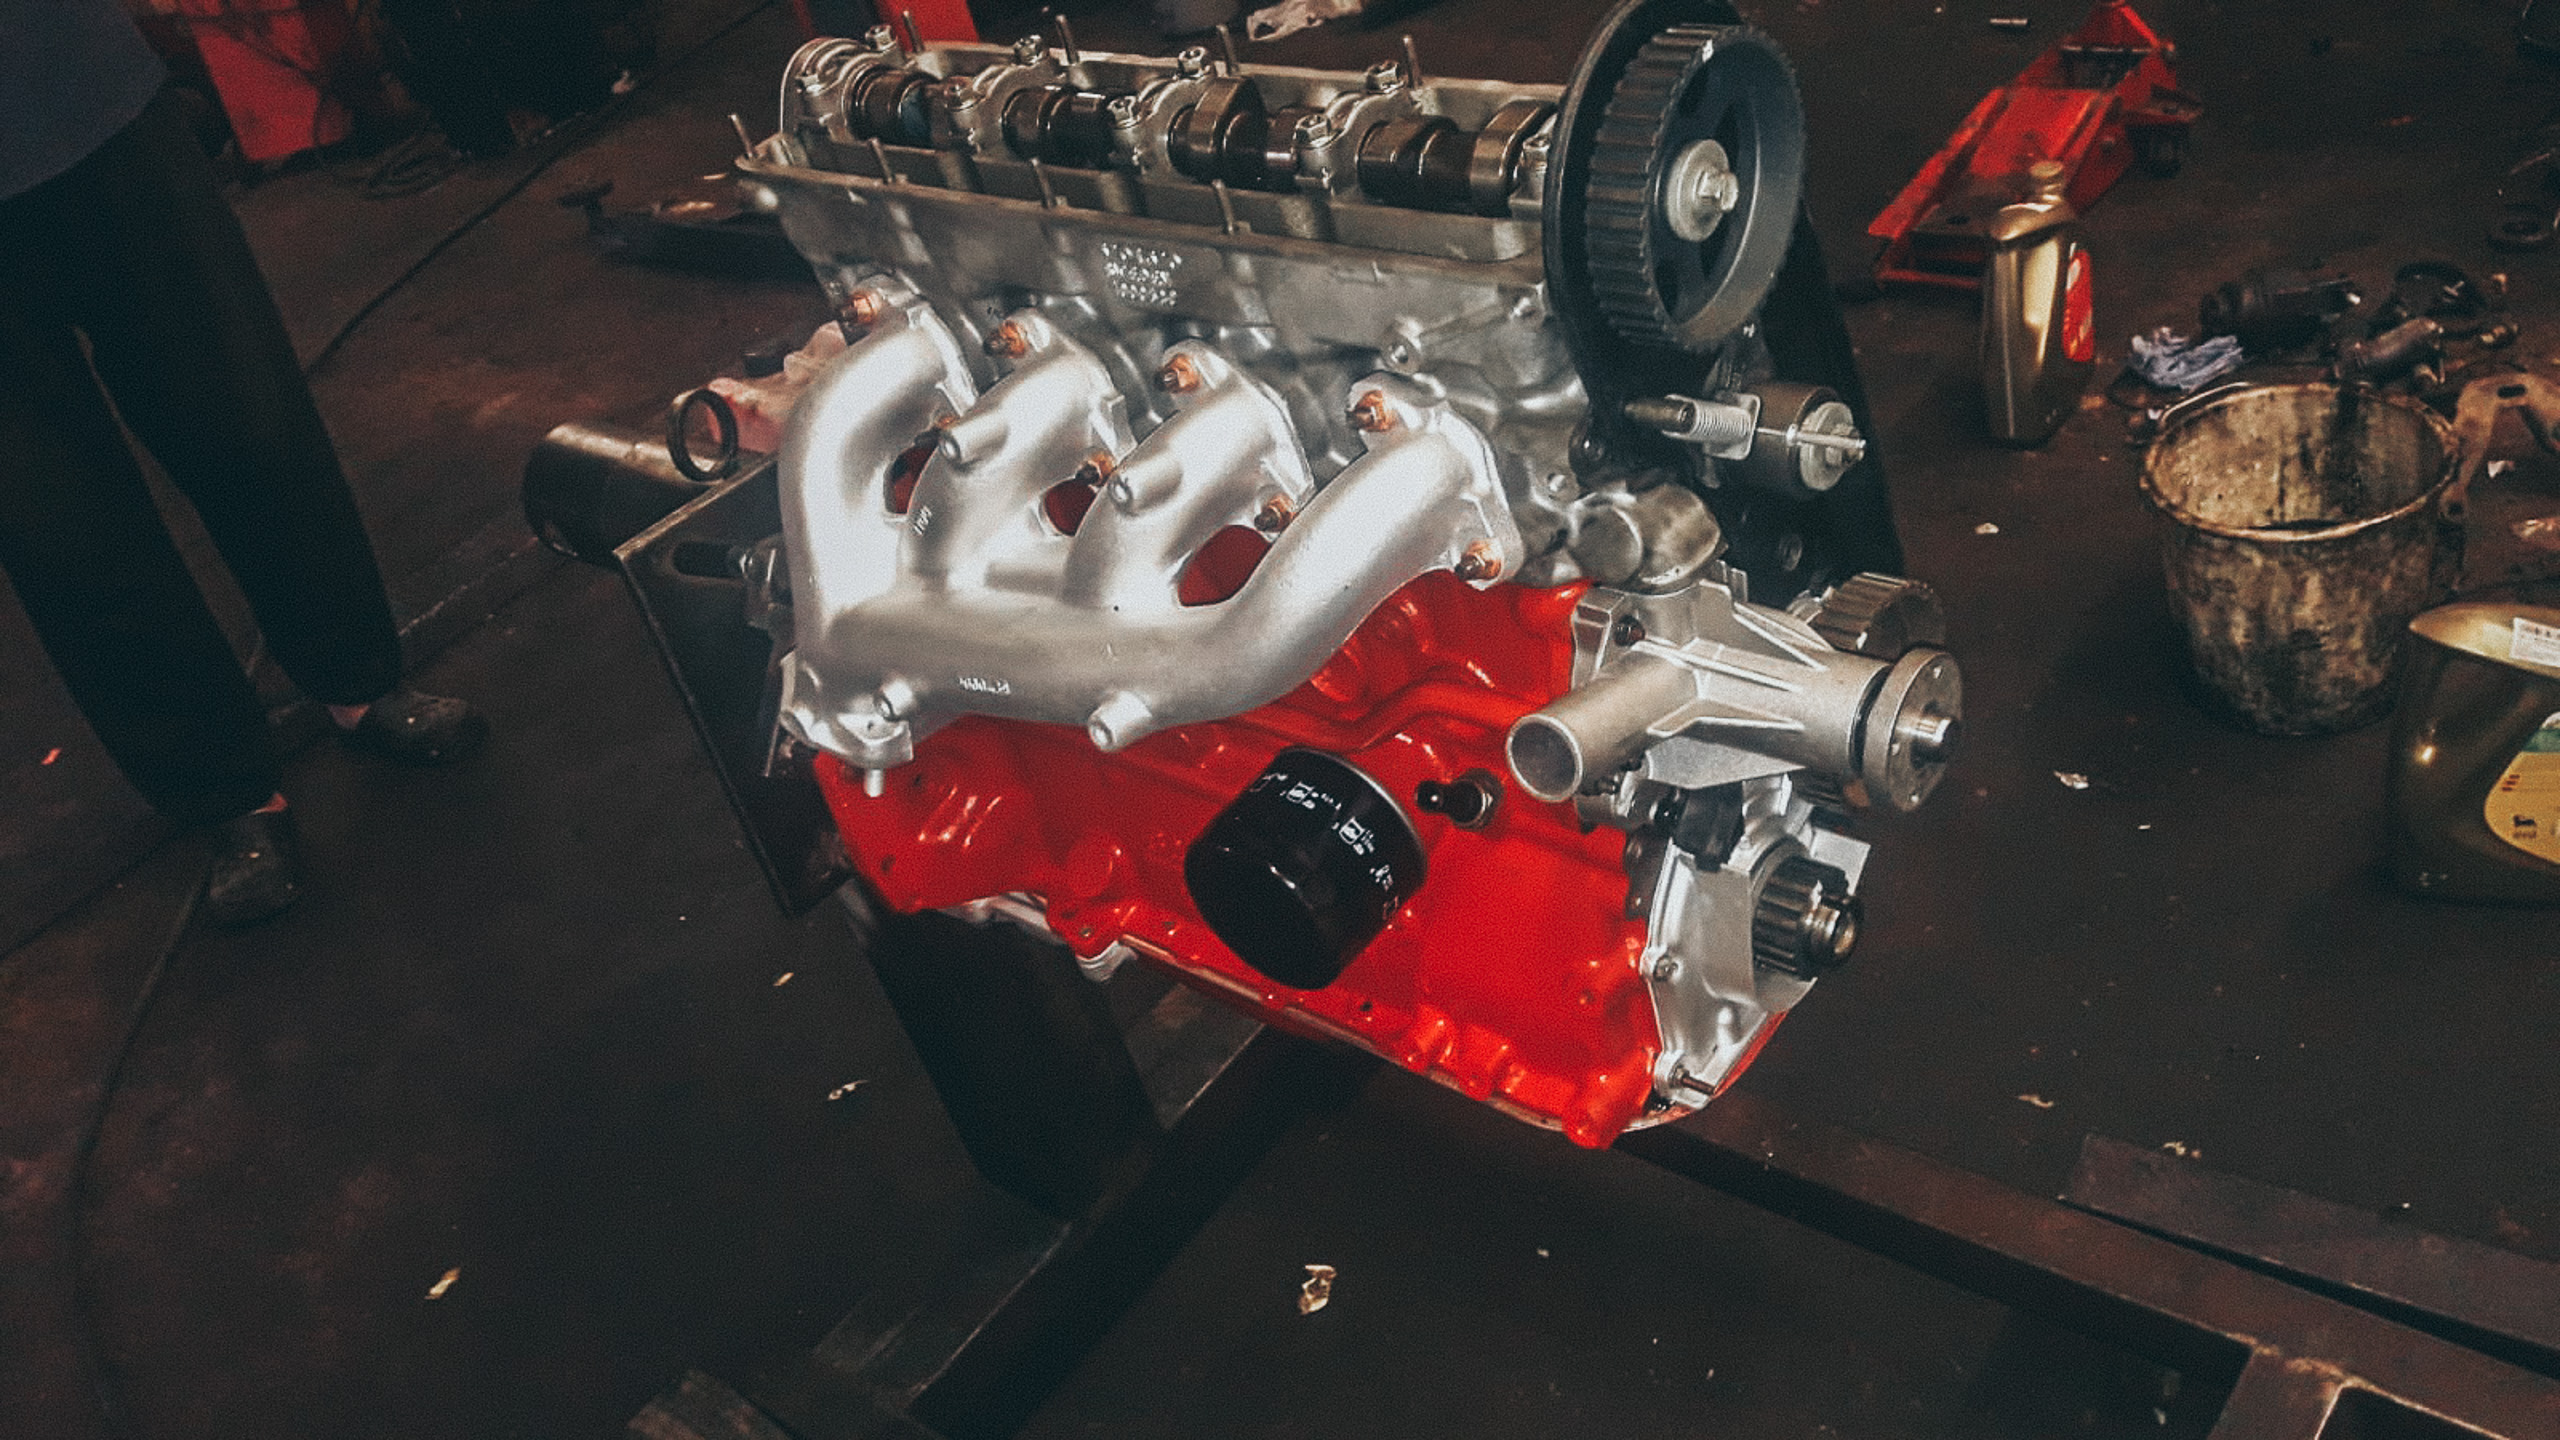

Because of Janis Haritonovs knowledge and experience, the process was dramatically sped up. There were little to no problems with assembling the motor, because Janis knew the speed bumps and pitfalls and navigated everything beautifully. I had walked away to wash parts, and while I was washing parts, Janis already dropped the motor in, just sent me a pic on WhatsApp ans surprised me. Just yesterday the engine was still in pieces.

For me the experience was that the engine was the of the least hassle, compared to interior and sourcing parts. Janis Haritonovs recommended me RA Moto in Ogre, a great machine shop with decades of experience. Building the engine was the most pleasant part, because of the smooth sailing aided by all the experience Janis Haritonovs and RA Moto brought to the table.

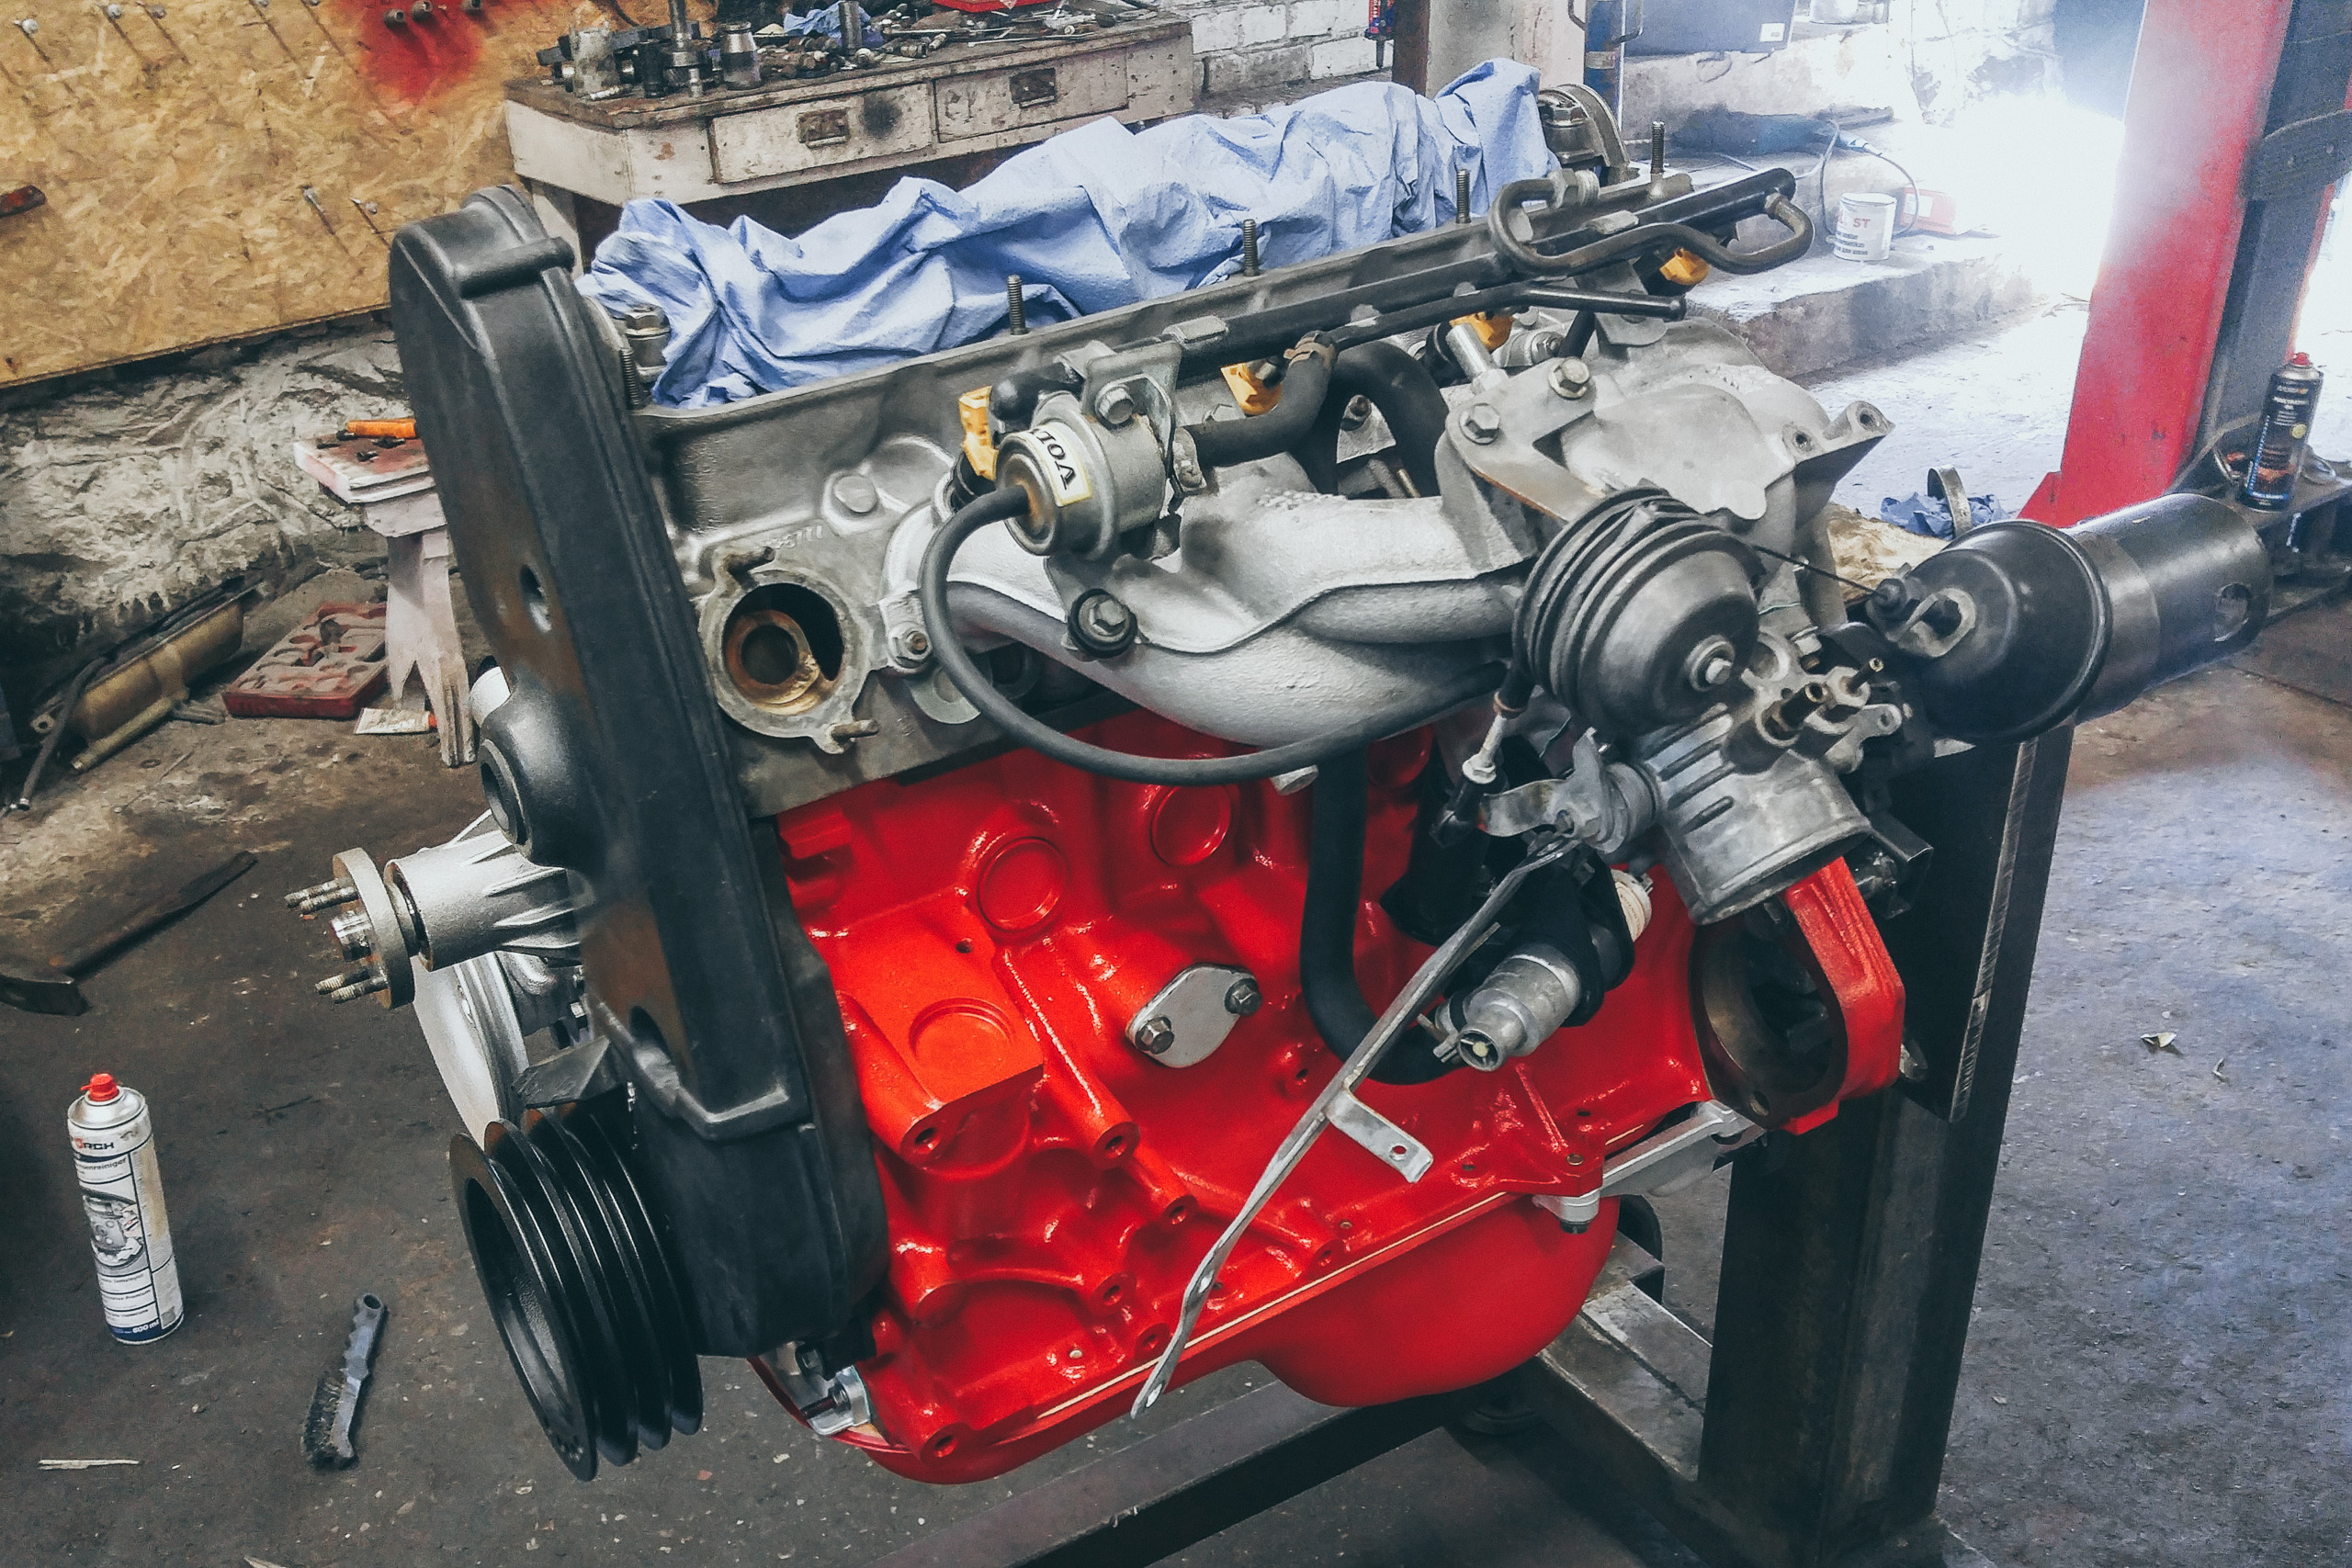
The external seals and gaskets will be replaced to remove the sweating.
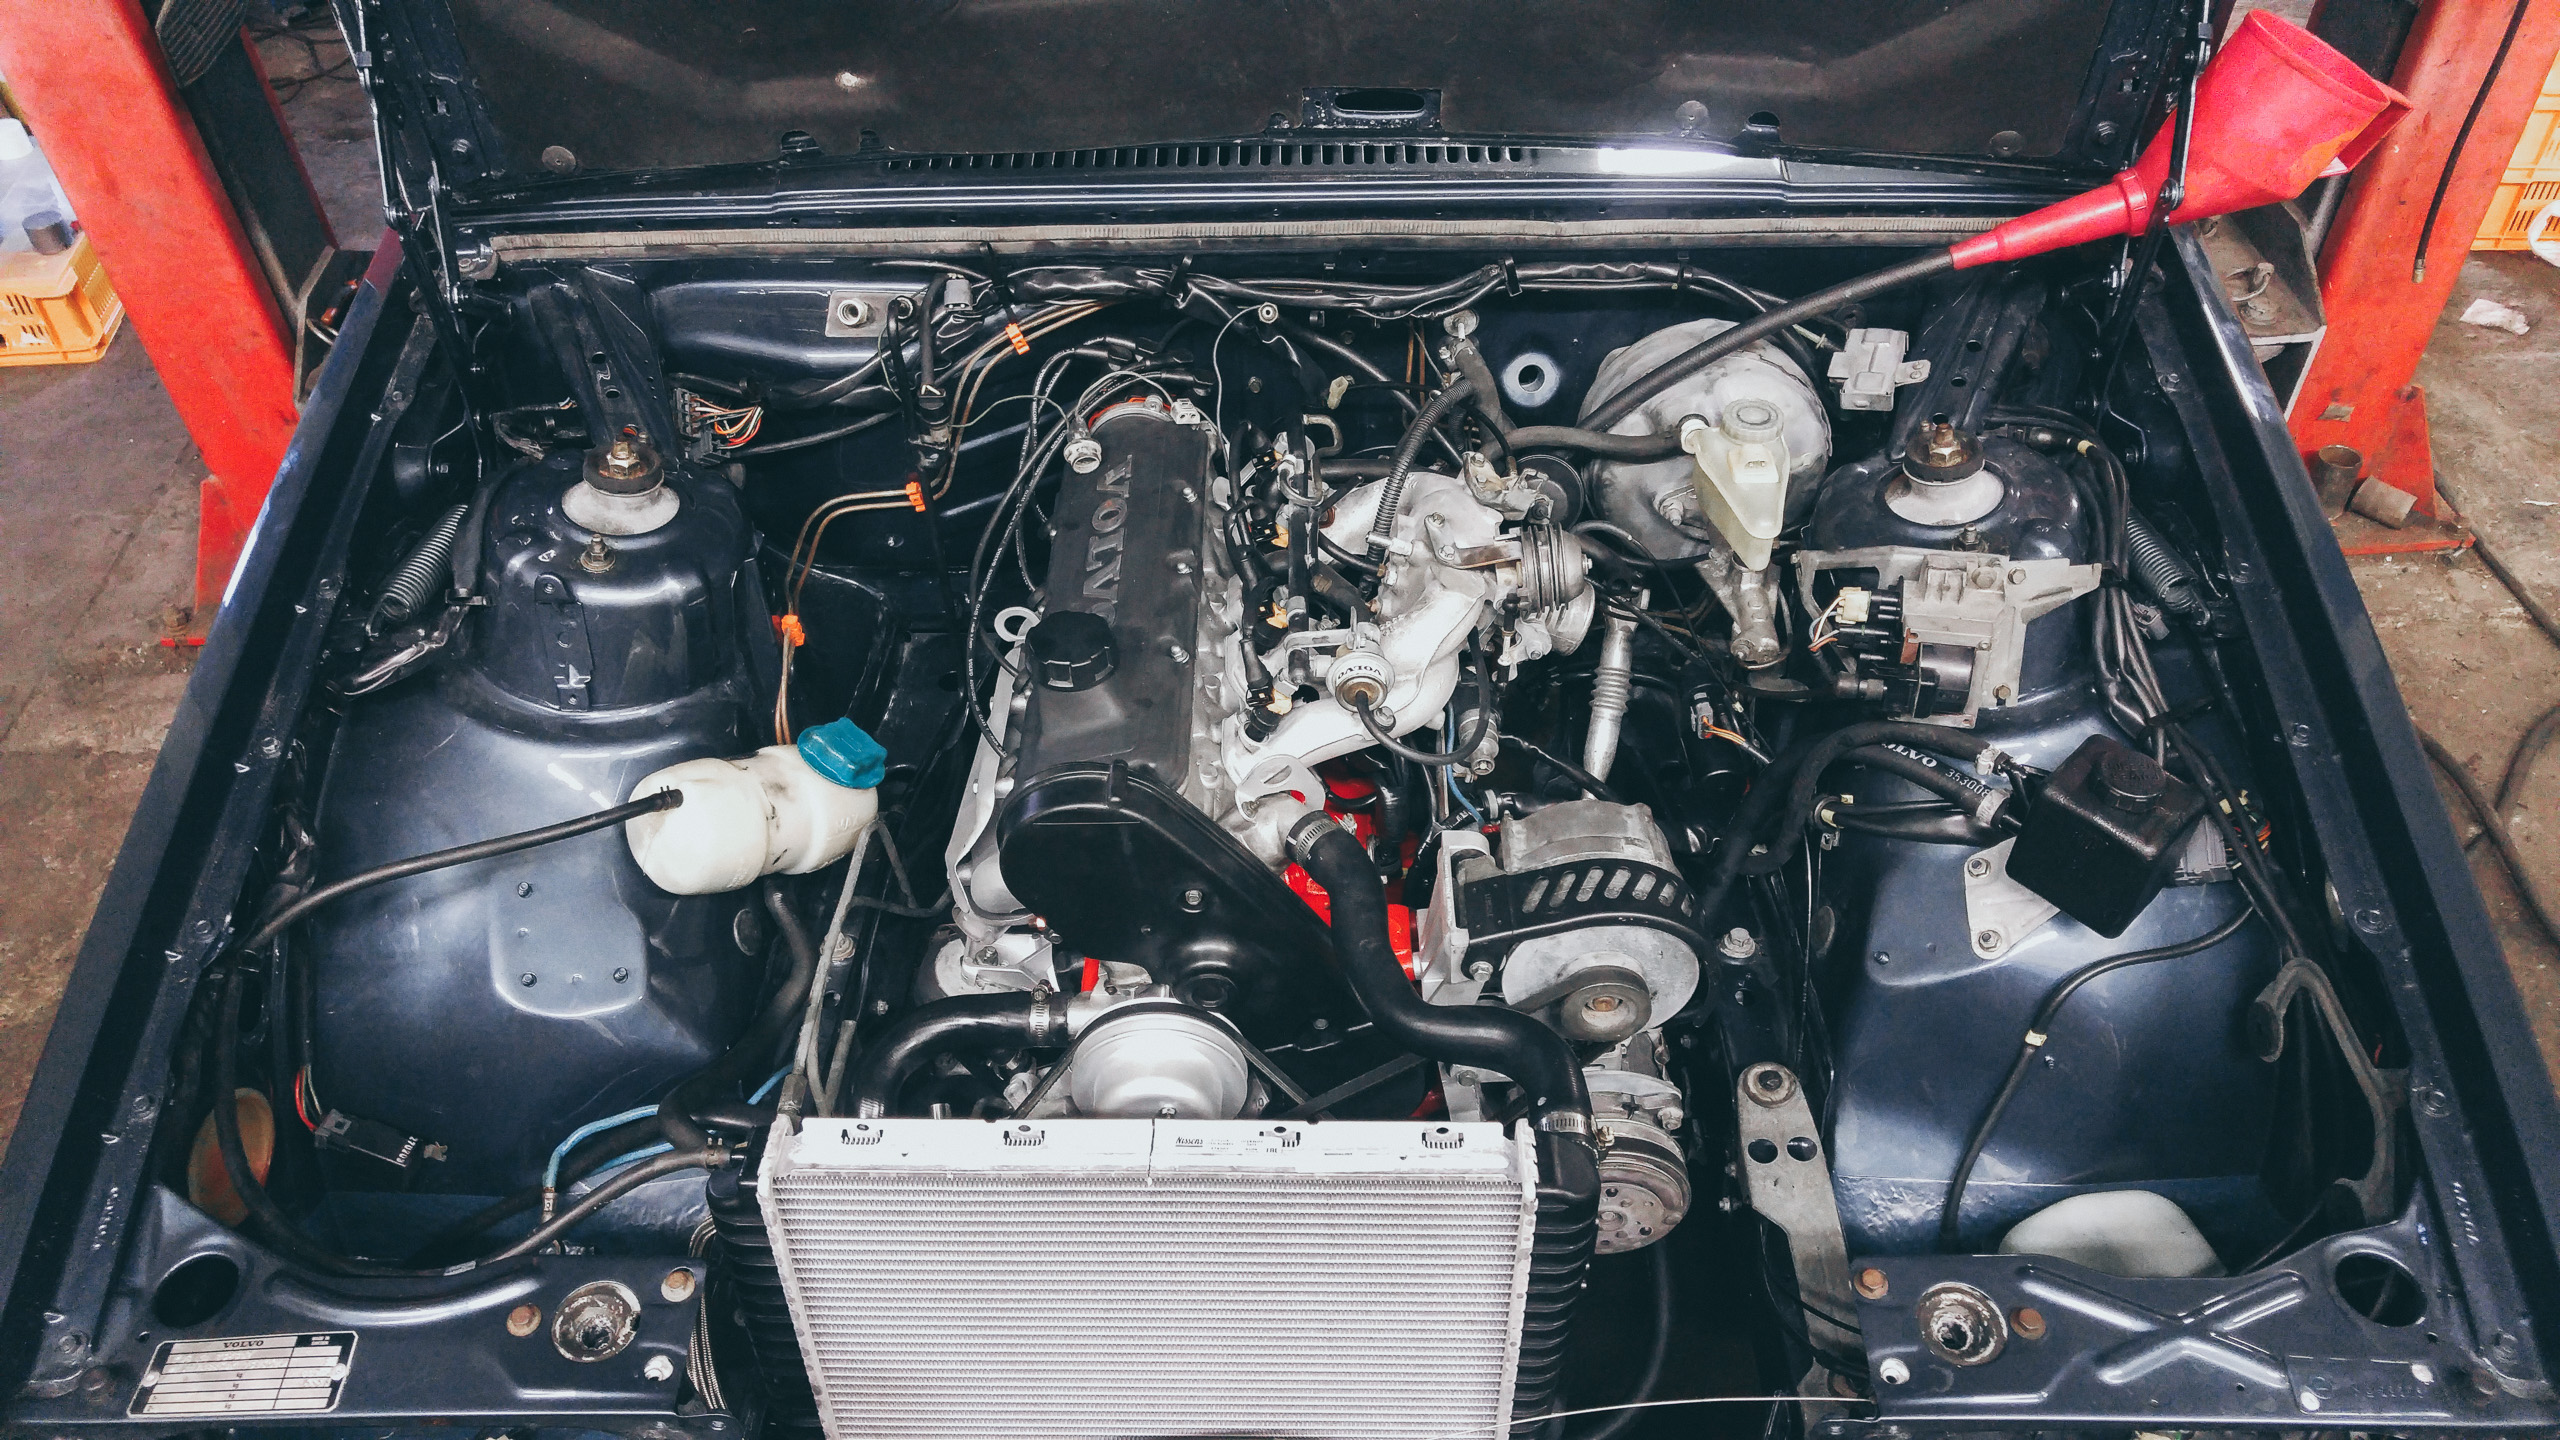
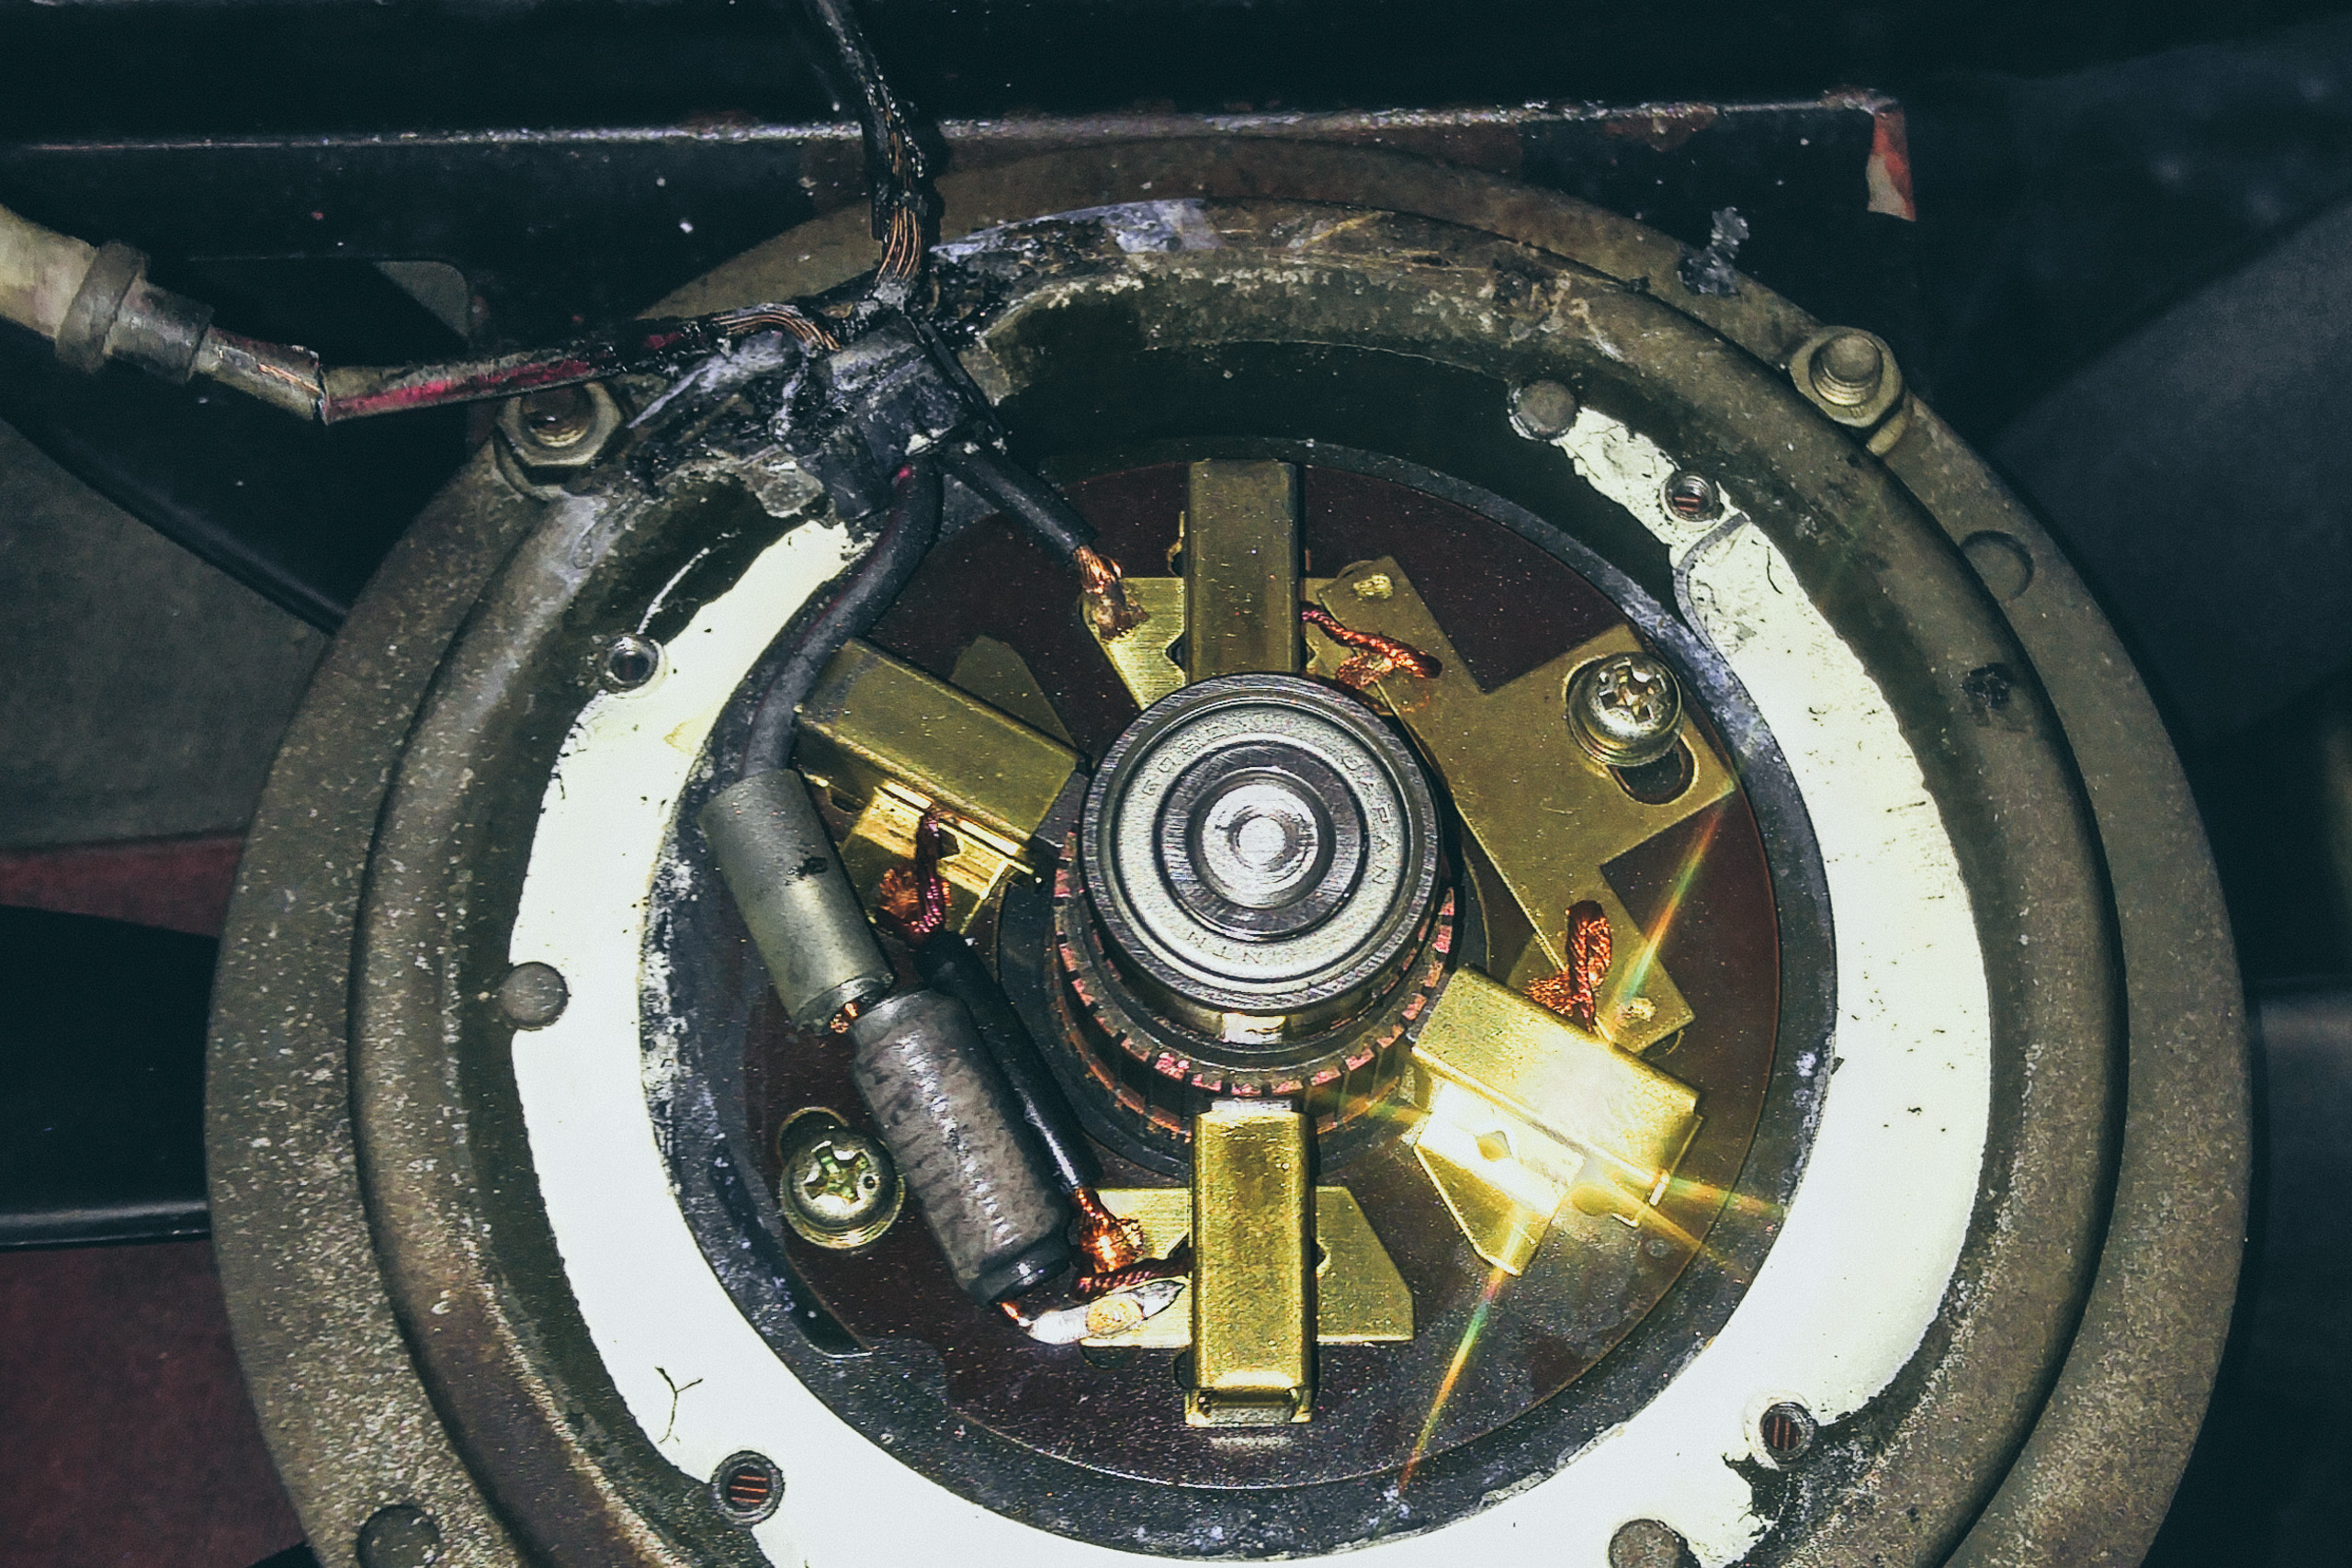
The oil pump, power steering pump and alternator were inspected and re-build. Water pump is new. Auxiliary fan was repaired.

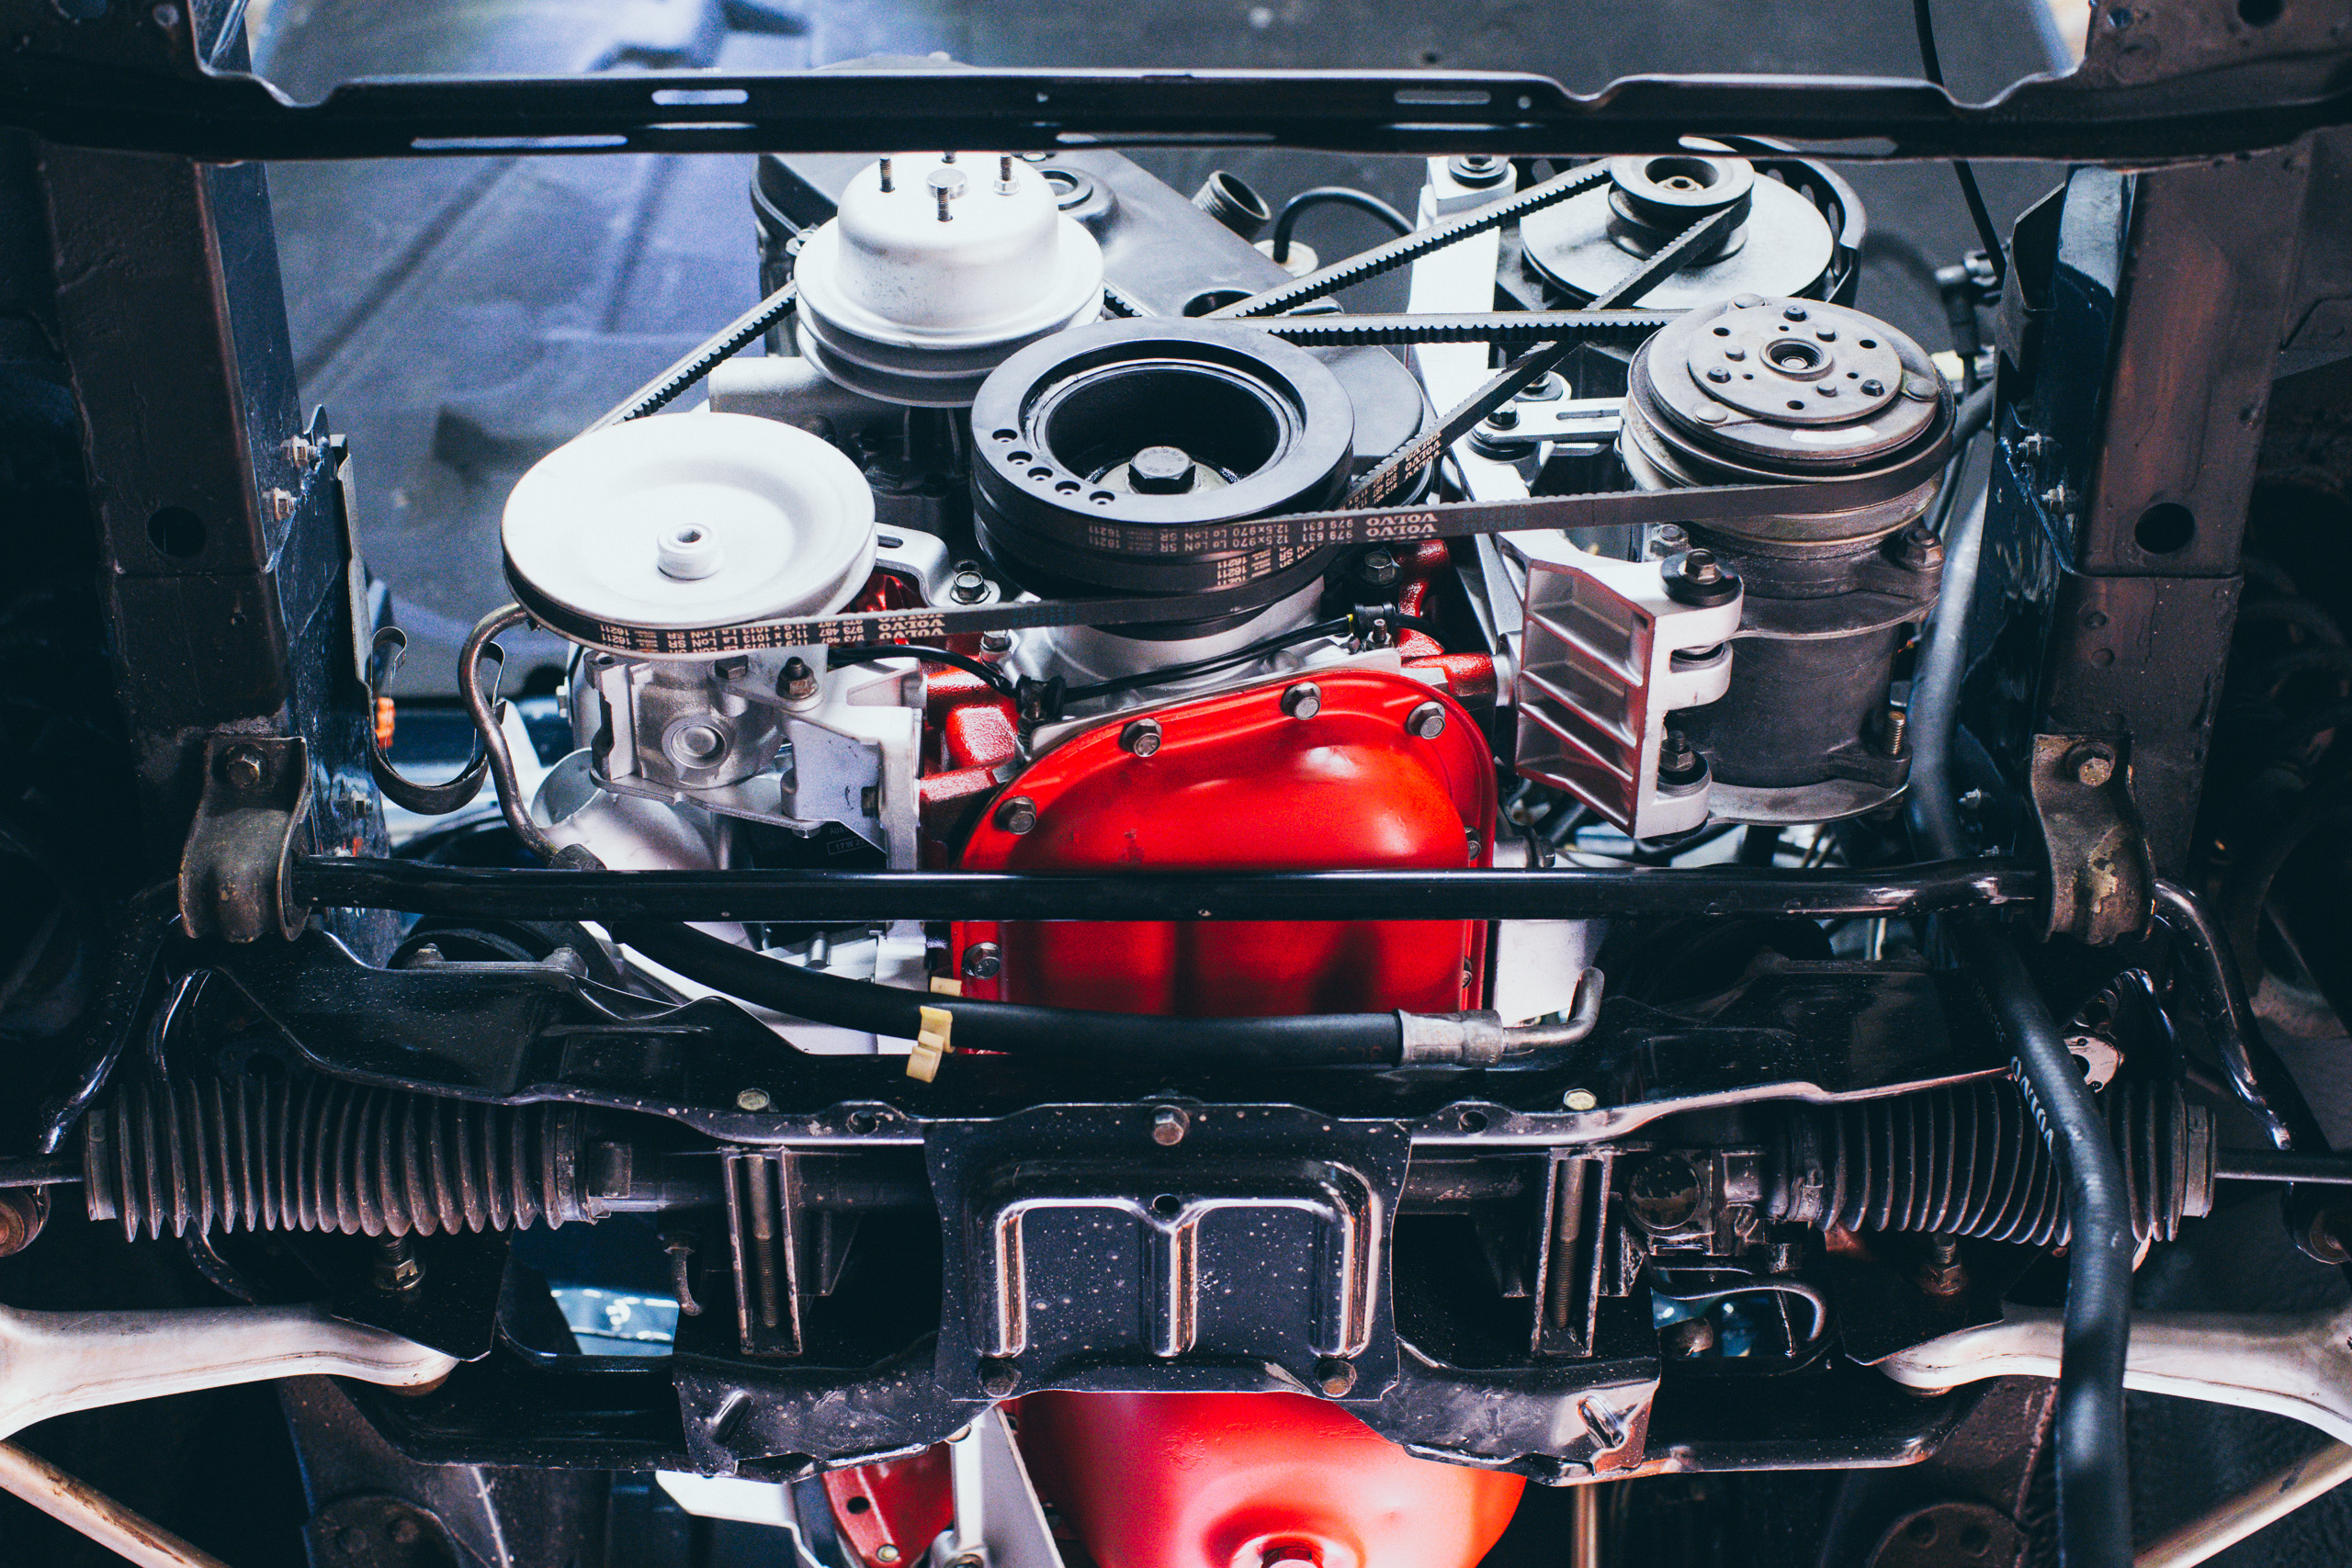
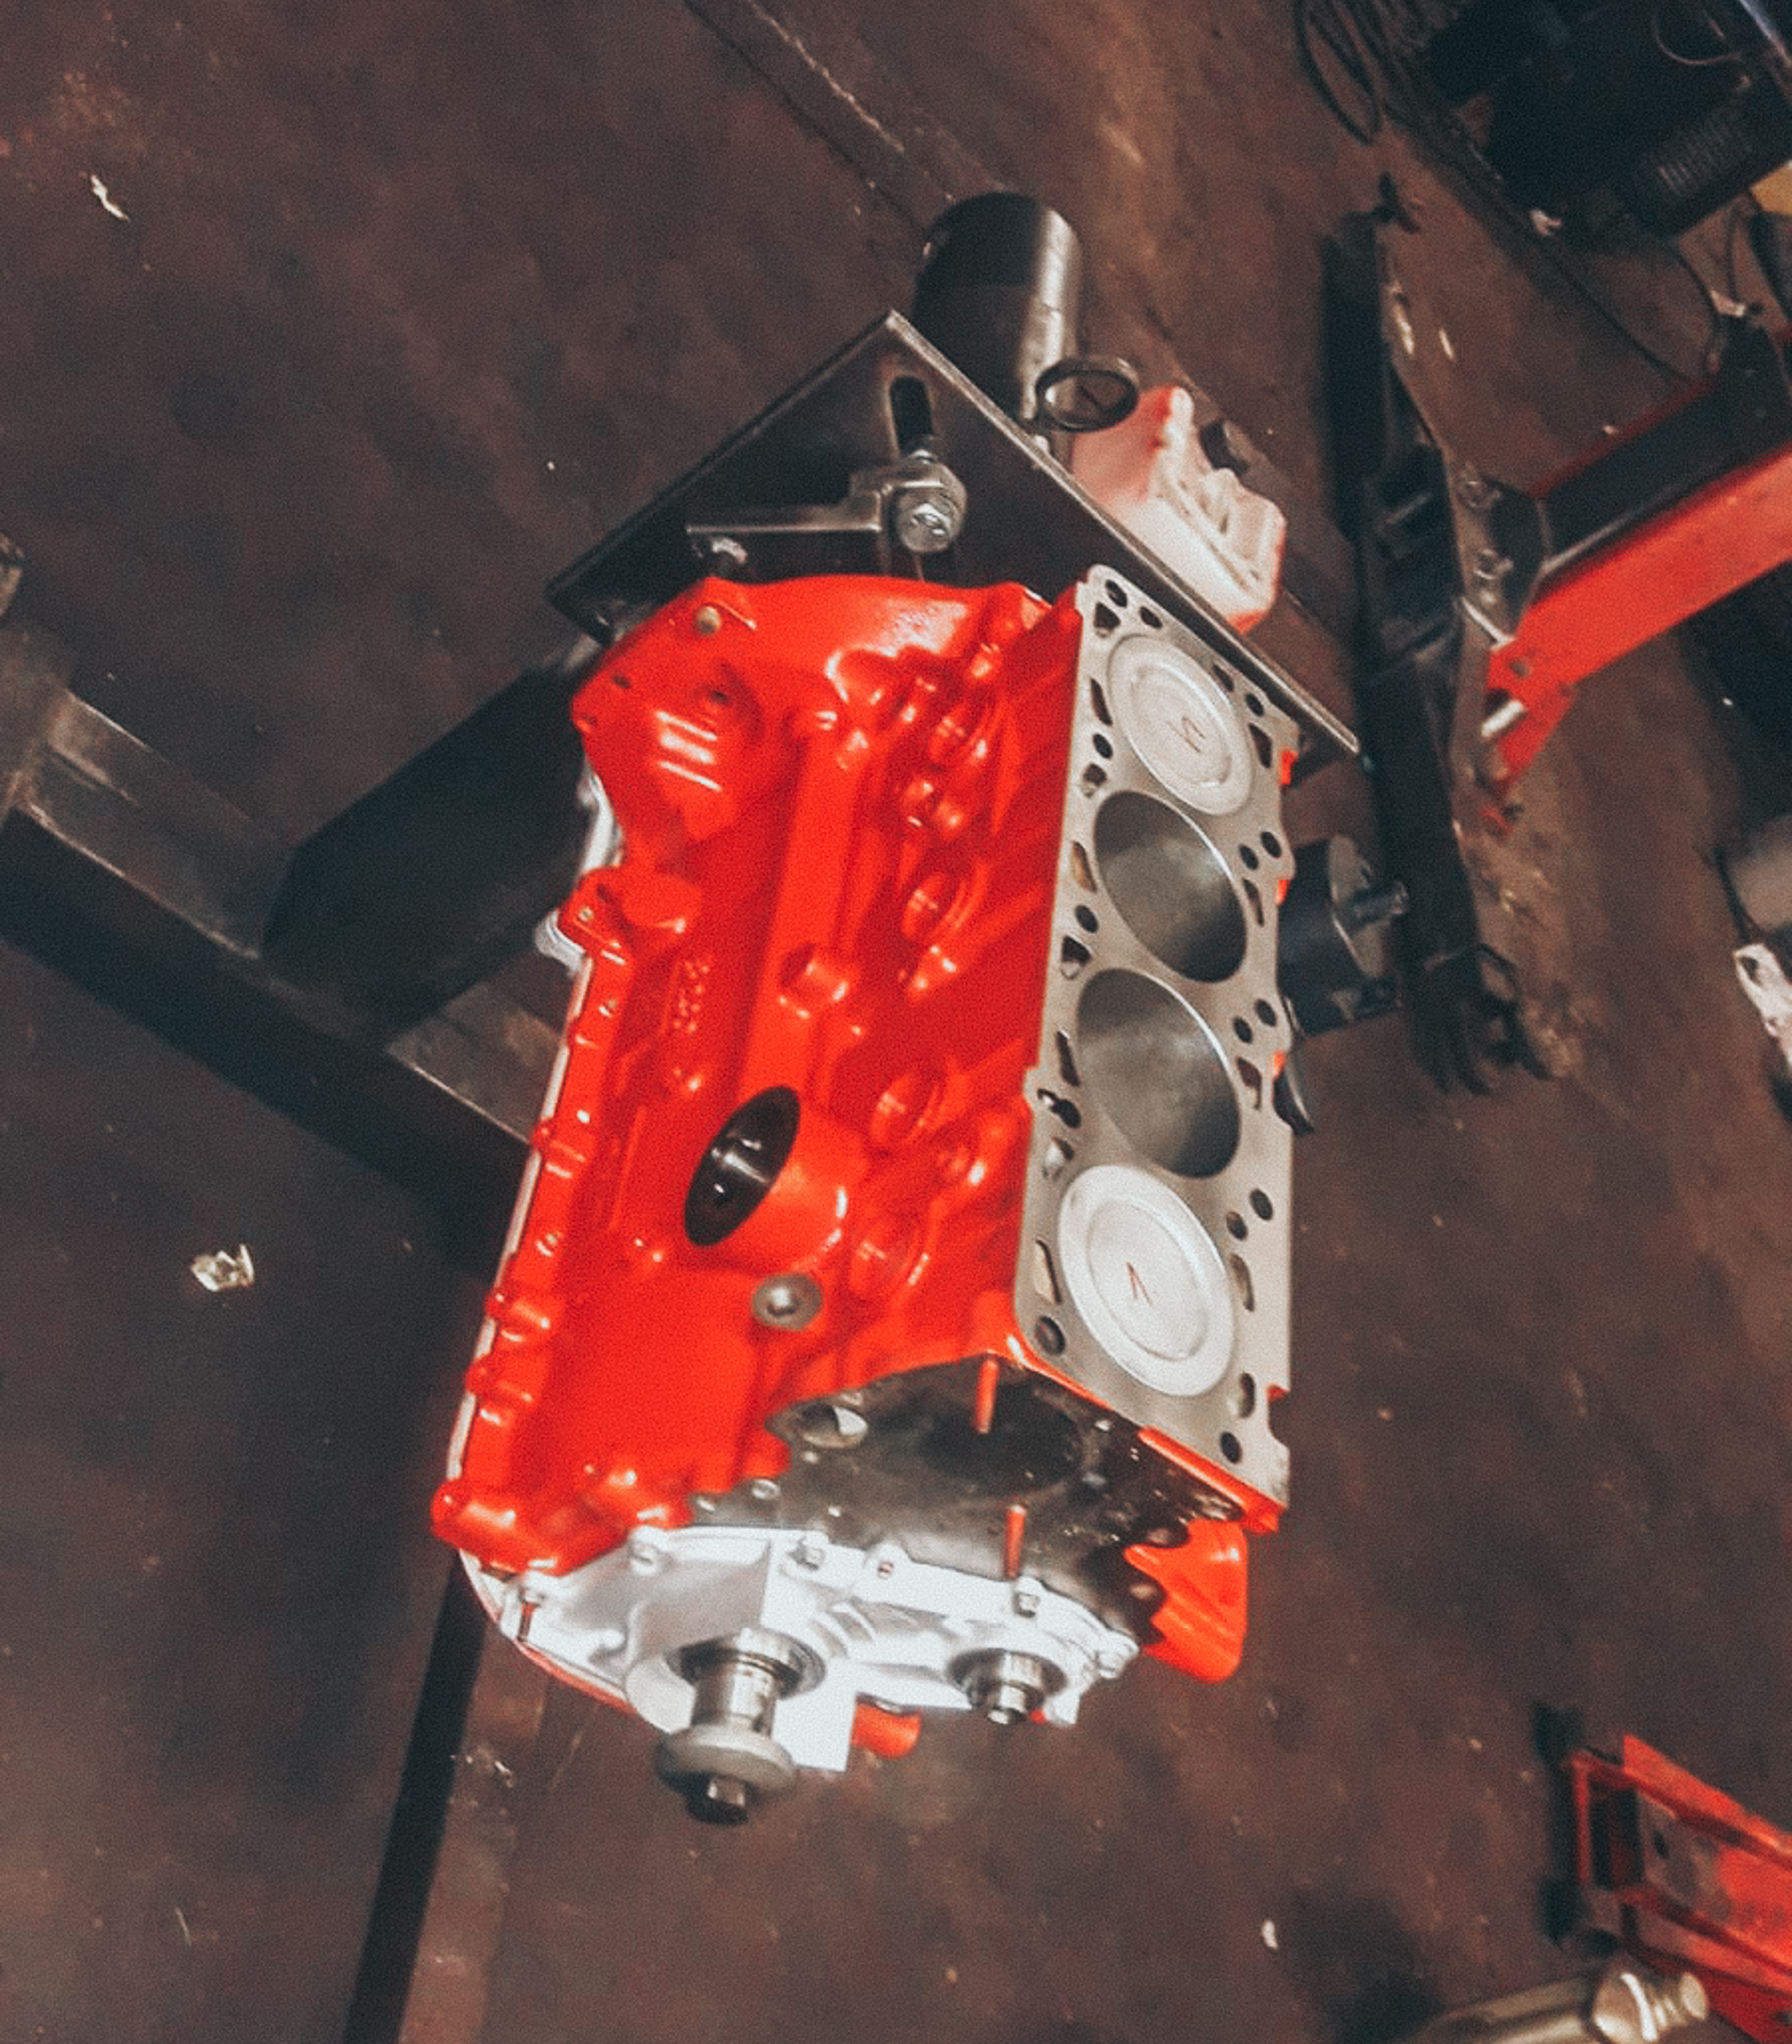
Right before first start-up.
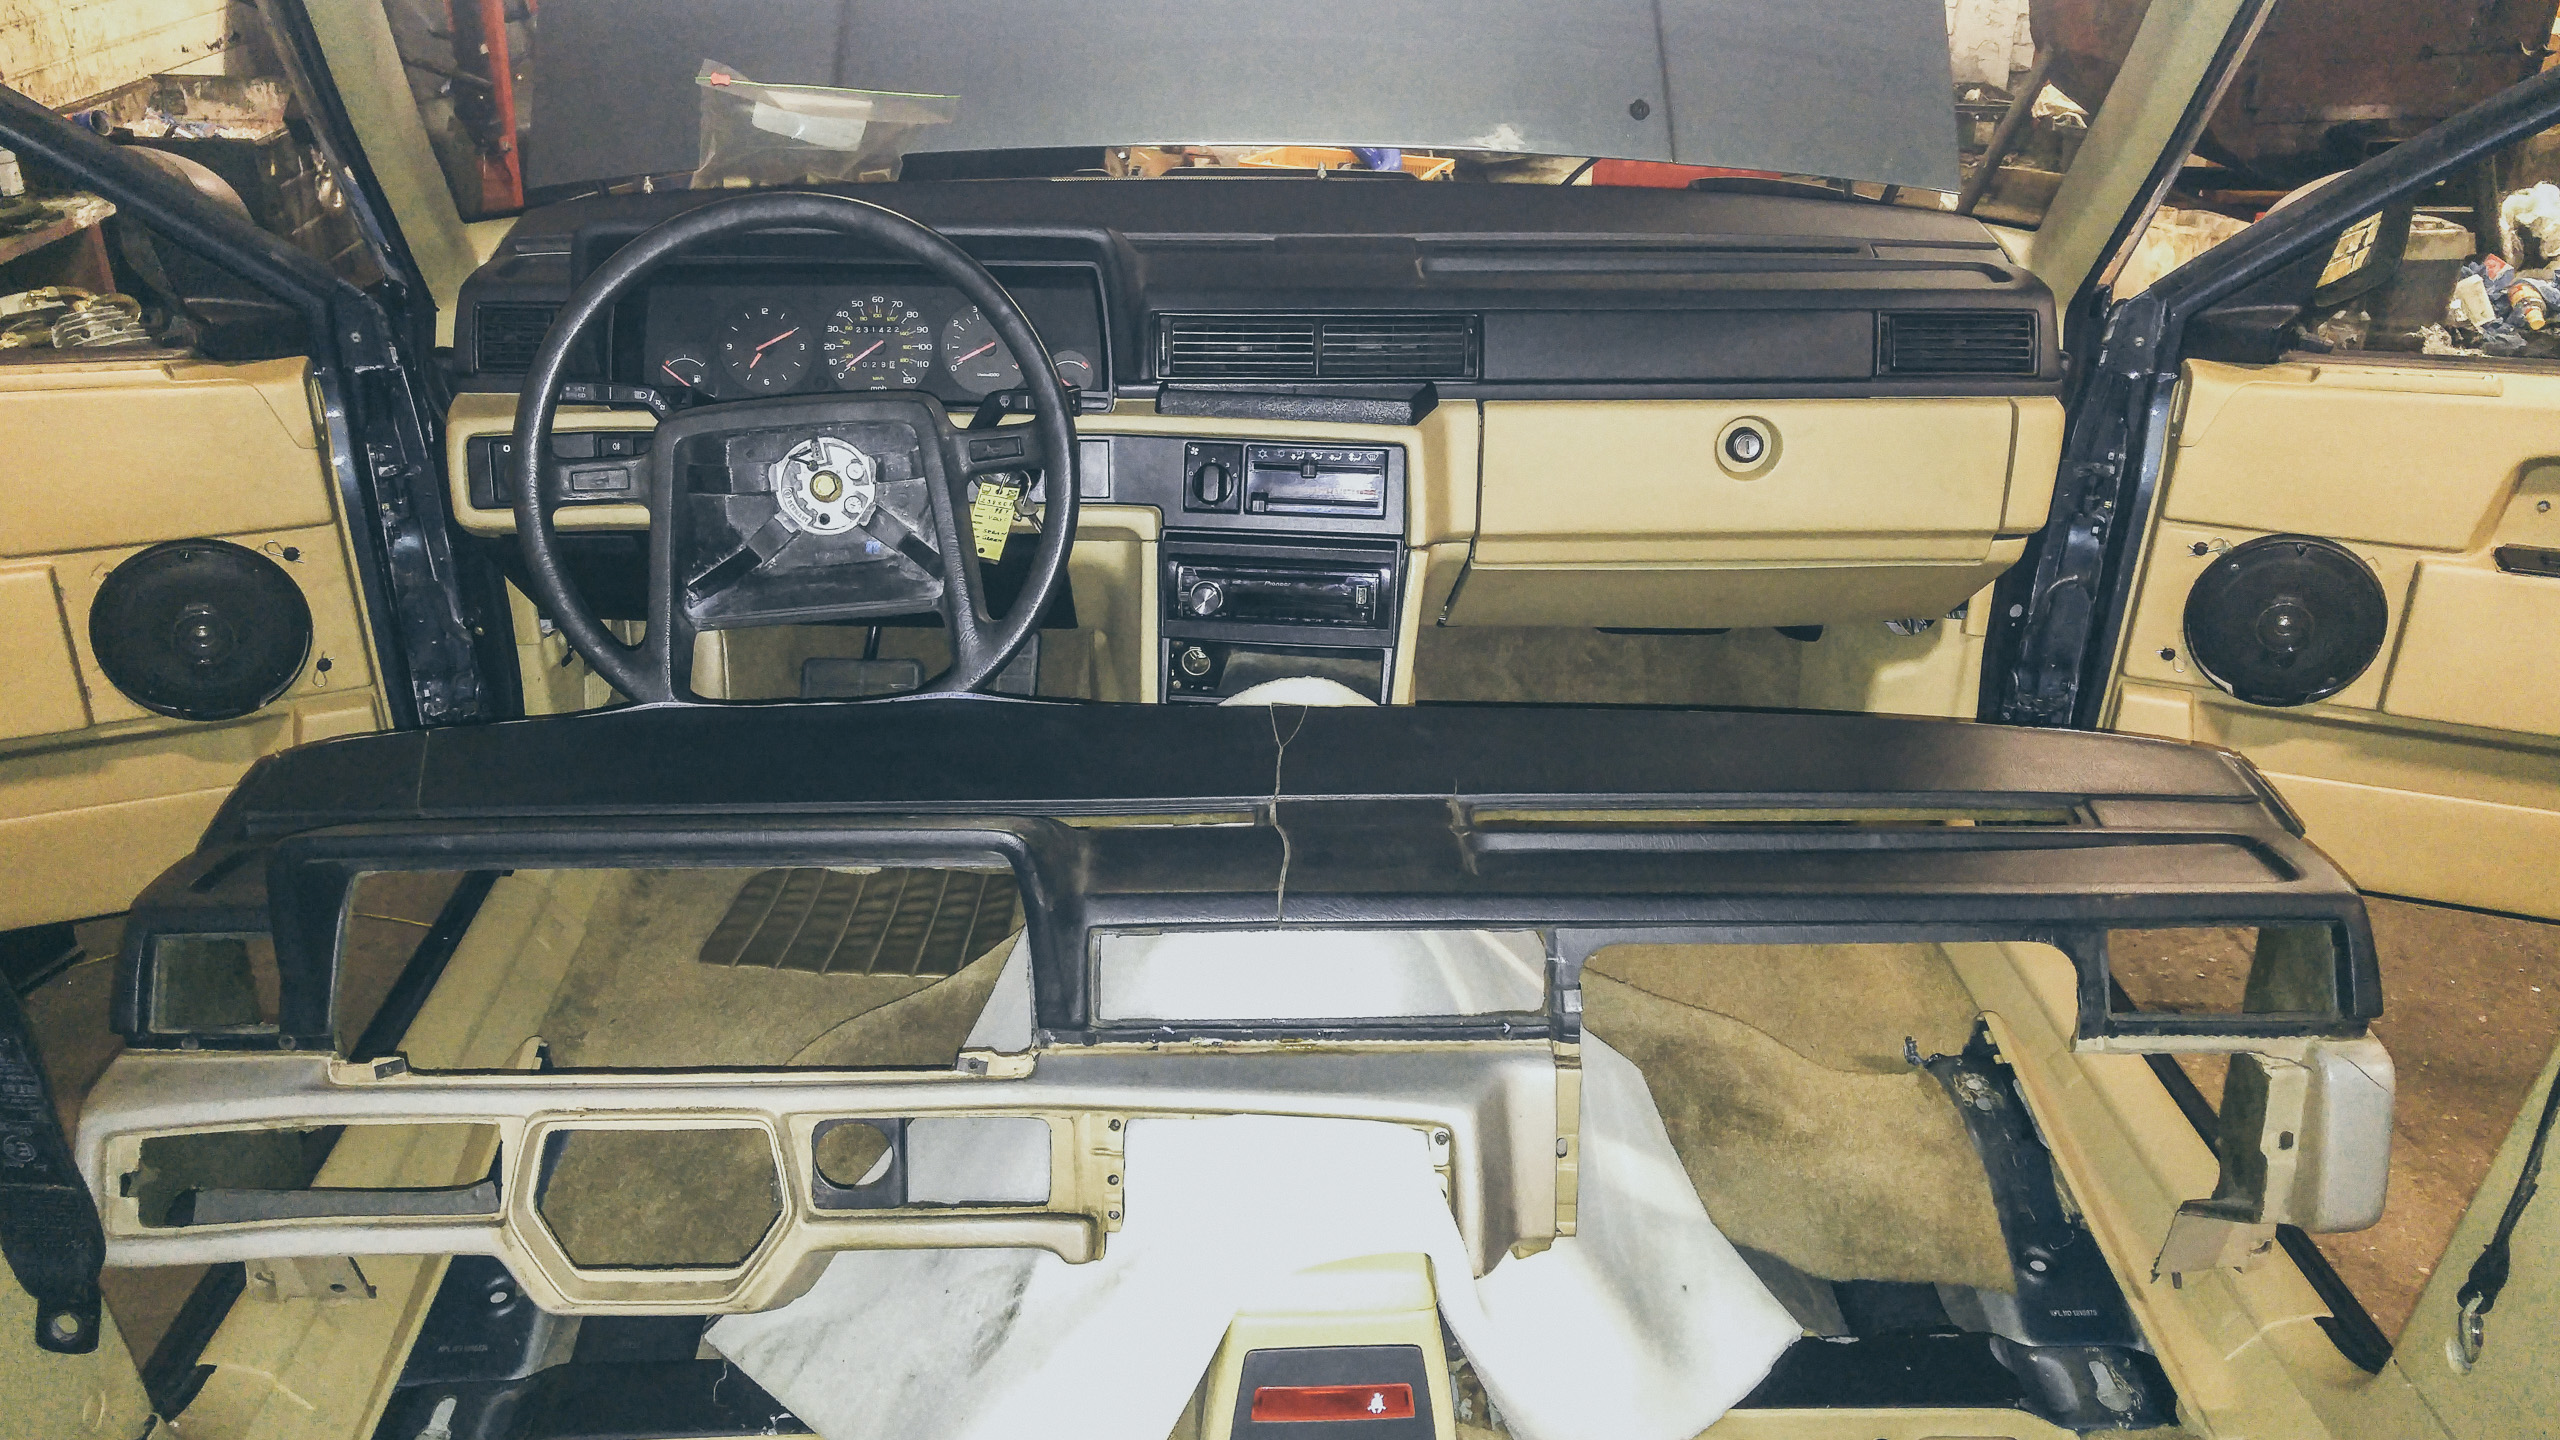
INTERIOR REPLACEMENT
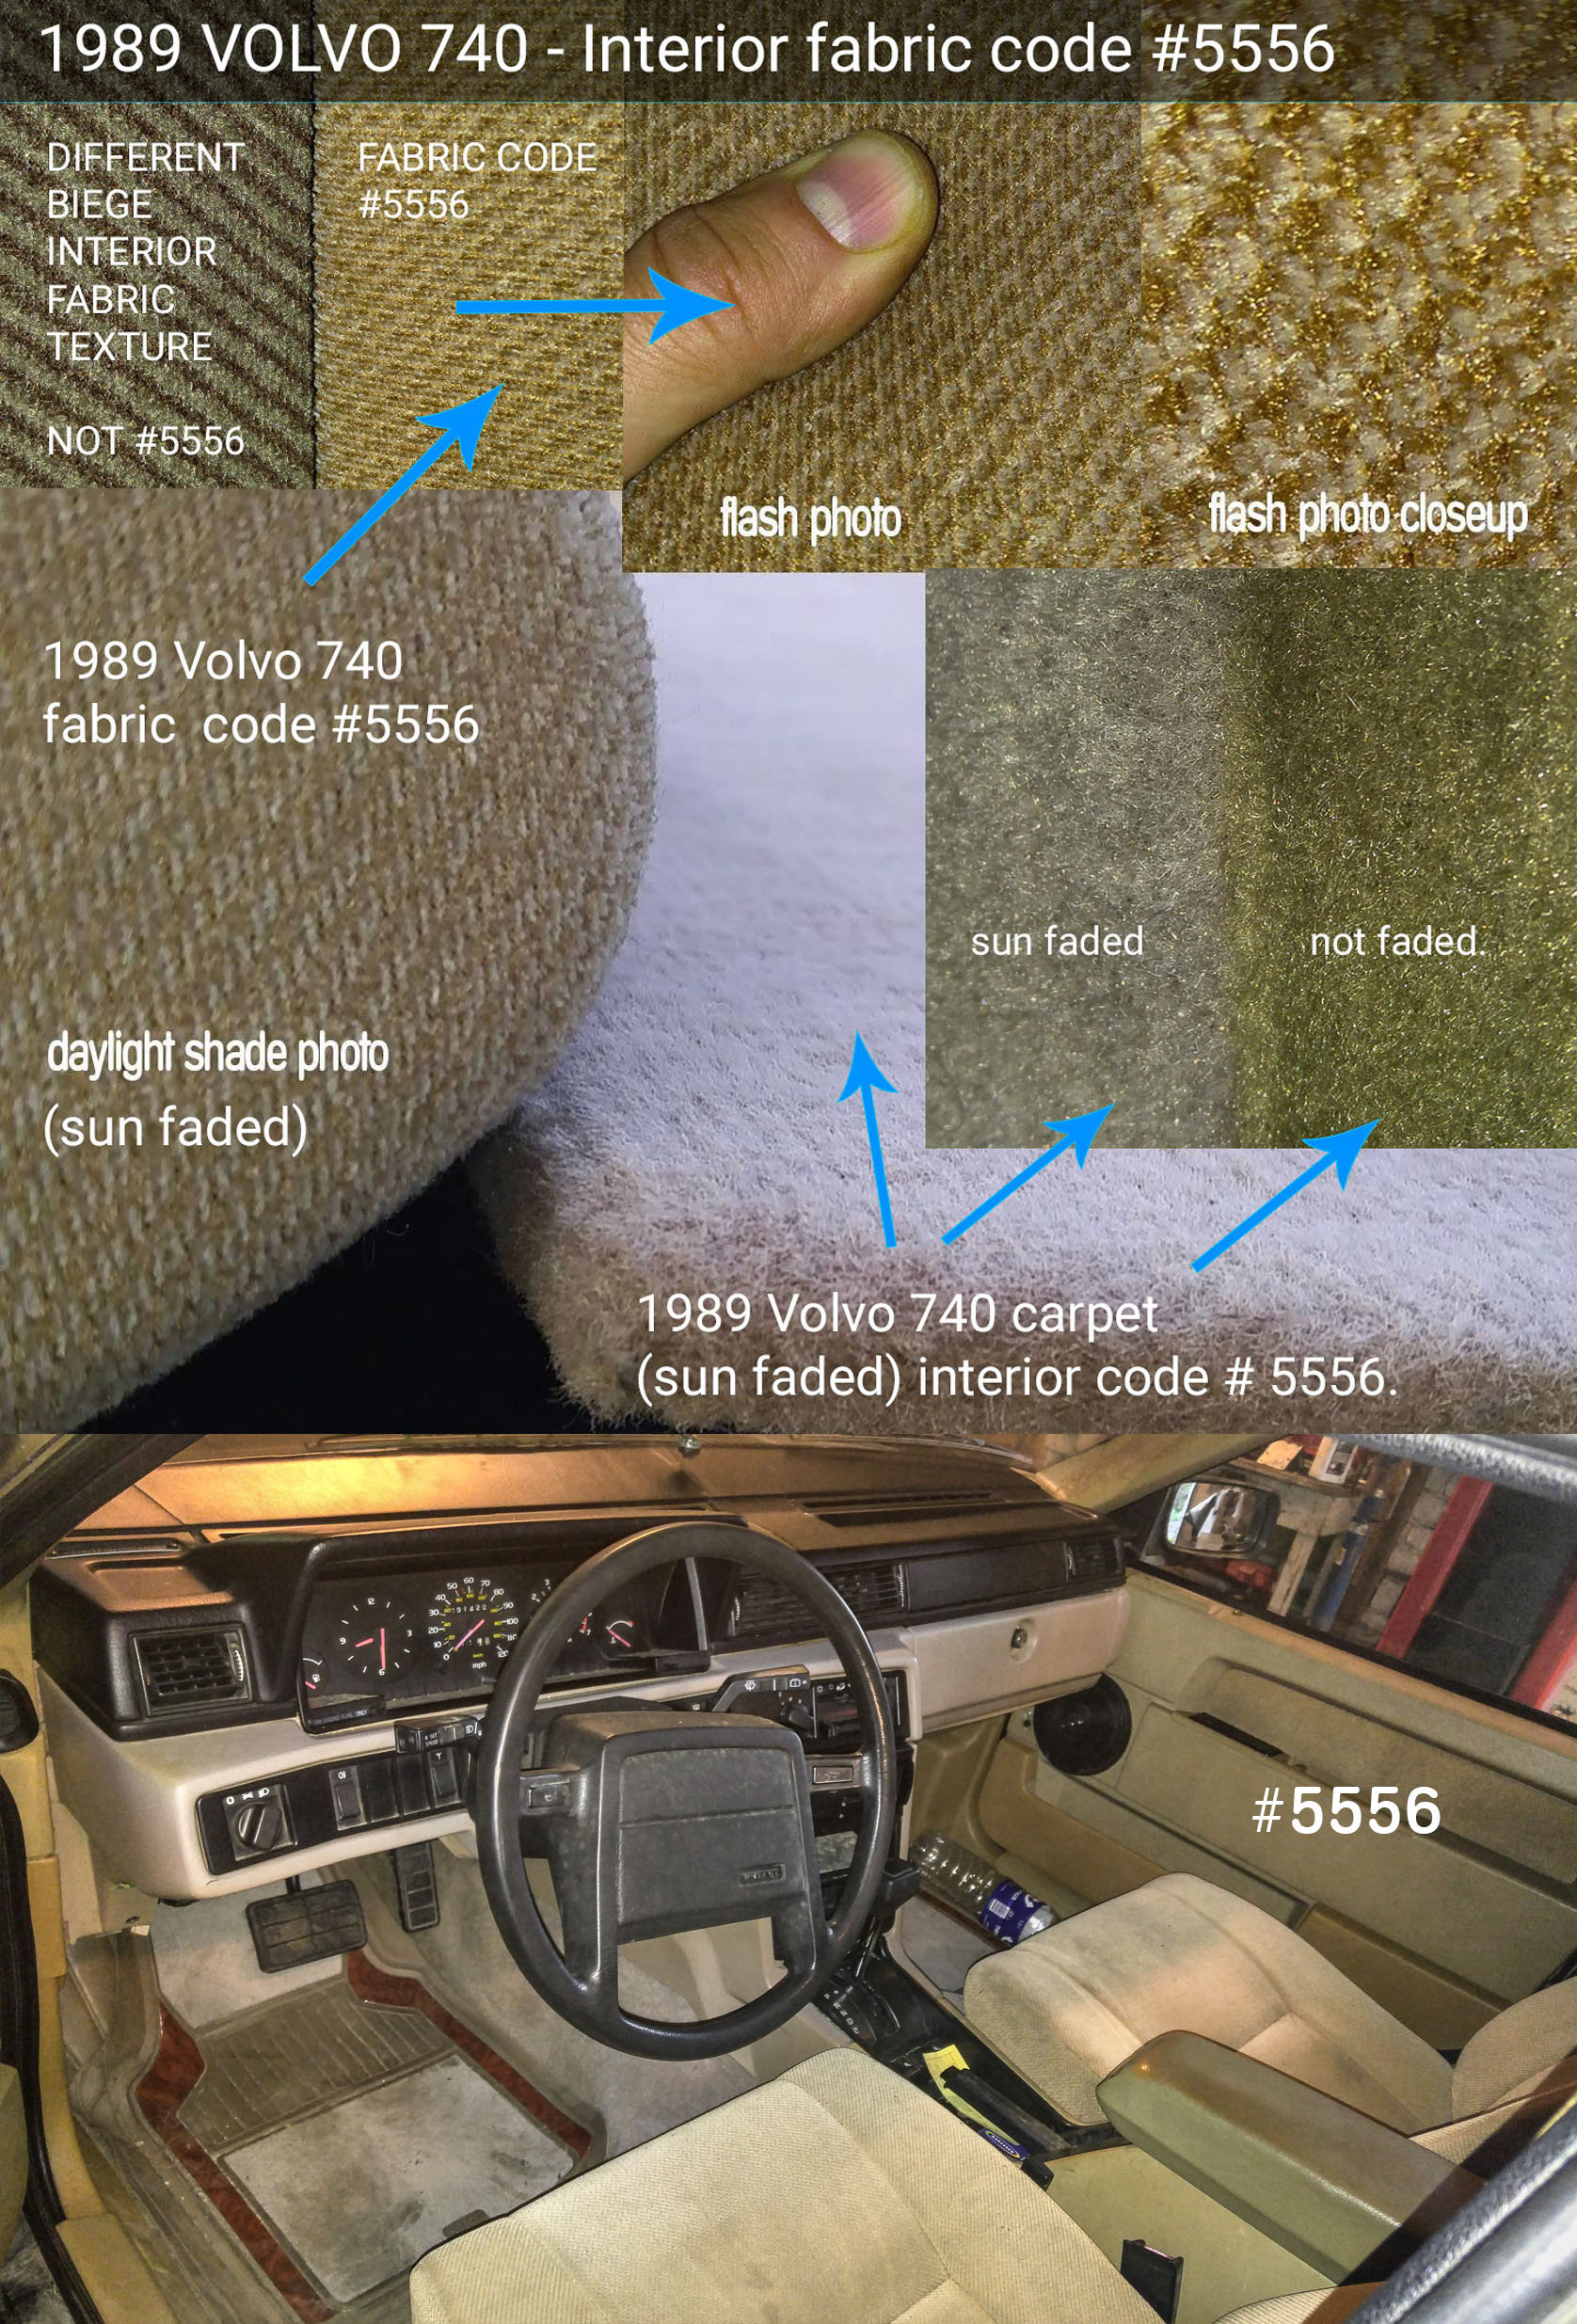
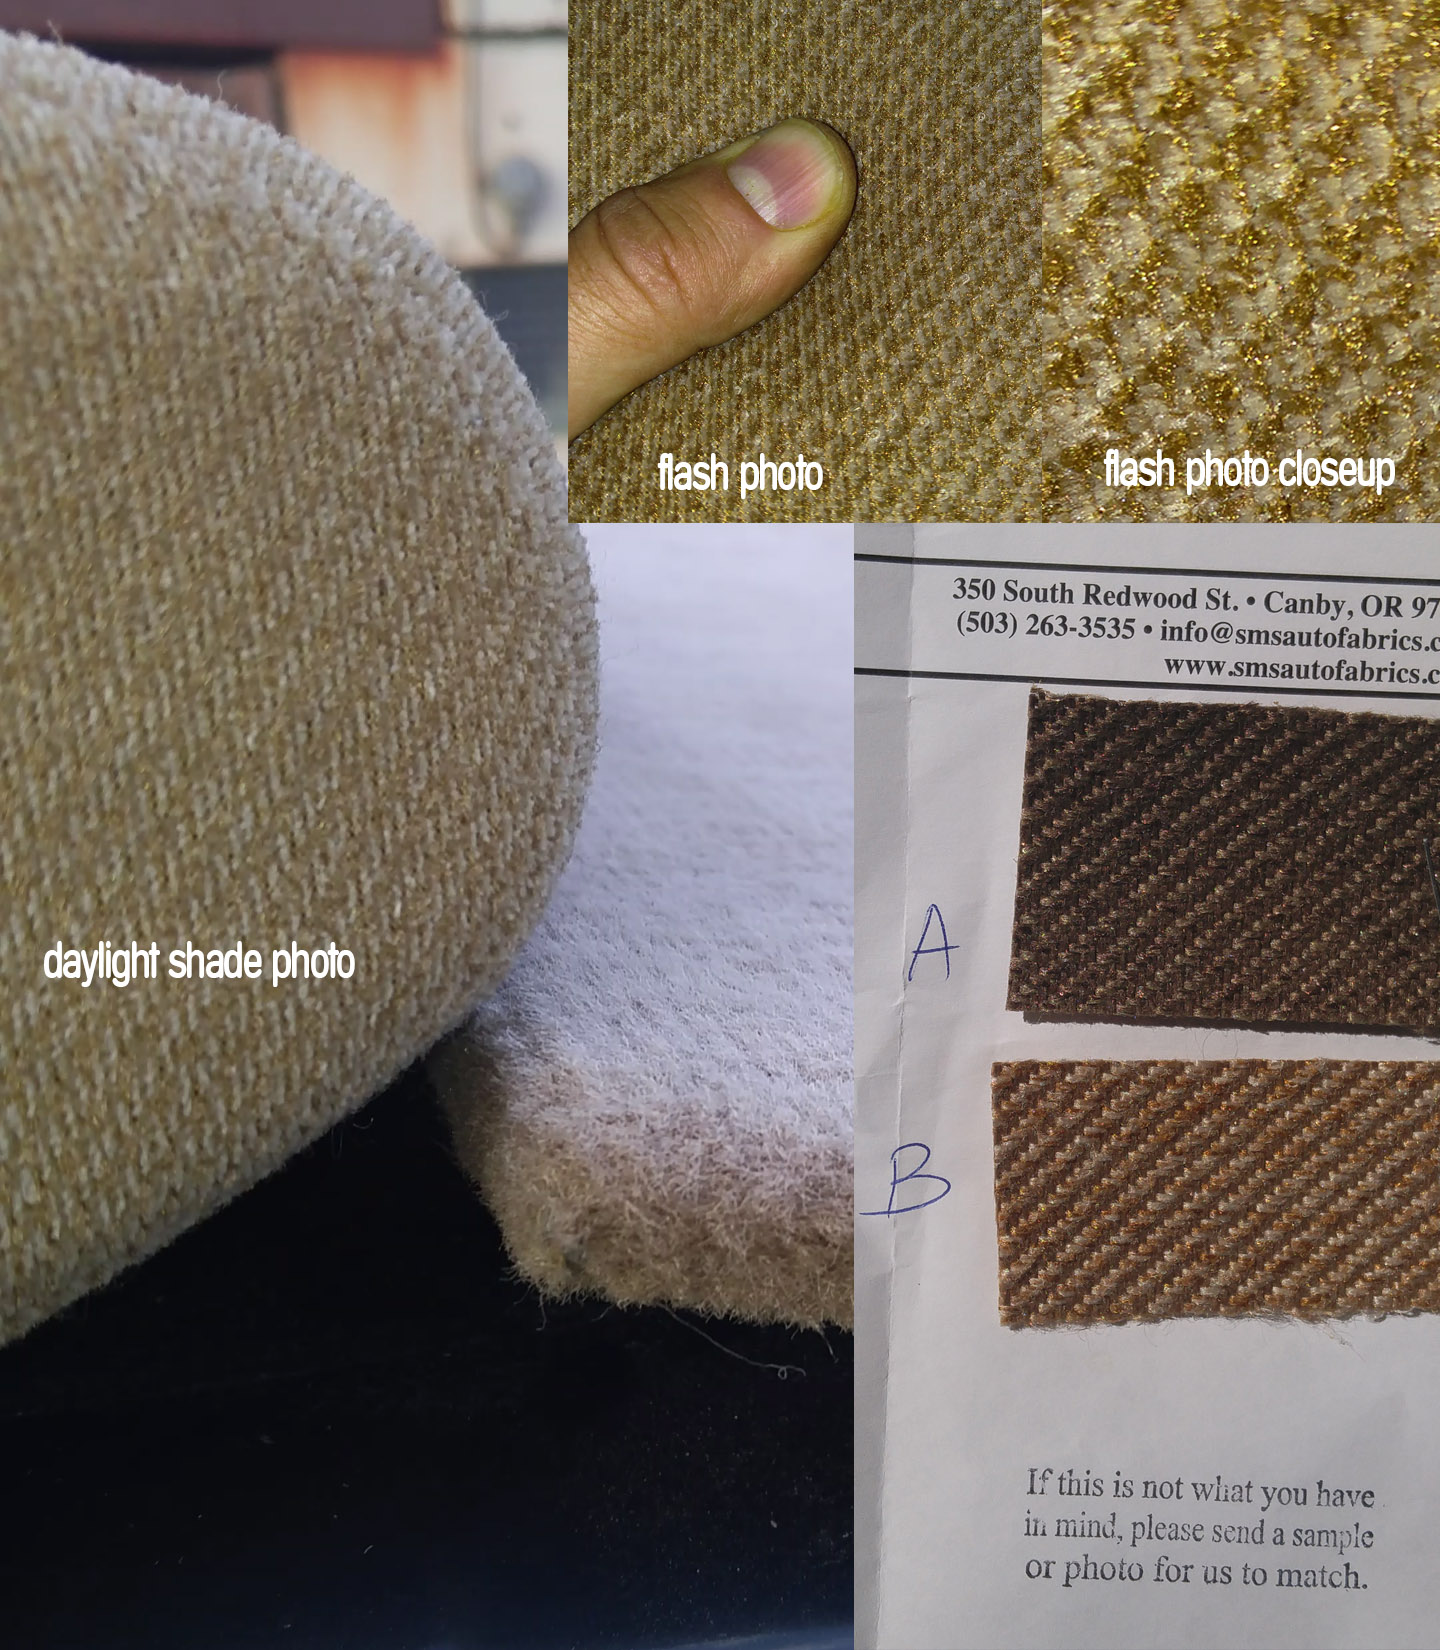
Above is the graphic that I posted and showed everyone, while looking for fabric.
I actually started on the interior before everything else, specifically started looking for seat fabric, since I knew that might be challenging. It turned to be a big challenge. I started with SMS AutoFabrics, since they got almost everything and they sent me numerous samples, but nothing matched, plus SMS Autofabrics is like 100usd / yard, very expensive, still worth it if exact historical match on fabric.
I then contacted VP-autoparts.com, Volvo part suppliers based in Sweden.
I had gotten information VP-autoparts have some of the original factory parts supply available. I showed them the project and convinced them to go to their off-site warehouse and search for original fabrics, but they only found the fabric that is on the underside of rear seats (original is intact), not the top fabric that is all worn.
In between VP-autoparts and SMS Autofabrics, I also searched through pretty much the whole internet (or so it seemed) and found no matching fabric to original since it is so very peculiar how it shines and reflects light, as you can see in the graphic above.
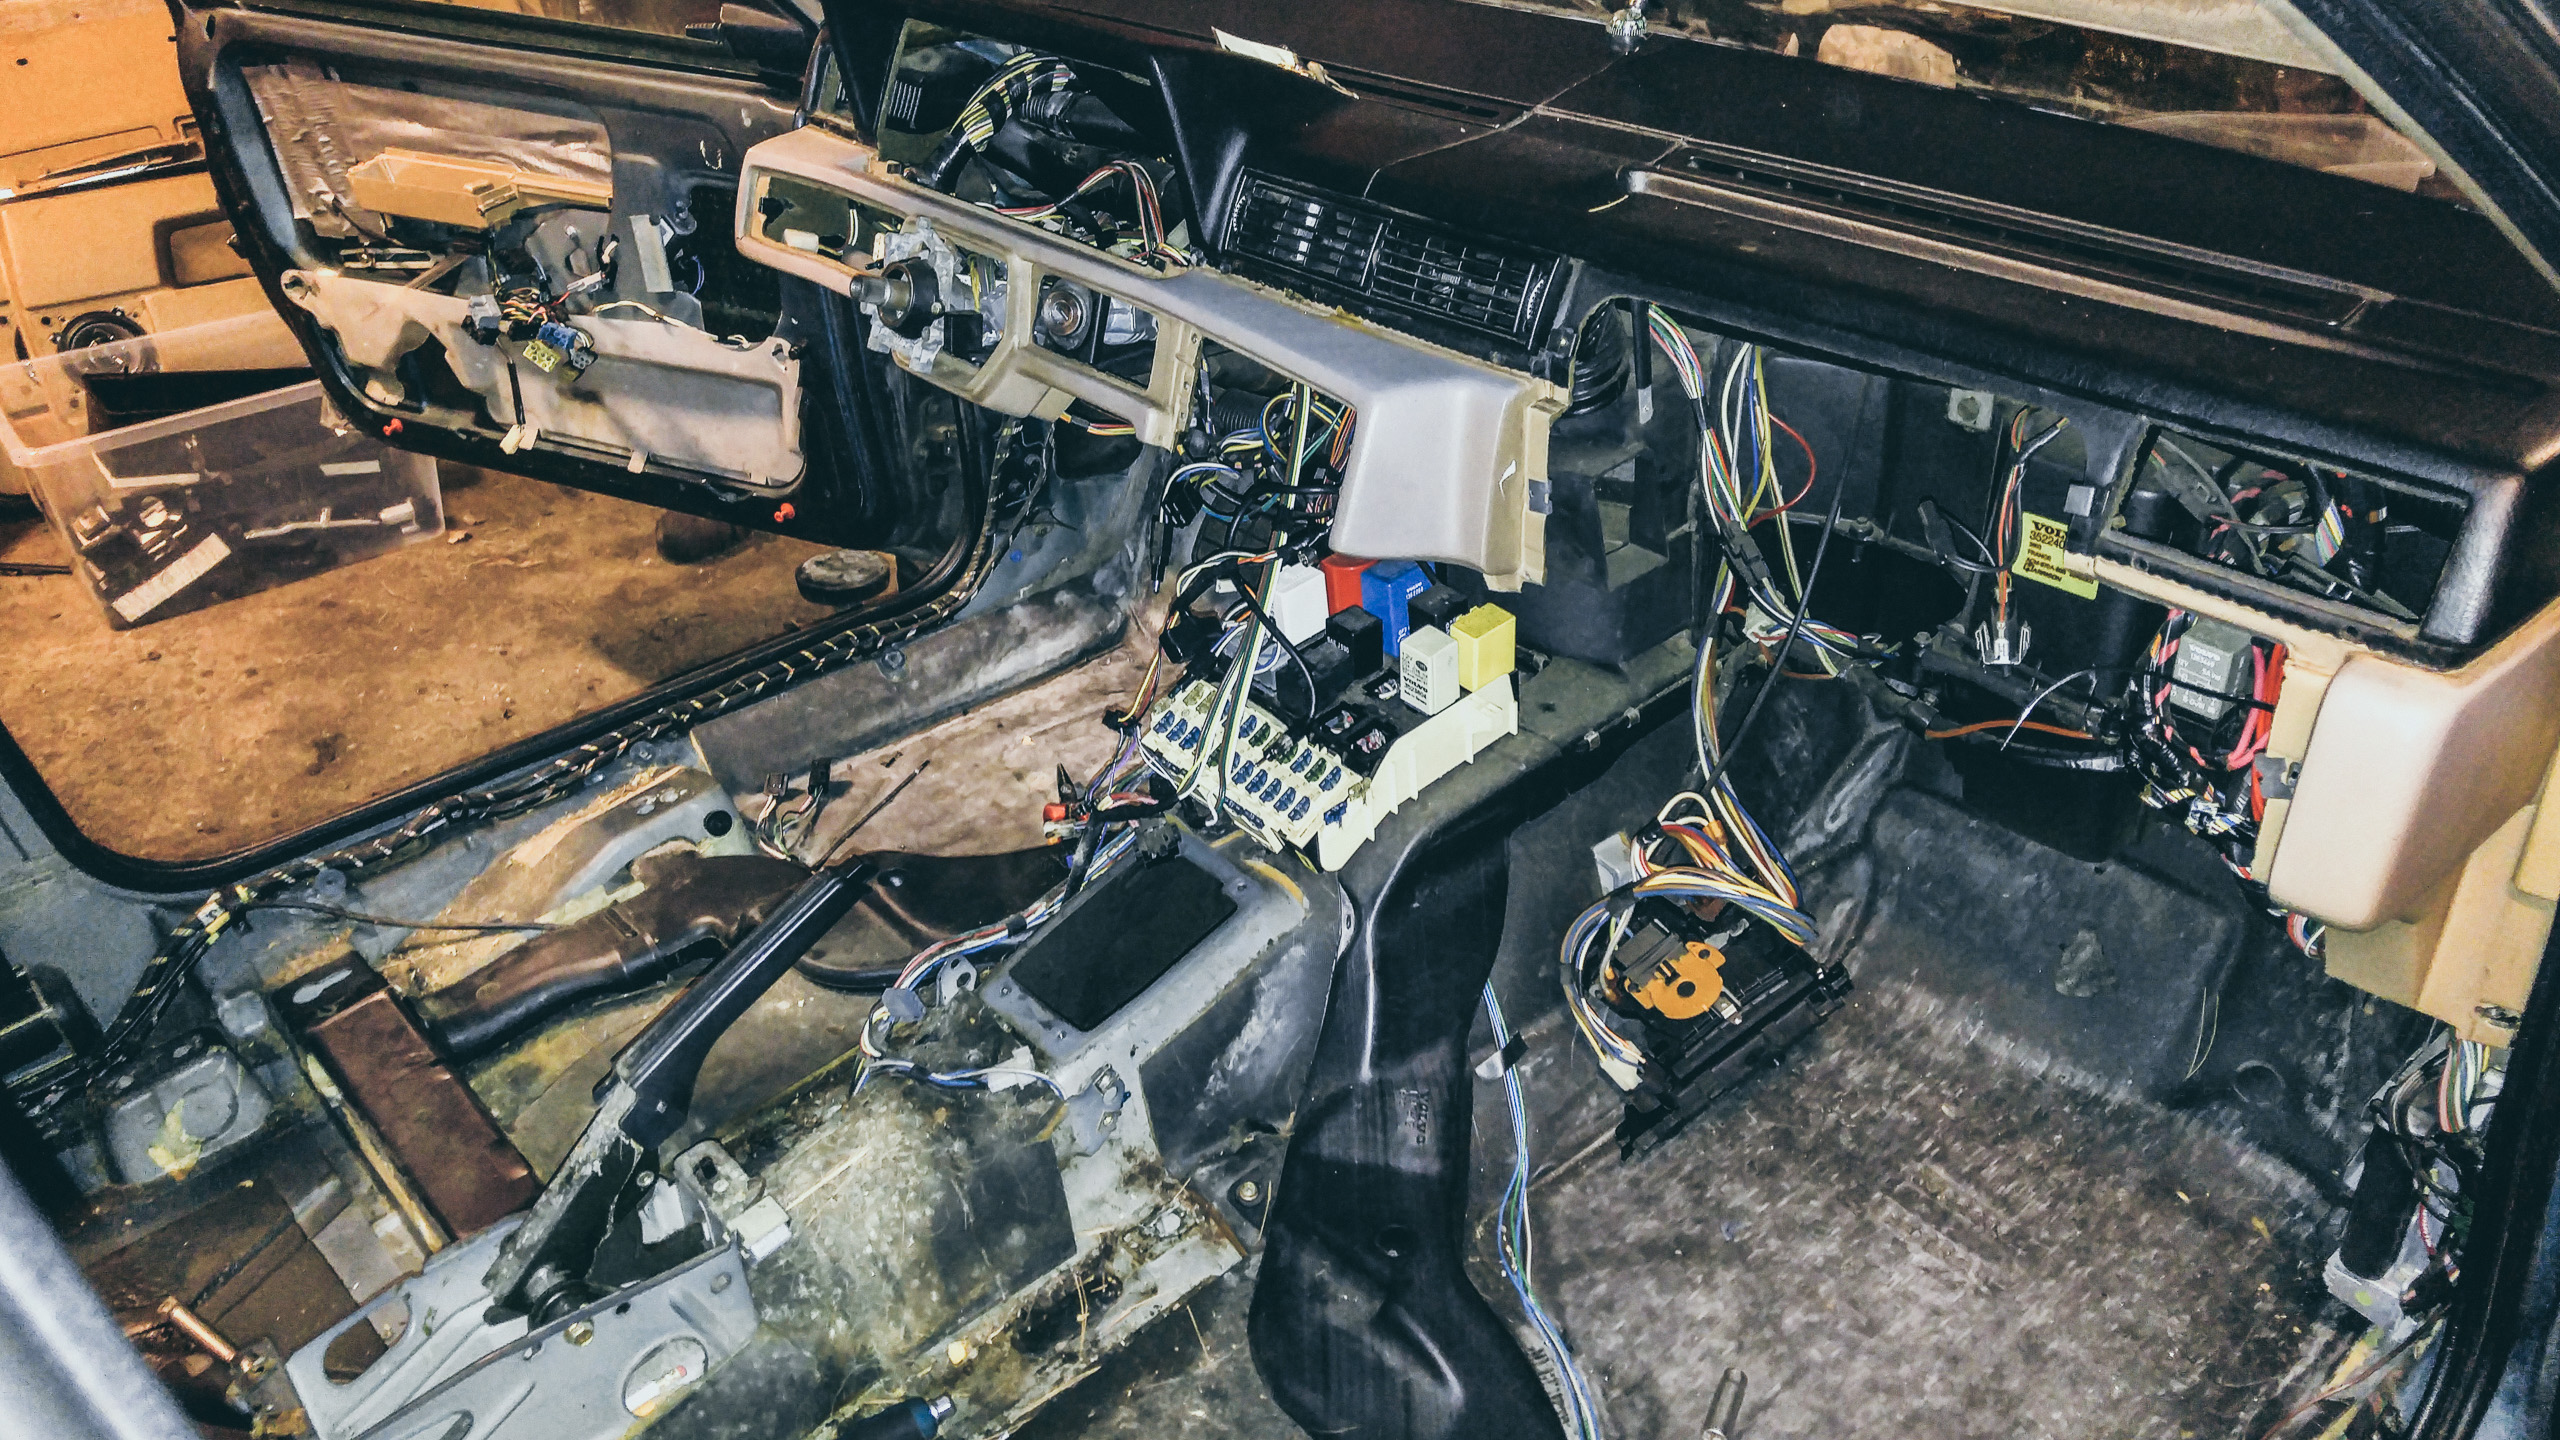

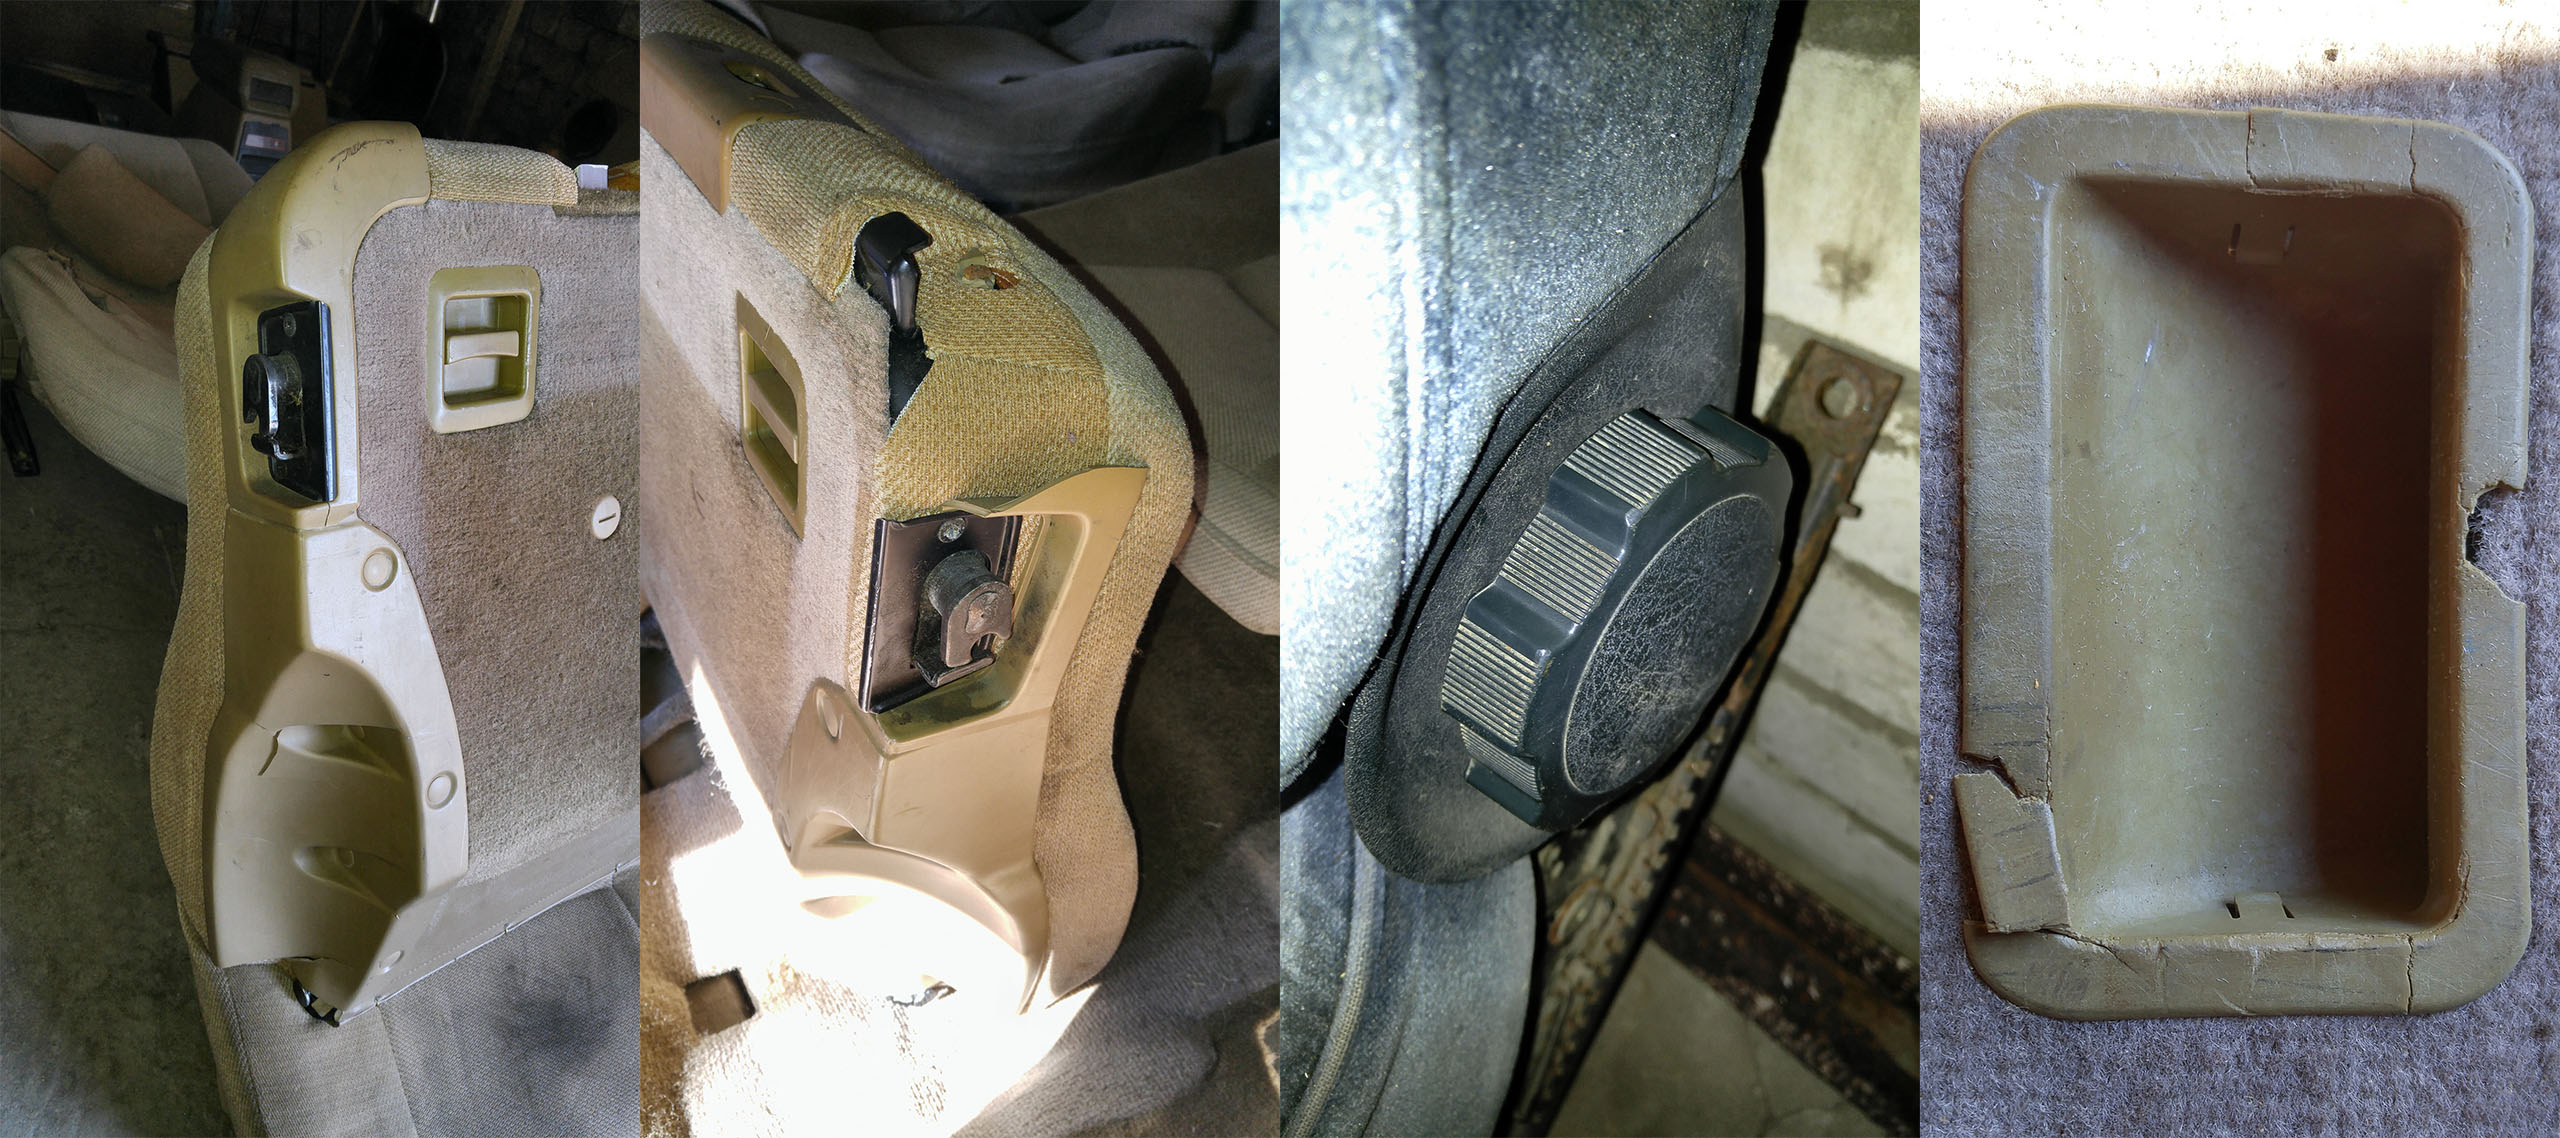
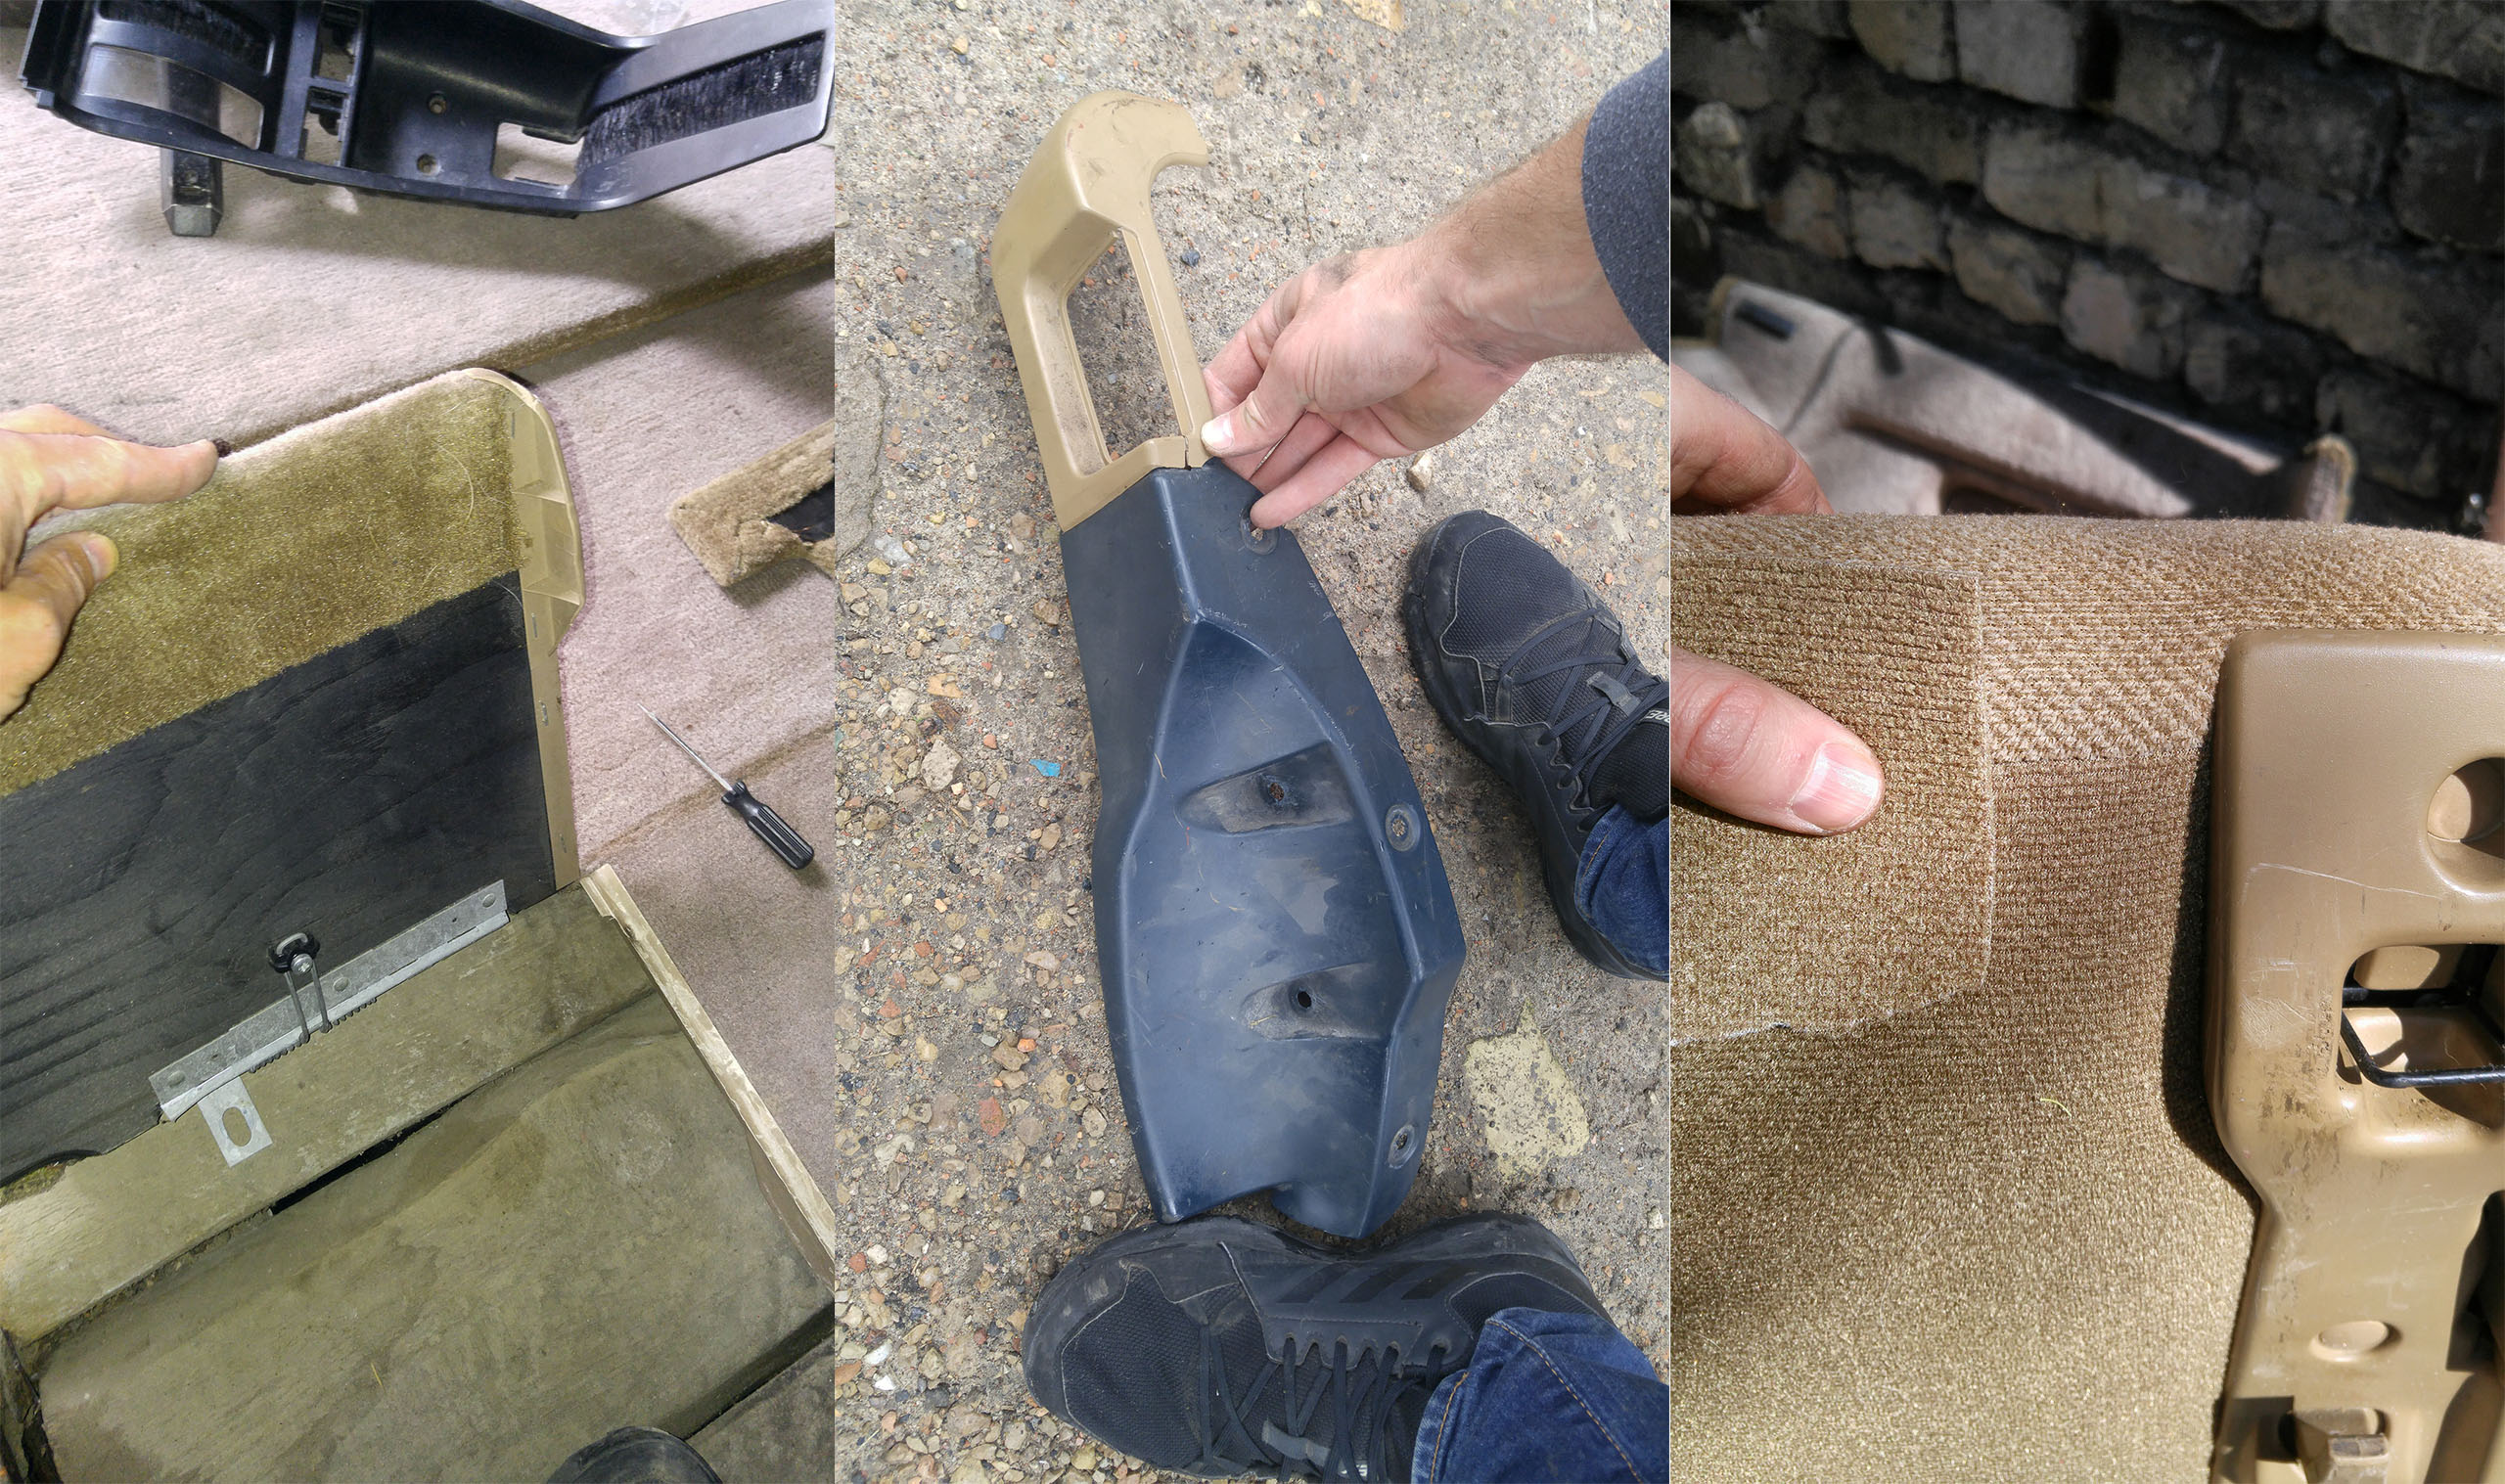
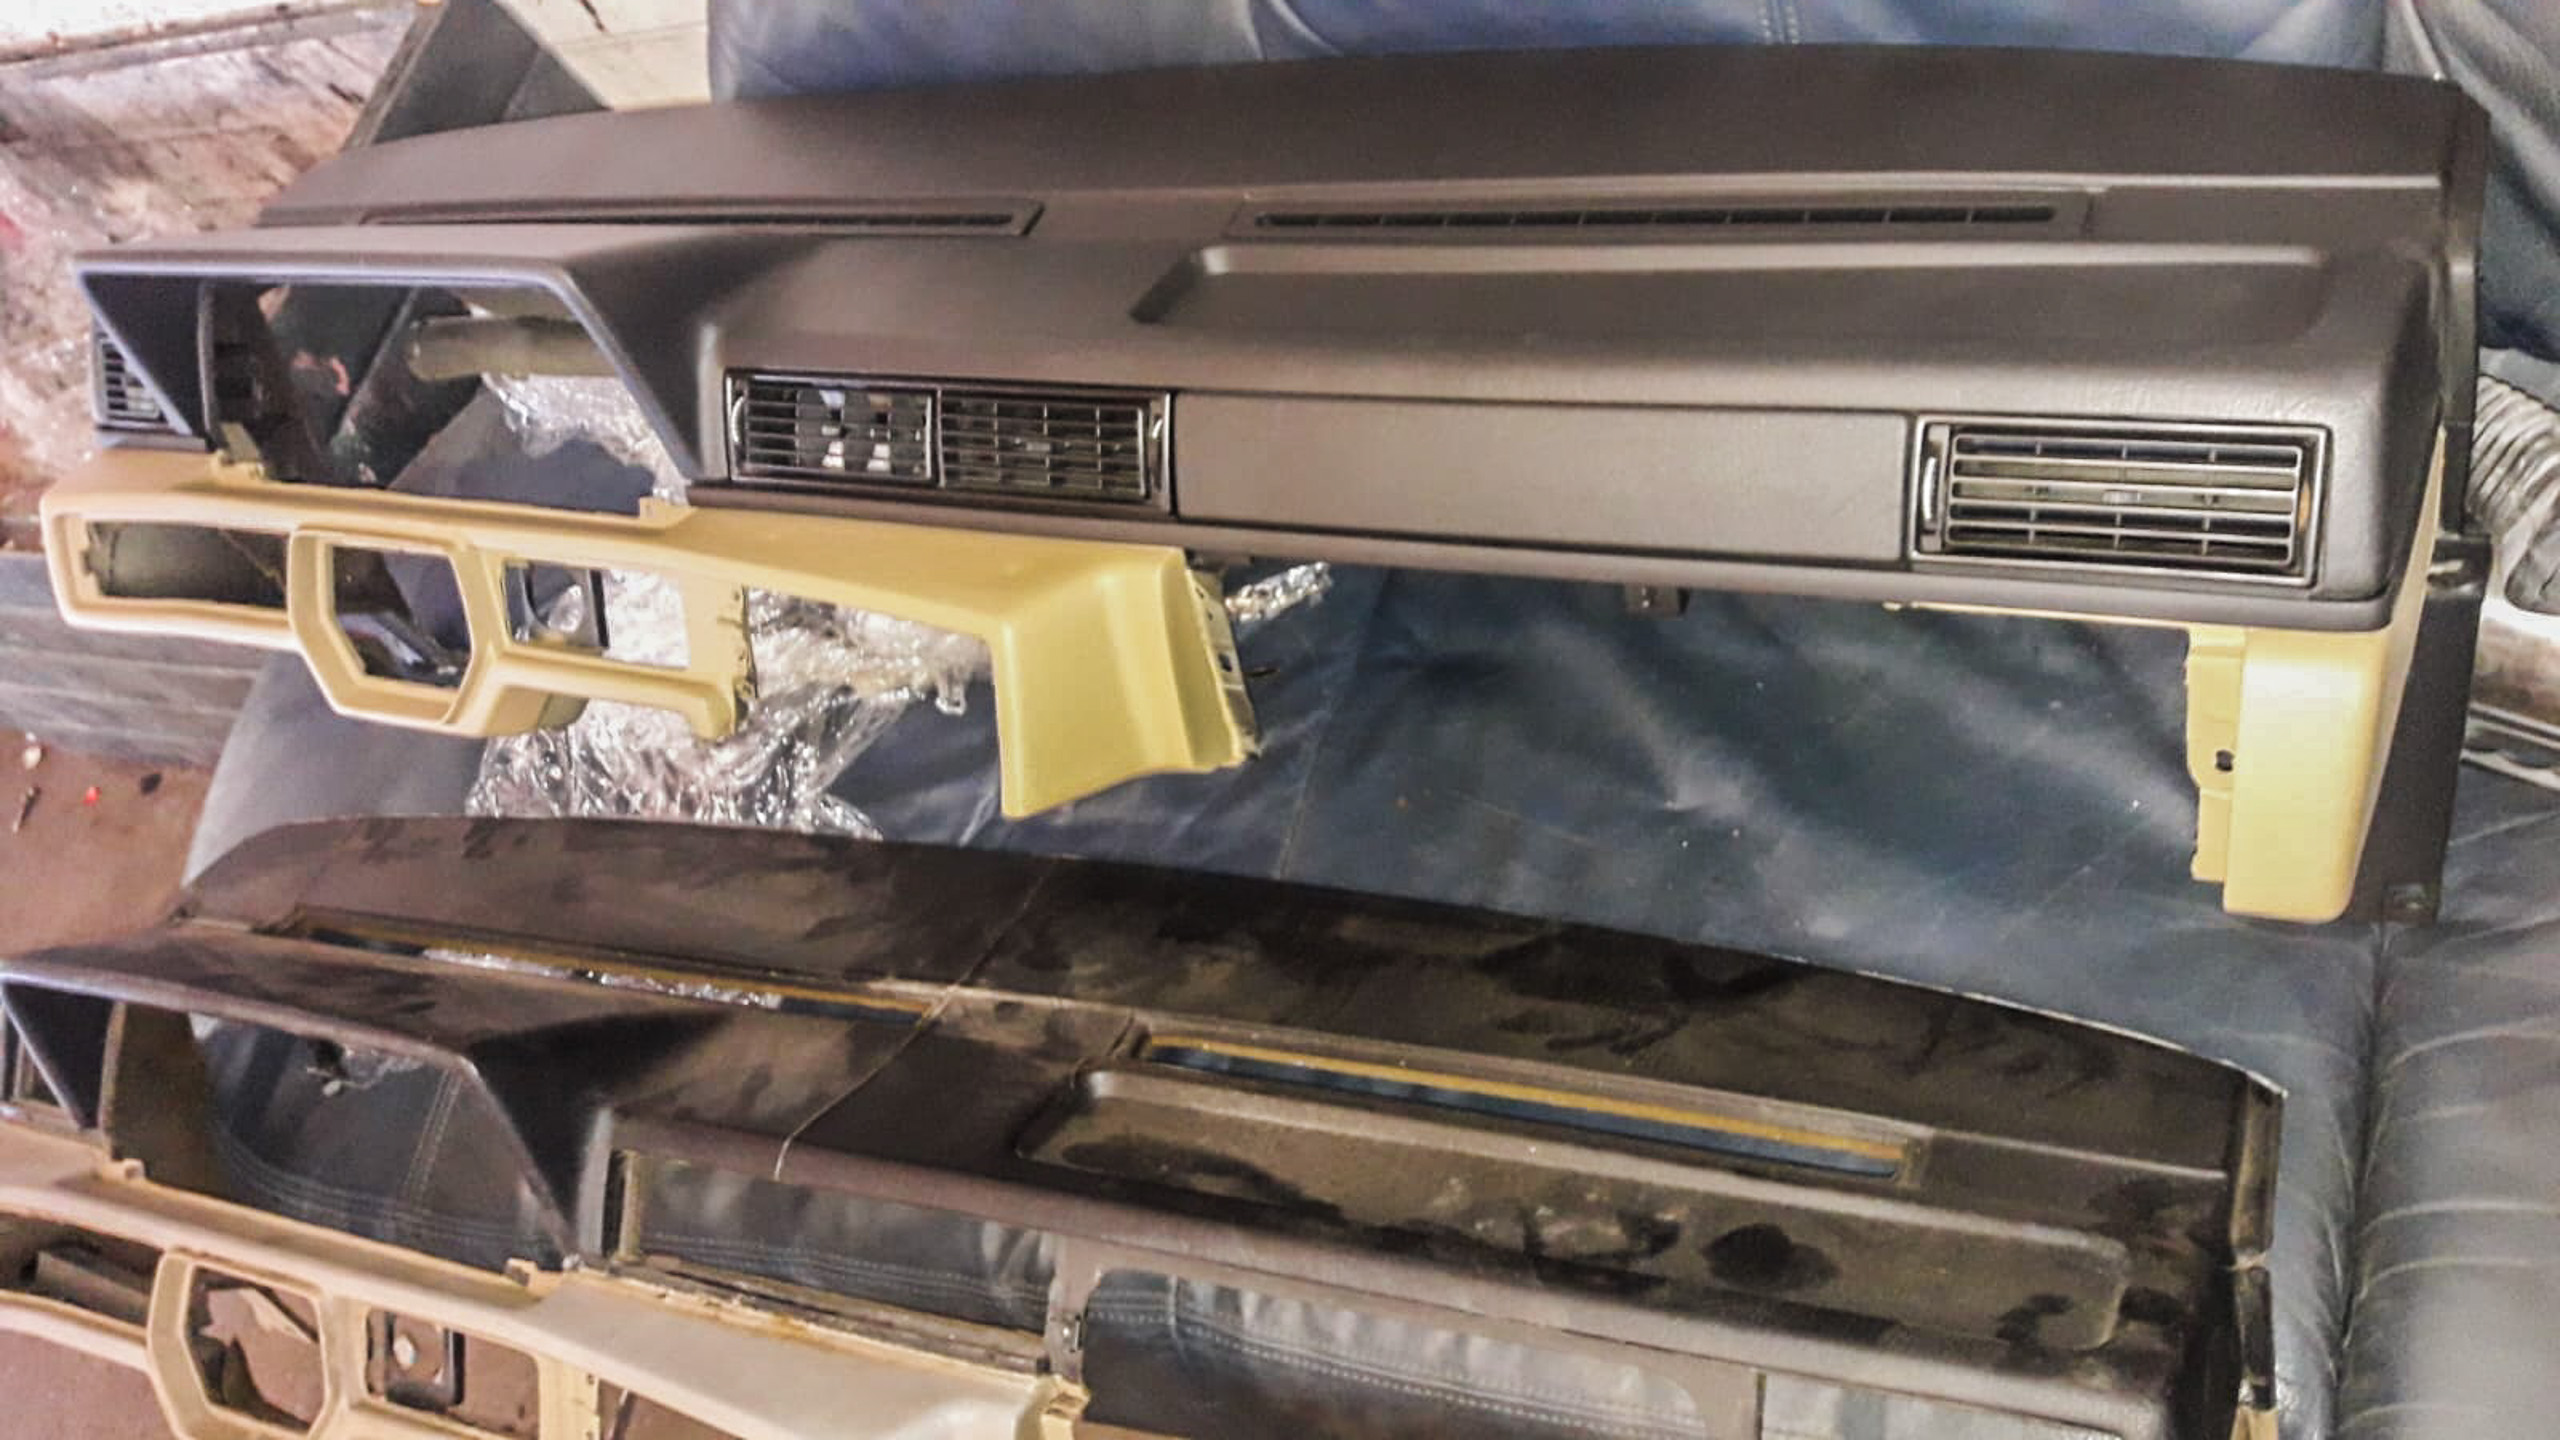
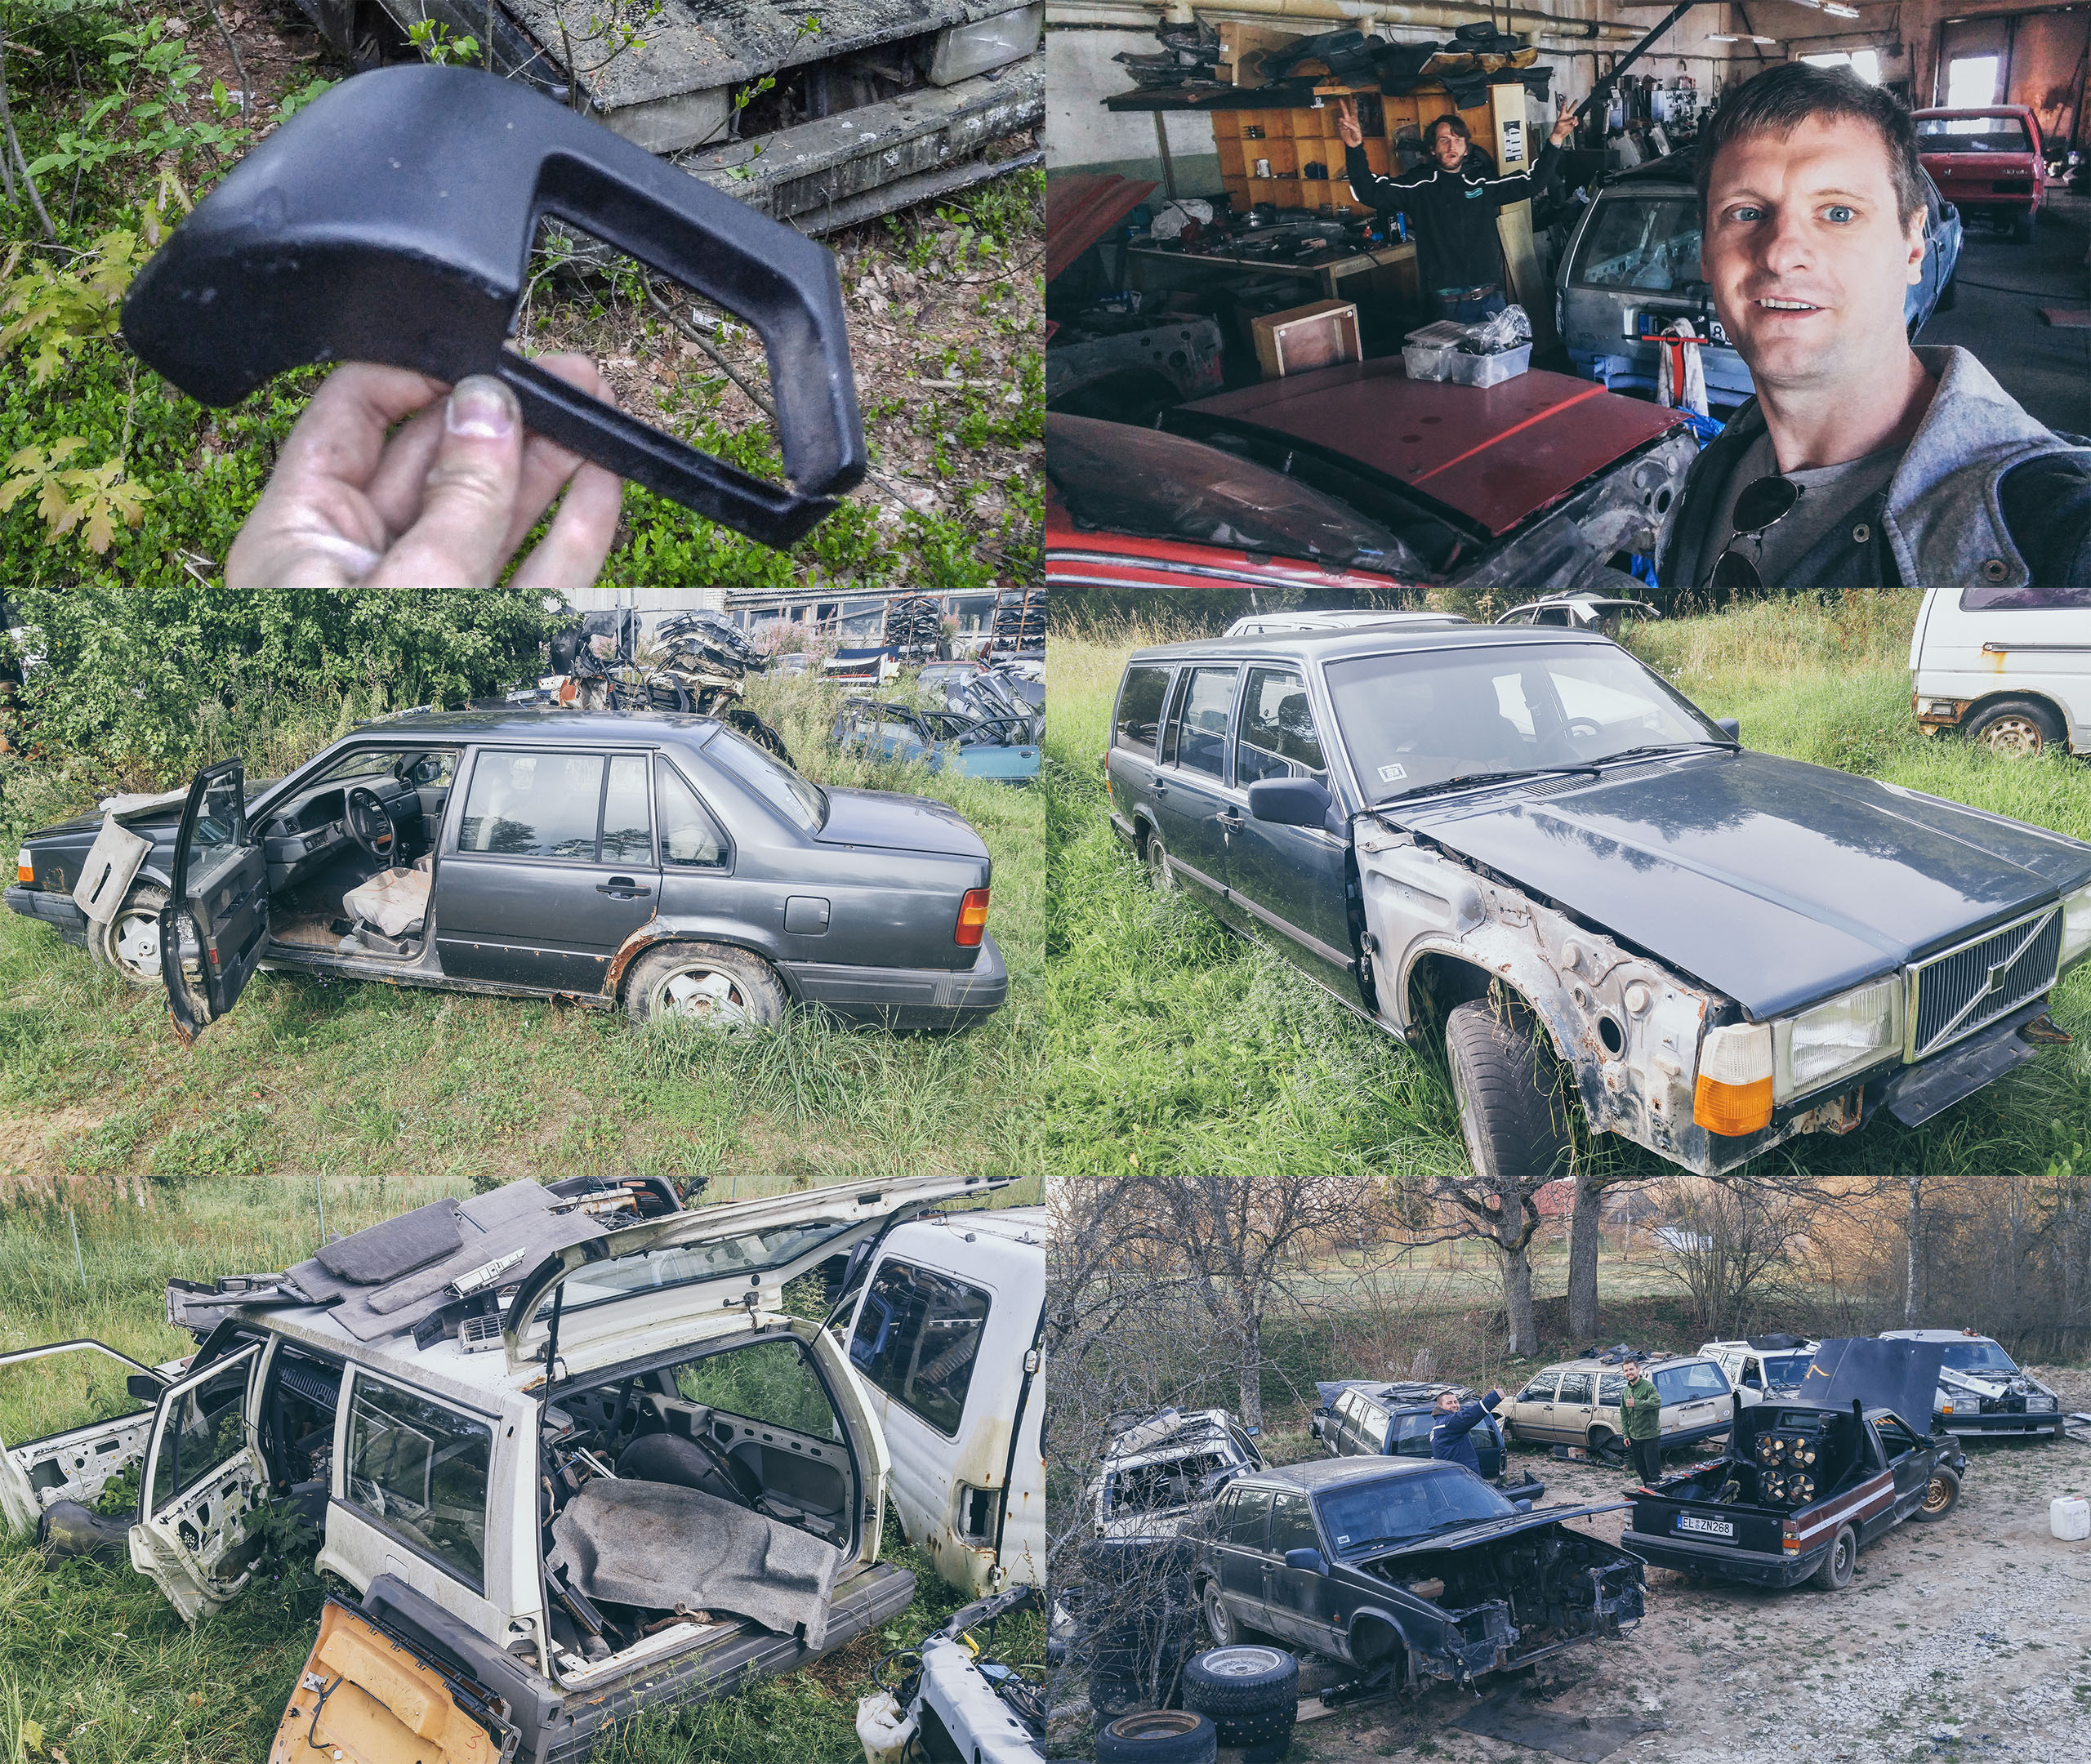
Realizing this plastic piece is broken and going on a couple day search for it.

When all in right places, no one really realizes how much plastic panels and parts these Volvos got. It is one of the more complicated cars for restoration, obviously I did not consider this fact when I started the project.
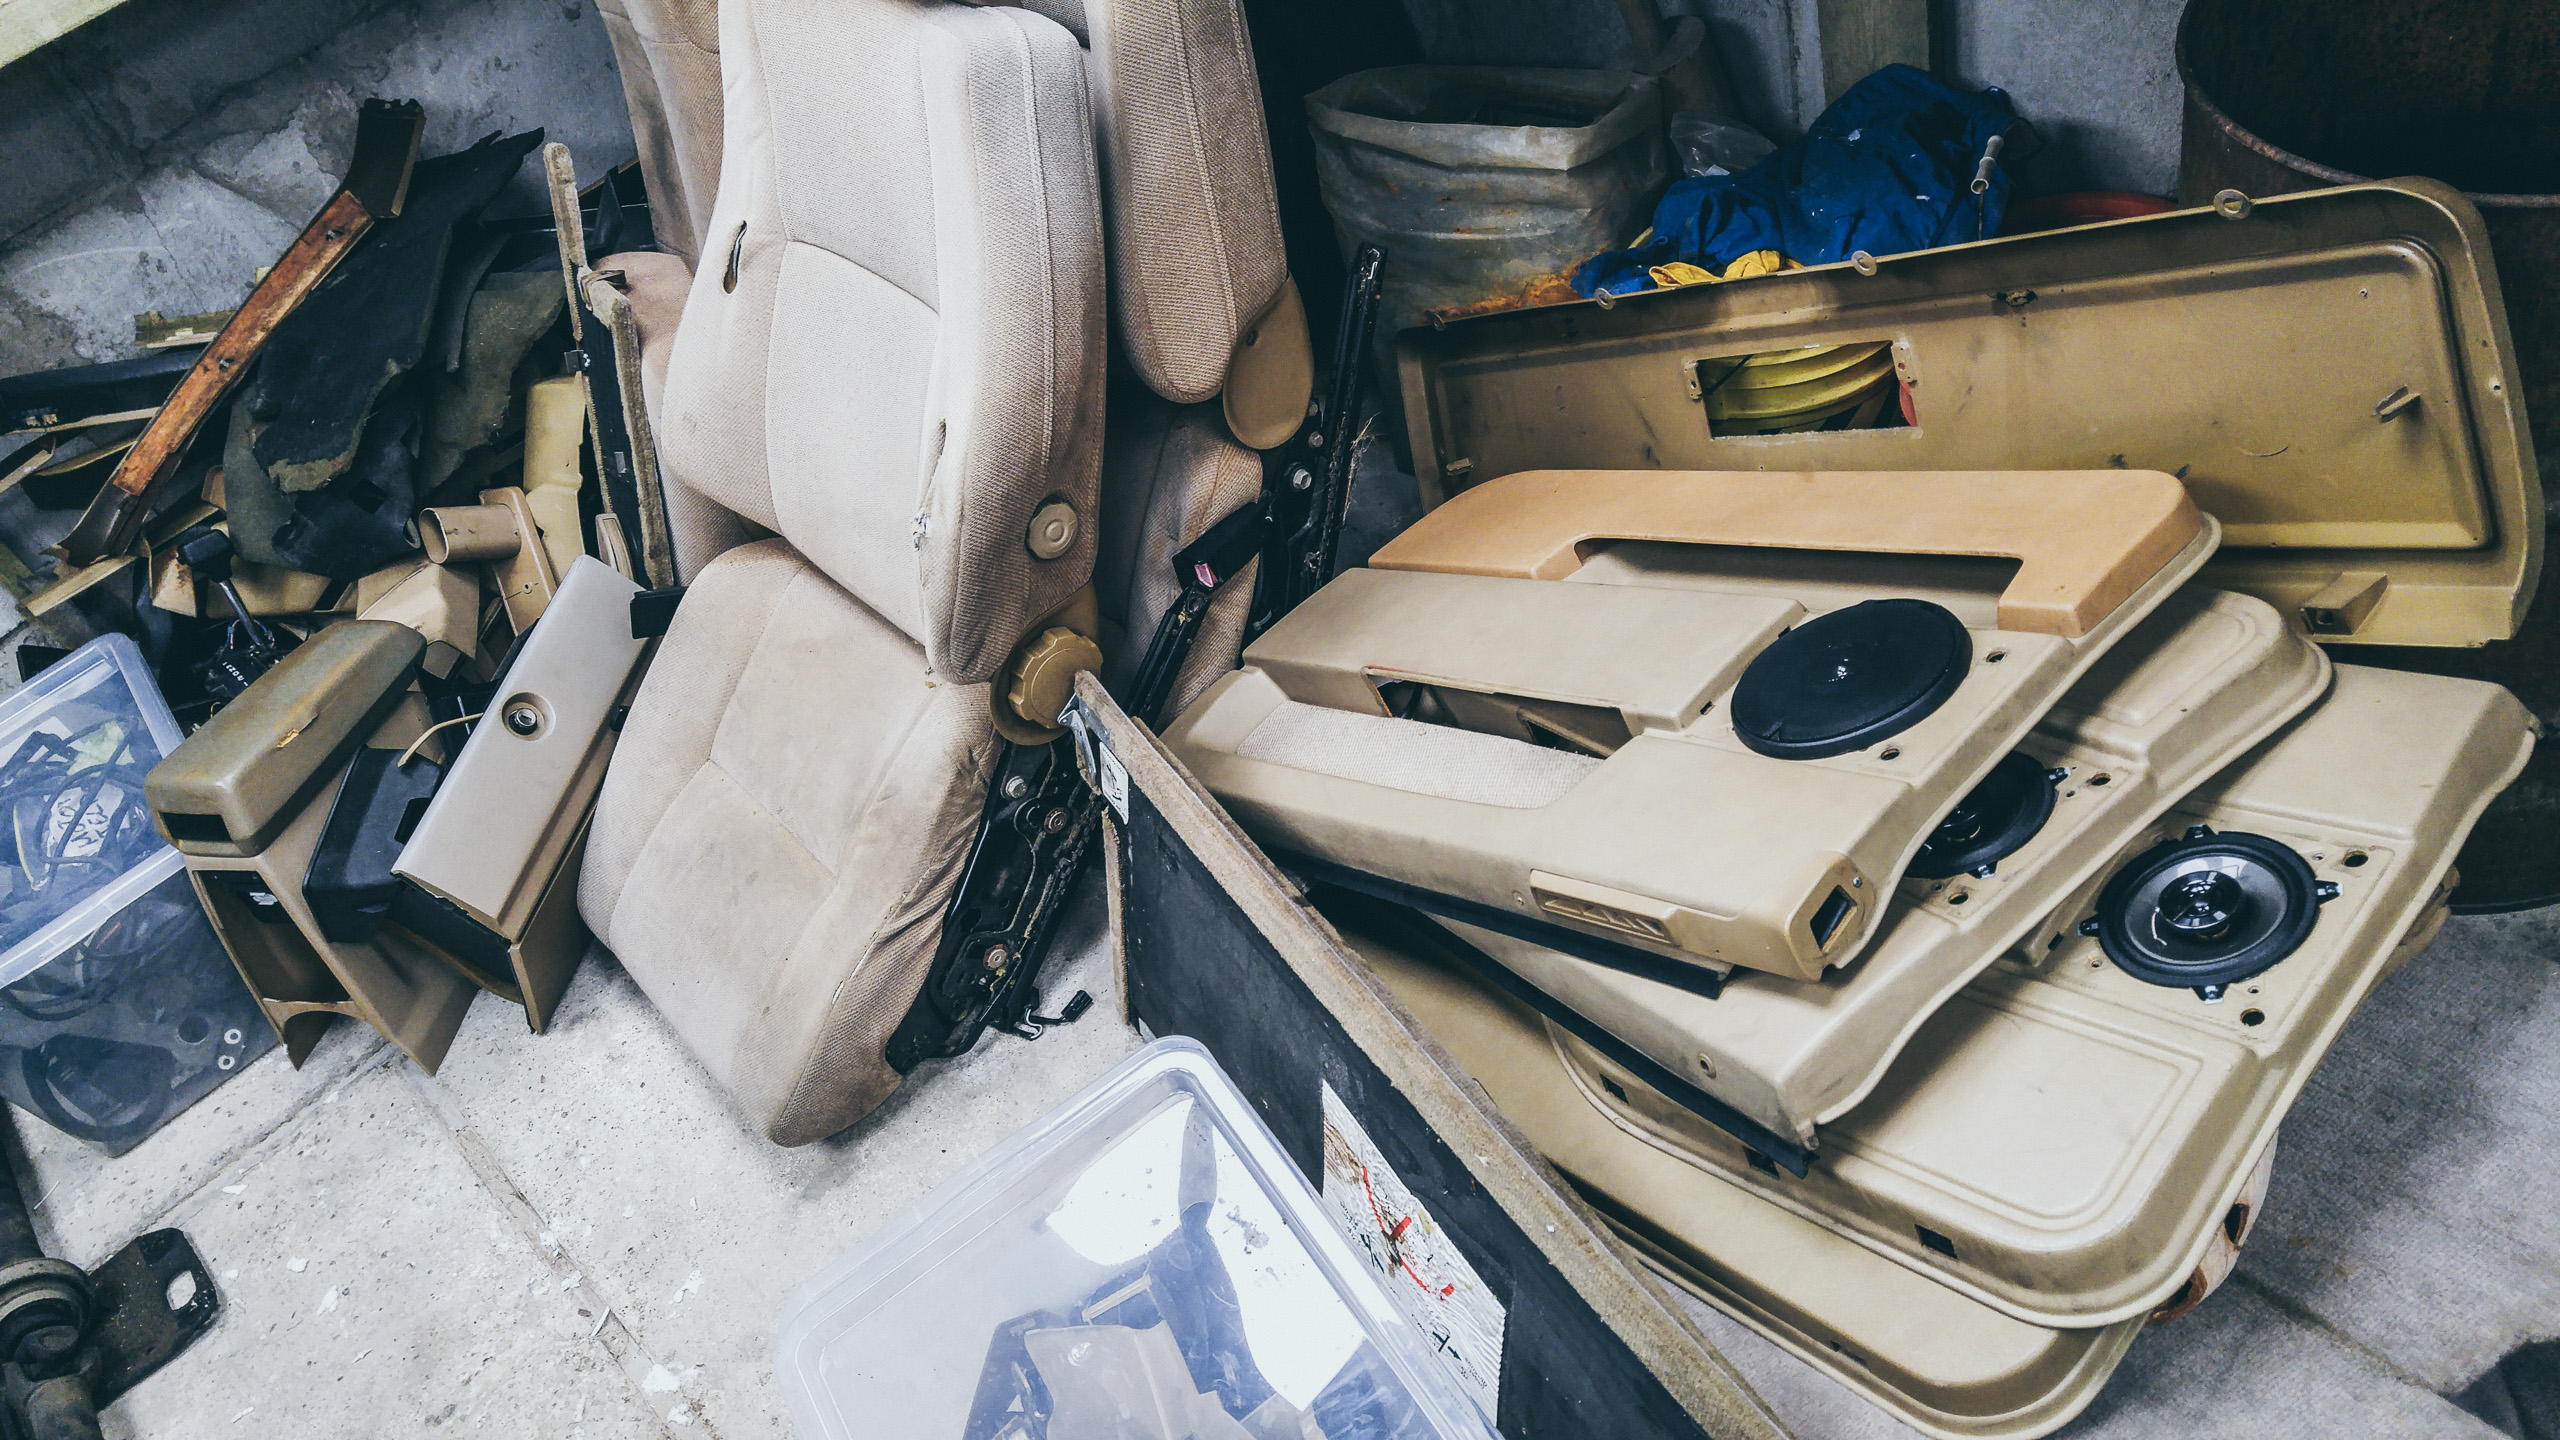
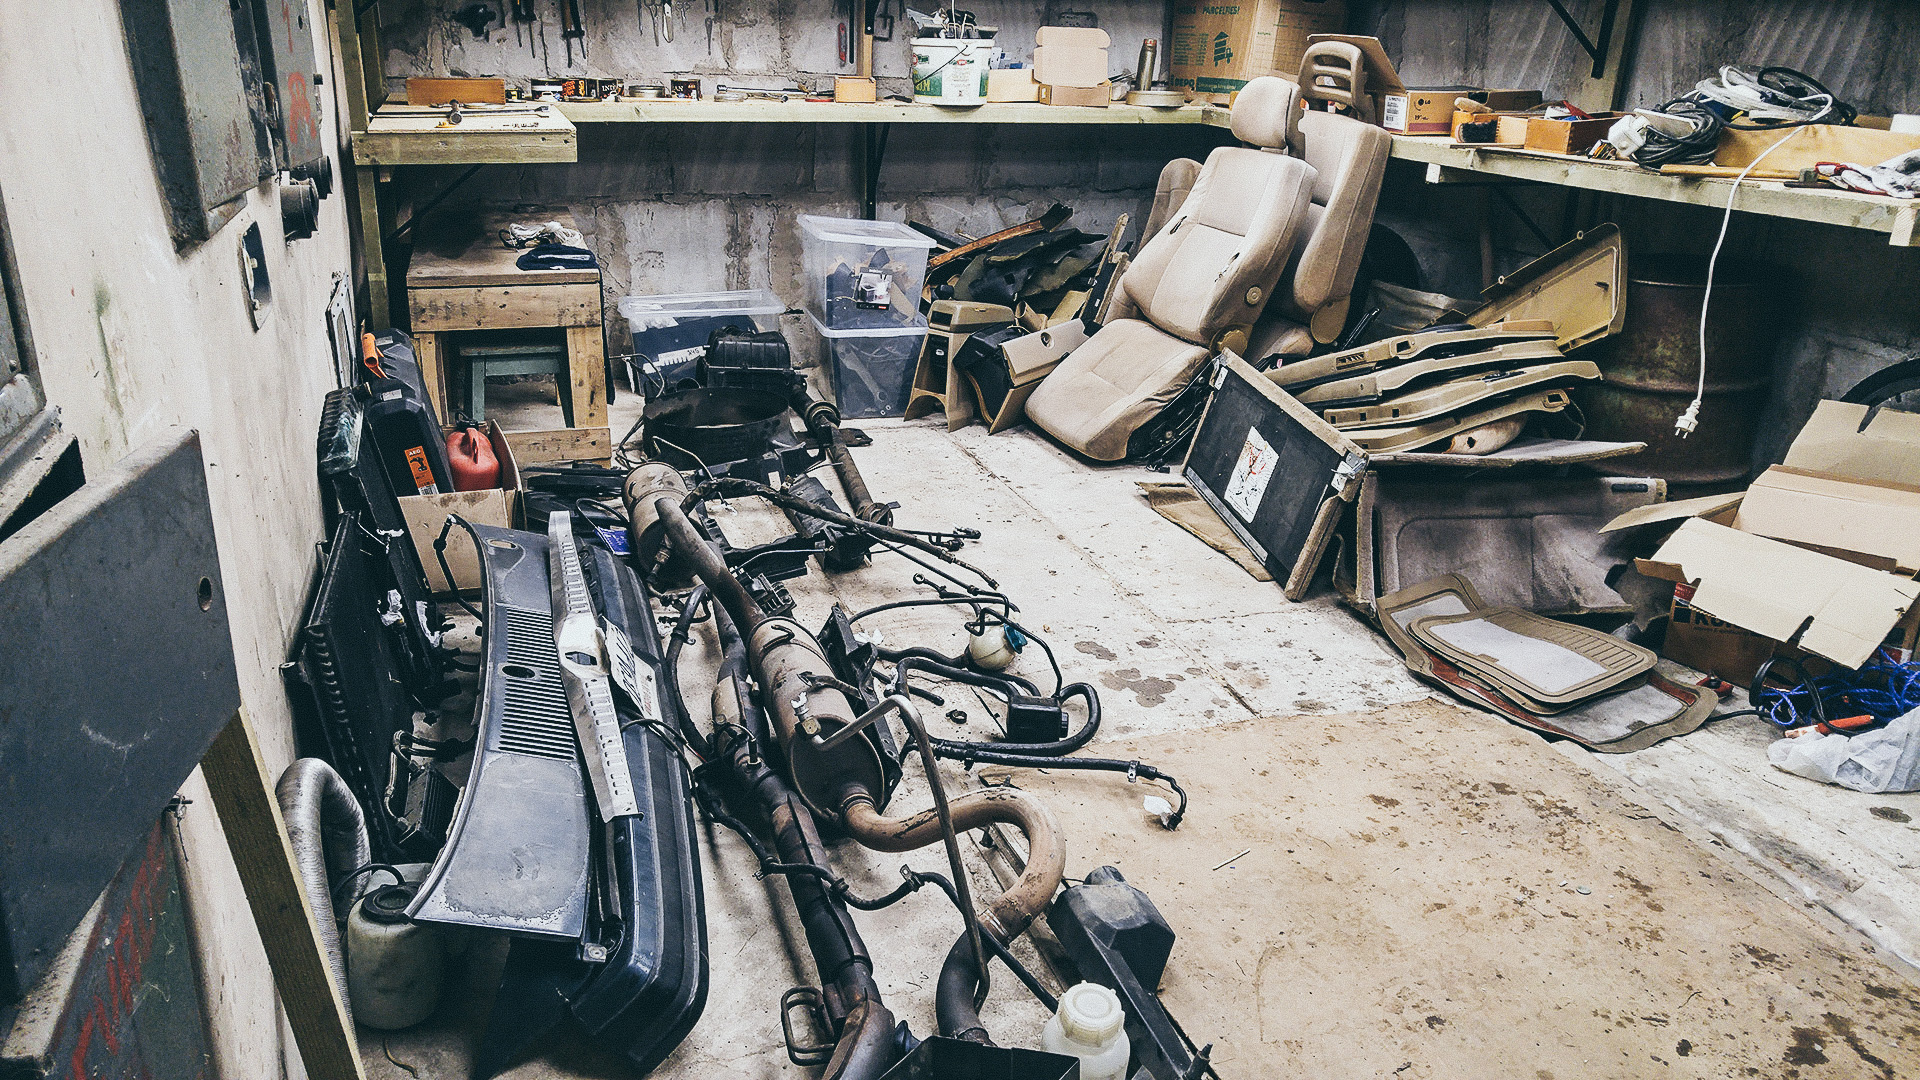
Two full garages of just parts.
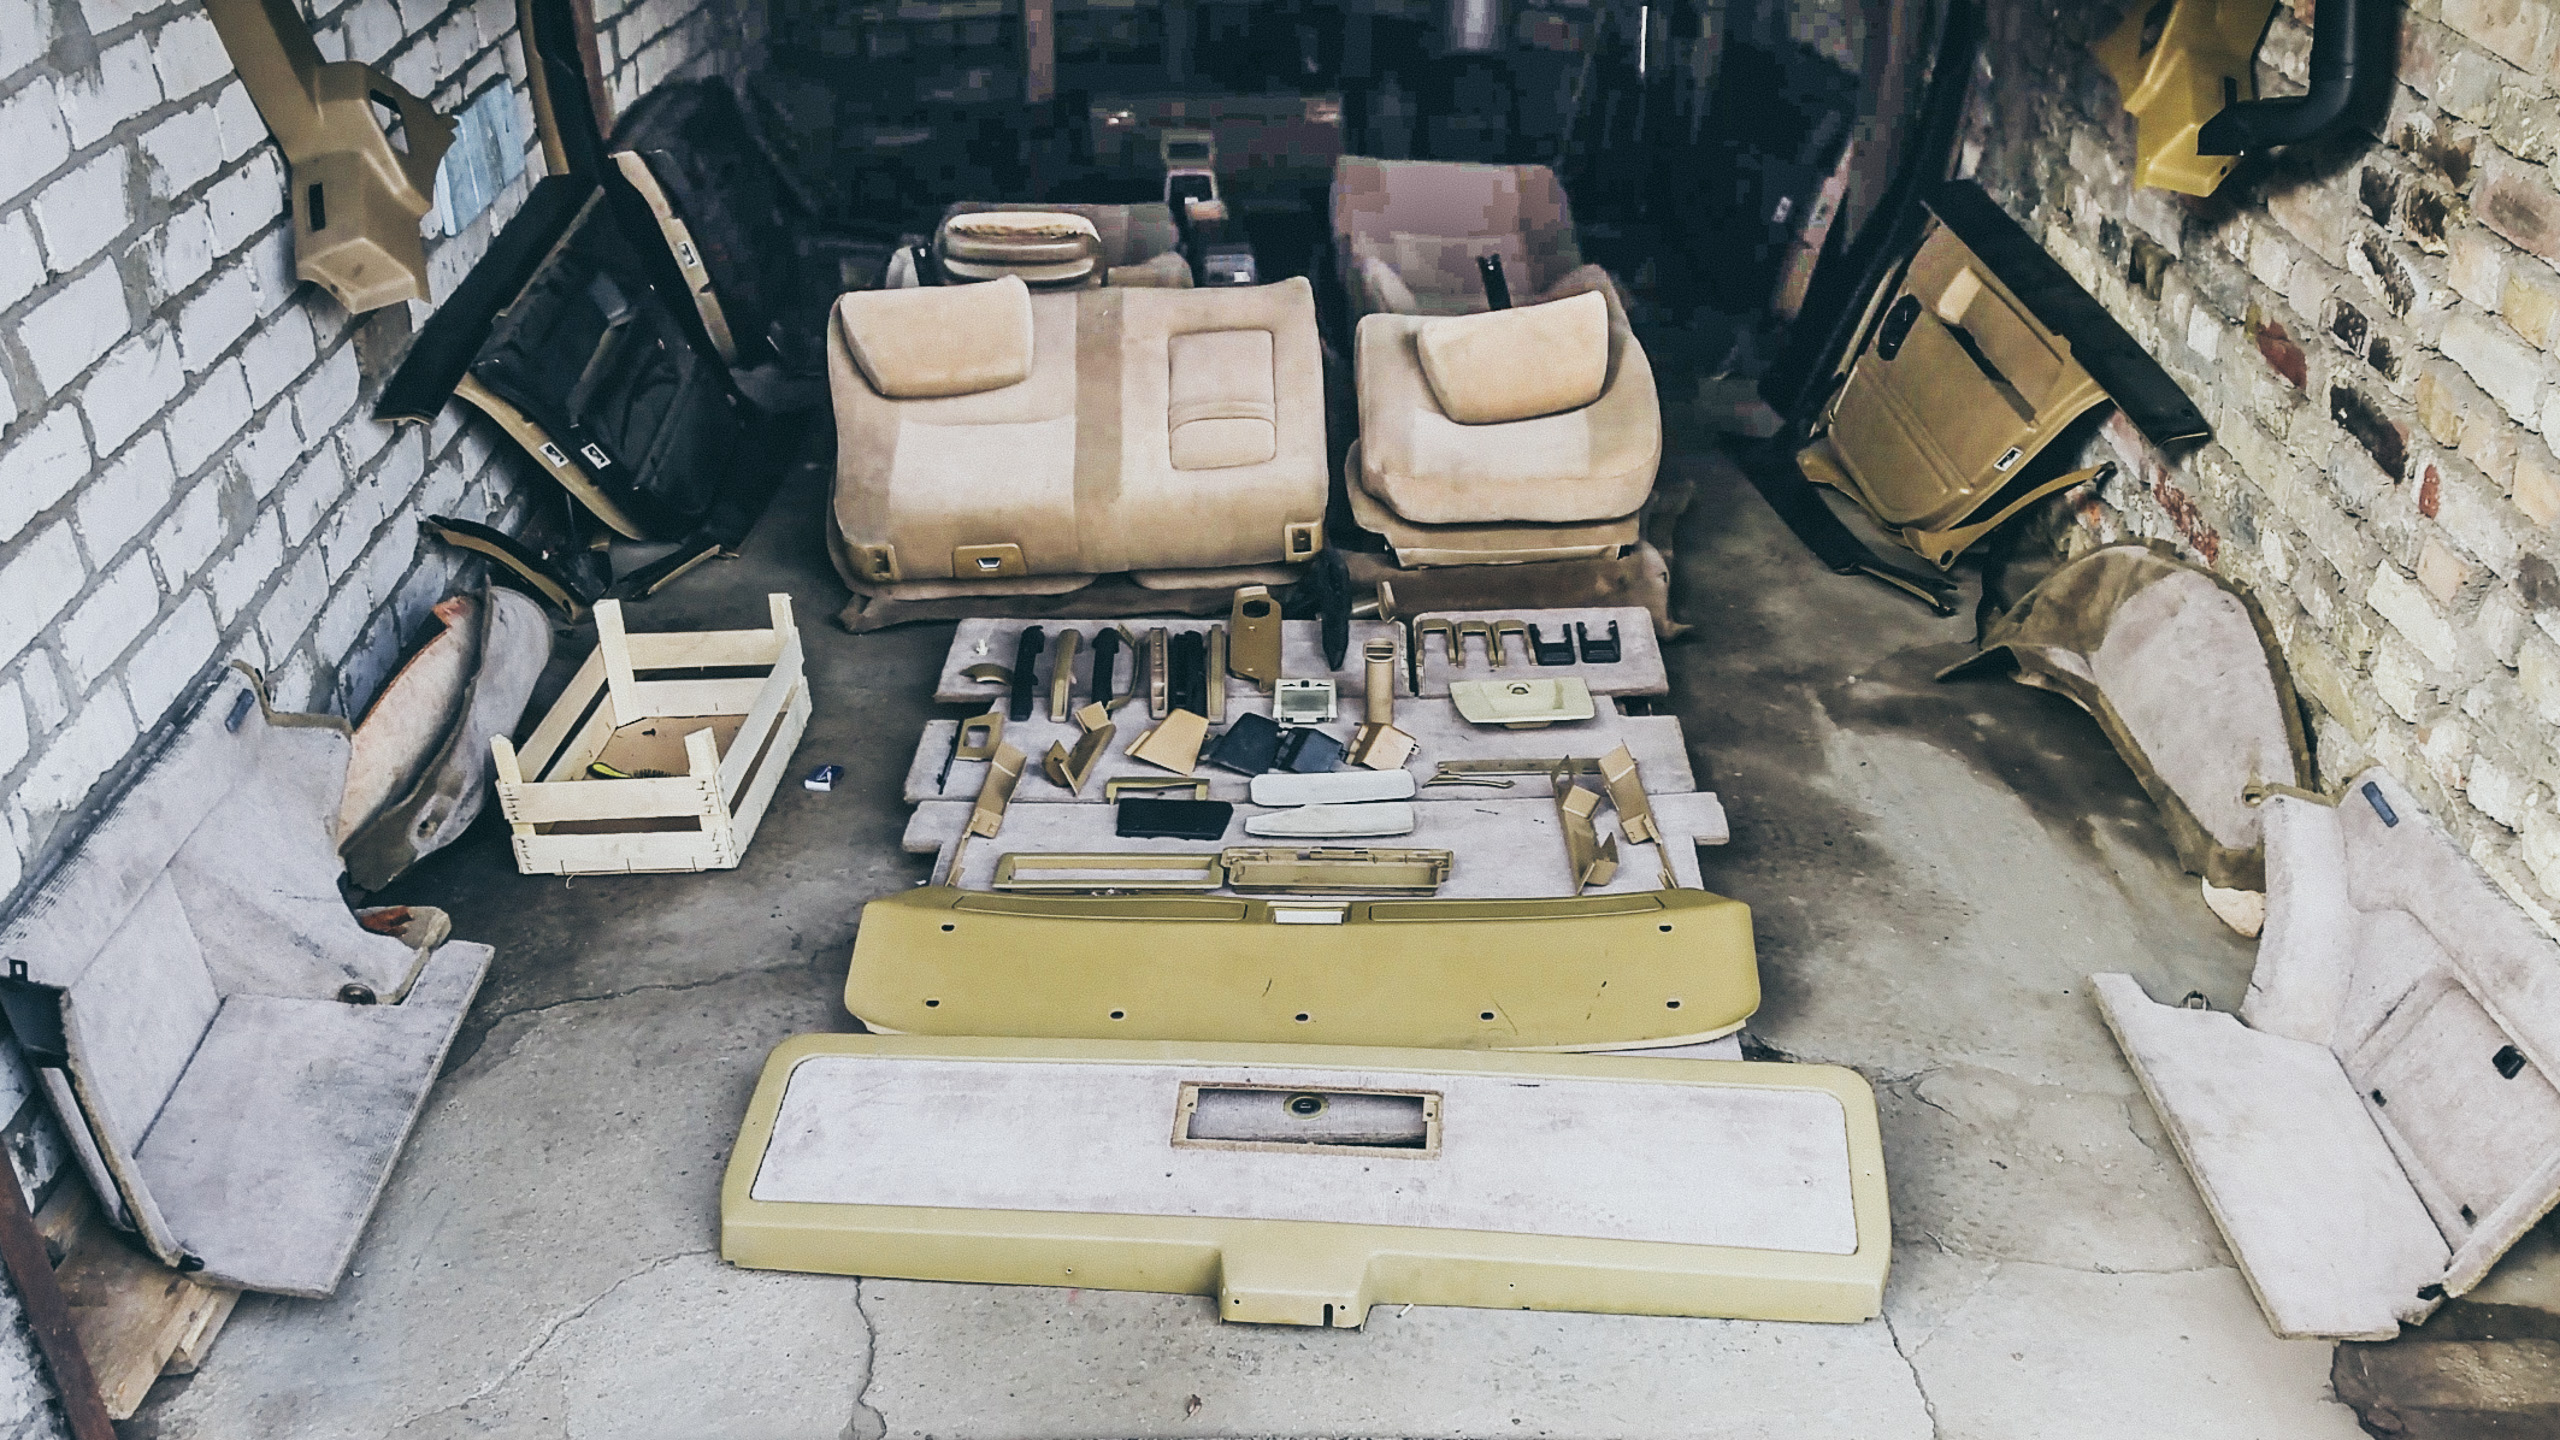
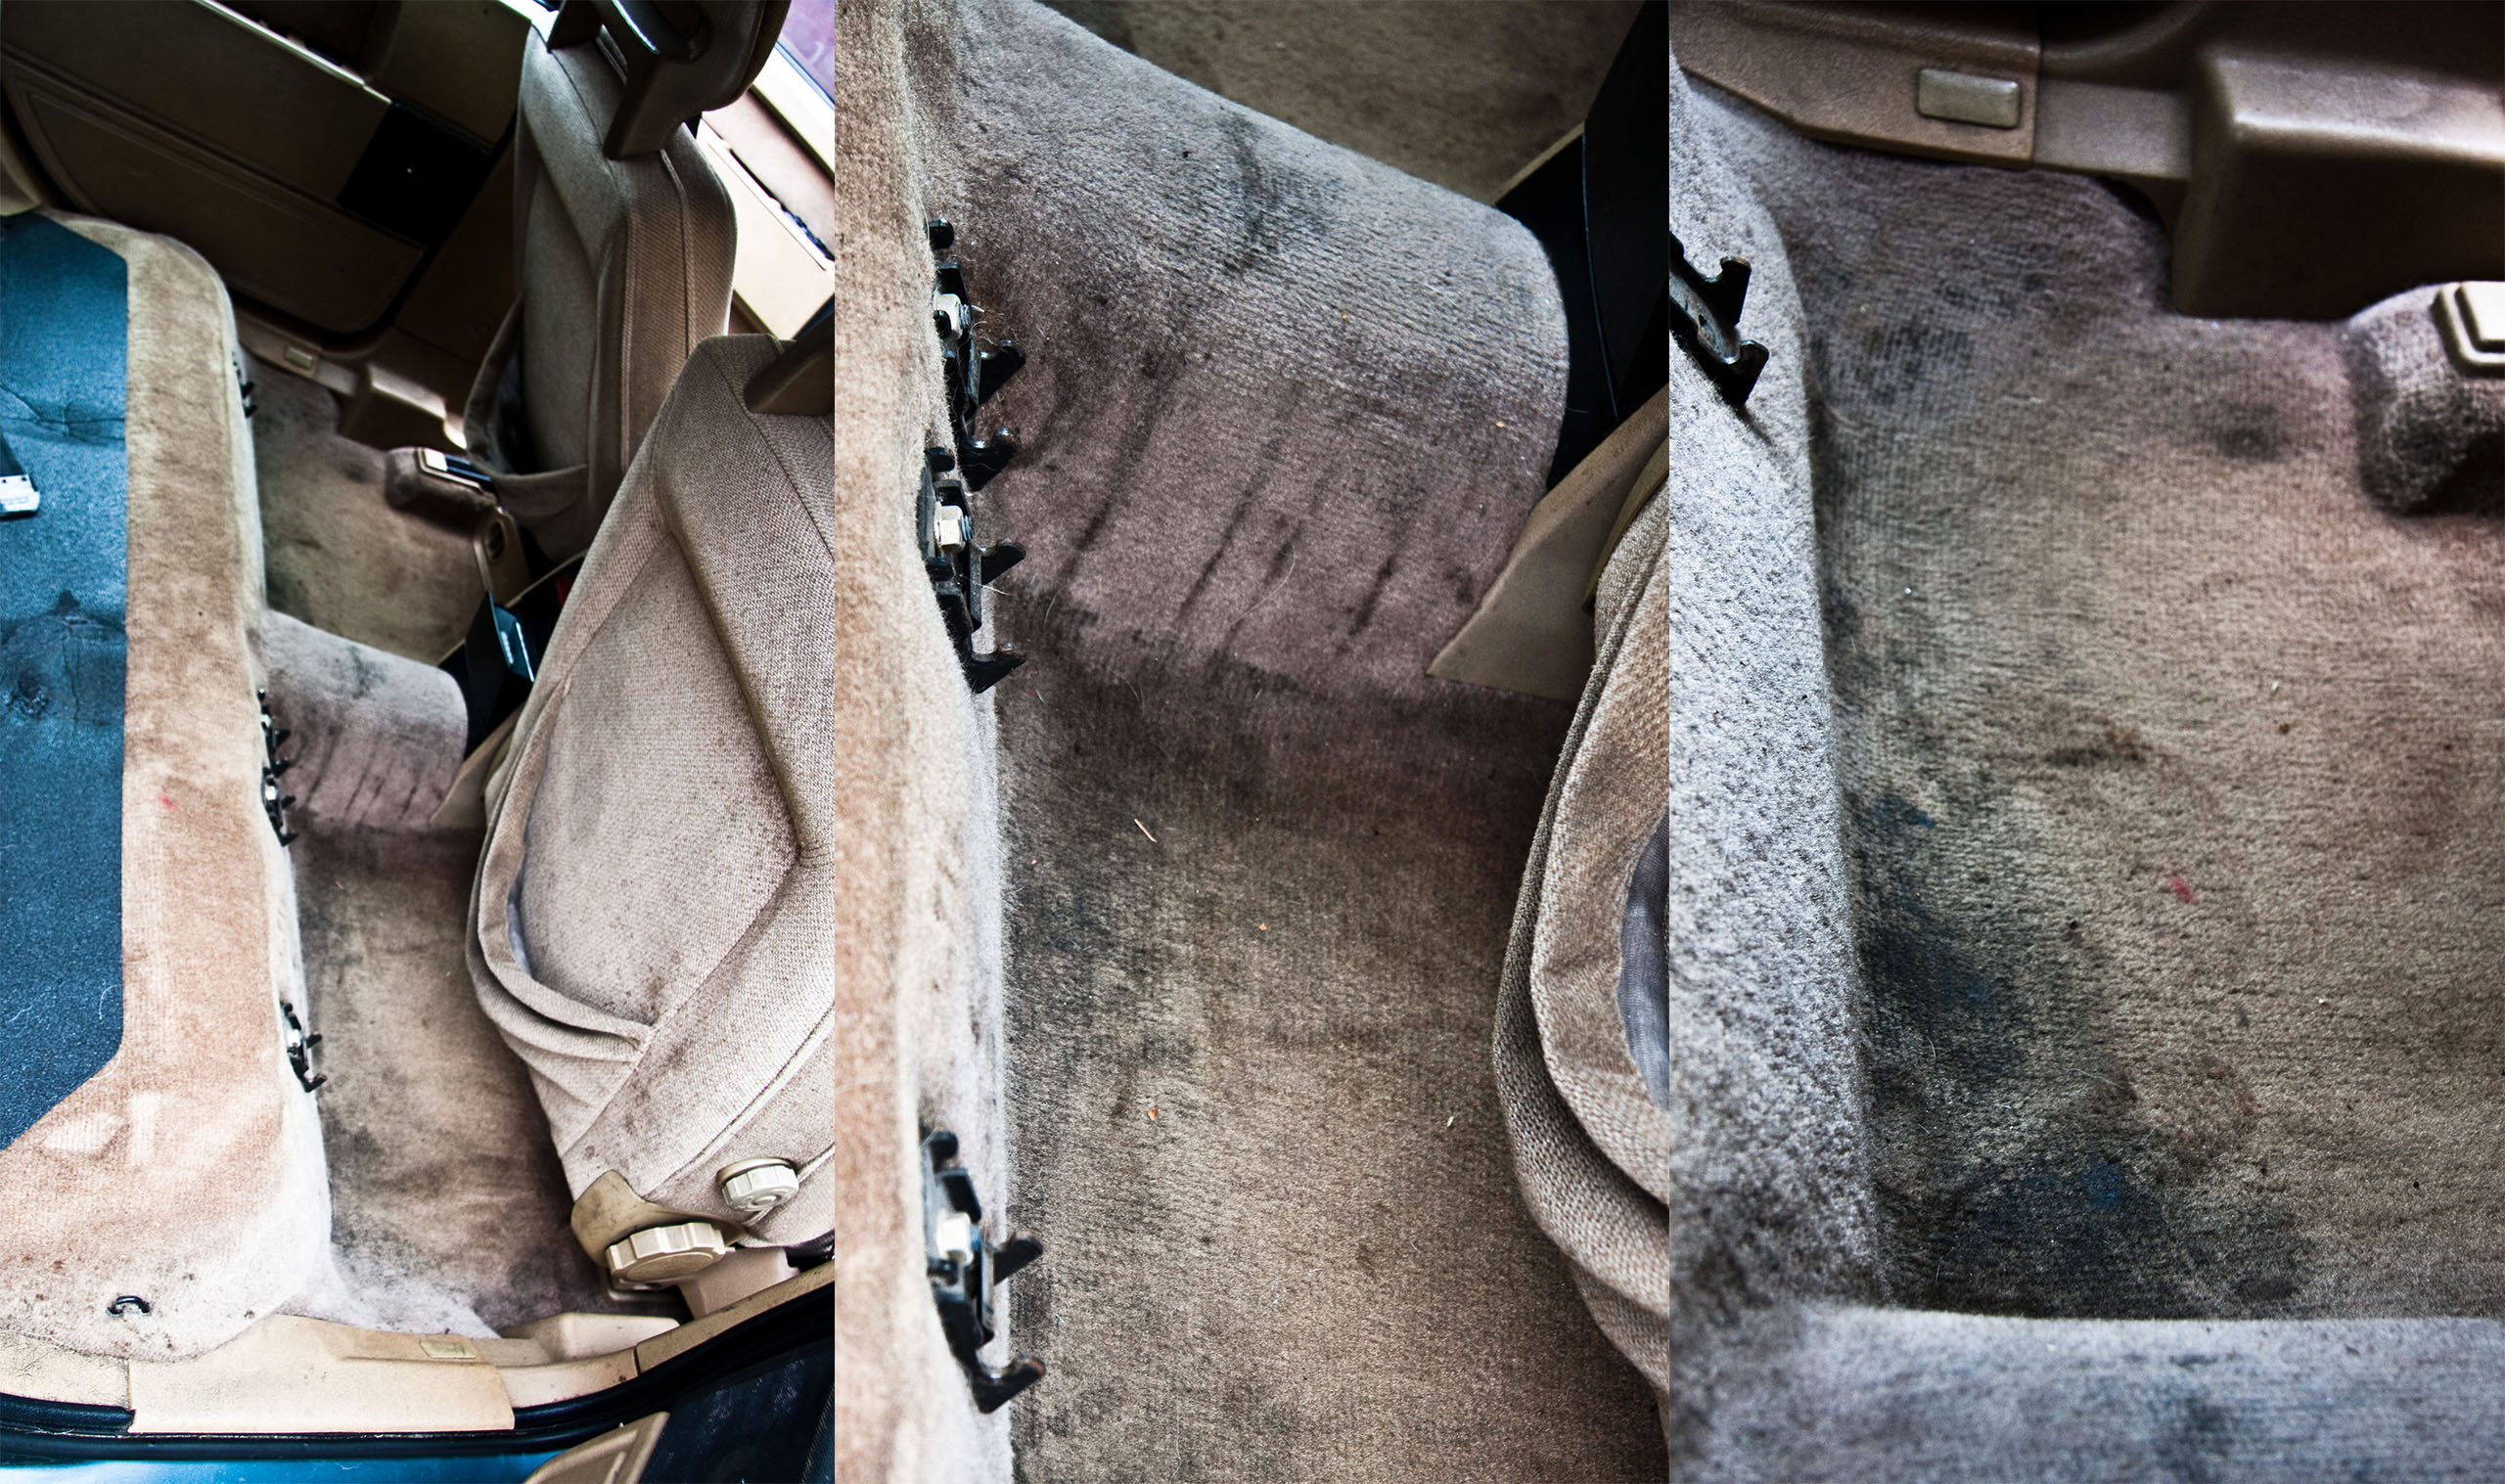
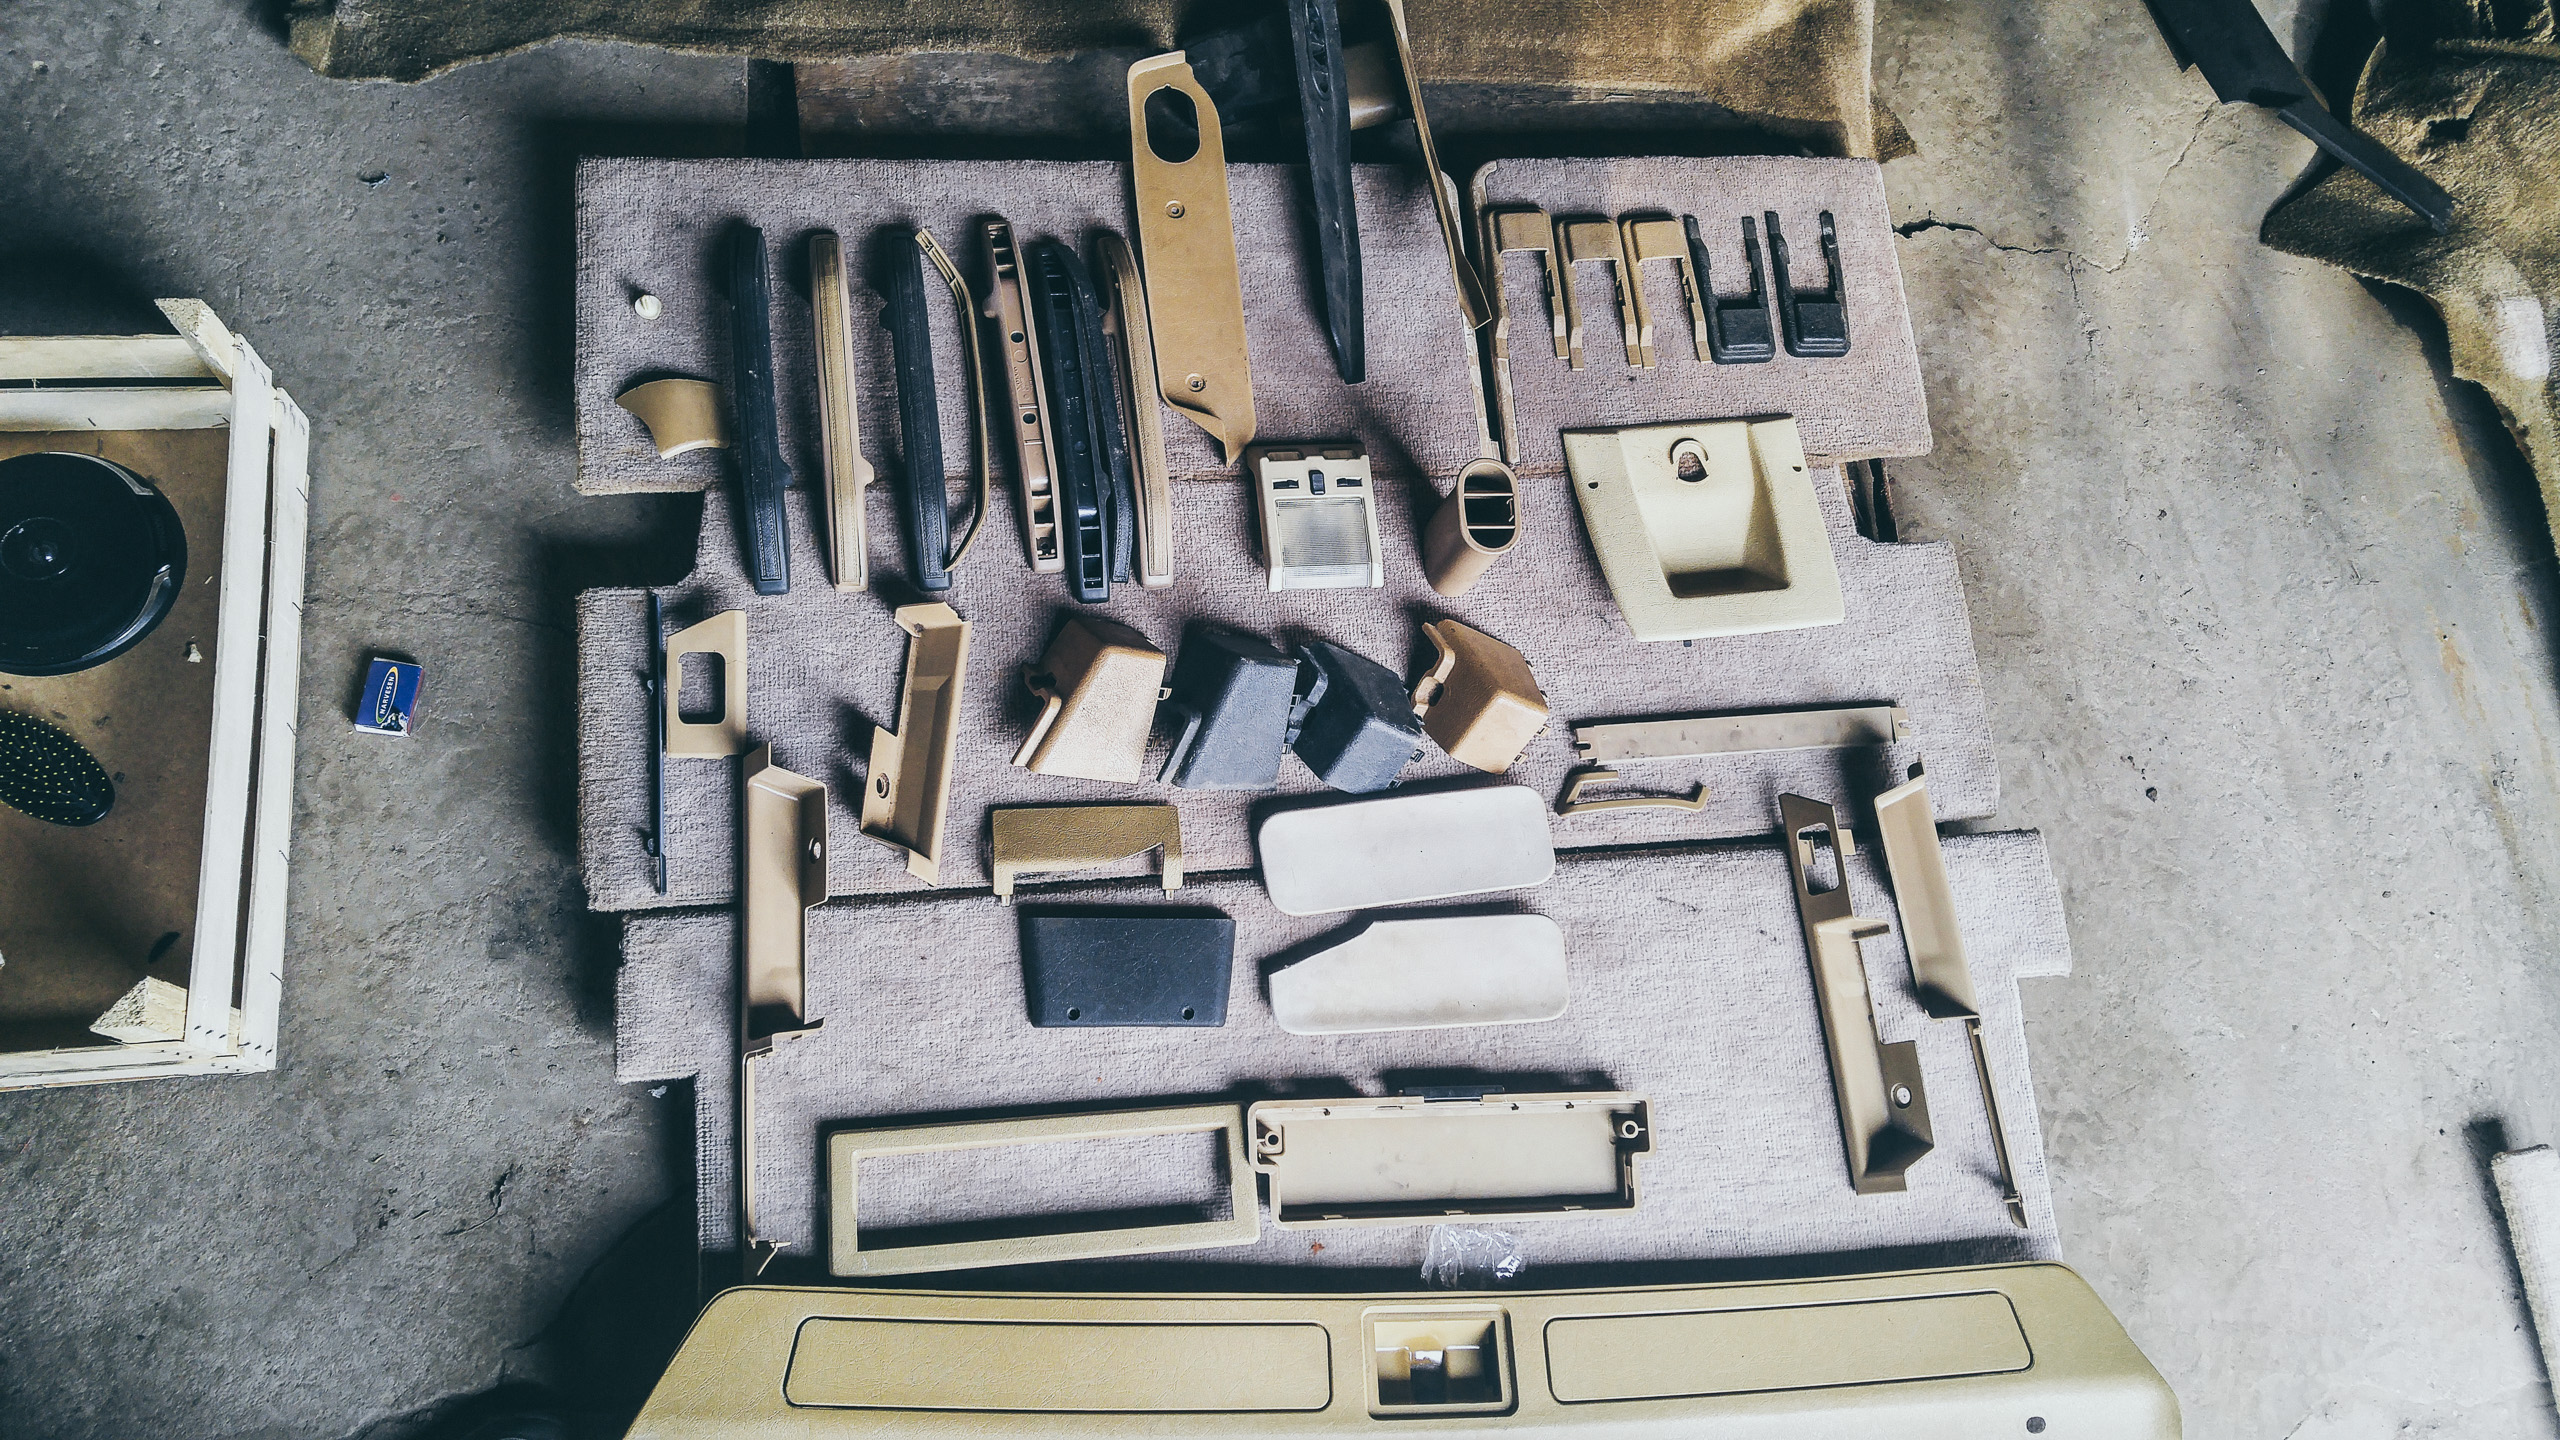
Seems like never ending process. I laid out the existing interior kind of like it would be in the car, so I could oversee everything and visualize what is needed and what I already found.
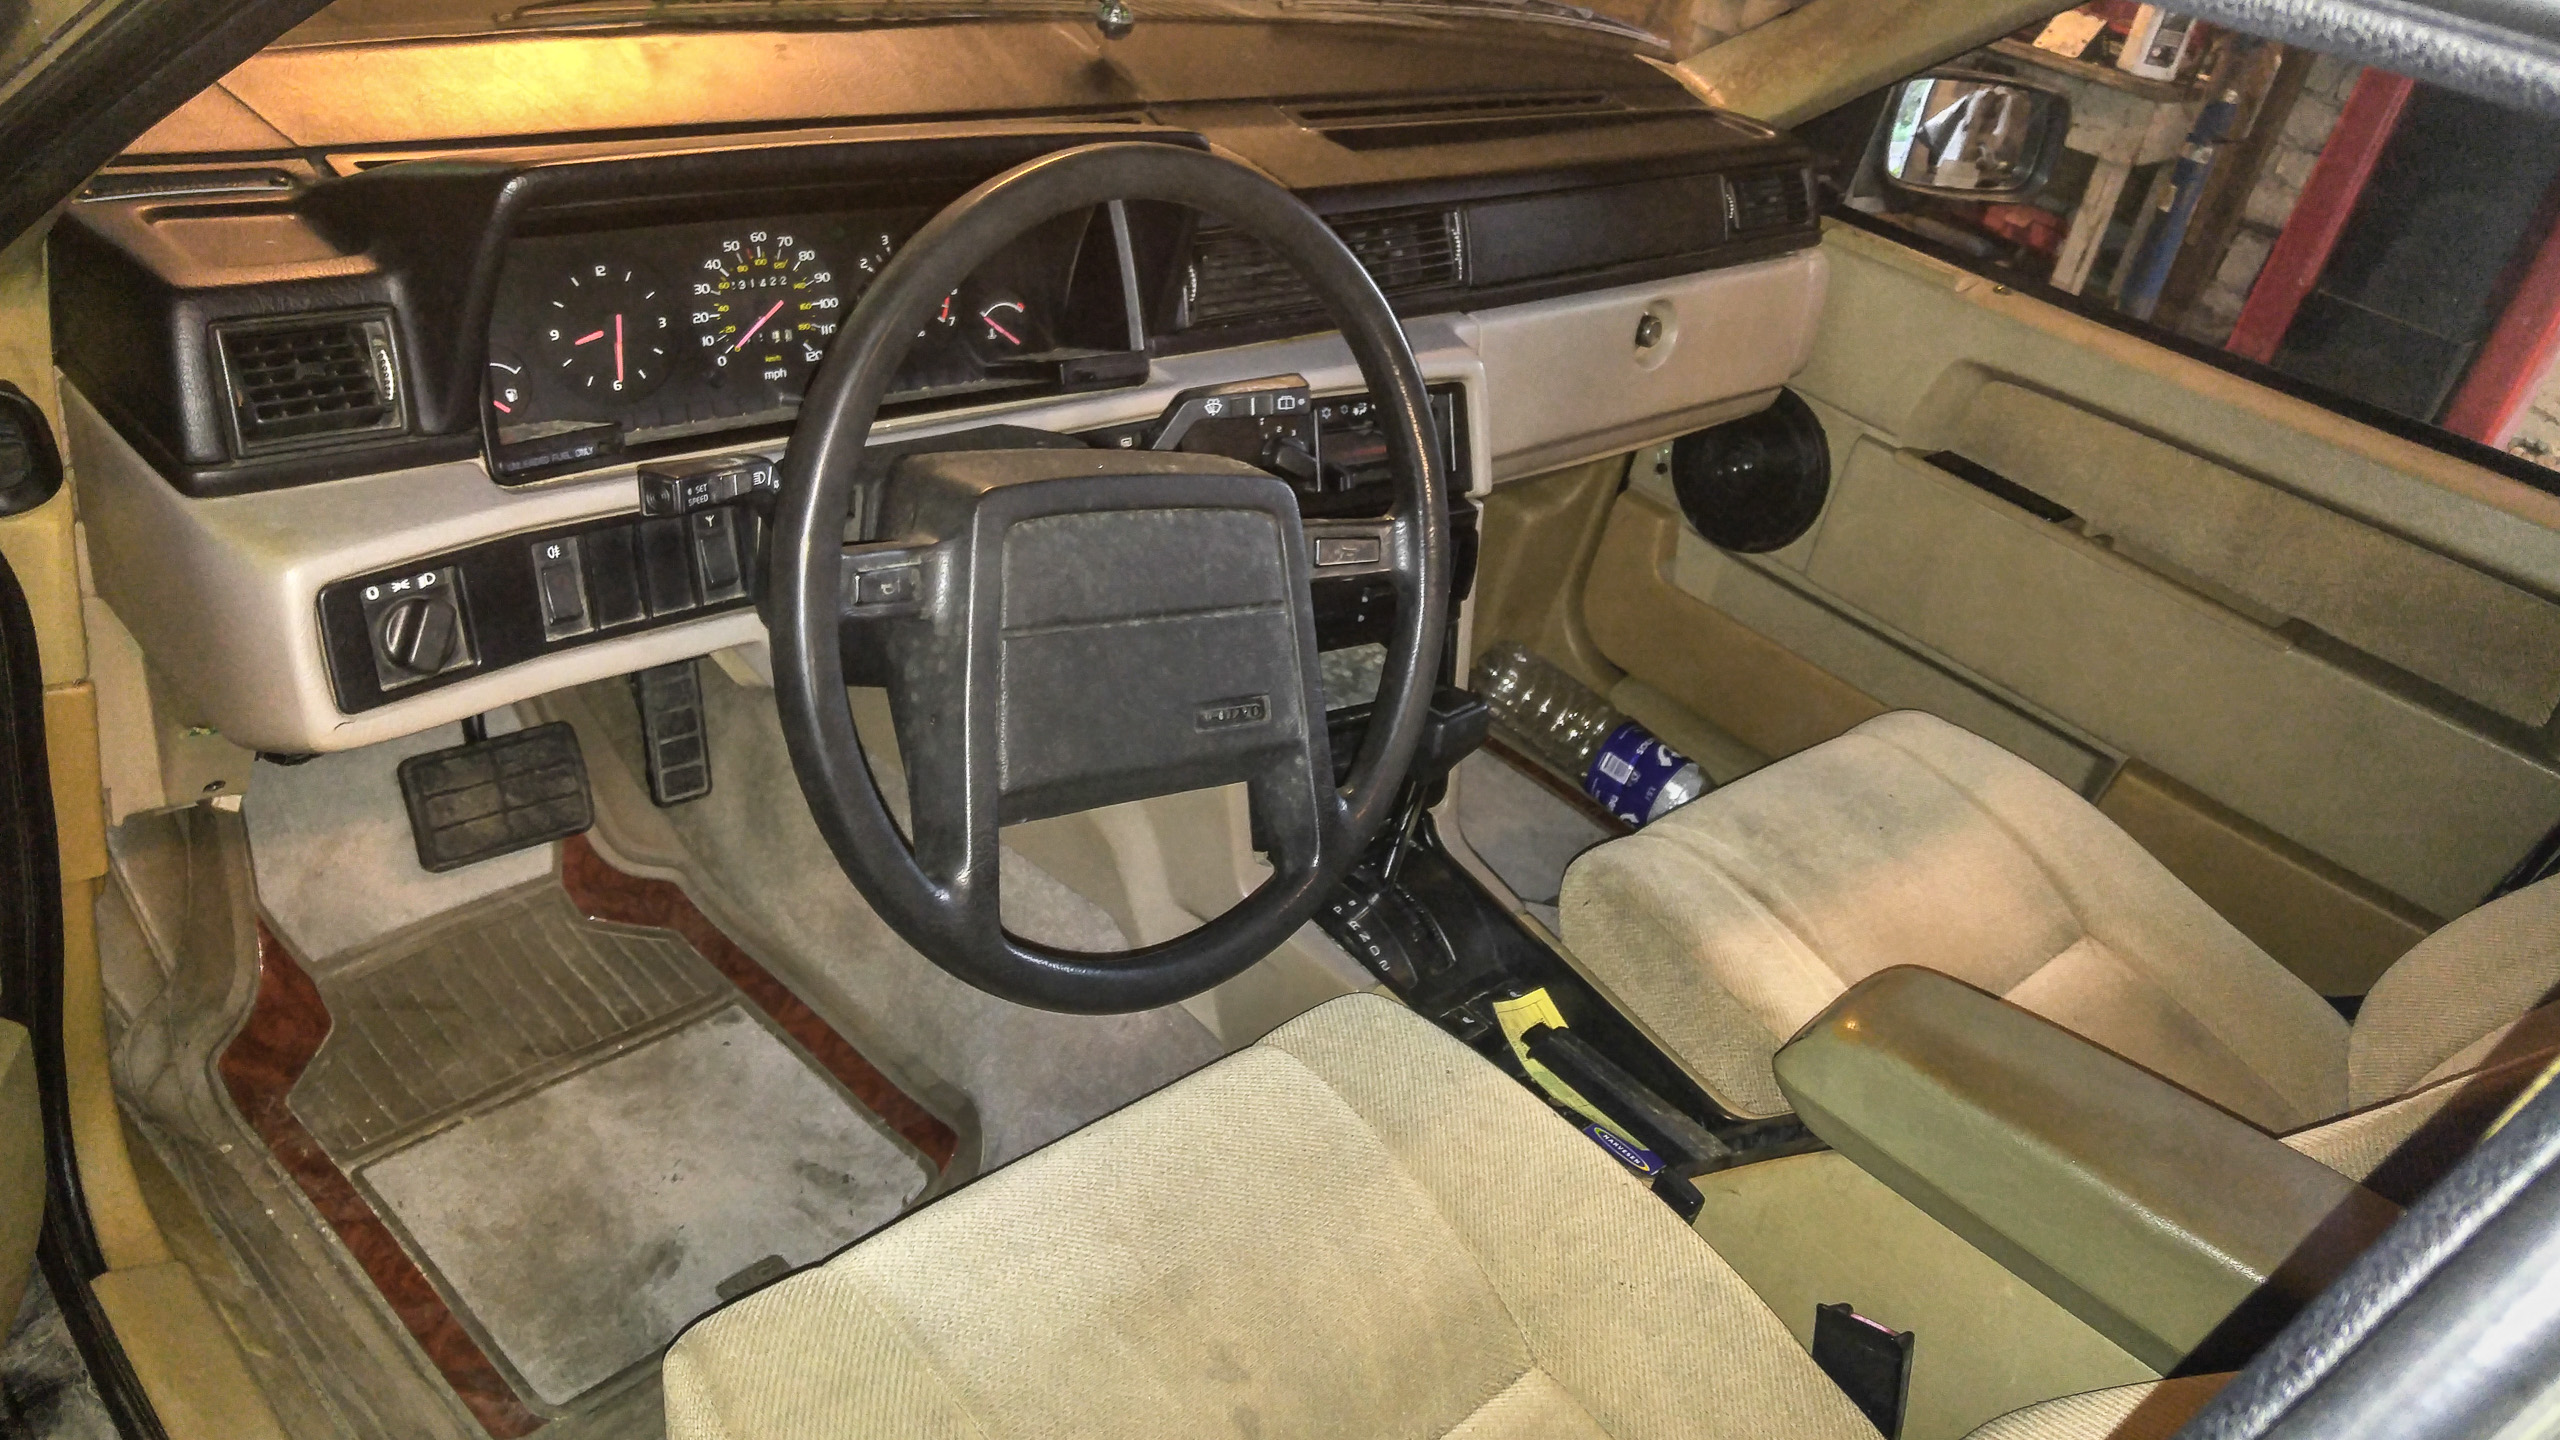
Everything must be replaced on the interior.
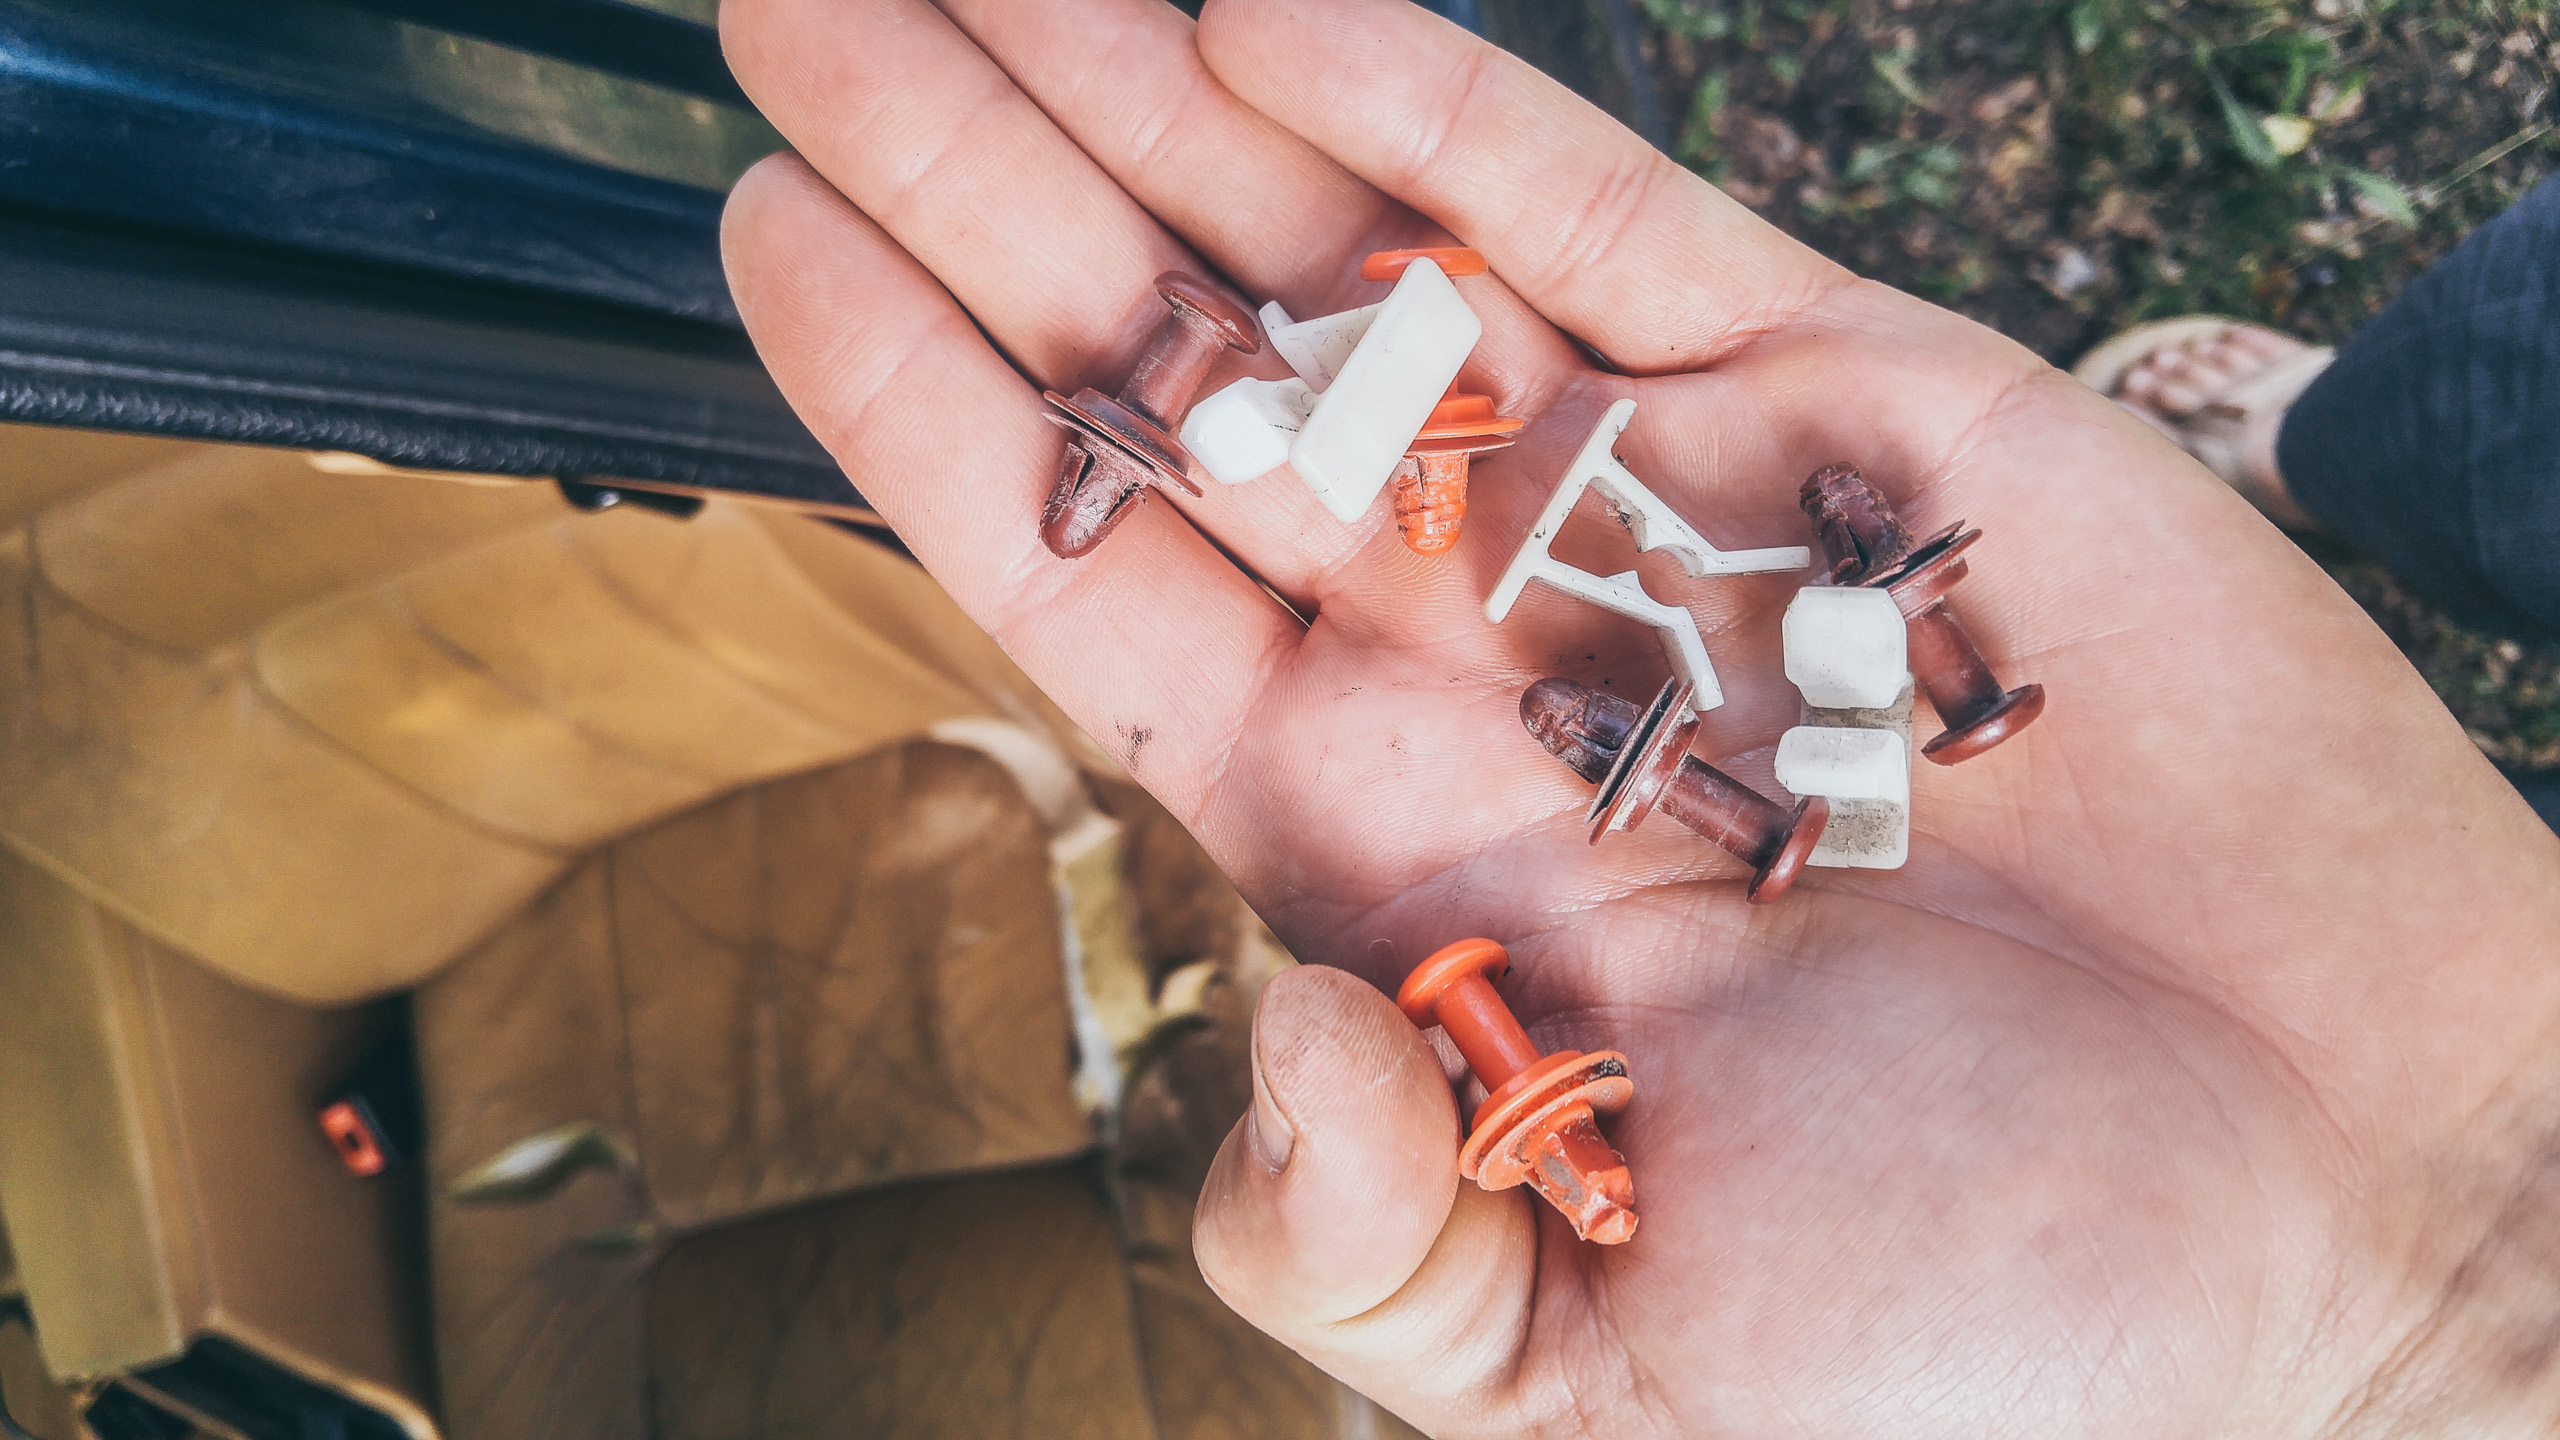
After inspection of original parts and panels, it was concluded that all plastic interior parts must be replaced with better, less brittle parts, that have not been exposed to the California sun. Some of the original parts literally fall apart while in your fingers.
The idea was first to go find another 745 Volvo 5-door in beige at a junk yard and then move the interior over. It turned out that there are no 745 Volvo 5-door available at any junk yard. At height of frustration I started searching for a donor 745 5-door in Sweden’s Bloket.se and Germany’s Mobile.de, and just fly and pick it up and be back couple days later. Seemed like an easy route compared to the insane amount of hours and nerves I wasted searching for carpets and fabric. There was not a single beige 745 5-door for sale in both countries! Even if price was no obstacle, there is nothing to choose from.
Considering the options, each individual part was to be sourced in best shape possible and in whatever color it comes in, then restored re-painted in original beige color.


To the right is the trunk area rear passenger panel.
Finding the correct fabrics and carpets proved to be the most time intensive, challenging task with least results in the whole rebuild process.
SMS Fabrics and VP-autoparts.se factory warehouses out of the picture, entire internet searched for matching fabrics and carpets, almost all local fabric and carpet stores searched in Latvia, consultations with industry experts, many visits to various recommended upholstery shops and 100’s of fabric samples from Lithuania reviewed.. and no good match.
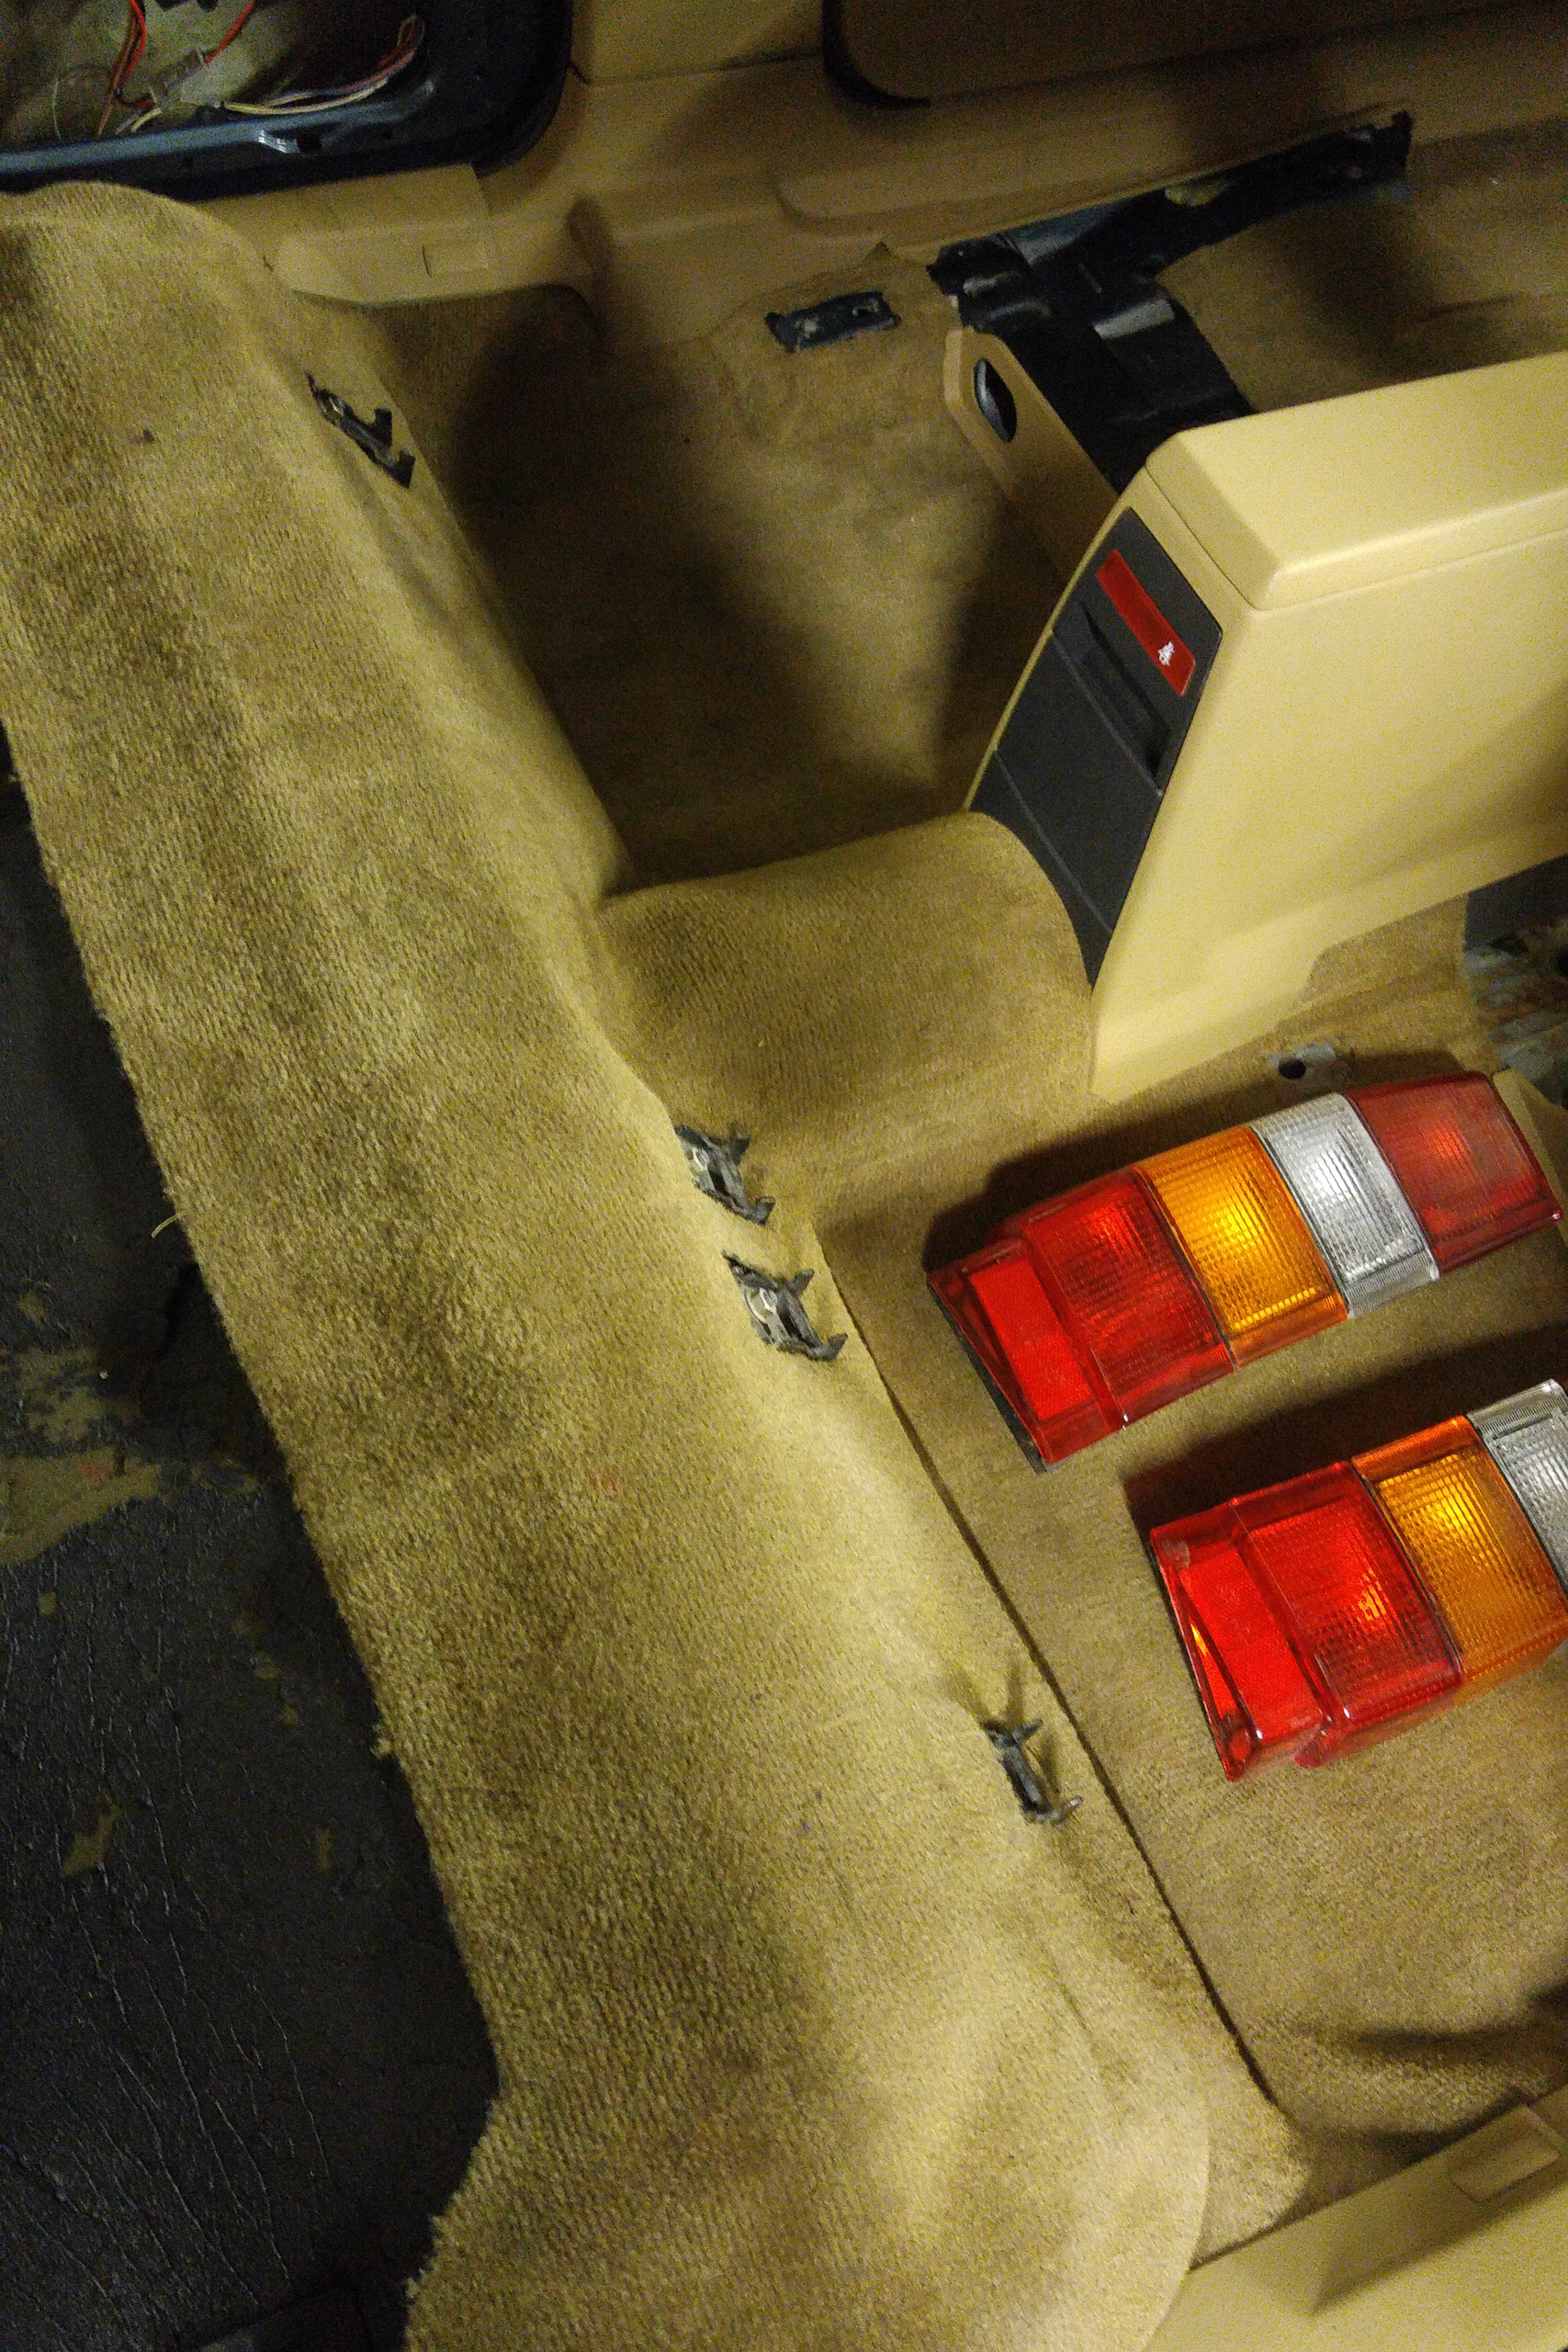
The floor carpet turned out to be major problem. Just like with seat fabric, the floor carpet is unique beige color to the car, and all bleached by the sun.
There are various tones of beige from Volvo as well.. making all the more complicated.
These carpeted pieces are curvy and with crevices, where reproducing the shape is very difficult compared to flat surface. The seat upholster guy declined to upholster the rear side panels due to complexity of curves and calling it a Swiss watch precision job.

Above is a graphic of a tiny tiny portion of stores and samples considered when searching for matching carpet. The carpet at stores was either too thick, too fluffy, too rough, wrong tone, or too expensive. The best match is in #3 in graphic below, but it was 60 day wait and $1200 for 60 square meters, and even then, that is not perfect match and not automotive grade.
Automotive carpet, when produced originally at factory level, in order to get all the curves of the chassis, the carpet is heated and then laid in a form-press, where two big pieces press the carpet into the shape needed while it is hot. Technically this can be replicated, but I don’t wanna build carpet press and ovens and get into retro Volvo brick carpet manufacturing in year 2019, not my business.

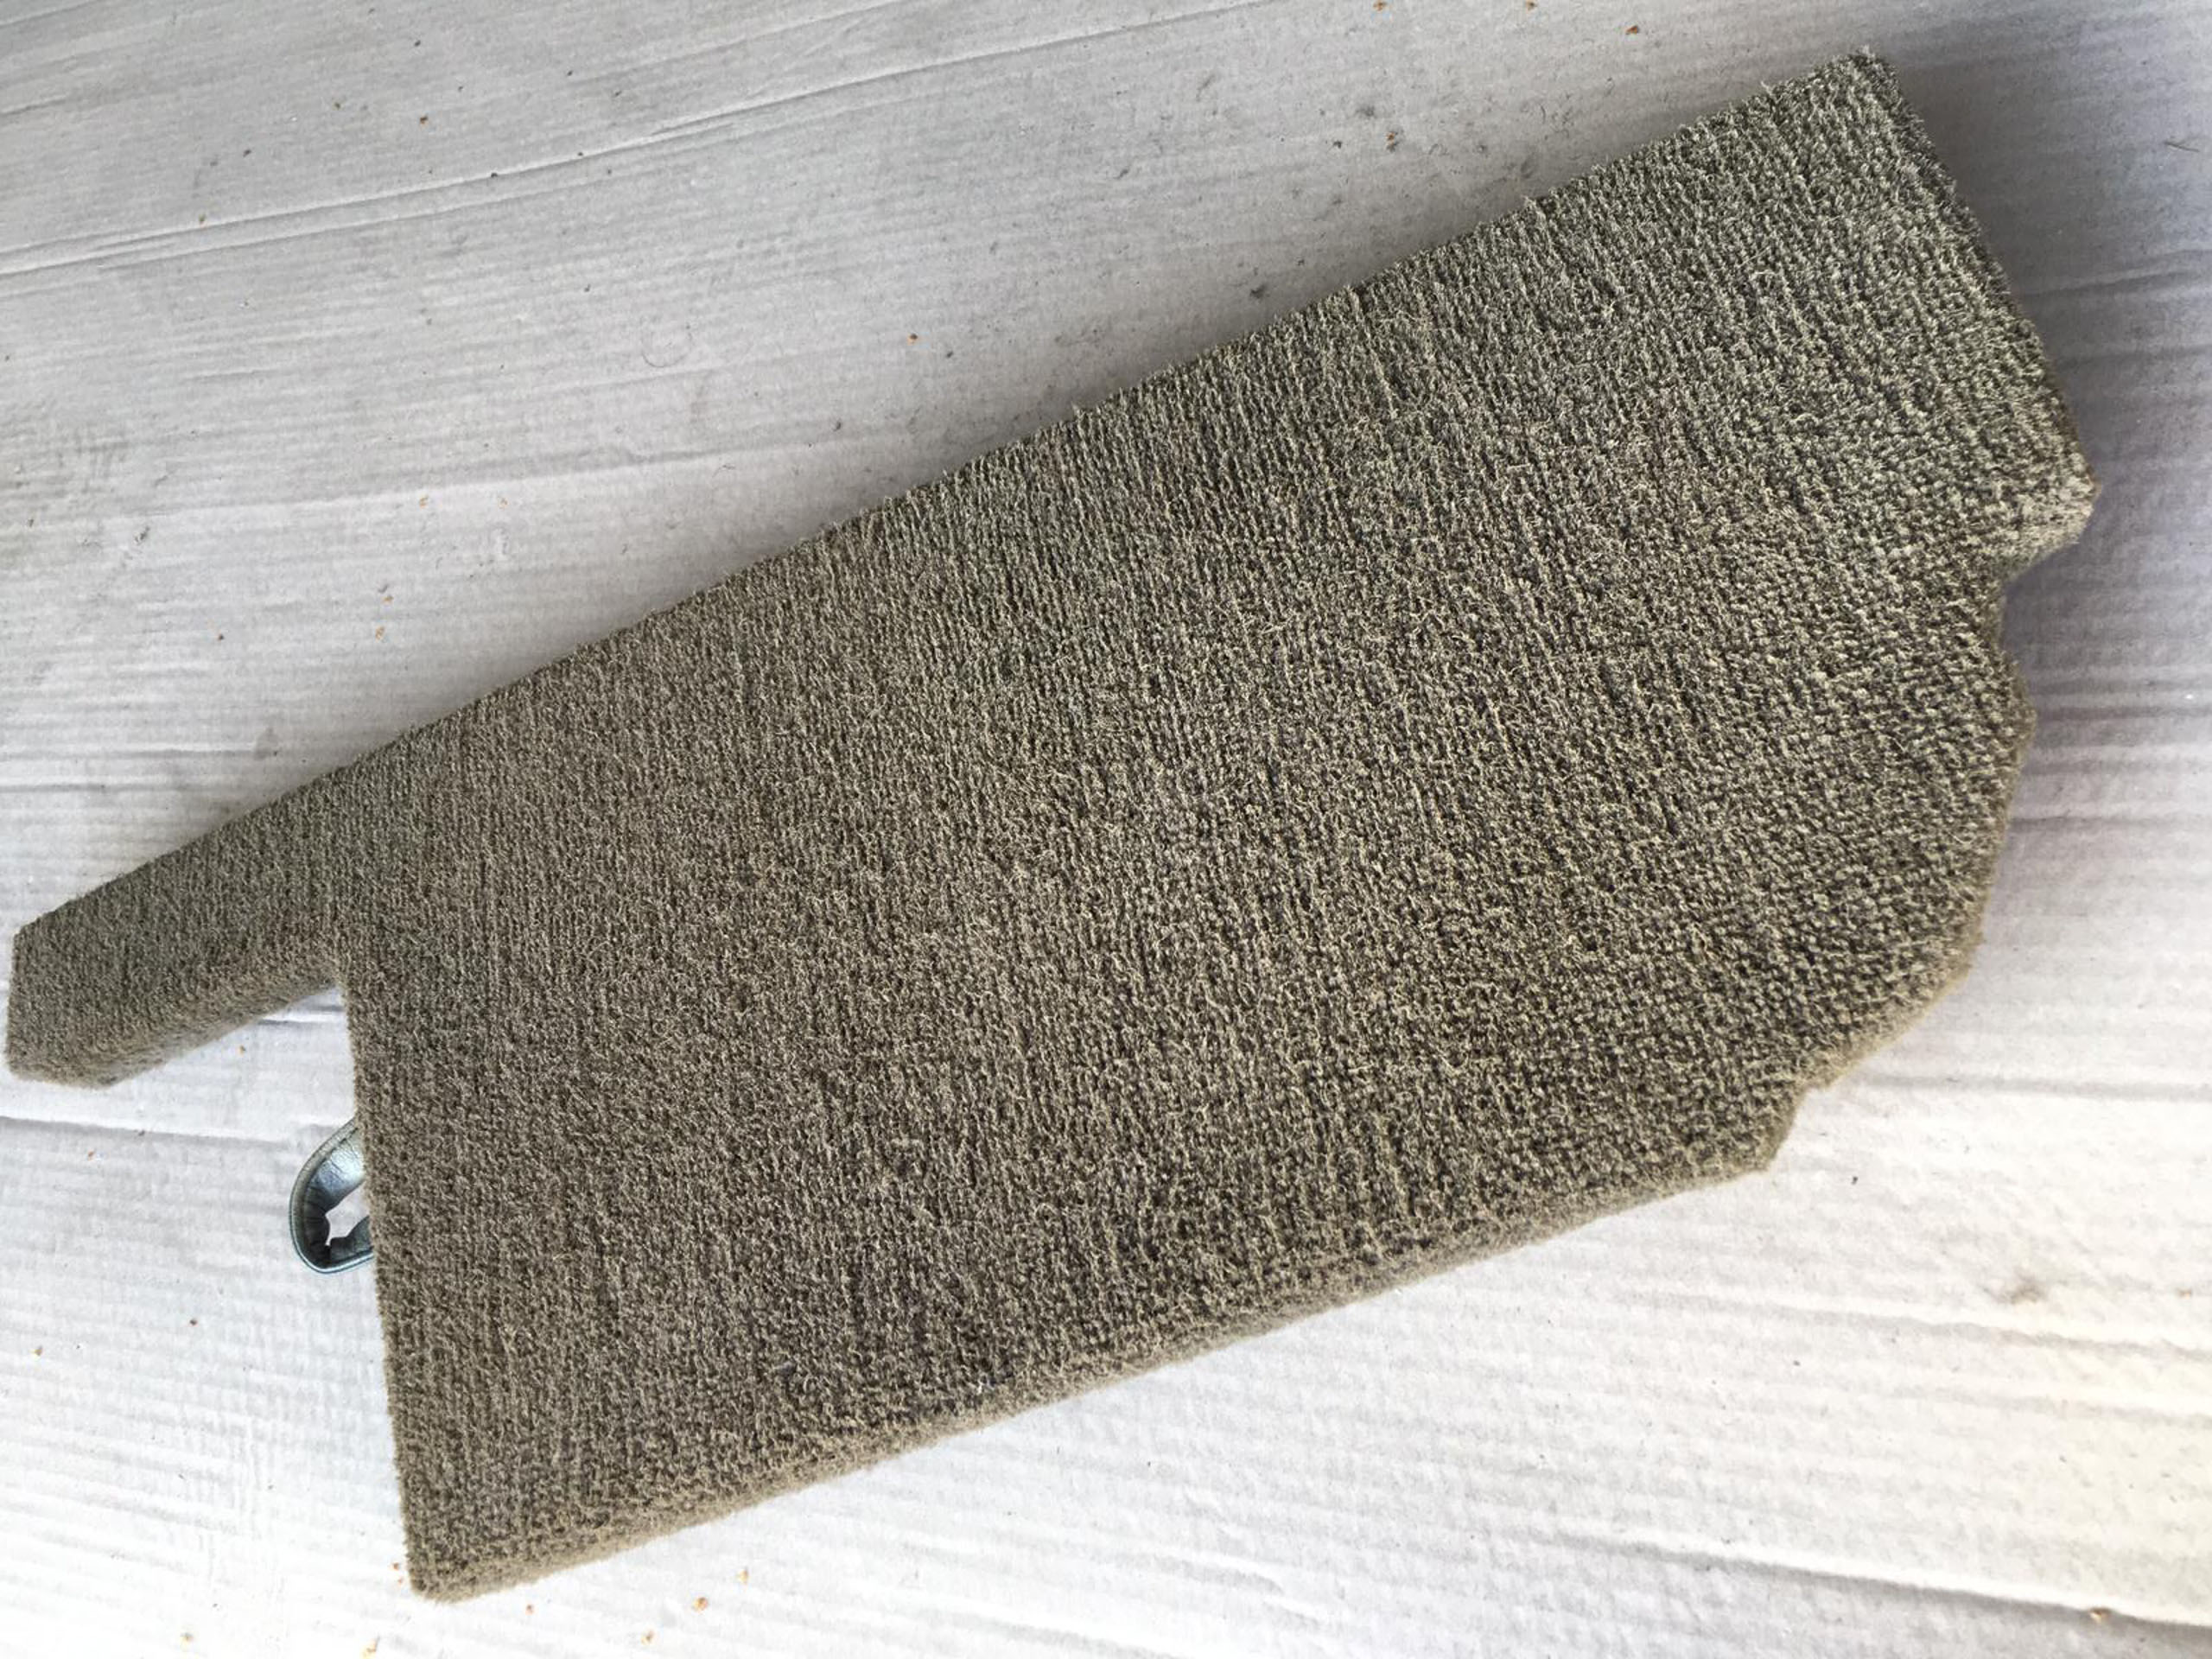
I picked up extra piece of beige Volvo 740 carpet (can be seen in background above) to test dyeing methods and bleaching methods, in order to get the color right.
Bought bleach and dye. Idea was to first bleach real light and then dye right color. Put small piece of carpet in bleach proper mixture for 30 minutes and zero results on bleaching on original carpet. Then i tried full bleach concentrate and it still did absolutely minimal effect on the original carpet sample. At this point i realized that bleaching will not work, by so traditional dyeing will also not work.
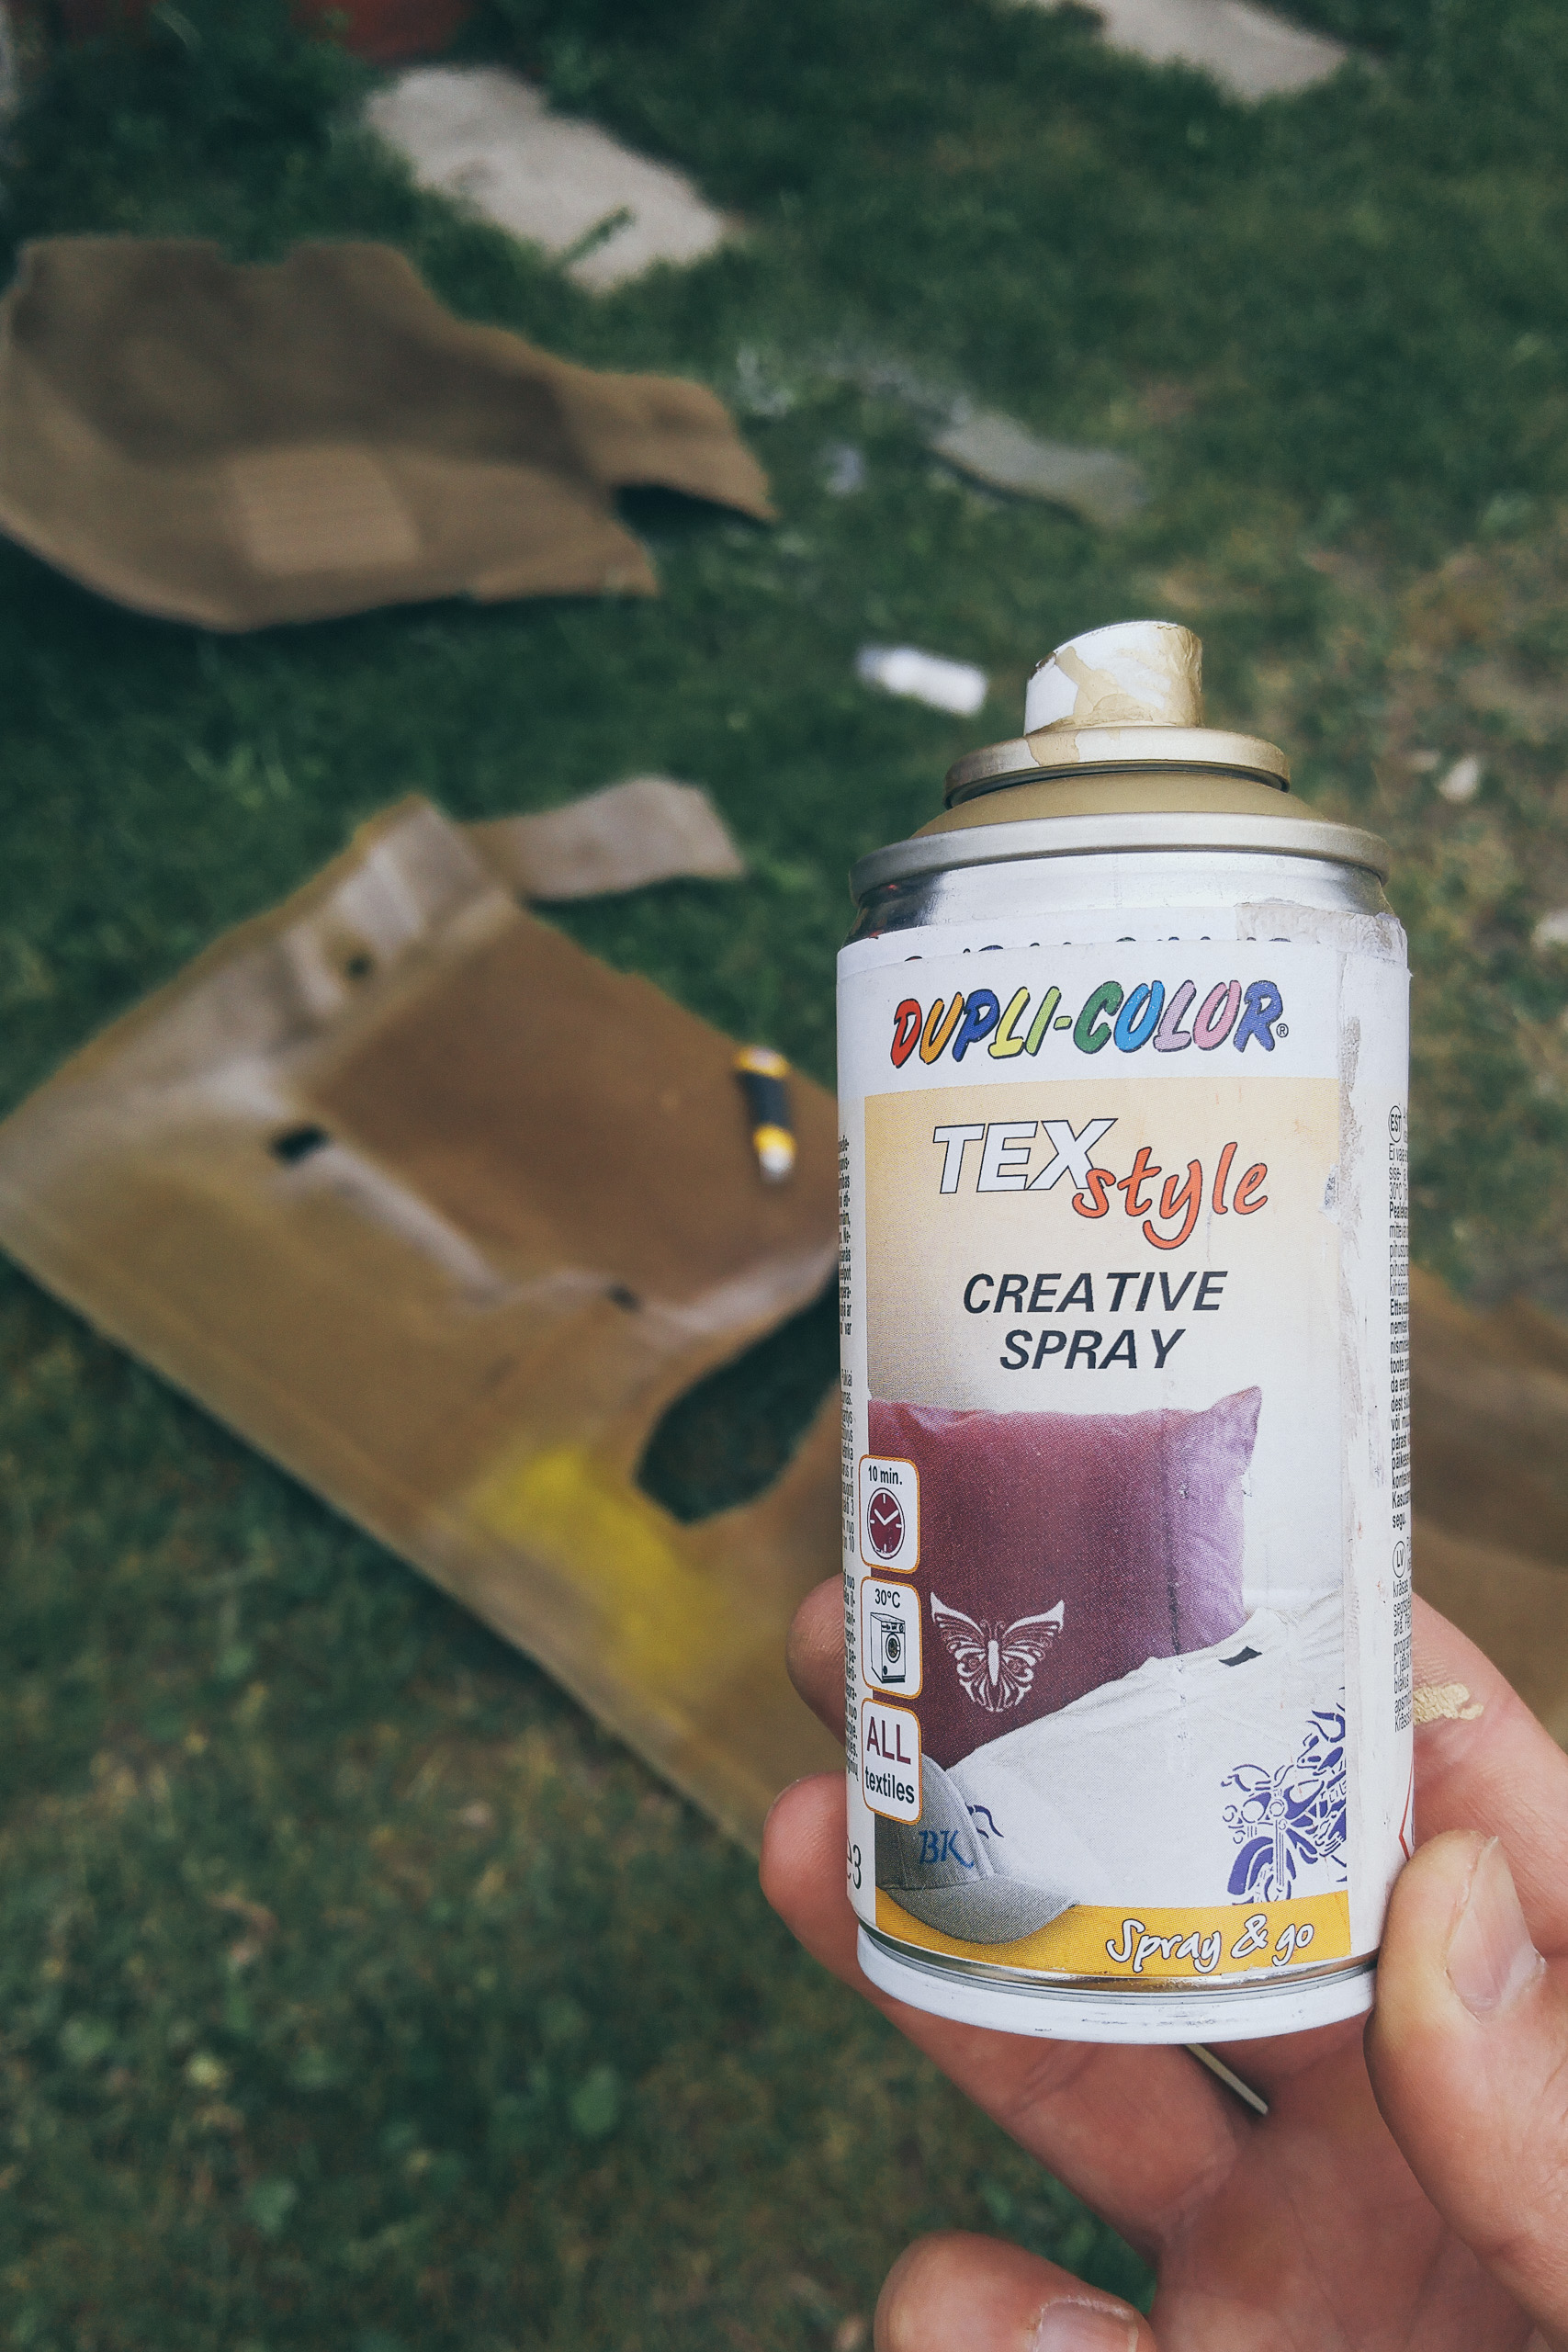
I found this cloth spray paint Dupli-color TexStyle in various colors. Turned out the gold color Tex Style was very very close match to original beige carpet color.
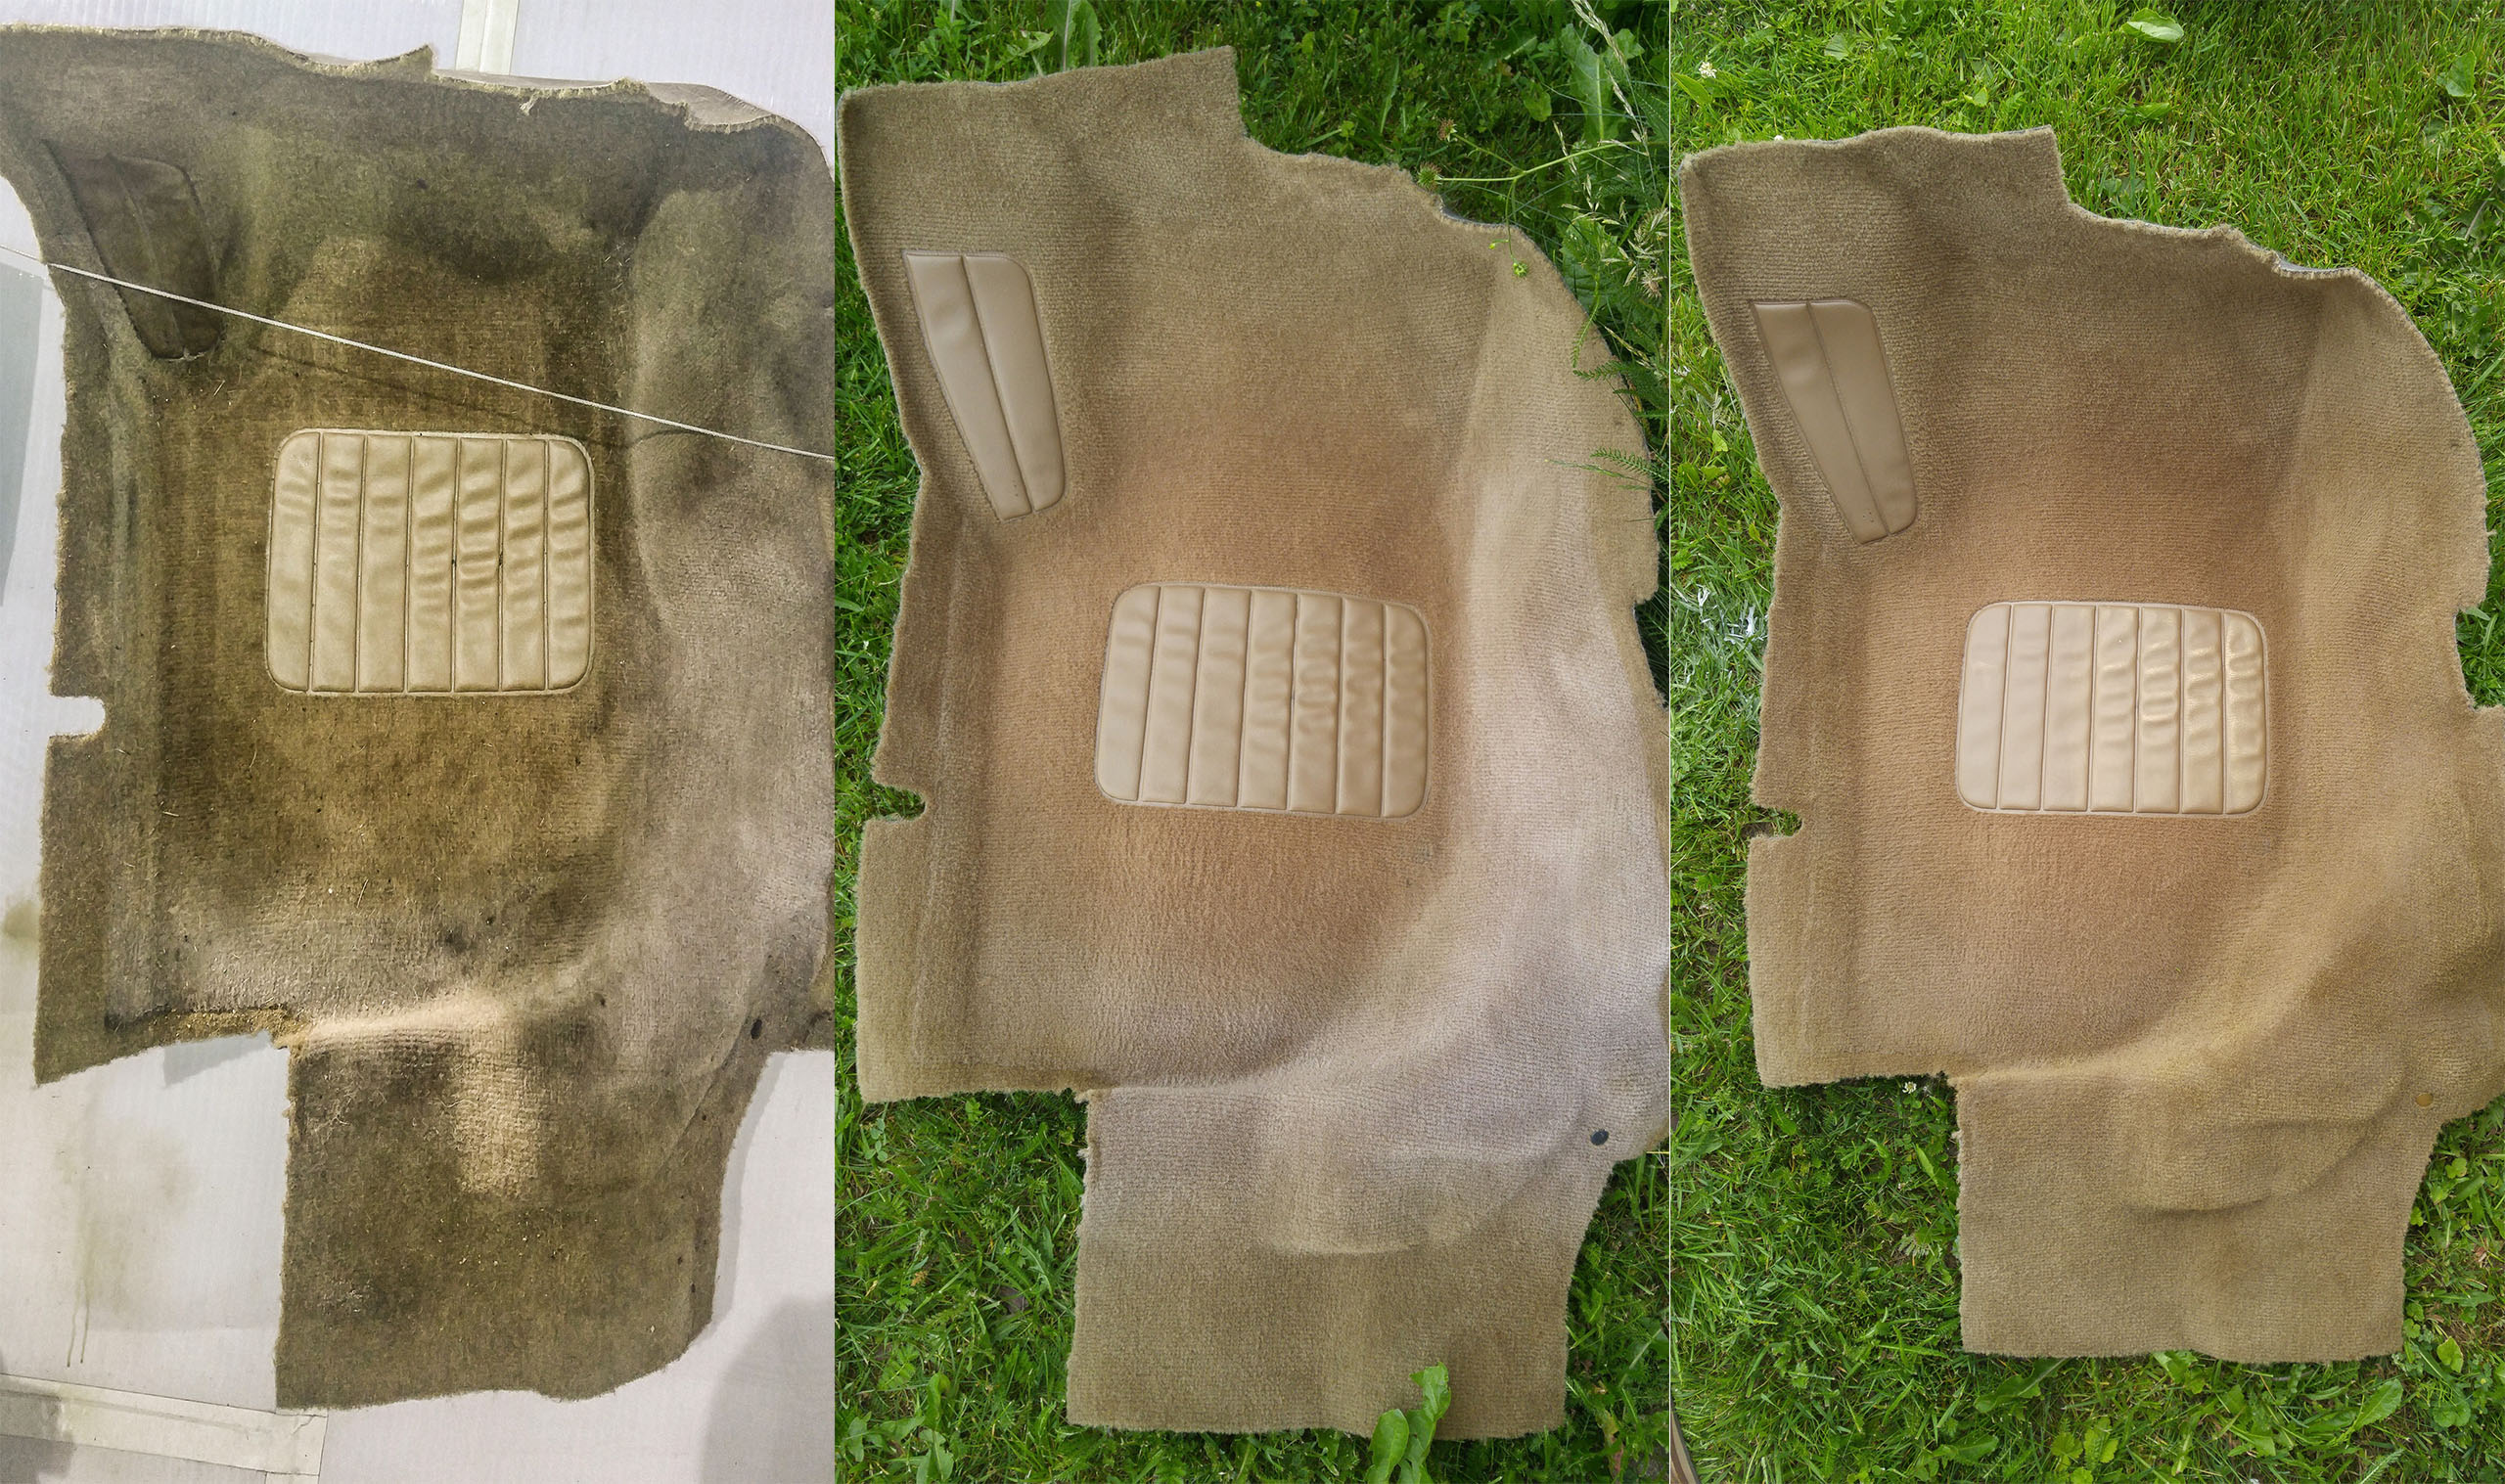
#2 Original carpet, after high pressure washer.
#3 Original carpet, after applying TexStyle spray paint.
The original carpets are made synthetic fiber and even though they were absolutely filthy with 30 years of dirt, after a high pressure wash and thorough cleaning while being removed from the car, they came back to original condition, minus the sun-bleached part. What i find interesting was that real bleach had little effect on the carpet, but the sun managed to bleach it.

#2: Original carpet after TexStyle paint.
Because of the synthetic fiber, nothing sticks to the original carpets. After research I concluded there is no practical way of dyeing synthetic fiber.
That said, the TexStyle paint will not be permanent either, and will likely wear out with time to reveal the sun bleached spots again.
I decided to assemble car with original carpets as they are, fairly good for now, and then continue long passive search until a great donor car, 745 universal in beige, shows up to take all the carpets from. Taking the interior apart once more replacing all the carpets feels like a drop in a bucket compared how much time and money was wasted trying to replicate original carpets and re-dyeing the old ones.

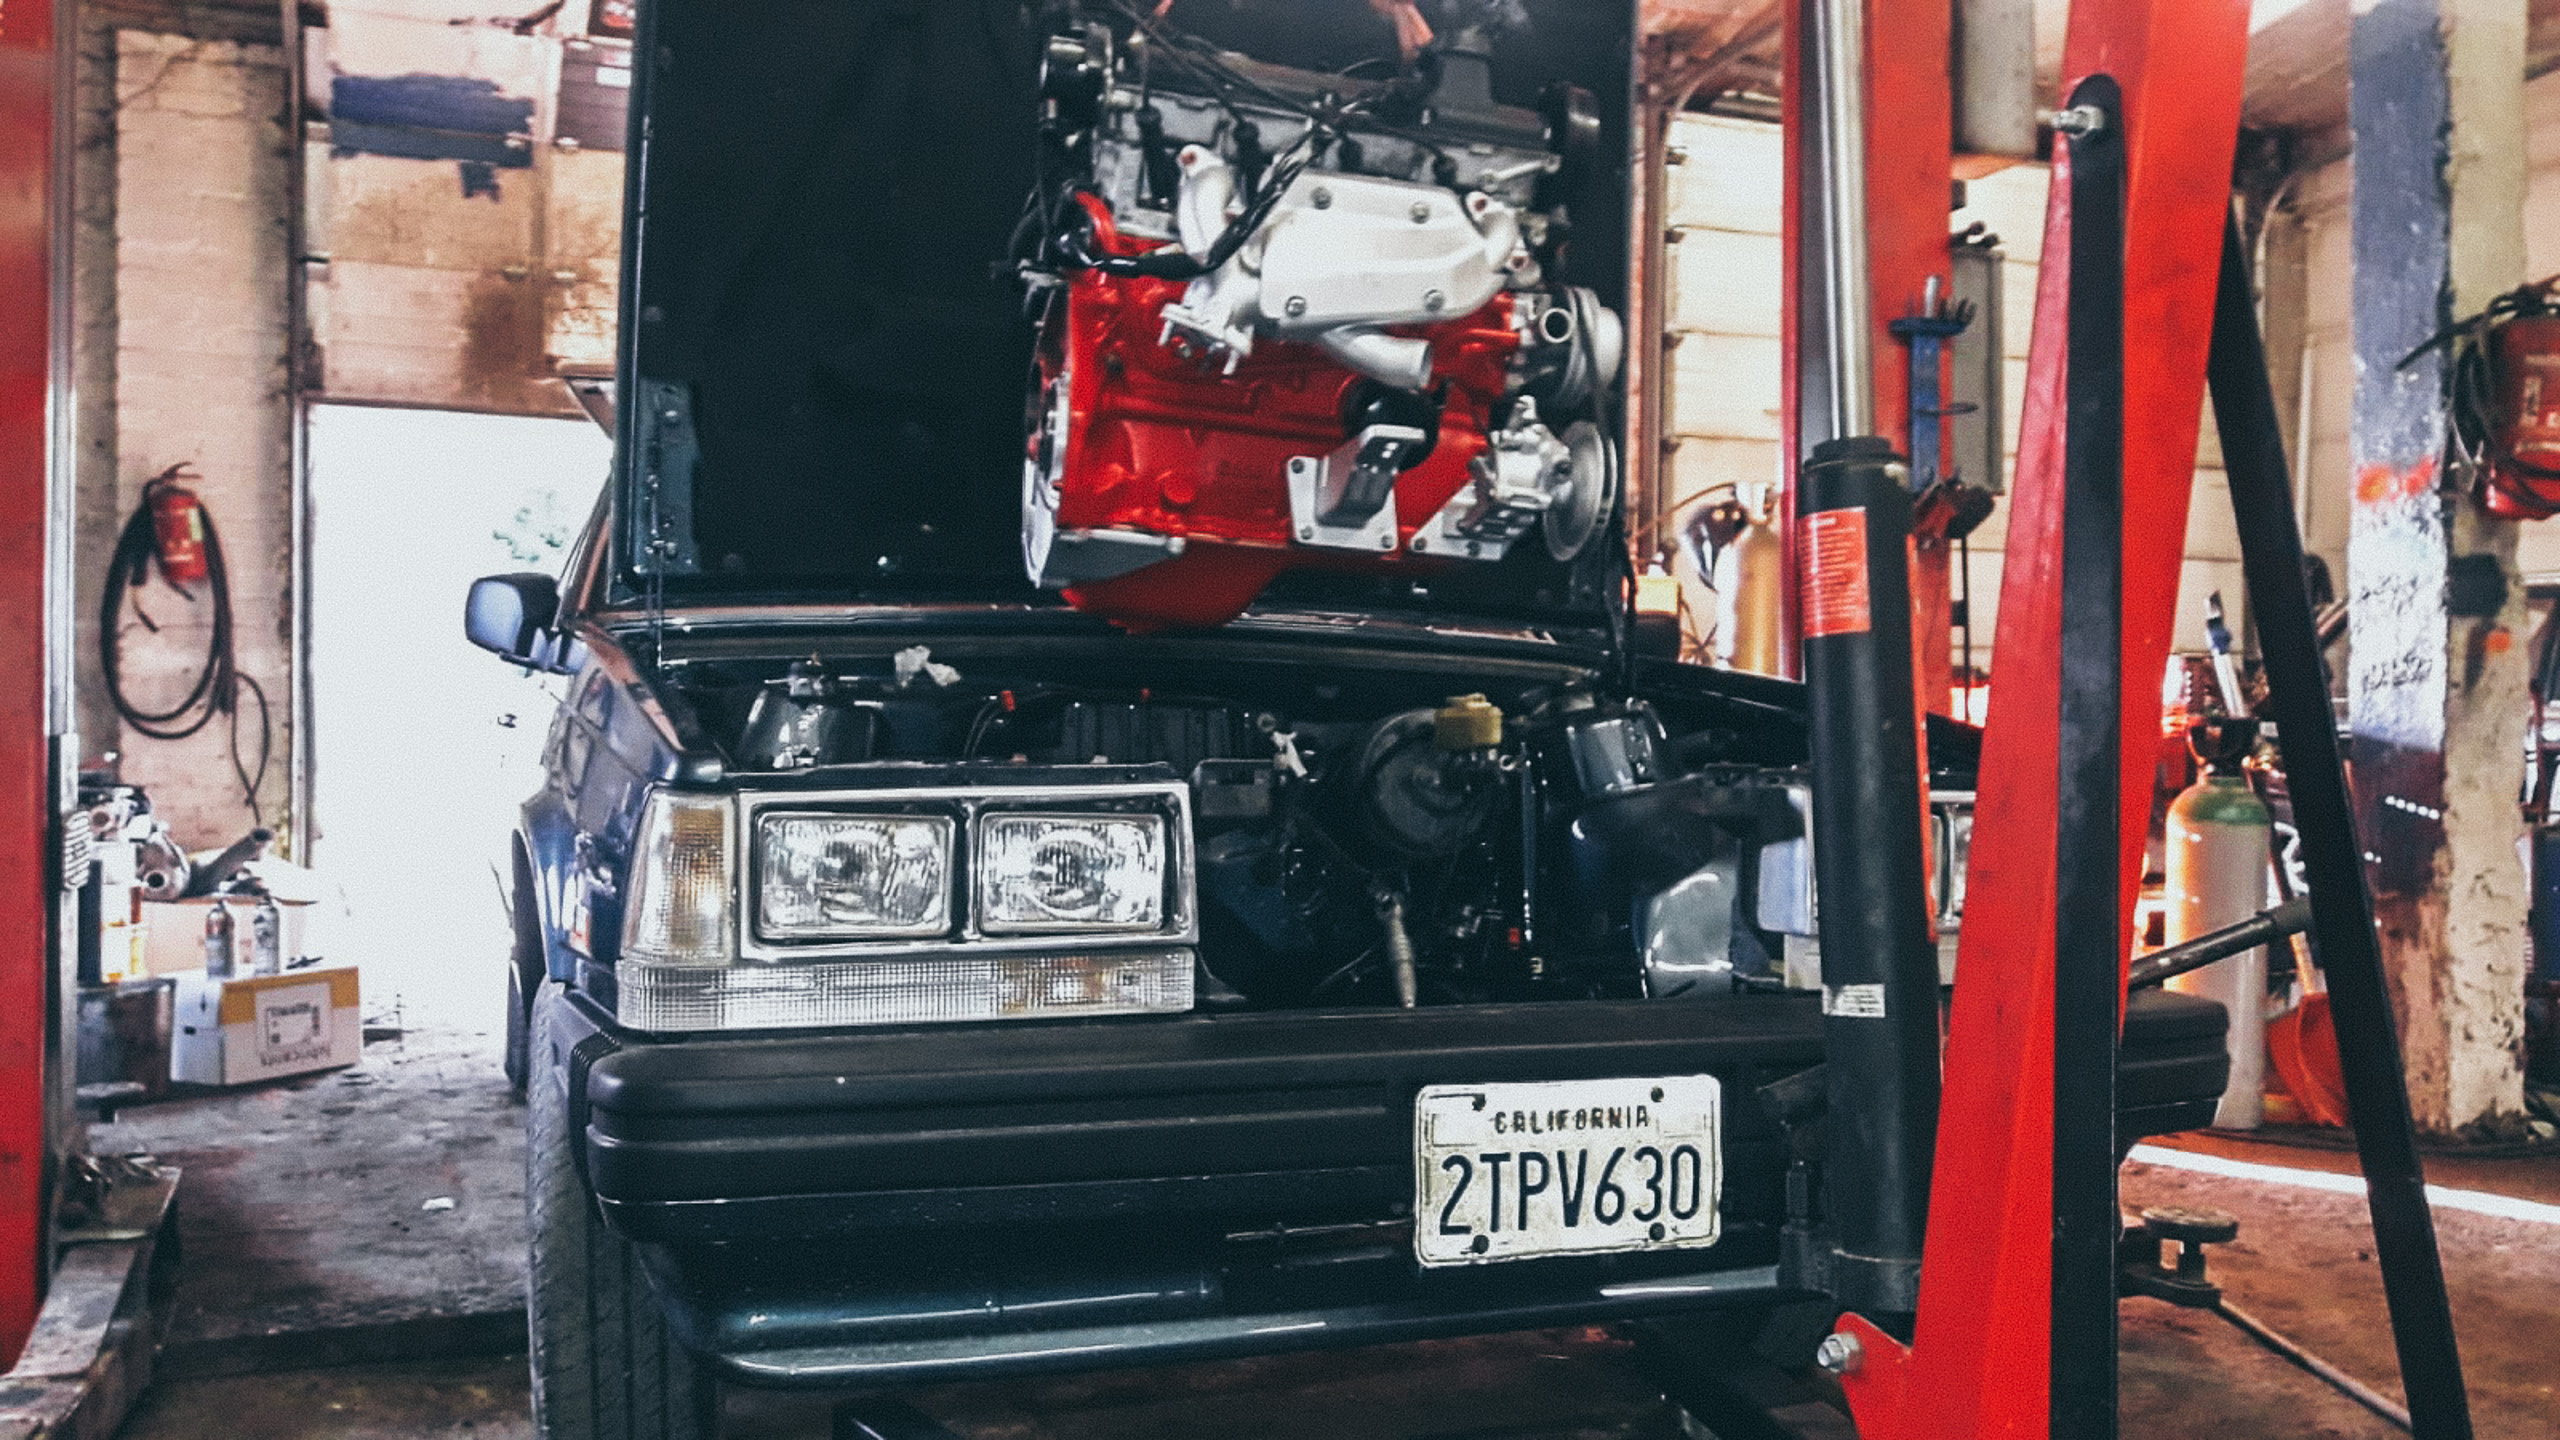
arriving at garage… feels like delivery from factory.

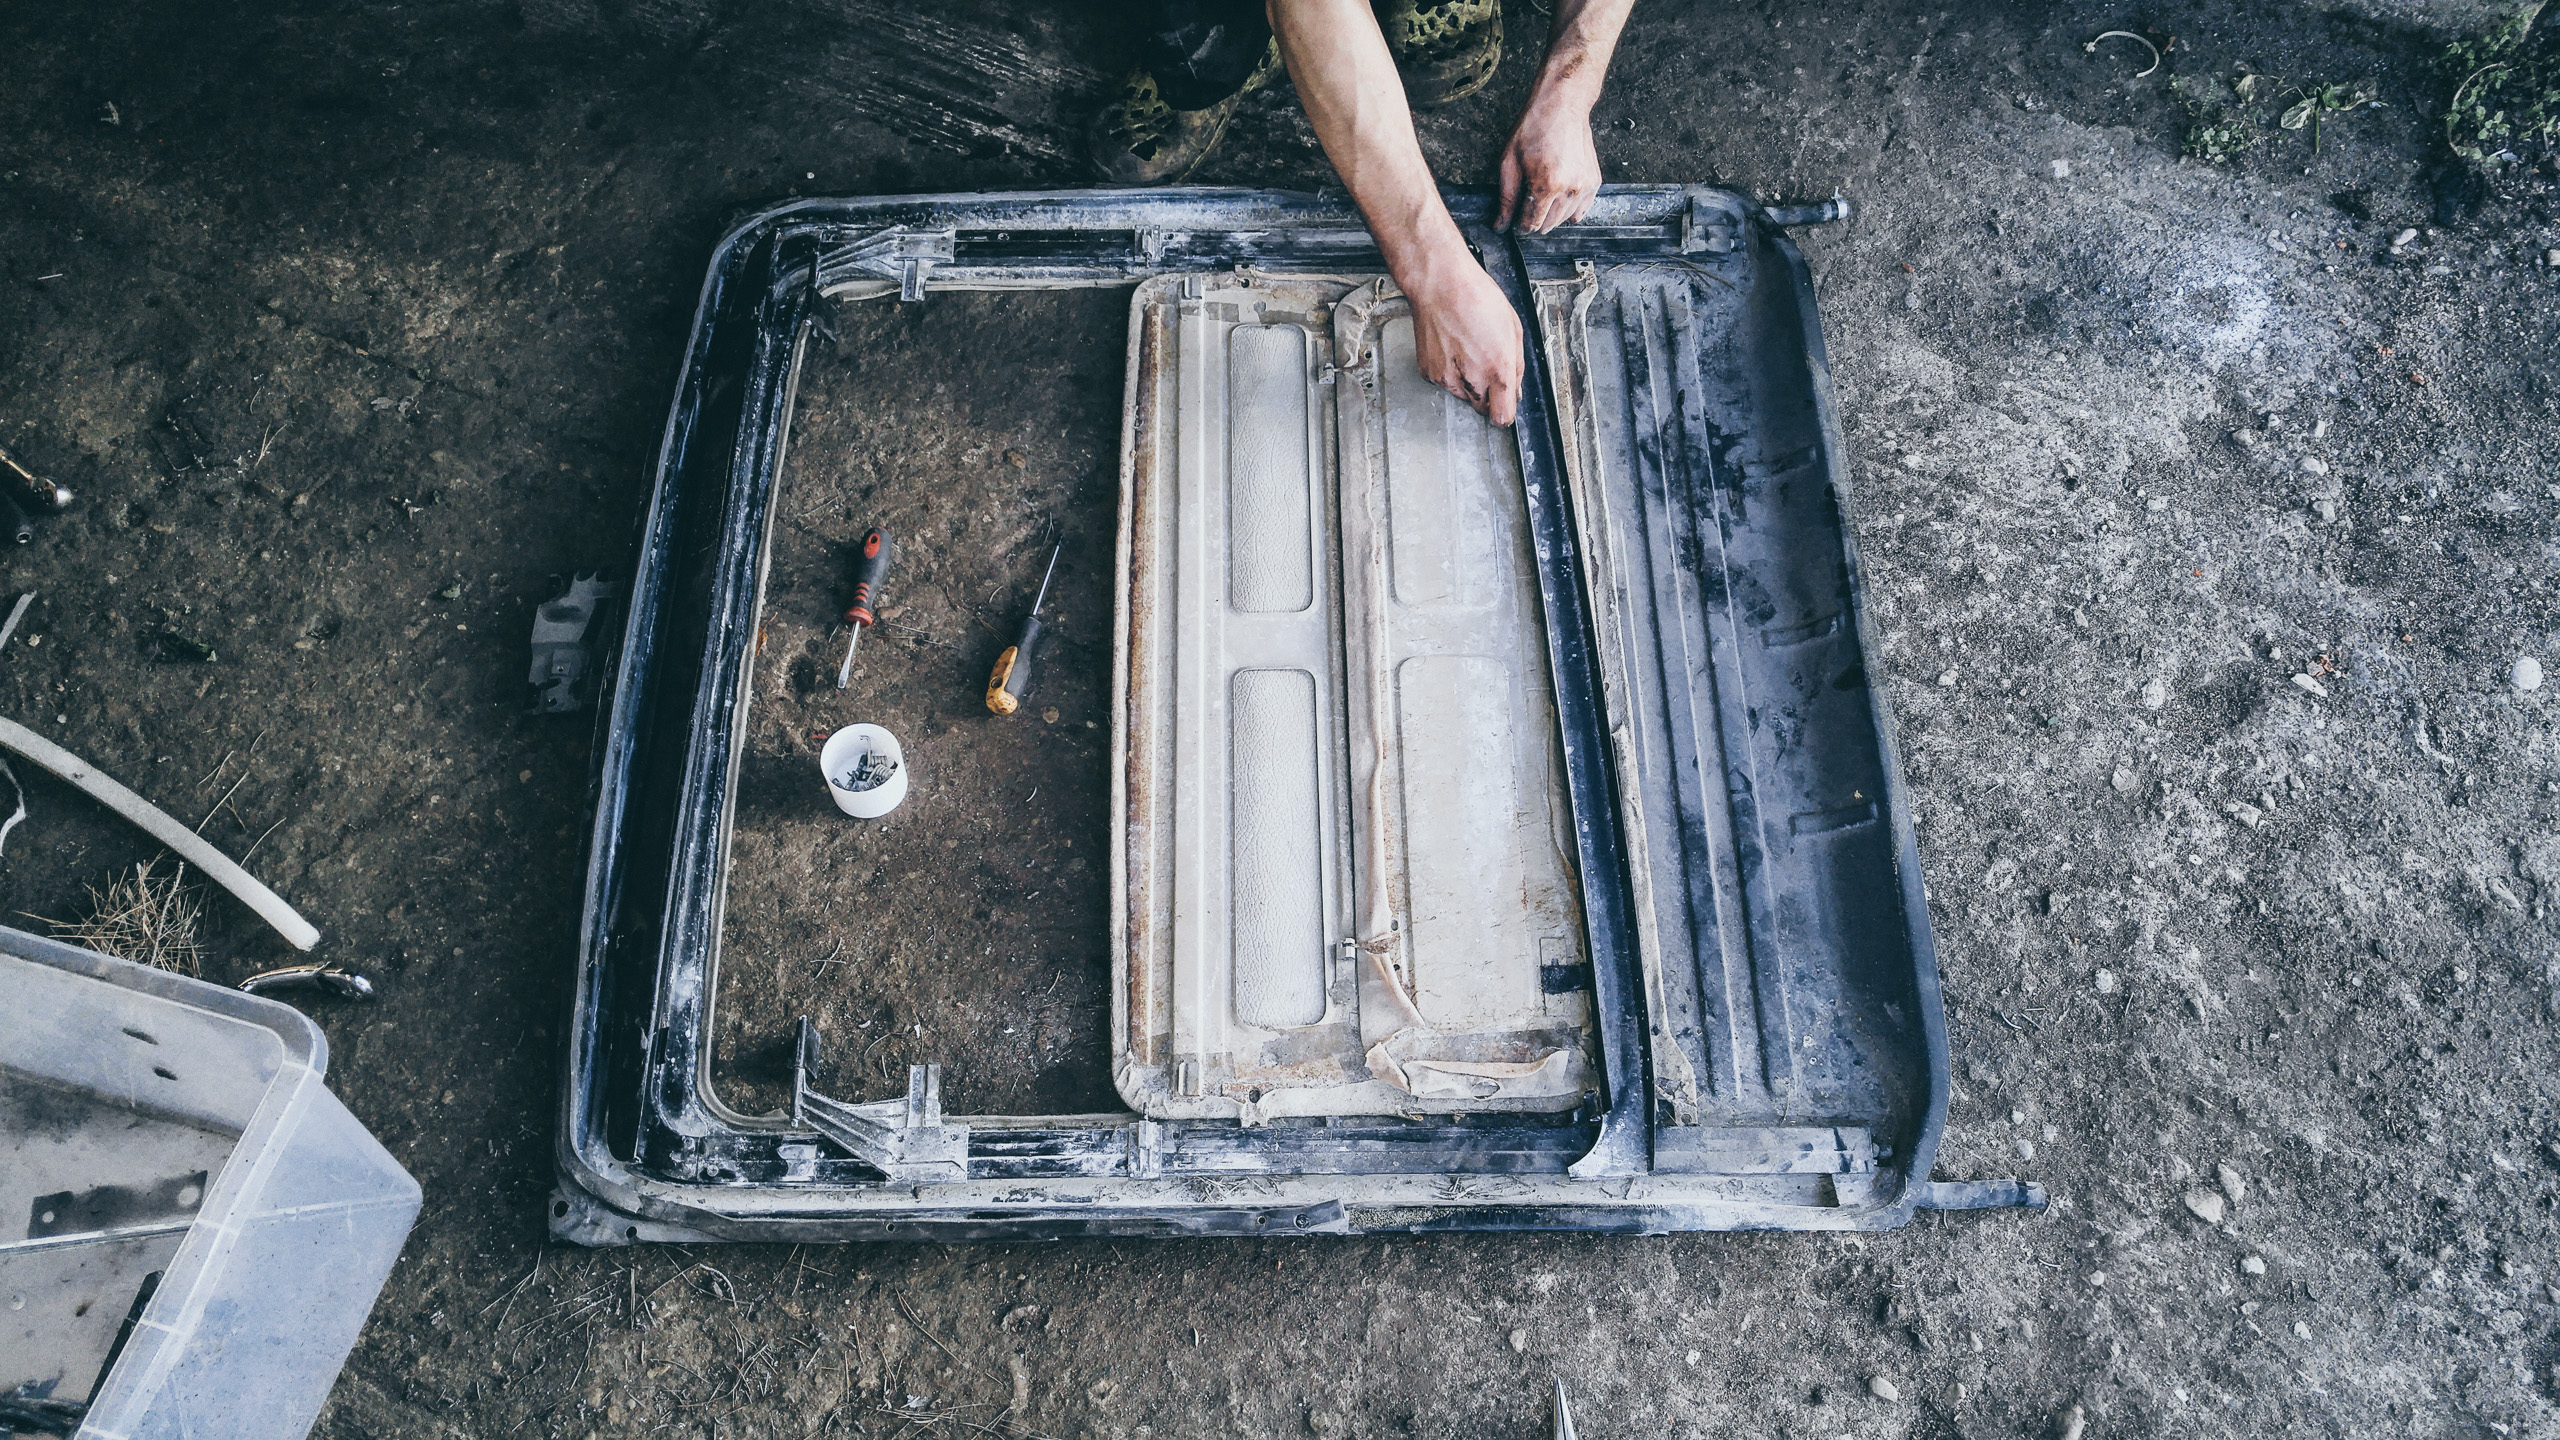
Ended up picking up another extra donor sunroof to get parts from.
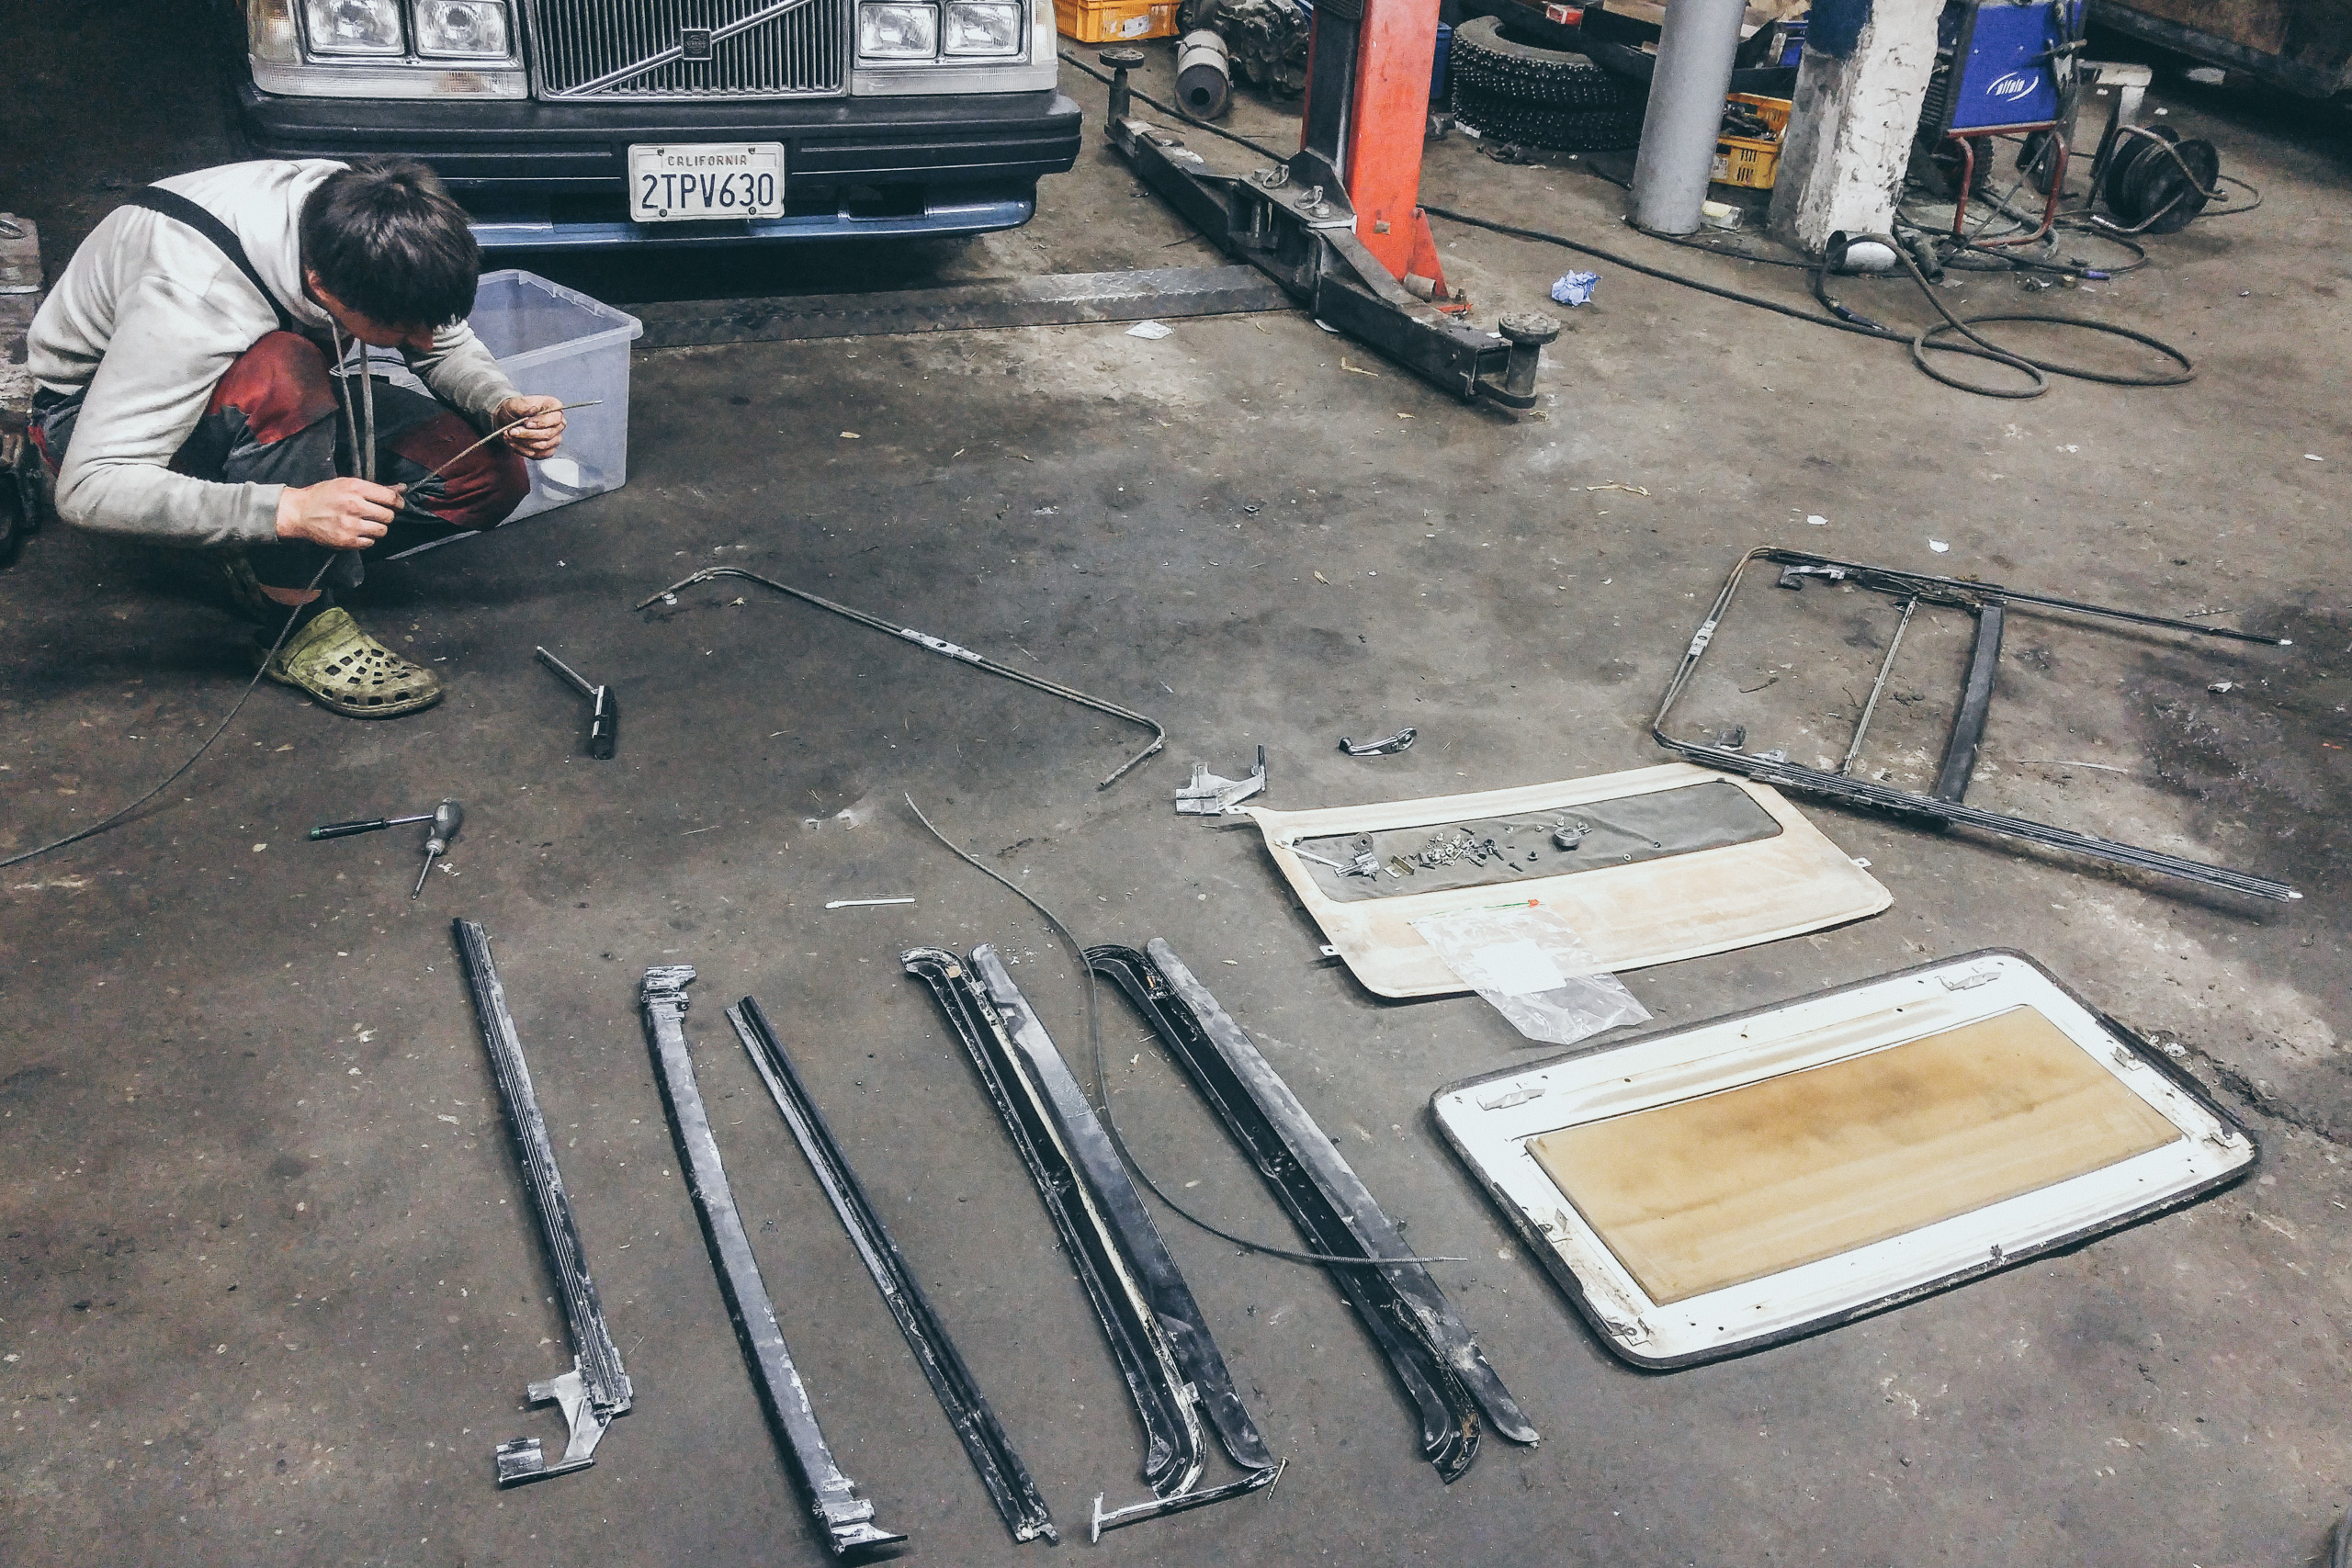
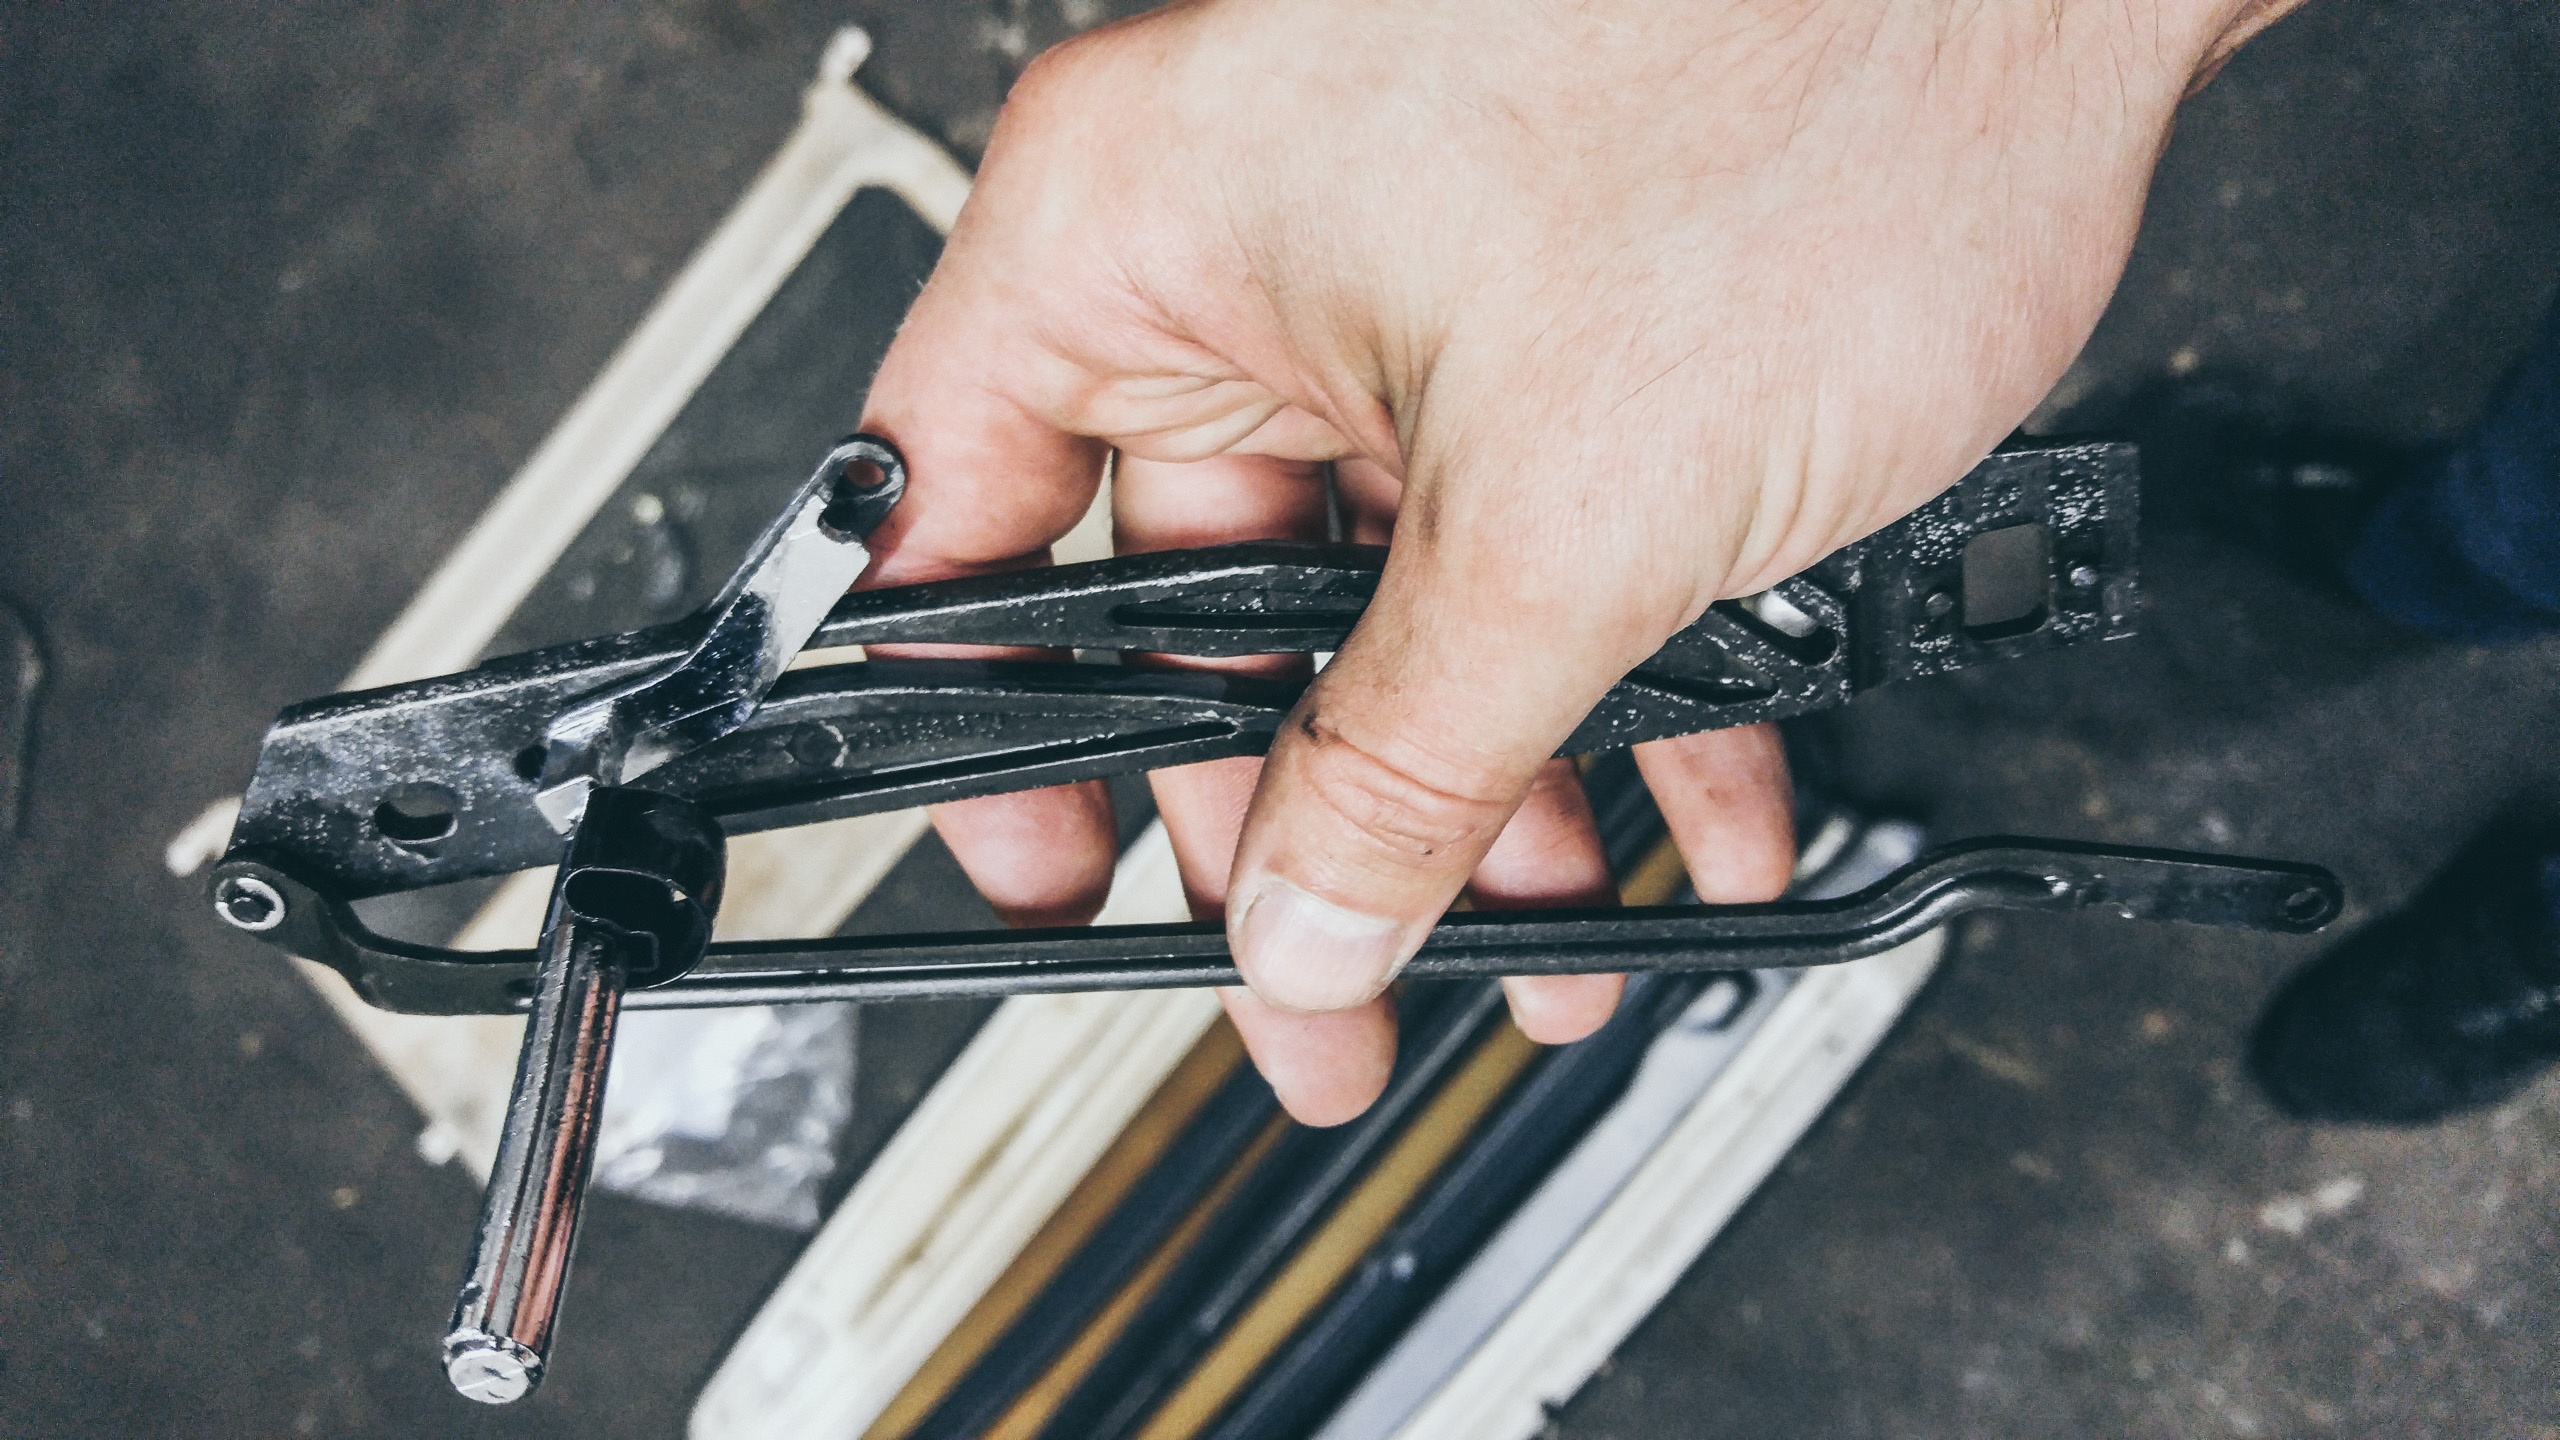
The sunroof mechanism is quite complicated, disassemble at your own risk.

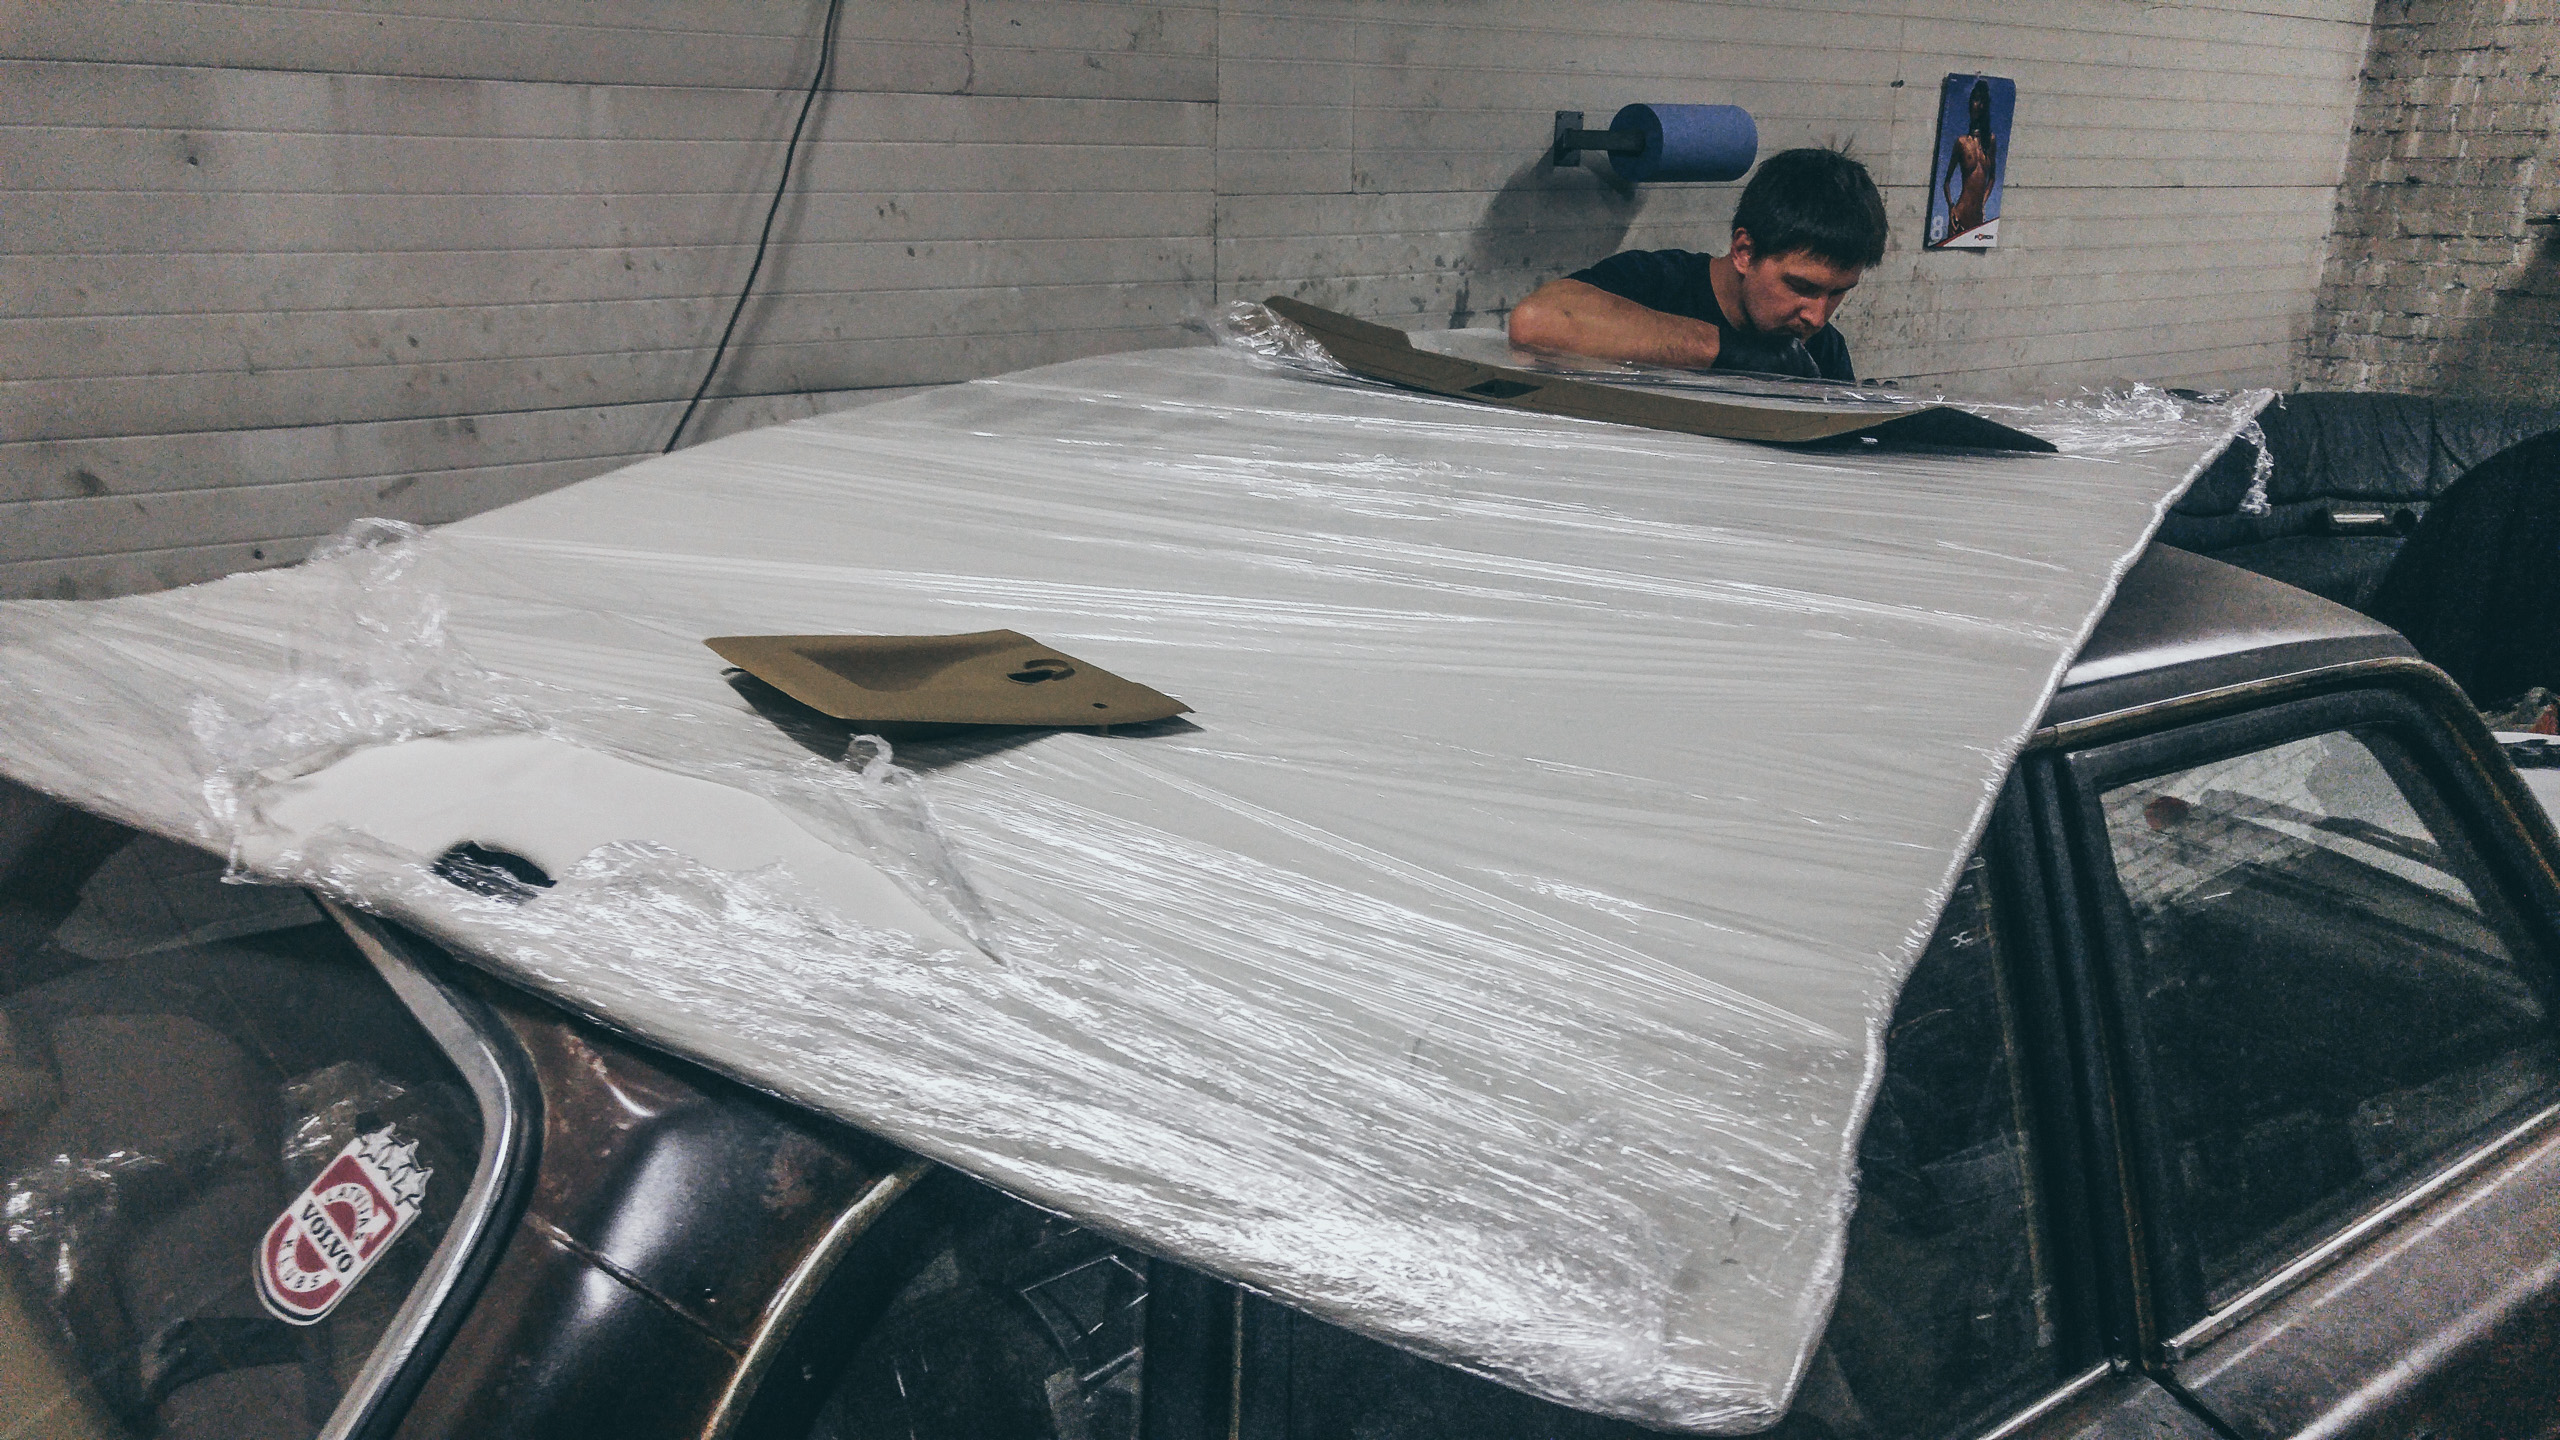
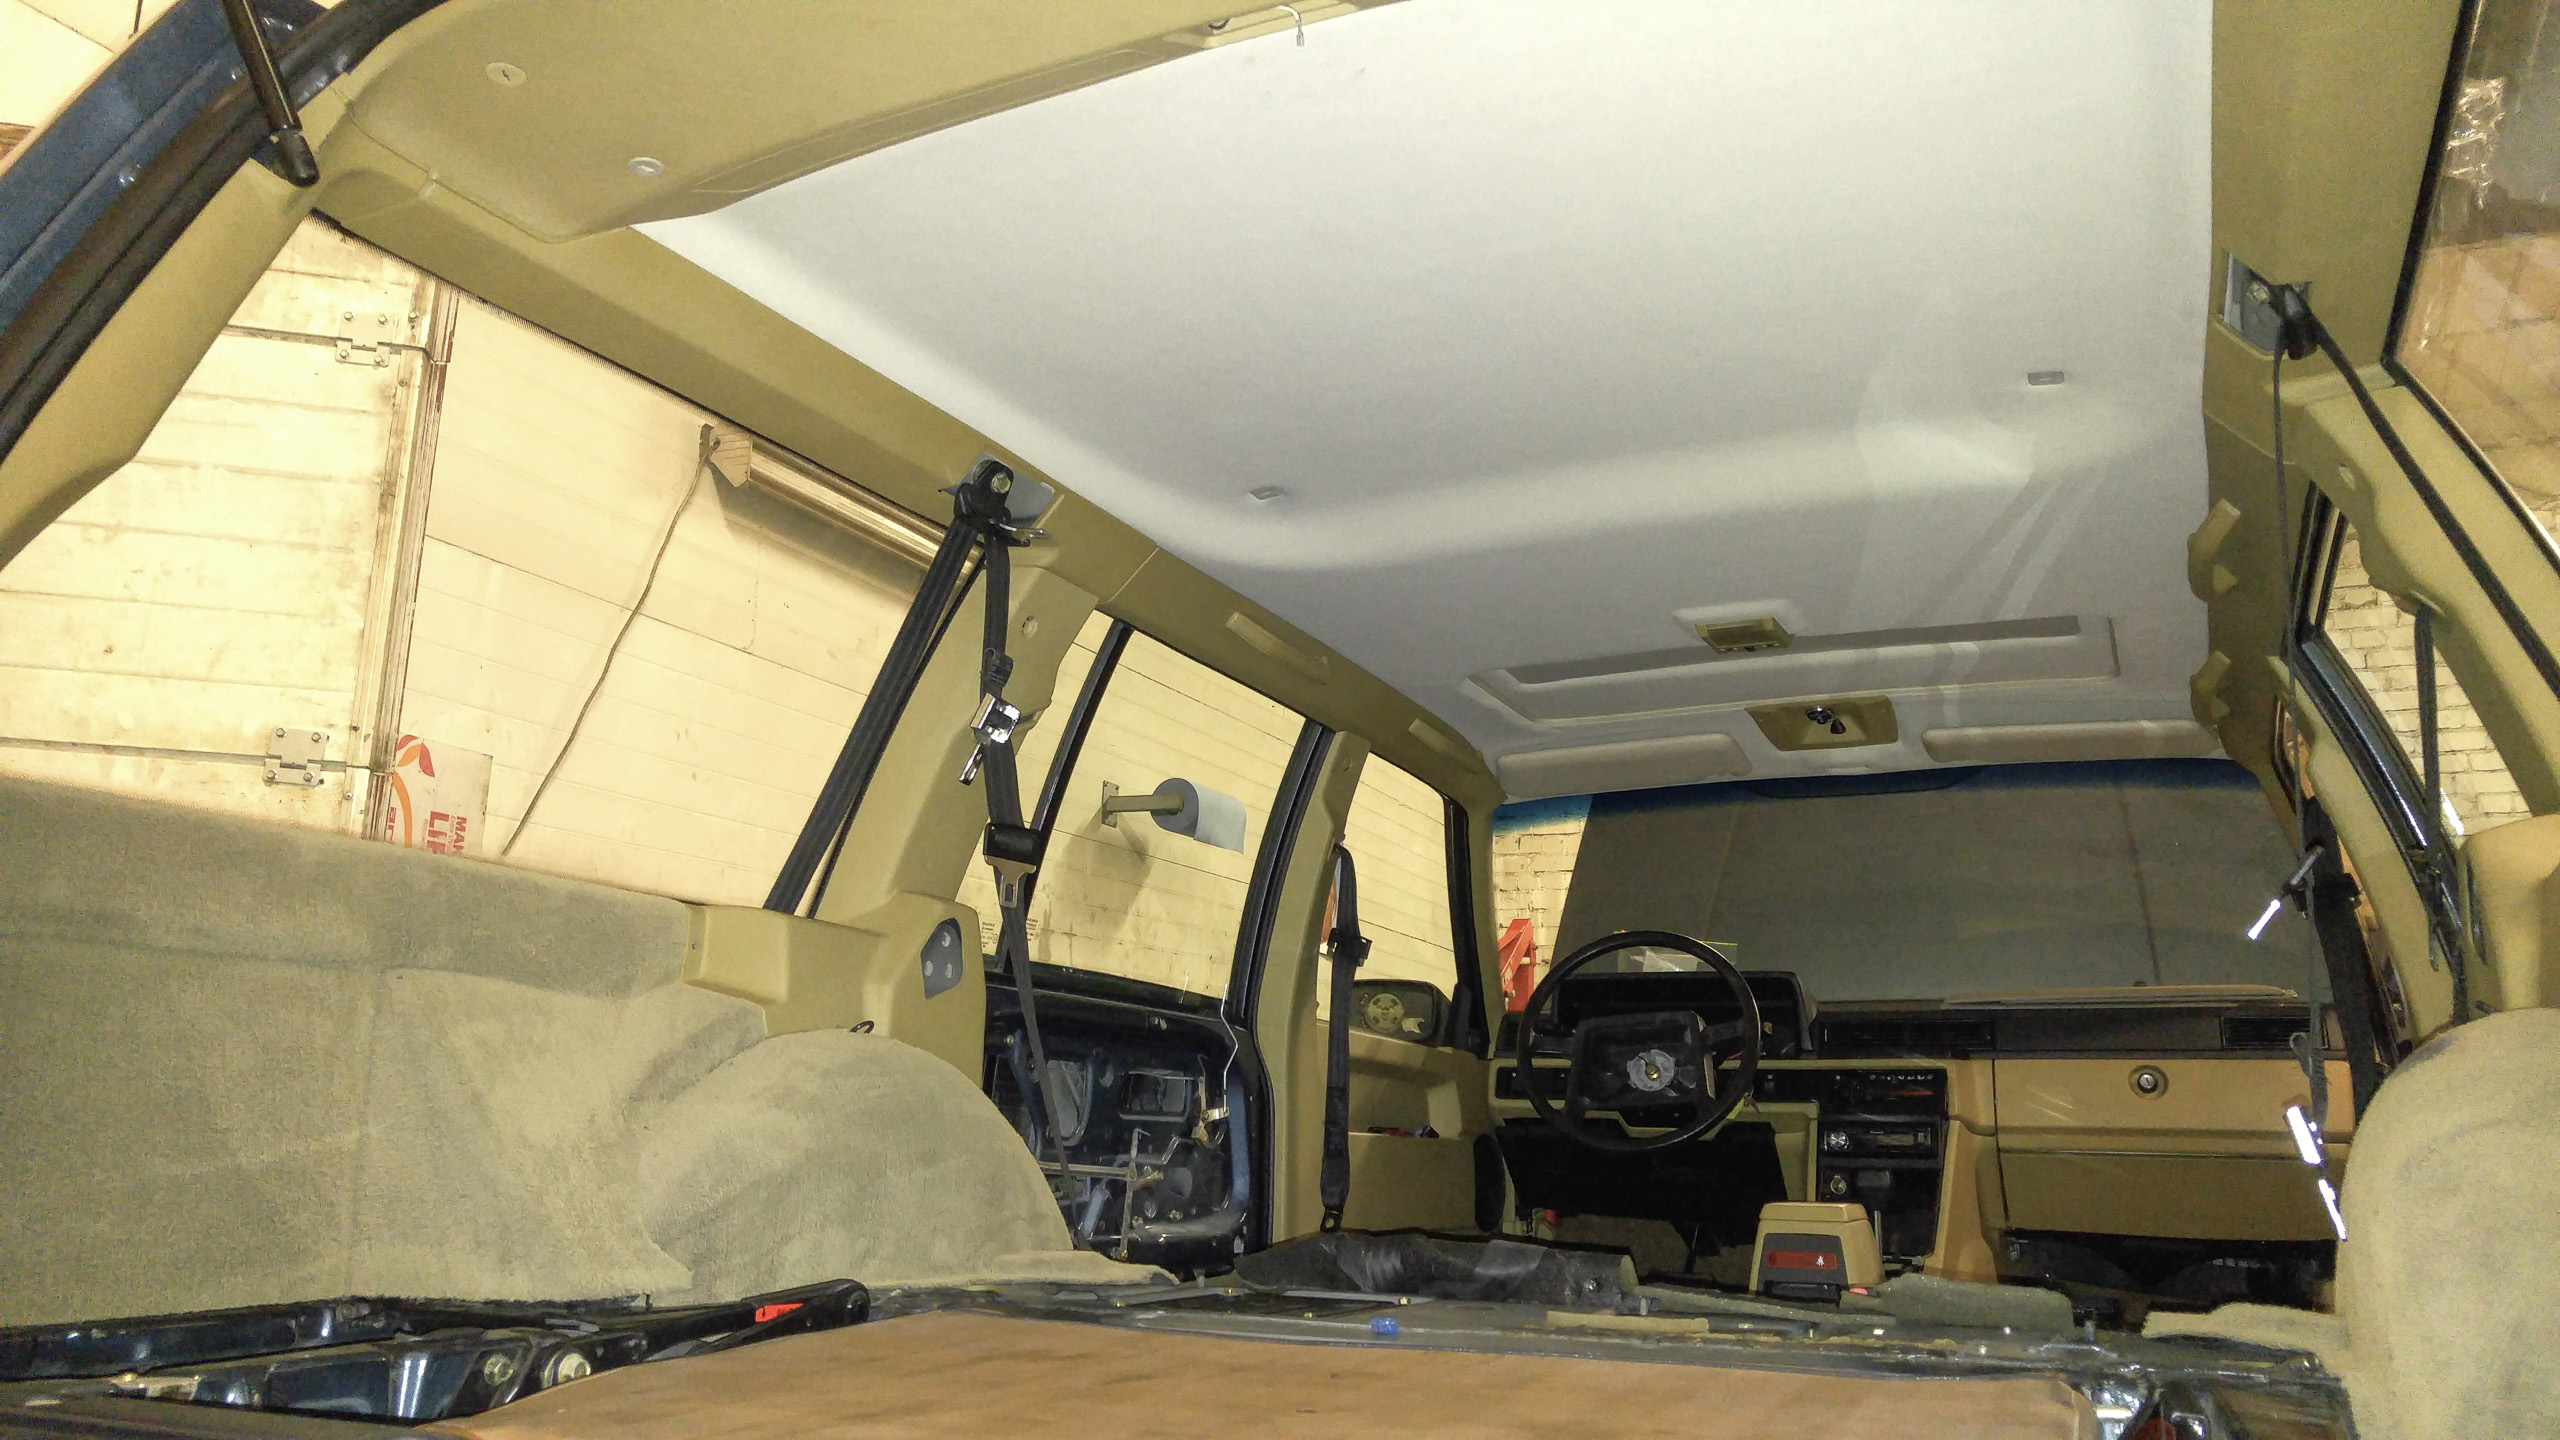
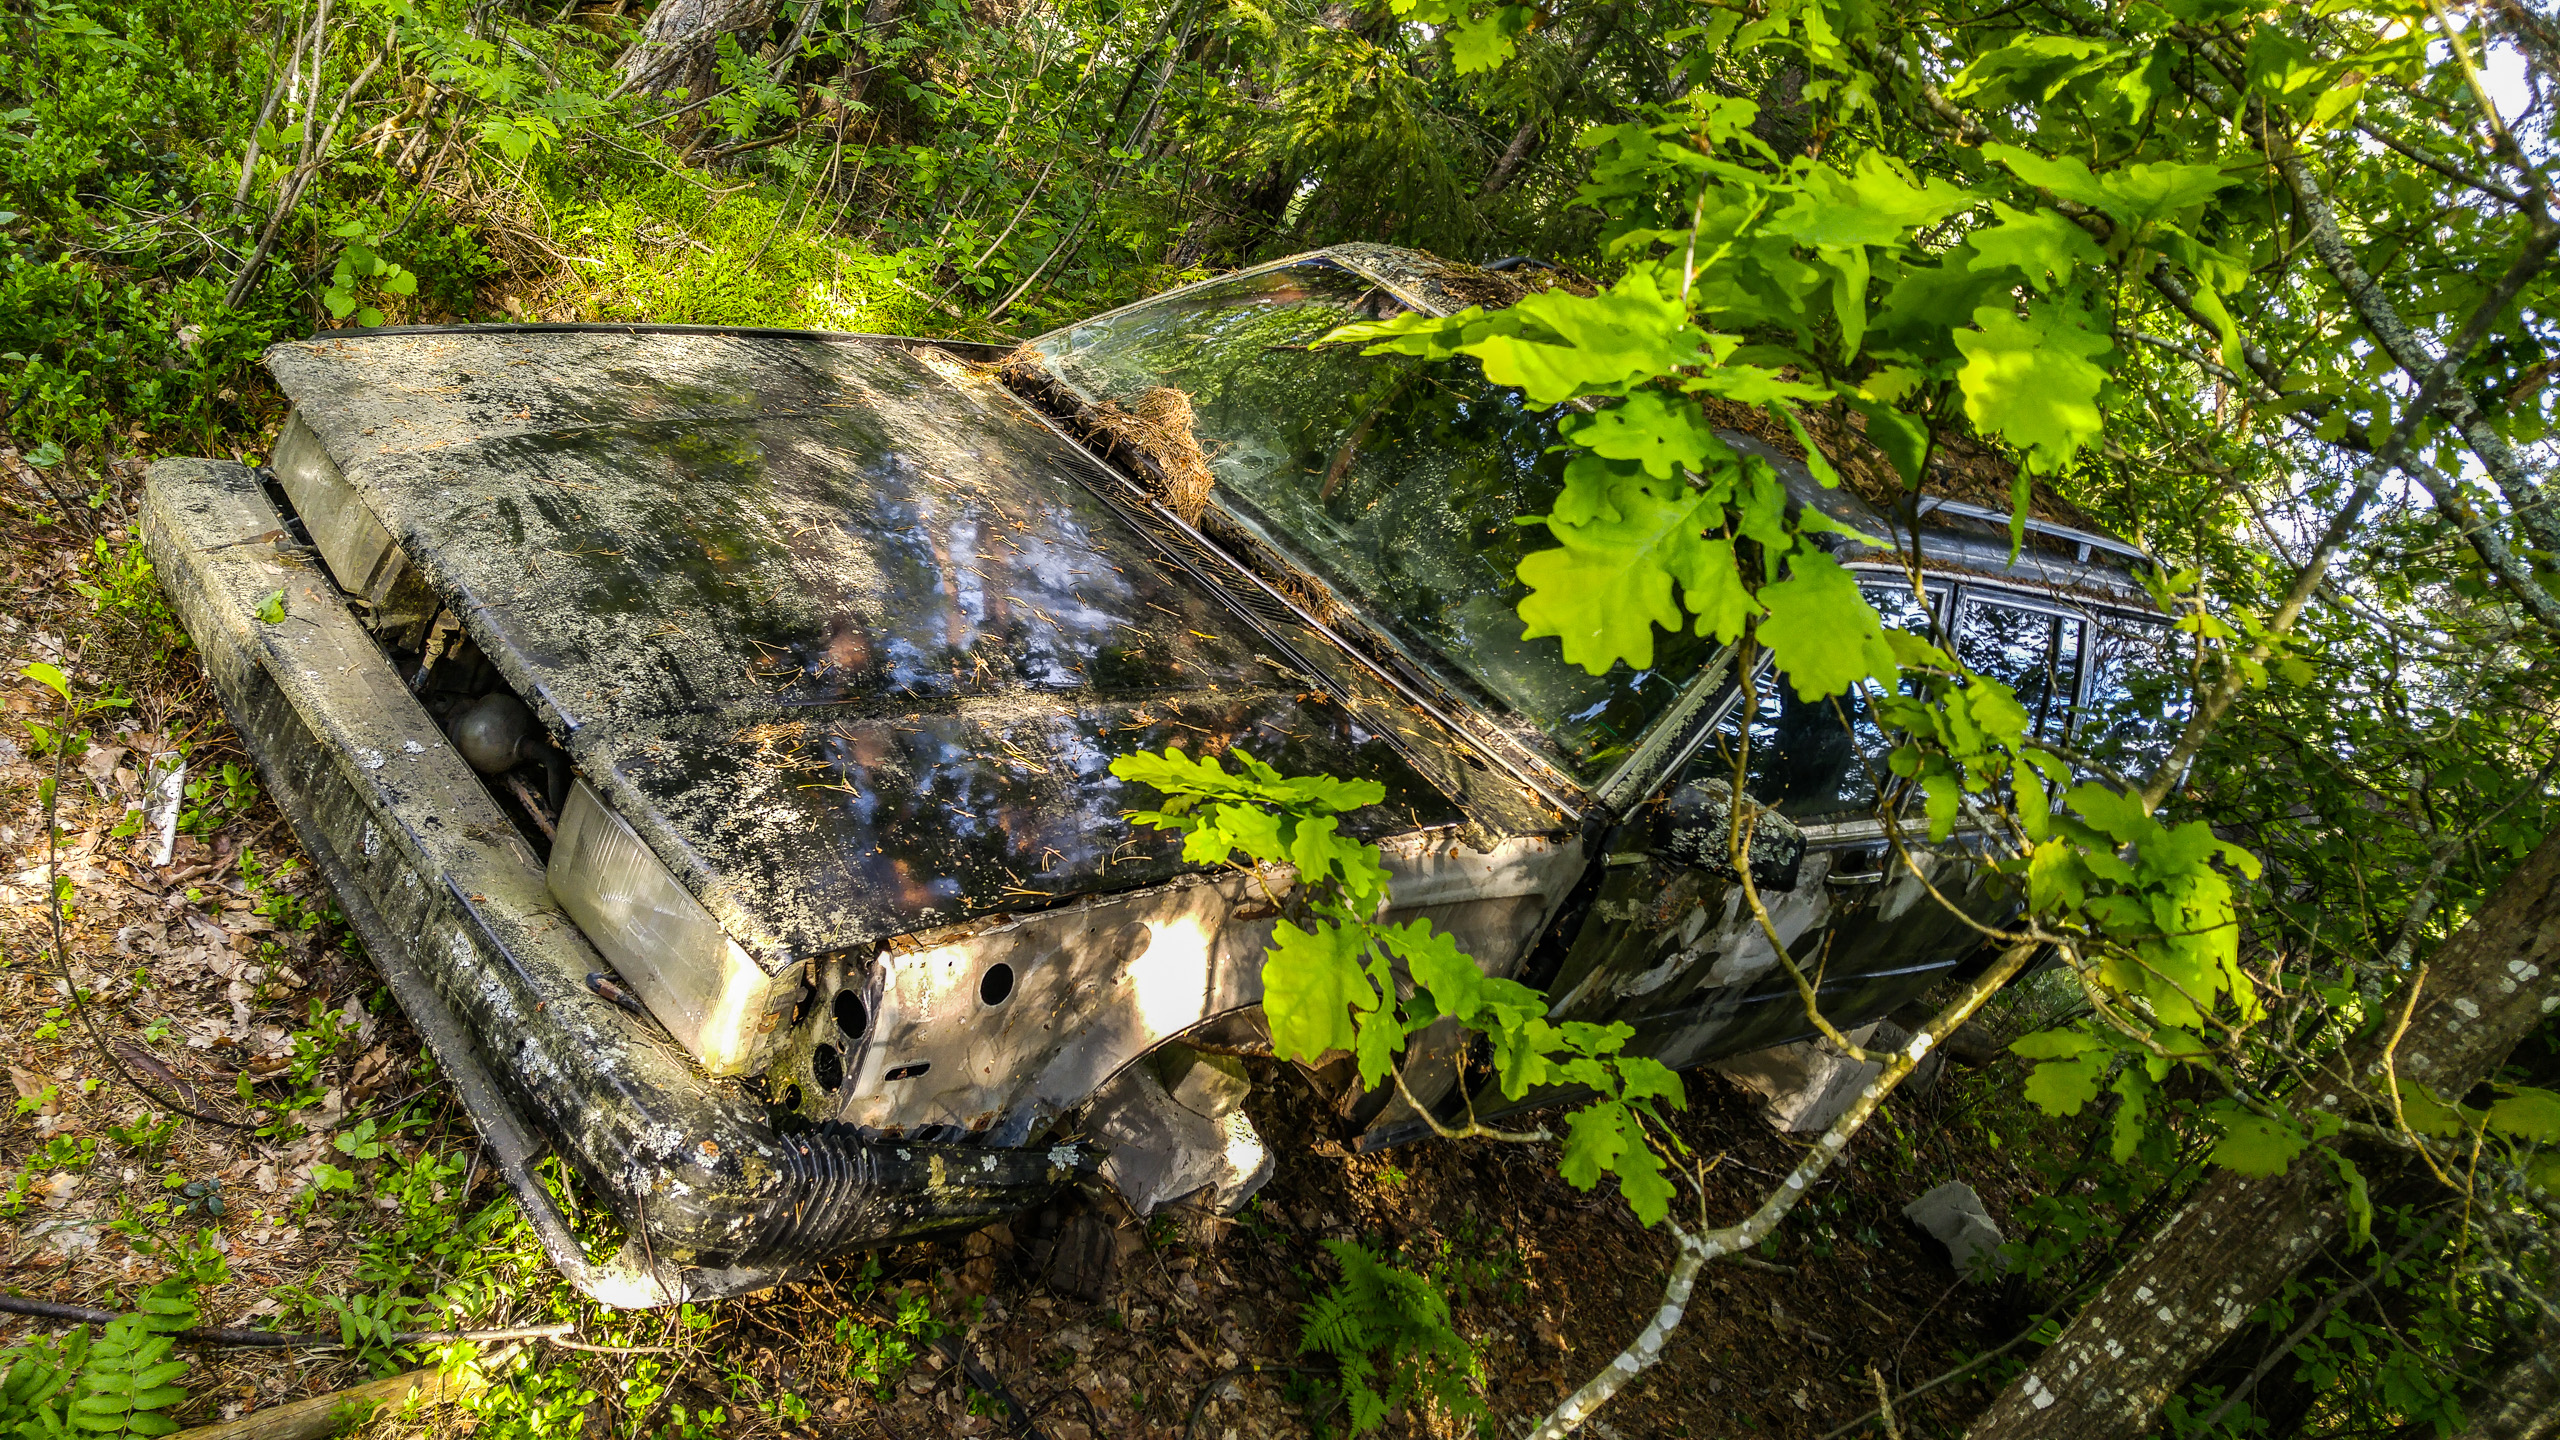
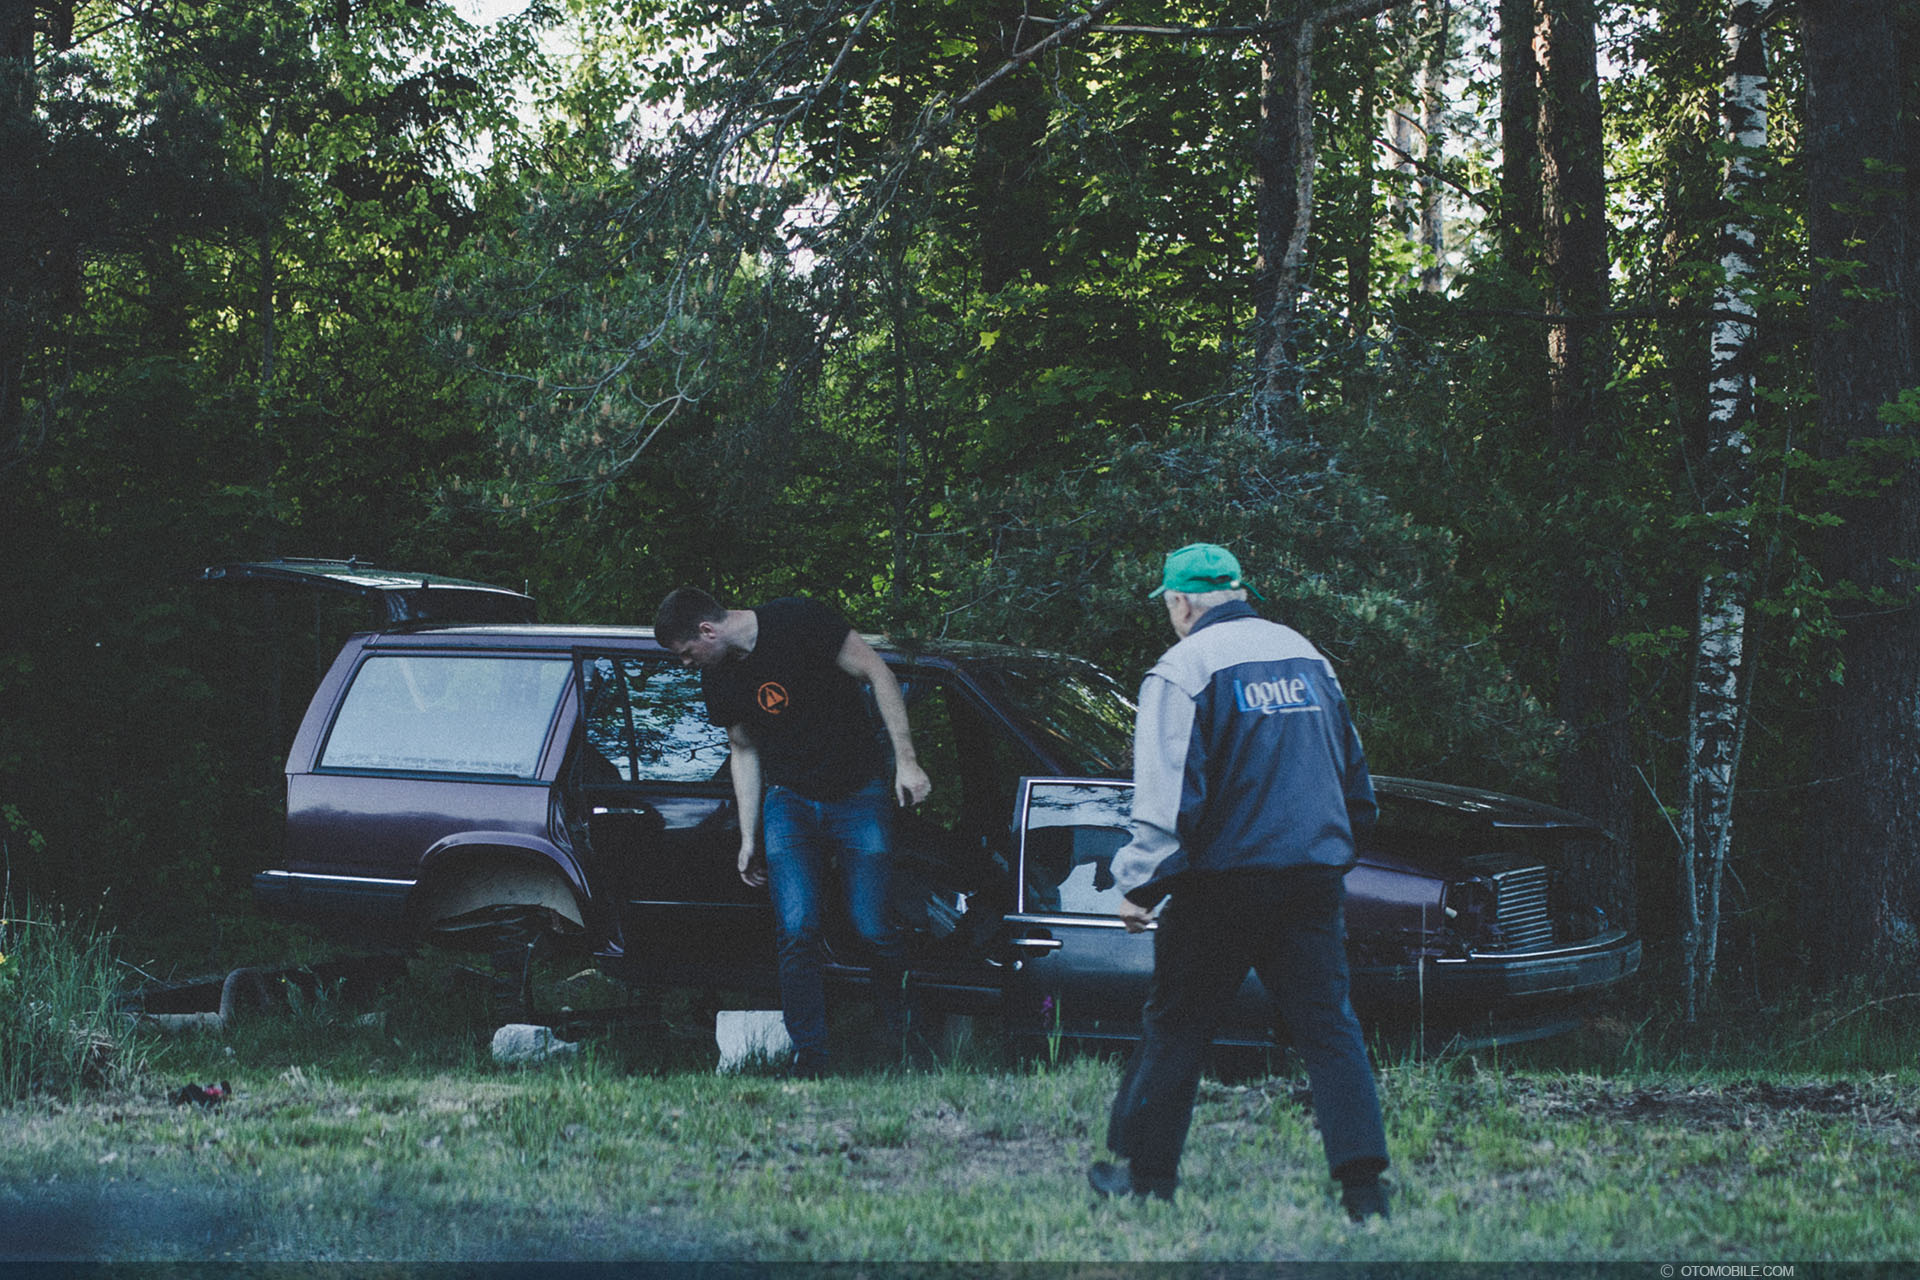
After weeks of searching, Janis Haritonovs gave me a lead, there are two redblock Volvos in the Ligatne highlands, in a ravine, owned by a 80year old grandpa and that Janis recalls there being an intact ceiling panel in one of the cars, WITH a sunroof! We almost thought of welding shut the sunroof and re-painting the roof, seemed easier than sourcing a ceiling panel w/ sunroof.
The ceiling was in black, but I had little choice because very few Volvos 745 hatchback/universal with sunroofs in Europe. Also, donor cars that got sunroofs have the ceiling disintegrated just like the original ceiling.


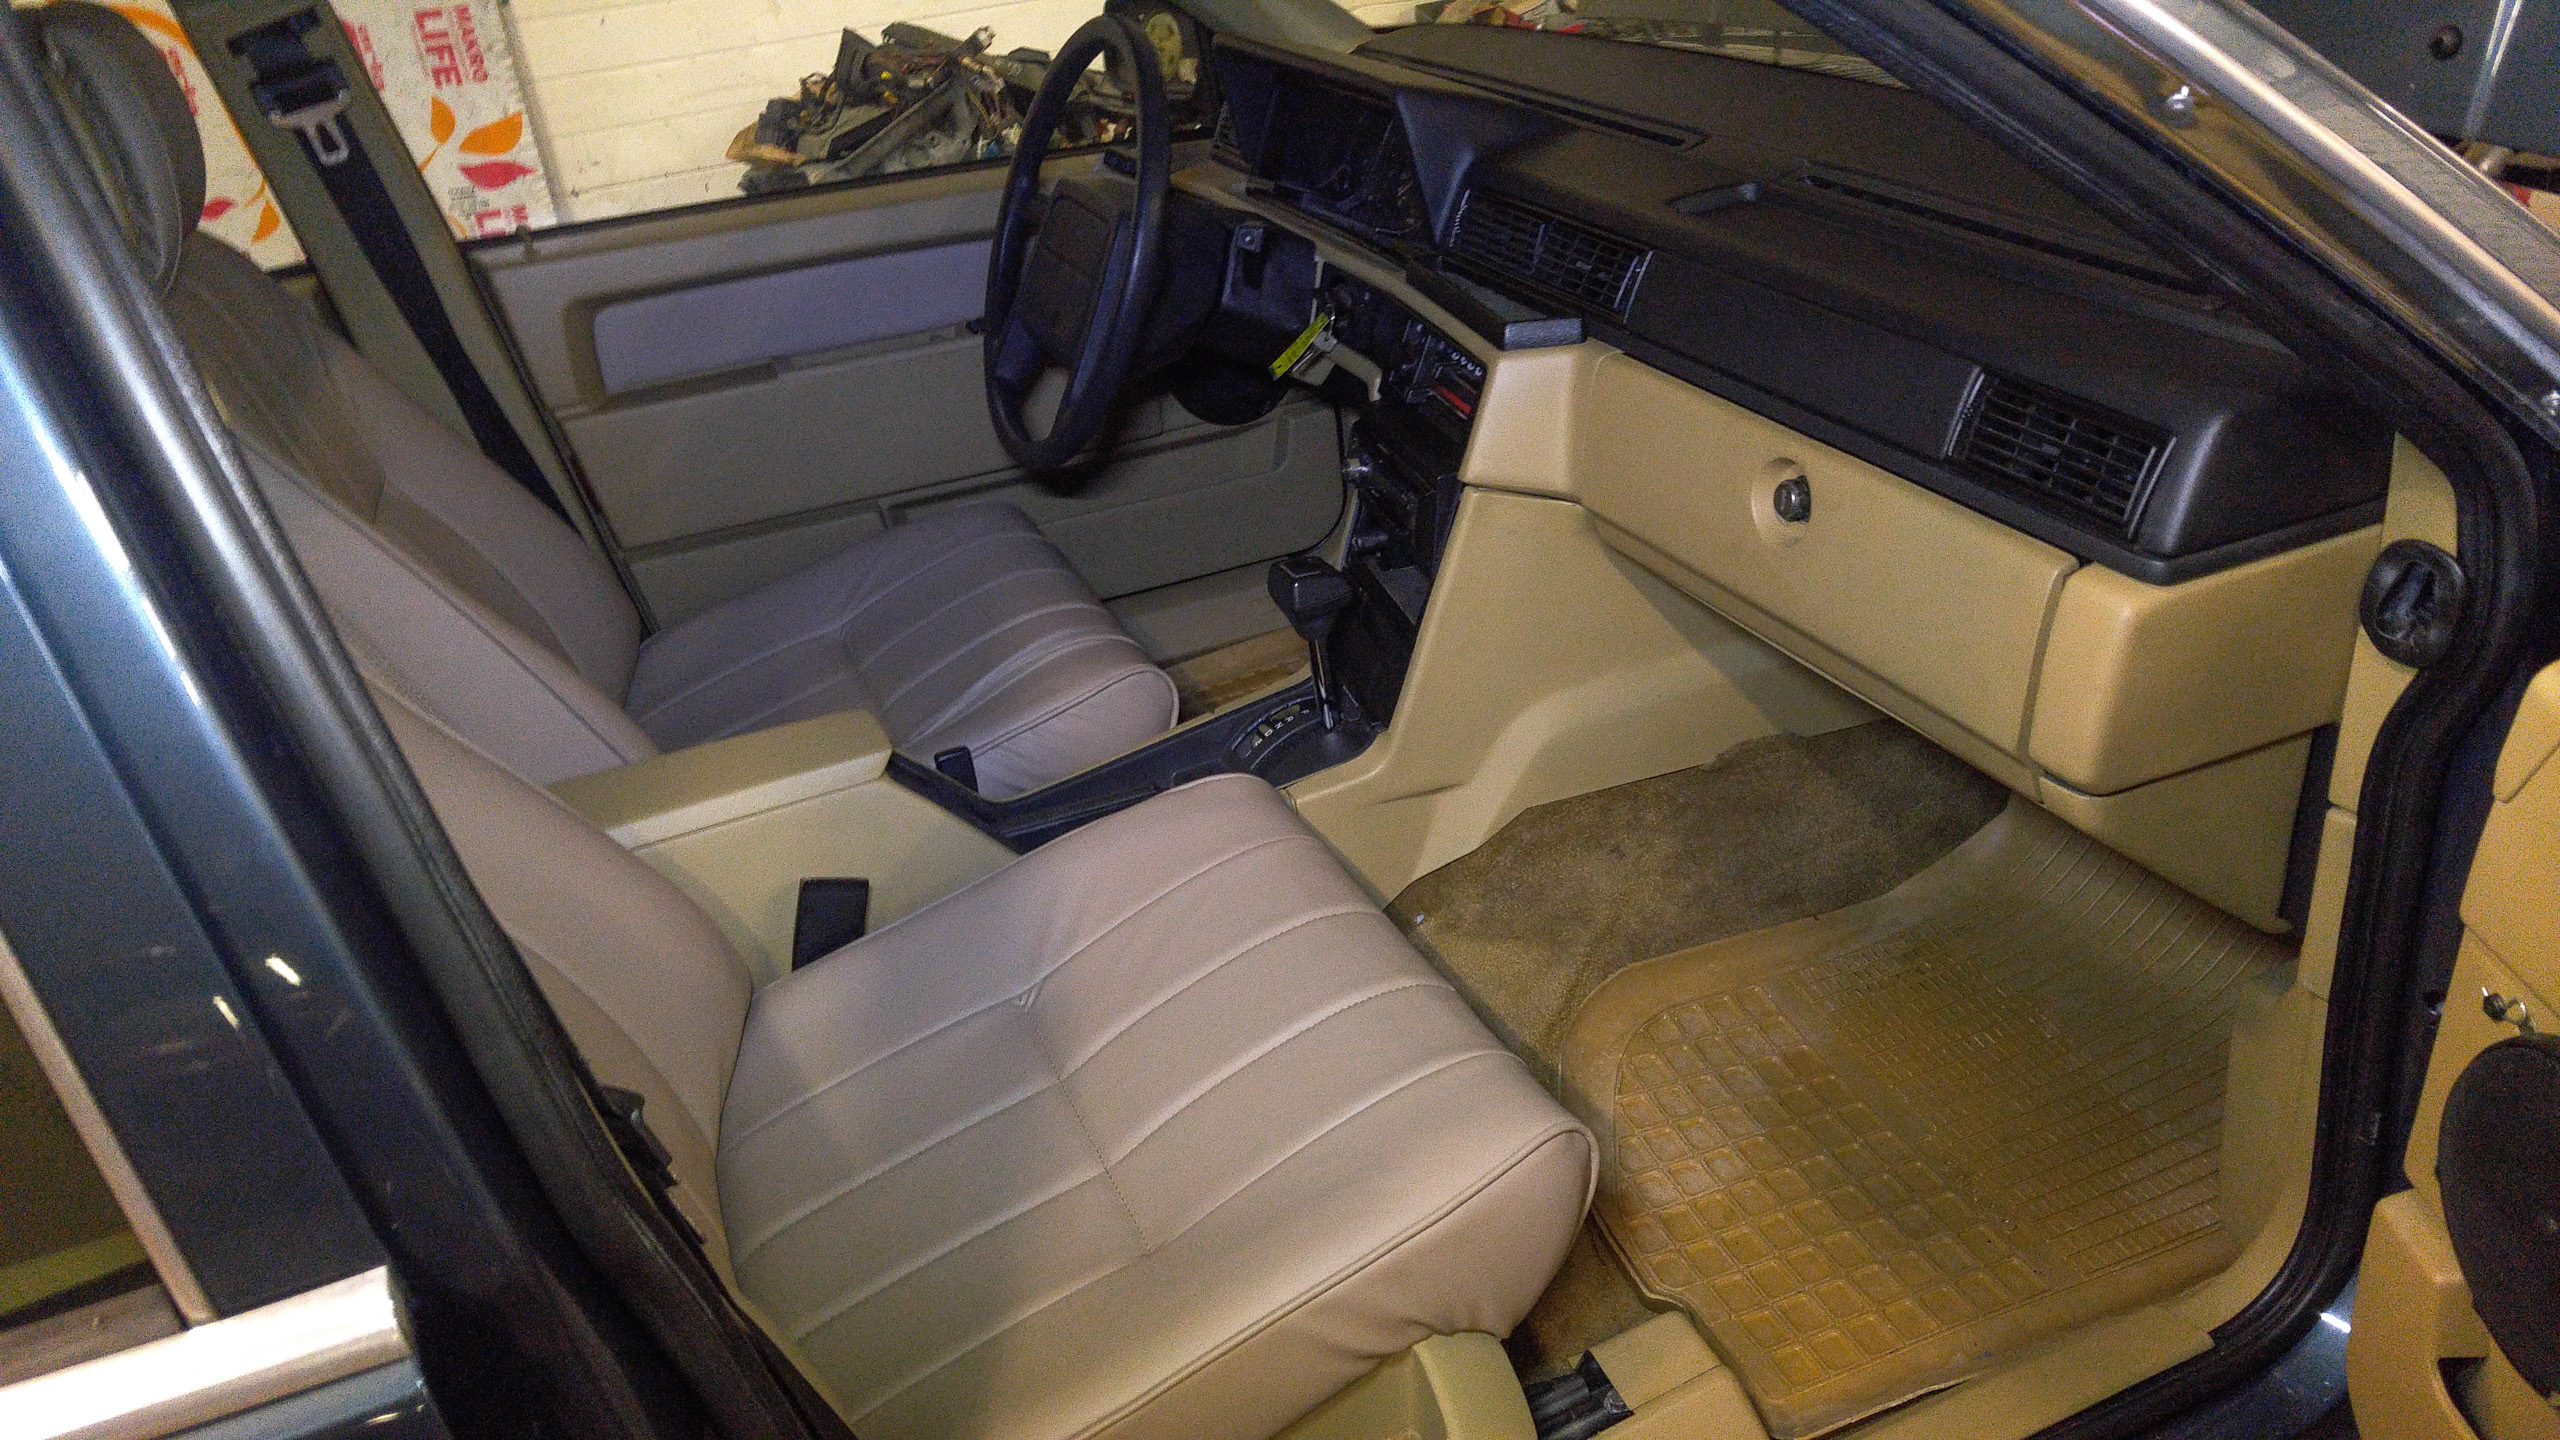
Seat upholstery was another bitch. I went through 100’s of samples of material to choose from, just to drive back 3 more times to upholster and pick another material, because the desired material(s) came back as “no longer available”, “out of stock”, “60 day deliver time”, etc. I obviously wanted to locate material closest to original fabric, and since I failed finding identical fabric I went with closest match with pleather. The material was a compromise since exact color combo could not be sourced in reasonable time, and by now I had put in such insane amount of time searching for fabrics that I decided to compromise. Technically, I can paint the pleather any color I want, just like I did for interior, but for now, close enough. The chosen pleather material is stretchy, where usually pleather is more rigid, the stretch creates more waves in the pleather than regular rigid leather.
Door panel trim and head bolsters were also wrapped in pleather.
I sourced additional full set of seats, because they were had the leather stitching, design and bolsters, compared to more plain original.
Drove over 4000km, just to look for parts.
Many more KM driven paint, upholstery, etc. included, easy over 7000KM.

The car has been idling for days, idled out an entire fuel tank to get the engine broken in properly and everything seated.


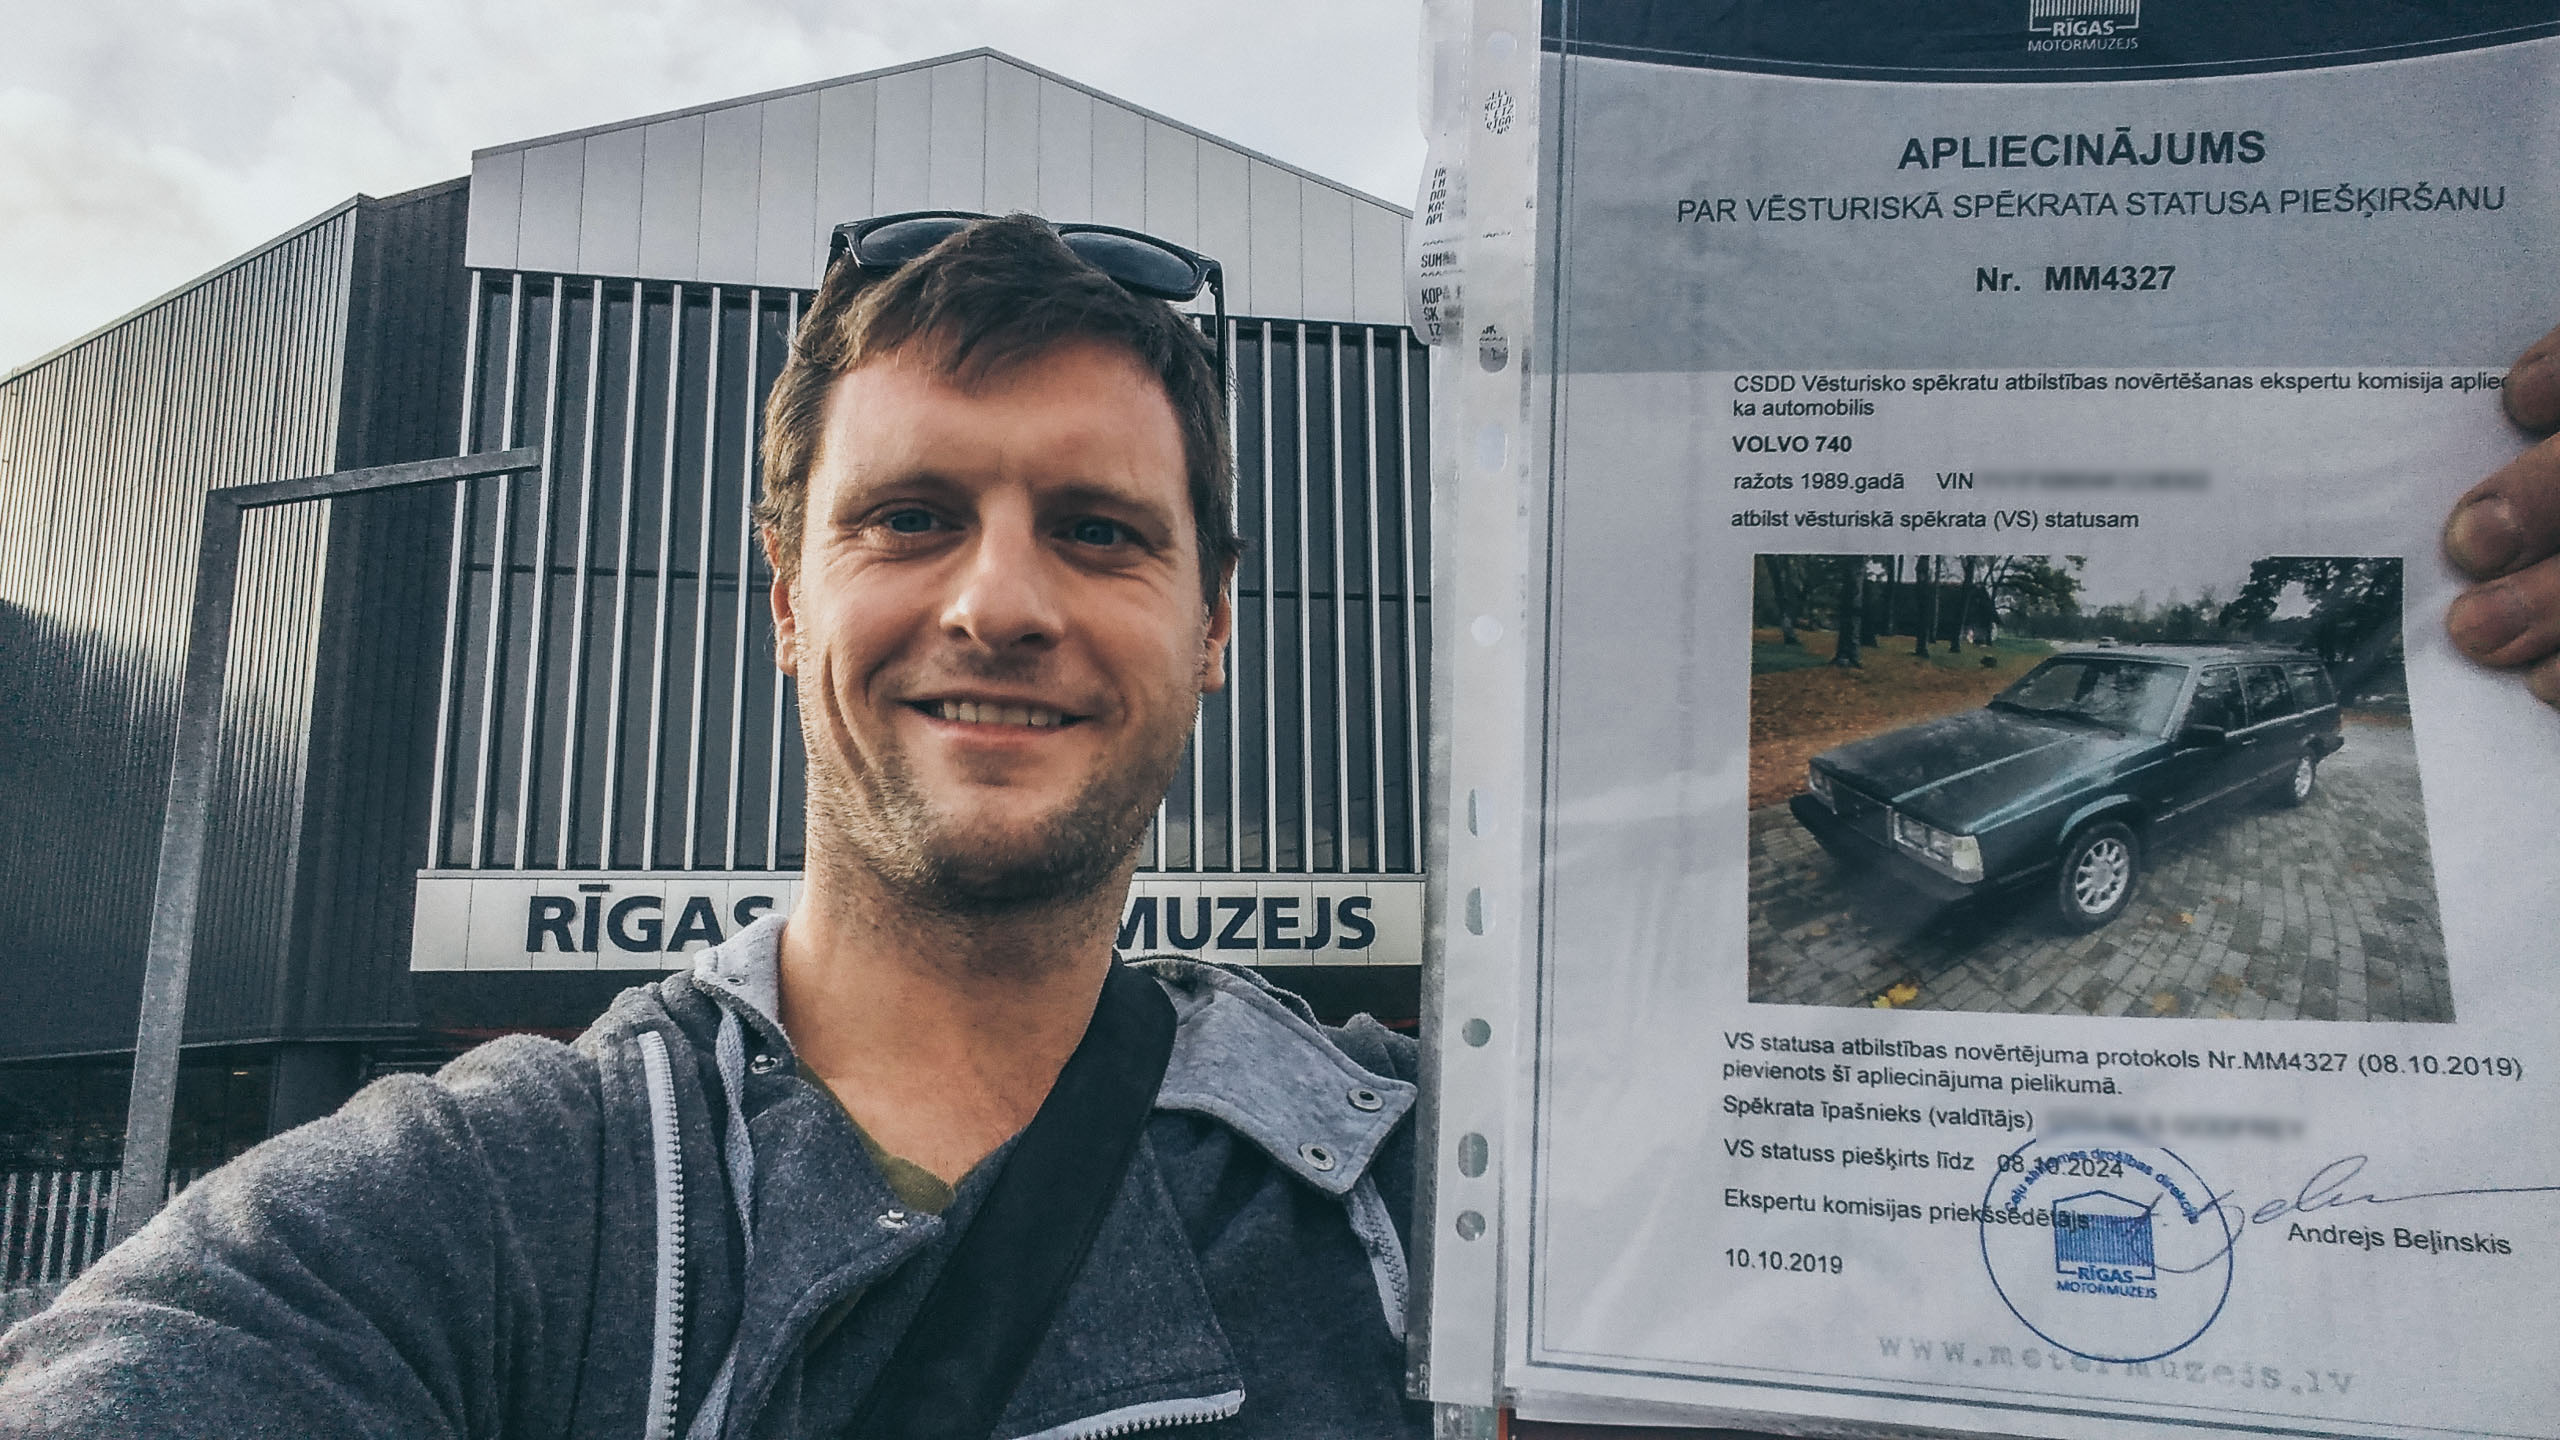
The plan is to register and certify the Volvo as historical vehicle. To register as a historical vehicle in Latvia, the car must be 30 years old. I have the original Volvo purchase receipt from 1989, where it shows that it is 30 years and 1 week since purchase date at time of historical certification inspection.
Historical vehicle certification works like this in Latvia: The car is inspected by Riga Motor Museum and they conclude how much historical accuracy the car carries. Upgraded aftermarket steering or wheels usually disqualify the car. After inspection, there’s time for evaluation and eventually they get back to one and with a YEA or NAE.
My car was noted for re-paint, re-upholstery and not original tires modifications… who the hell has 30+ year old tires/rubber on their car??
All the modifications were “sufficient” to pass certification.
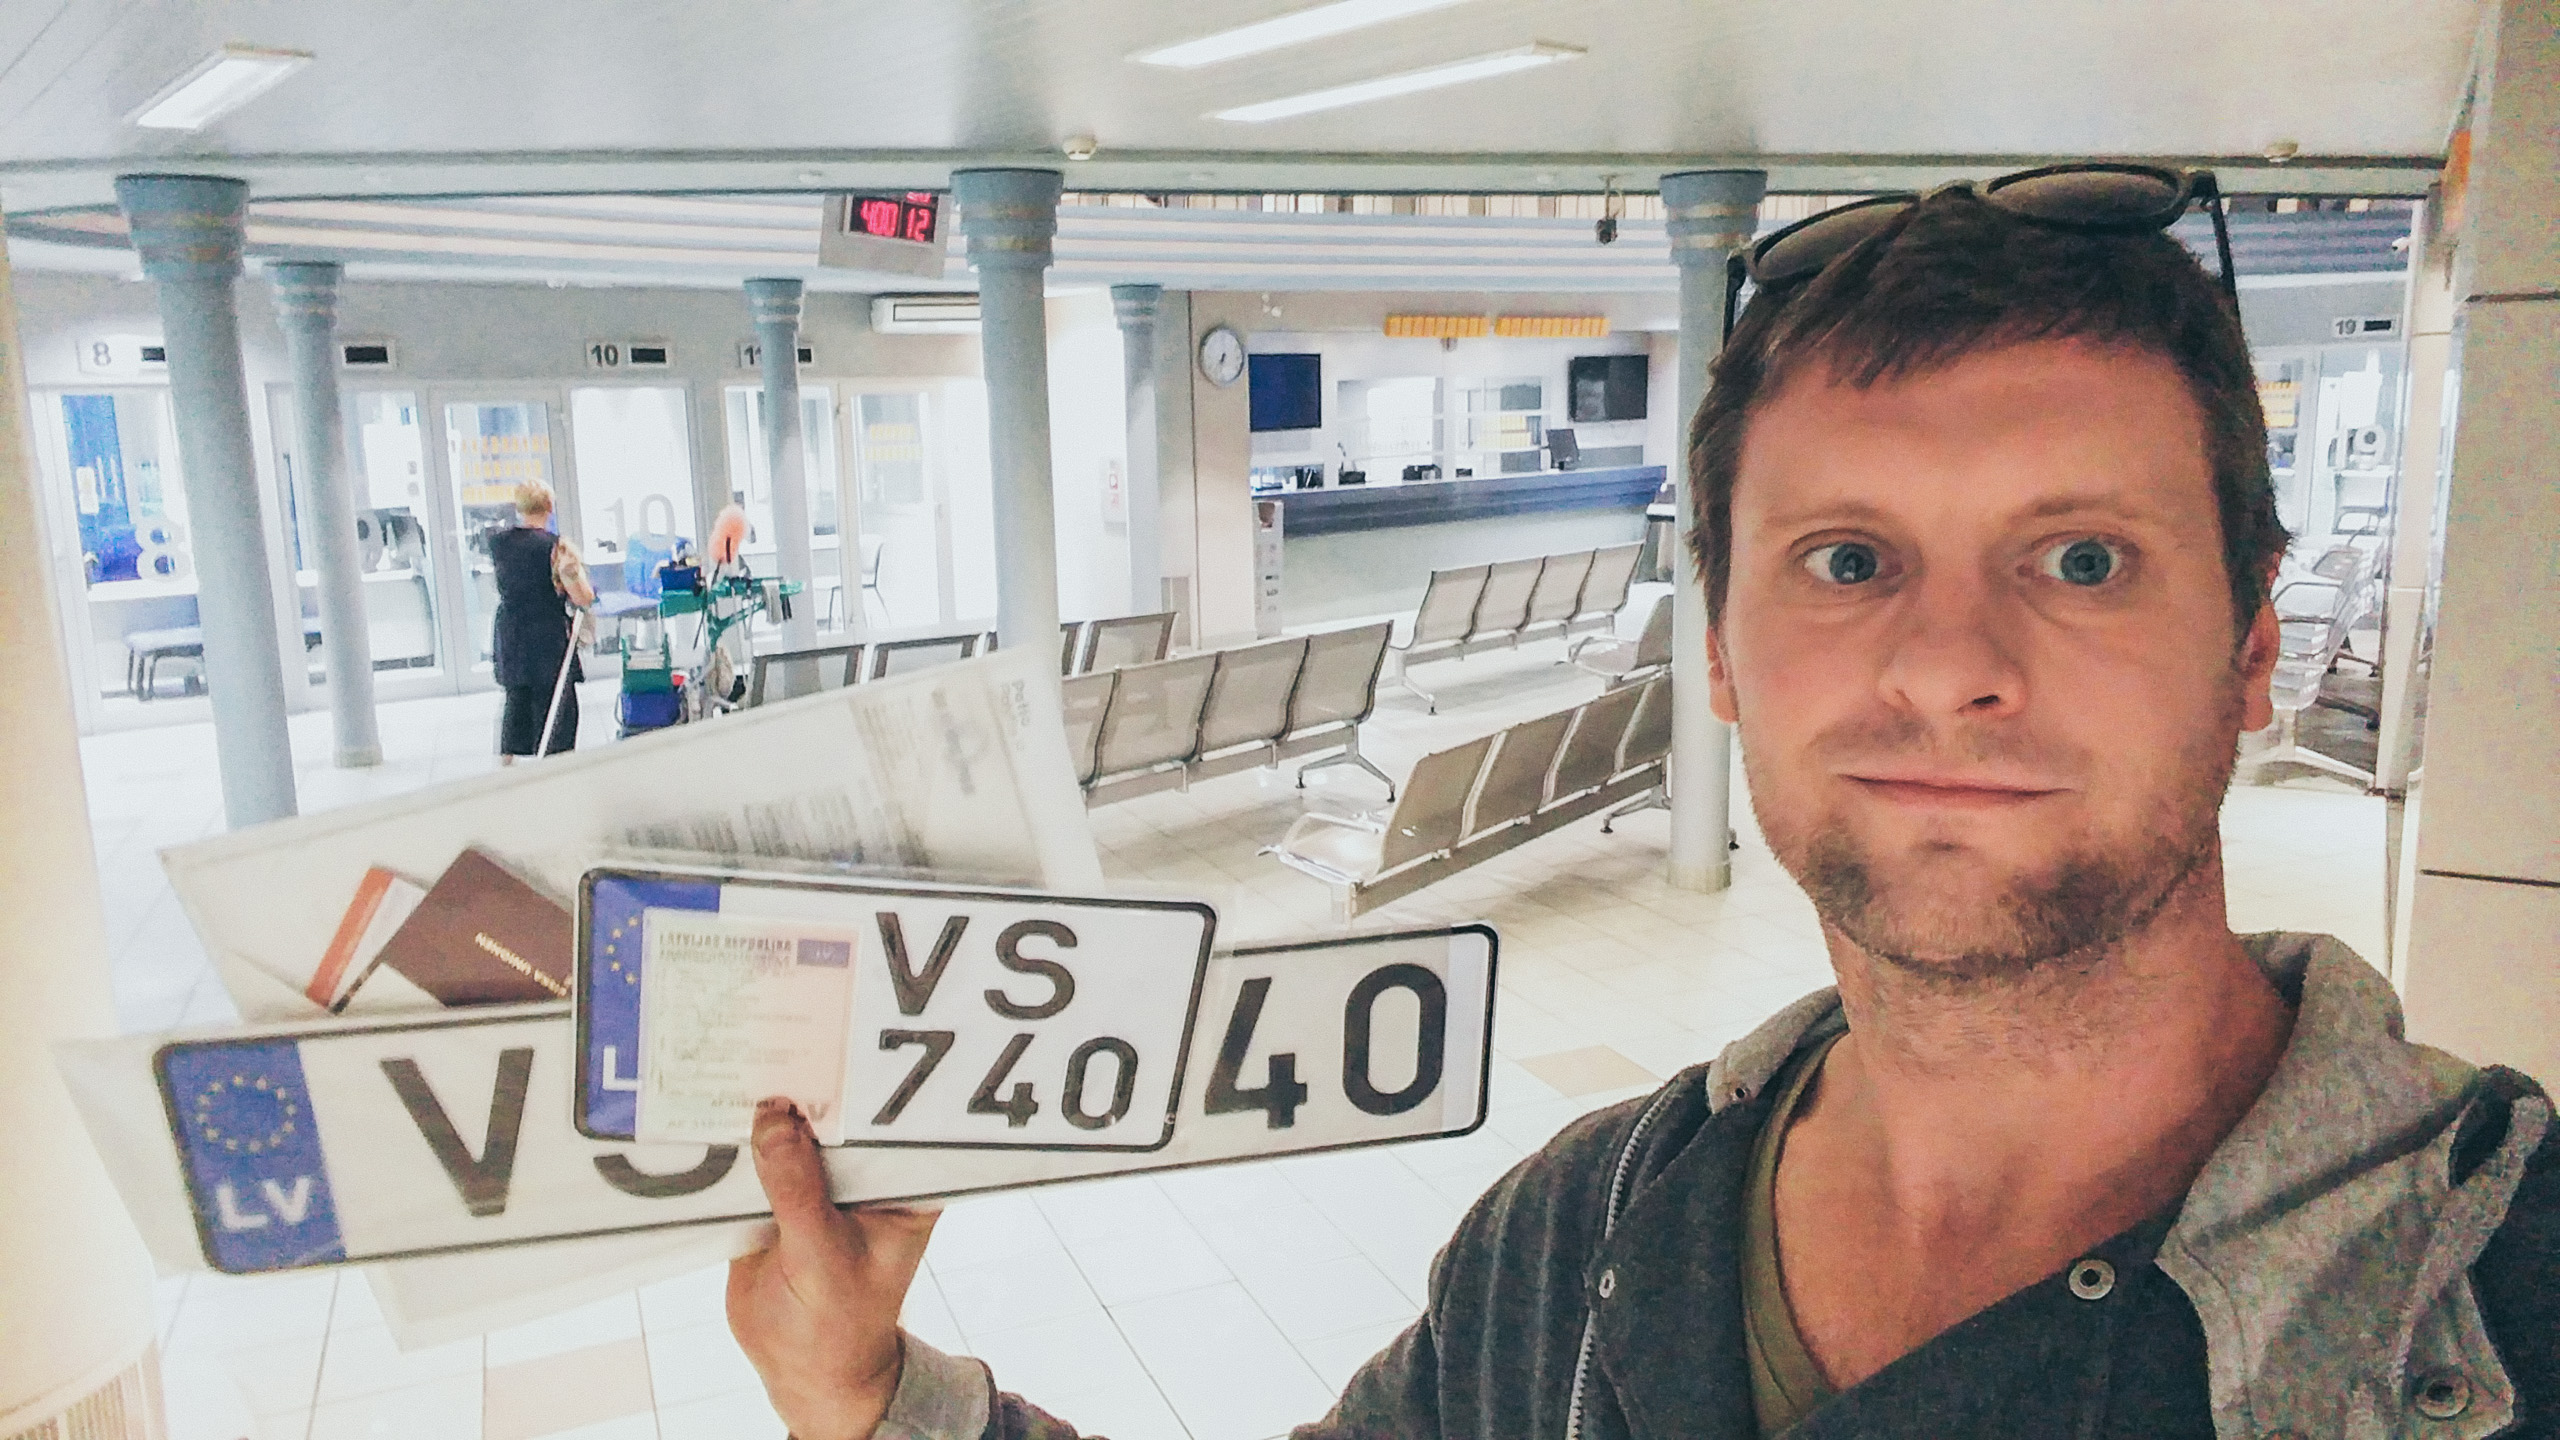
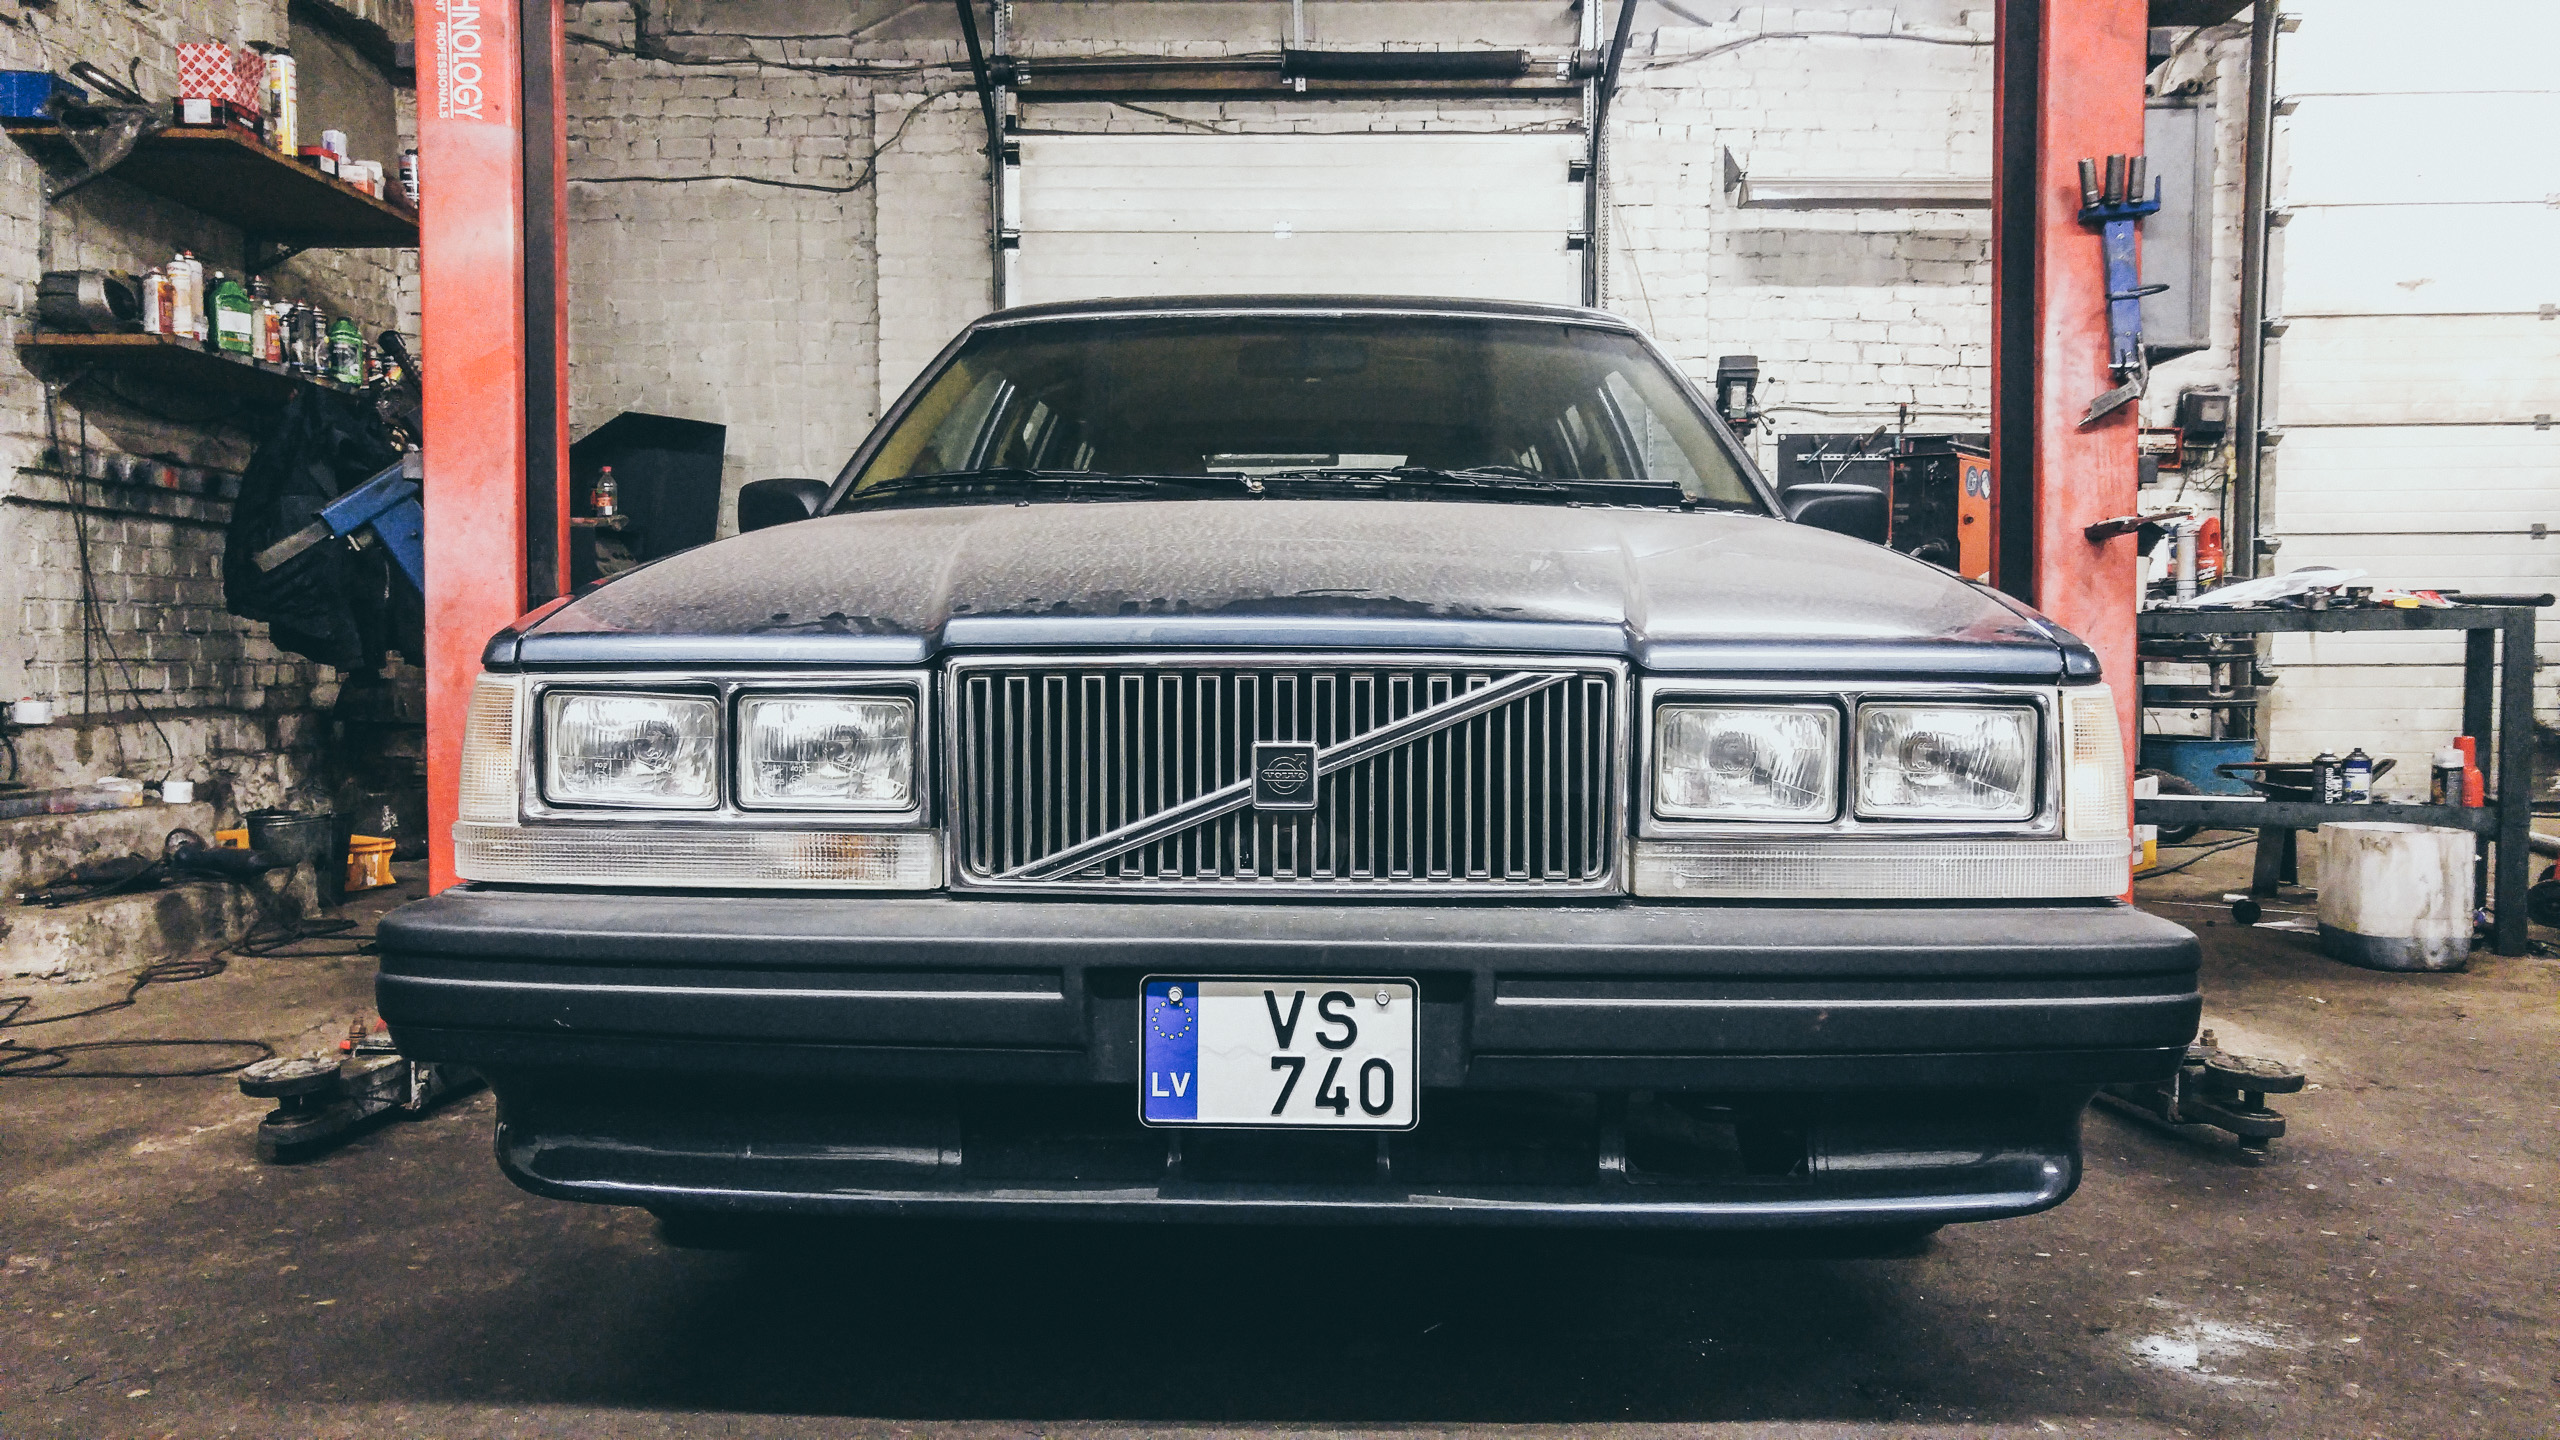
Got the narrow plate in the front for US spec bumper.
Oil change done as well, after breaking in engine by idling a fuel tank.
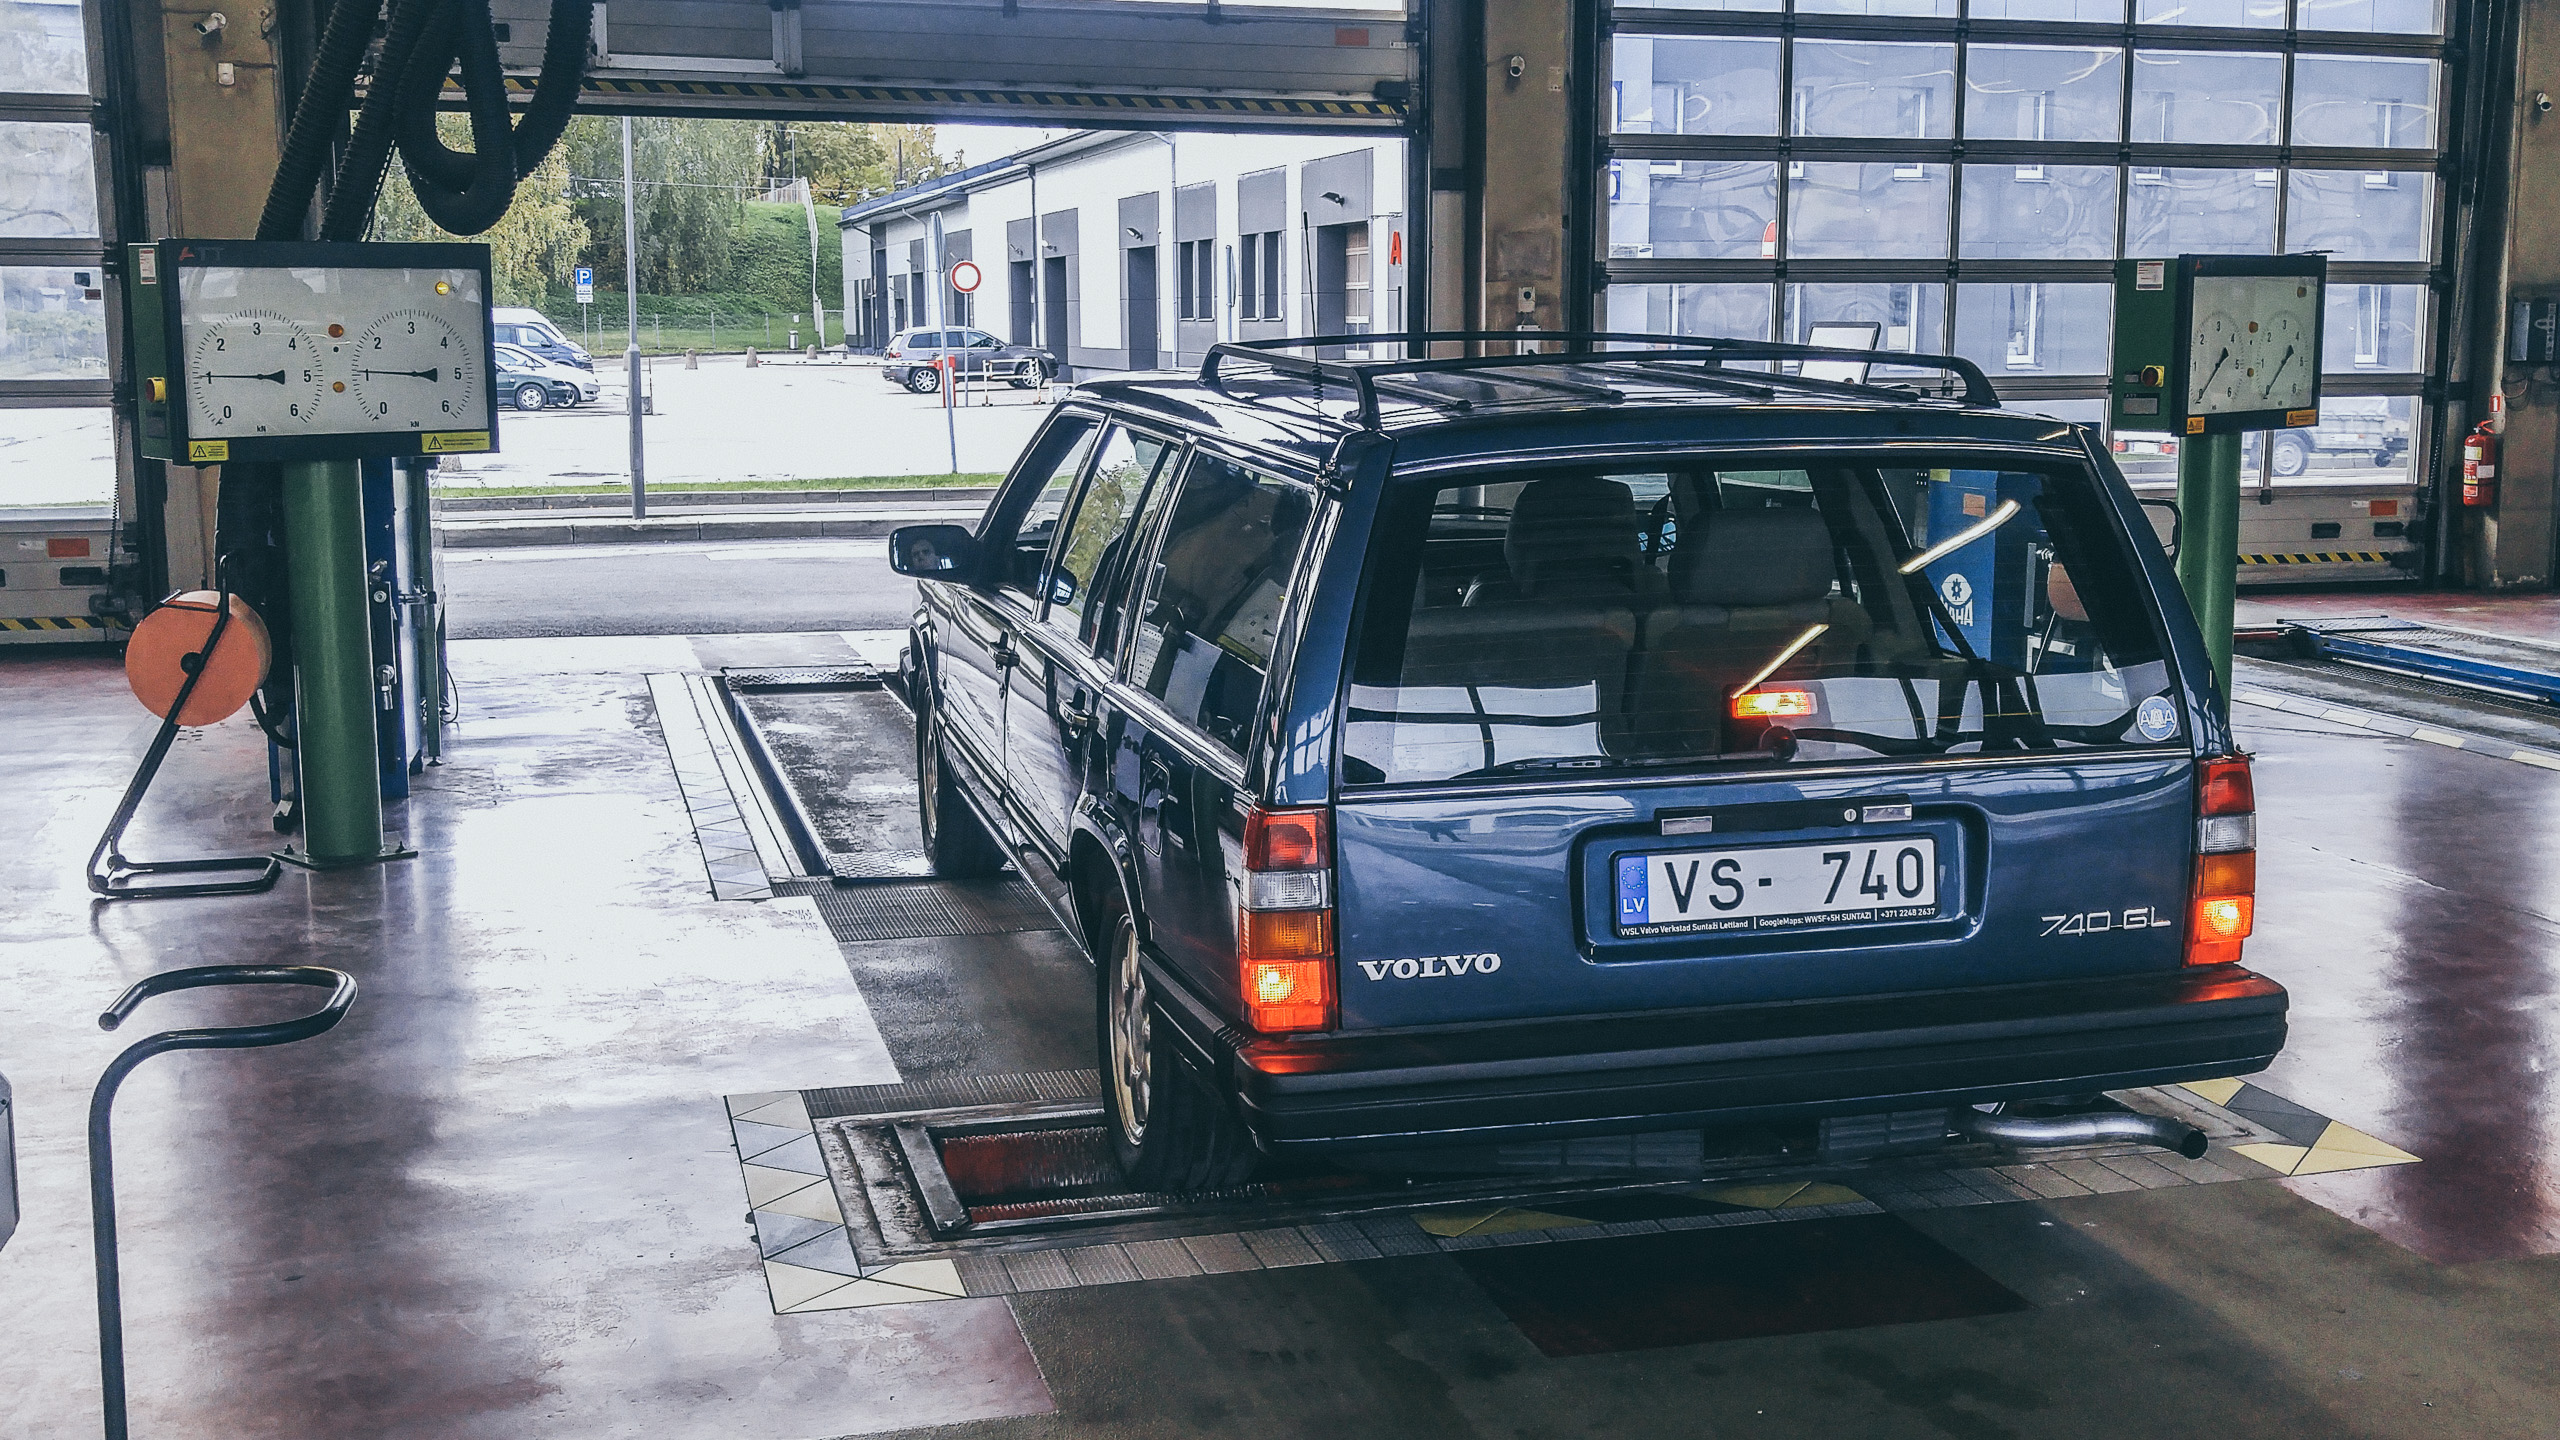
Passed with zero write-ups or annotations, in excellent condition.
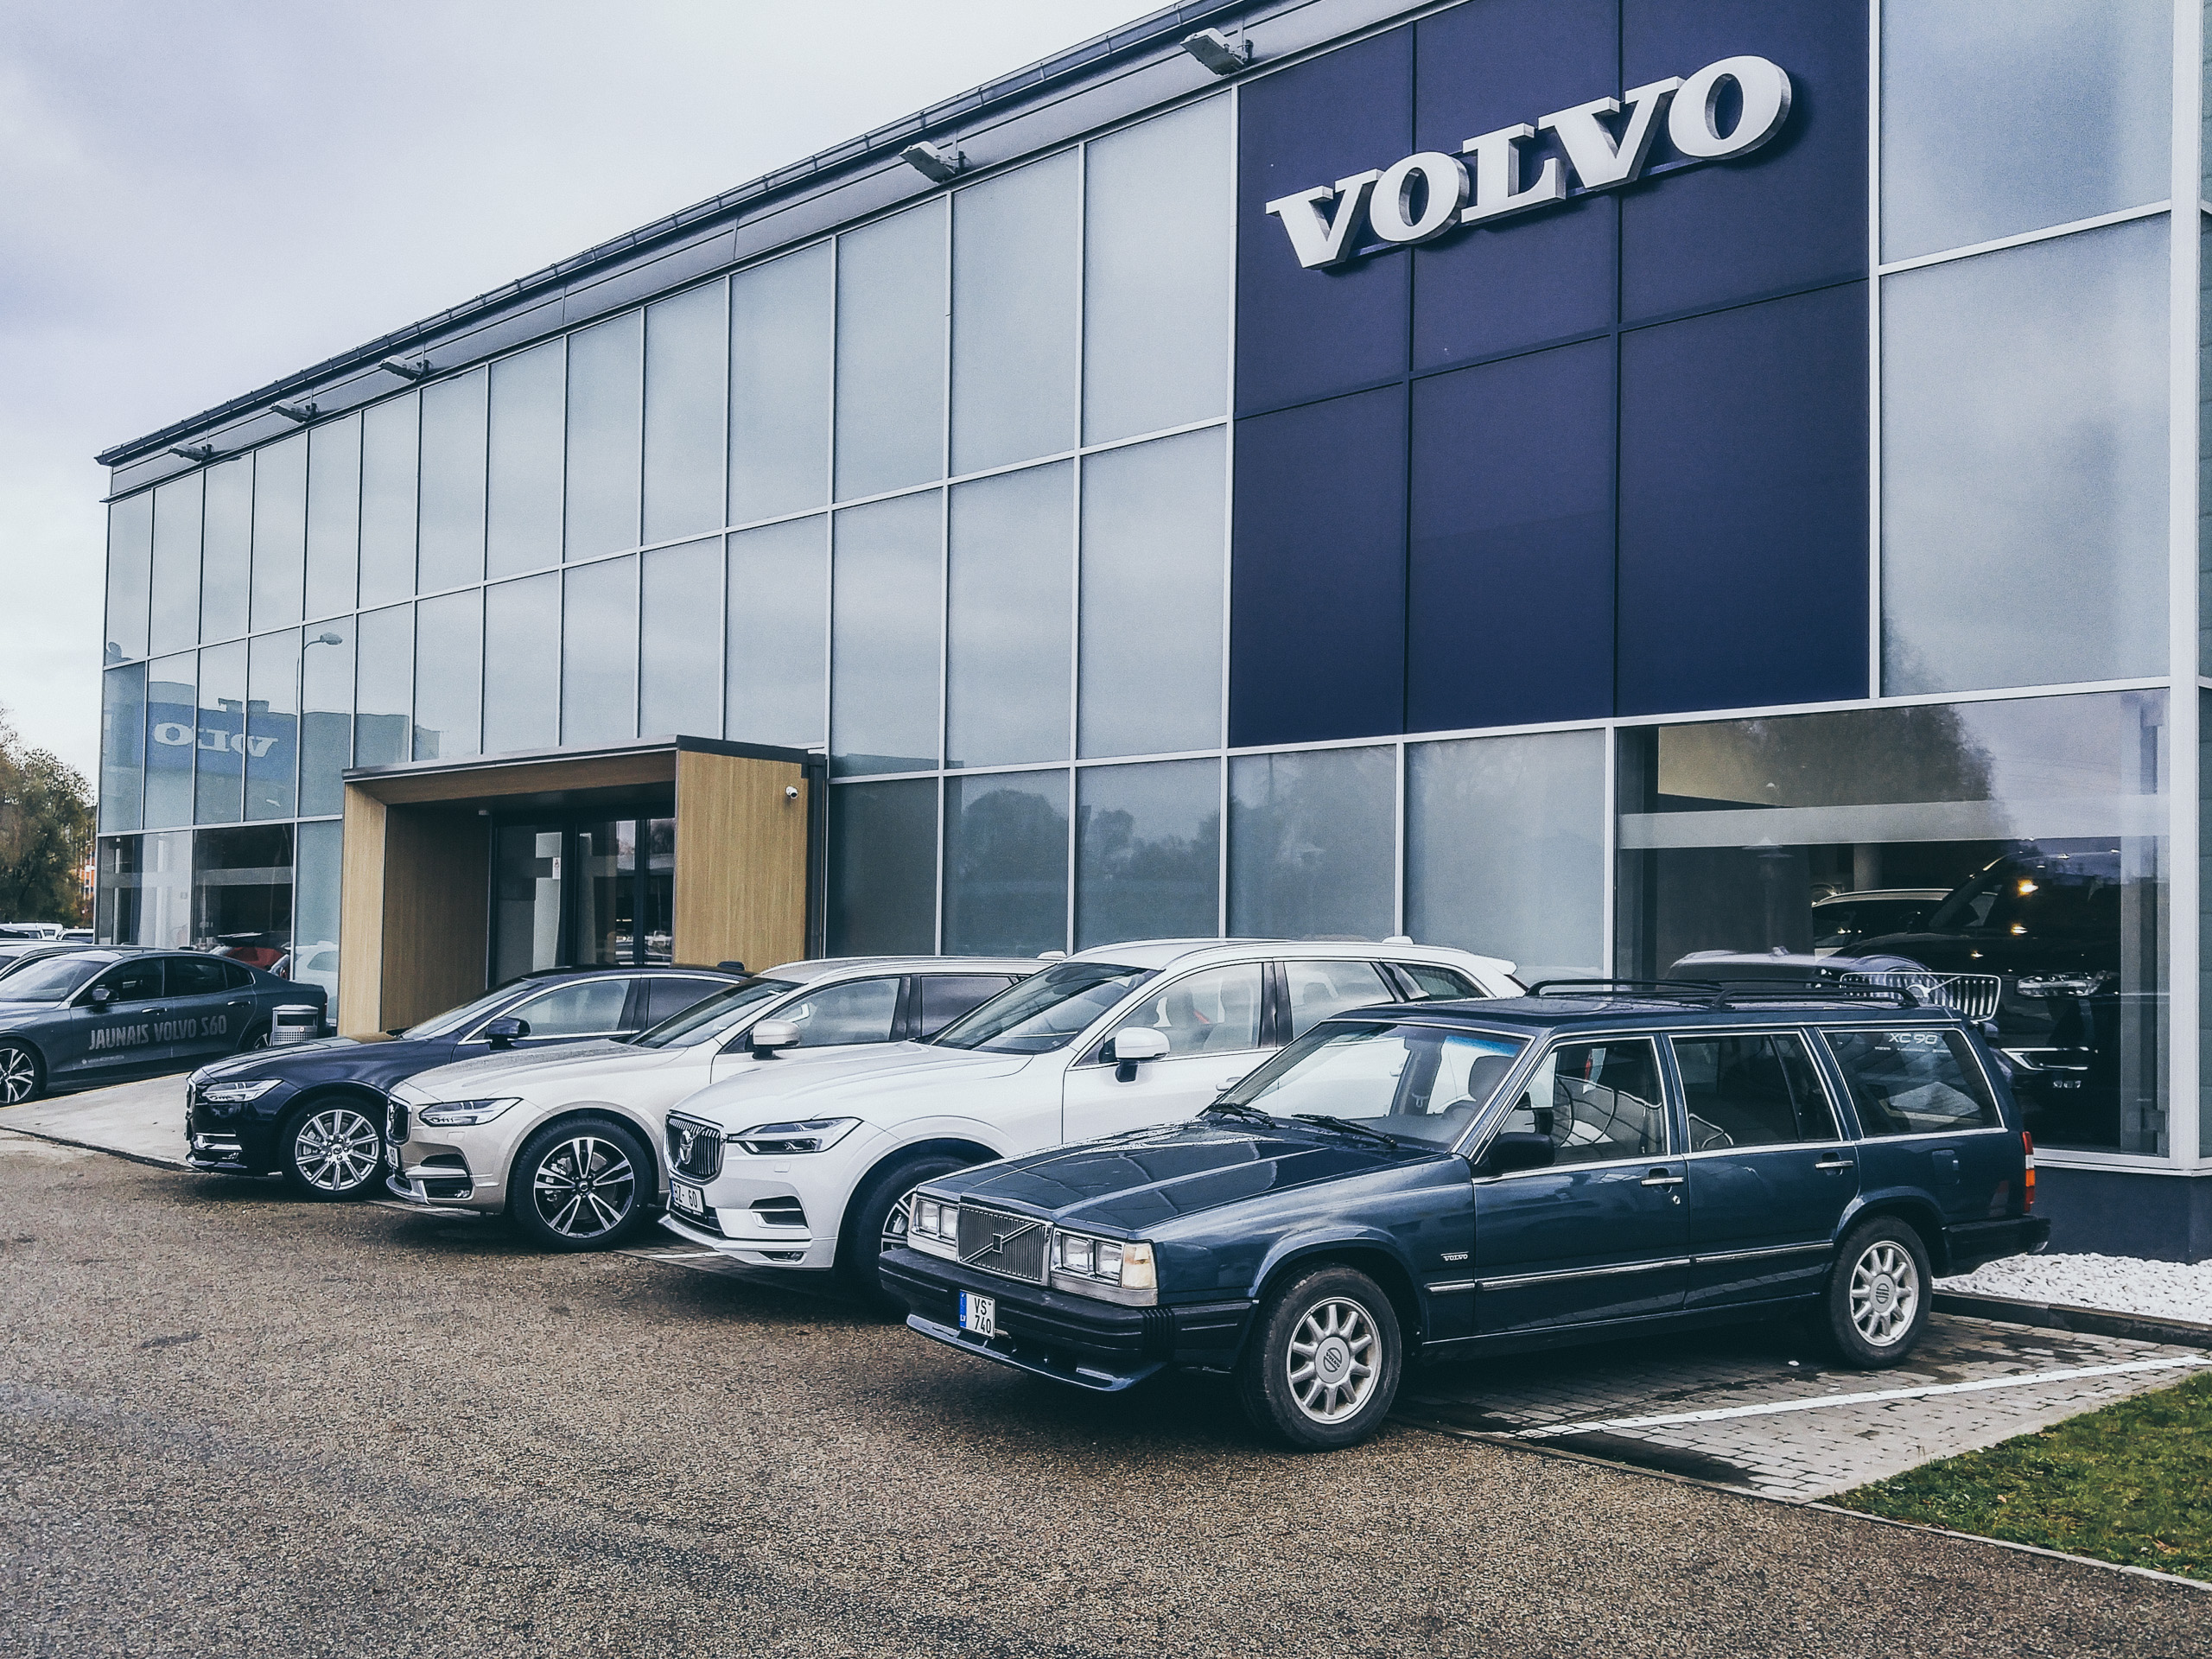
Now back to Volvo dealer for more parts. This time rubber bushings behind rear fold-able seat mechanism, so they don’t make noise as metal to metal


Without Janis’ passion for Volvos, at least 2 extra years to vehicle registration.
Long story short… just kidding, this is a long story.
What you do not see here is all the frustration, driving pointlessly to look for stuff that does not exist, all the NO’s from suppliers, all the wasted money and time buying wrong things from Skandix and junk yards just to later throw away.. and dealing with things that don’t come out the way you wish, this was especially true for all fabrics and carpets.
There are small stuff left, a small rubber piece is missing under the hood and water leaks on distributor, need to find a replacement.. still waiting for proper rims for this car from painter, in shadow chrome silver. There is other small stuff. Ordered two small rubber pieces so the rear seats do not rattle and make noise.. stuff like that. Those small details all will be worked on during long winter nights.